Has your garage floor seen better days? Is it full of unsightly cracks, stains, and pits? We’re teaching you step by step how to properly prepare your worn-out garage space for Stone Coats' Epoxy Flake Flooring System. We simplified and improved our flooring system, making it perfect for any DIY-er. Learn how to save thousands on your epoxy floor project, adding value to your home and giving your garage and other spaces a professional, finished look. Follow along with our step-by-step guide and video.


Preparation is key for any flooring project. Please review our full tutorial for preparing floors for epoxy.
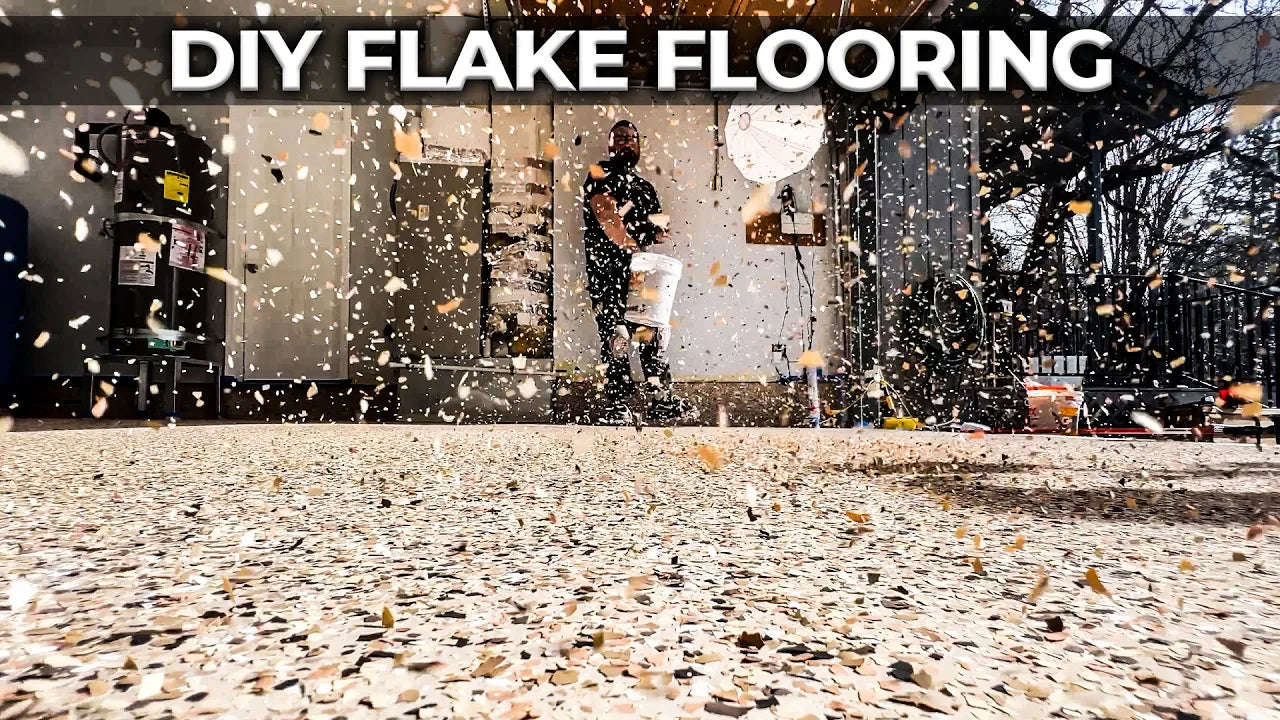
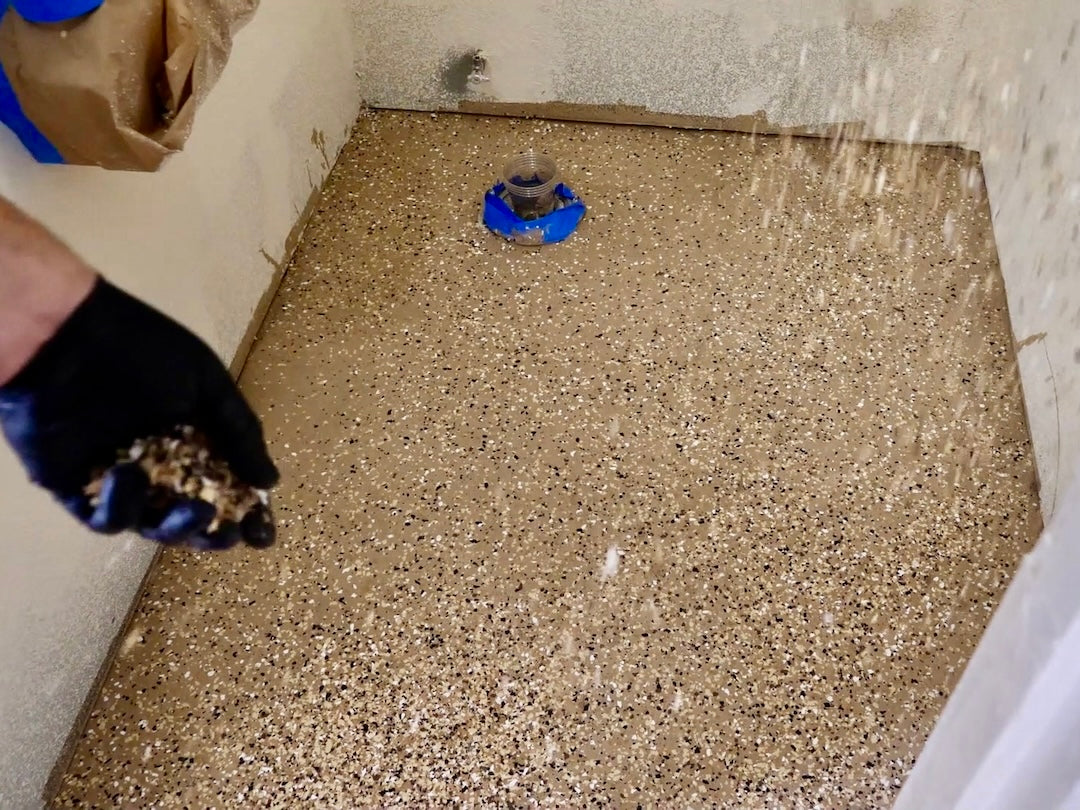
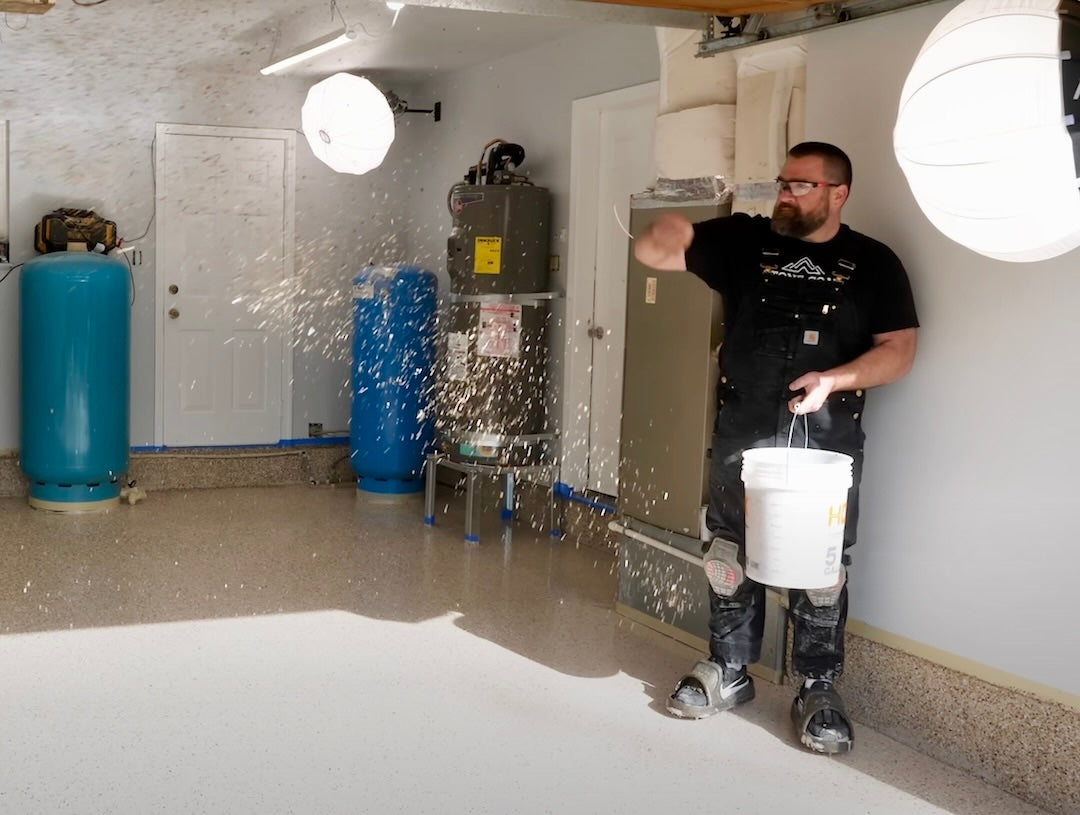
Use this guide to determine the amount of flake you need based on your coverage preference. Sprinkle some flake onto the walls around the garage. Make sure it's spread evenly. Use a putty knife to pick up any extra pieces of flake and save them for later. Sweep away any loose flake before you add the moisture seal and apply more flake to the rest of the garage floor.
Pro Tip: Throw the flake up and away almost like you're feeding chickens. Let gravity help disperse the flakes in a uniform pattern. When desired flake coverage is achieved, allow the flake and moisture seal epoxy primer to cure 24 hours before the next step. Keep the room temperature above 65 degrees Fahrenheit for optimal results. Remove any tape touching wet epoxy to keep the tape from drying into the coating.
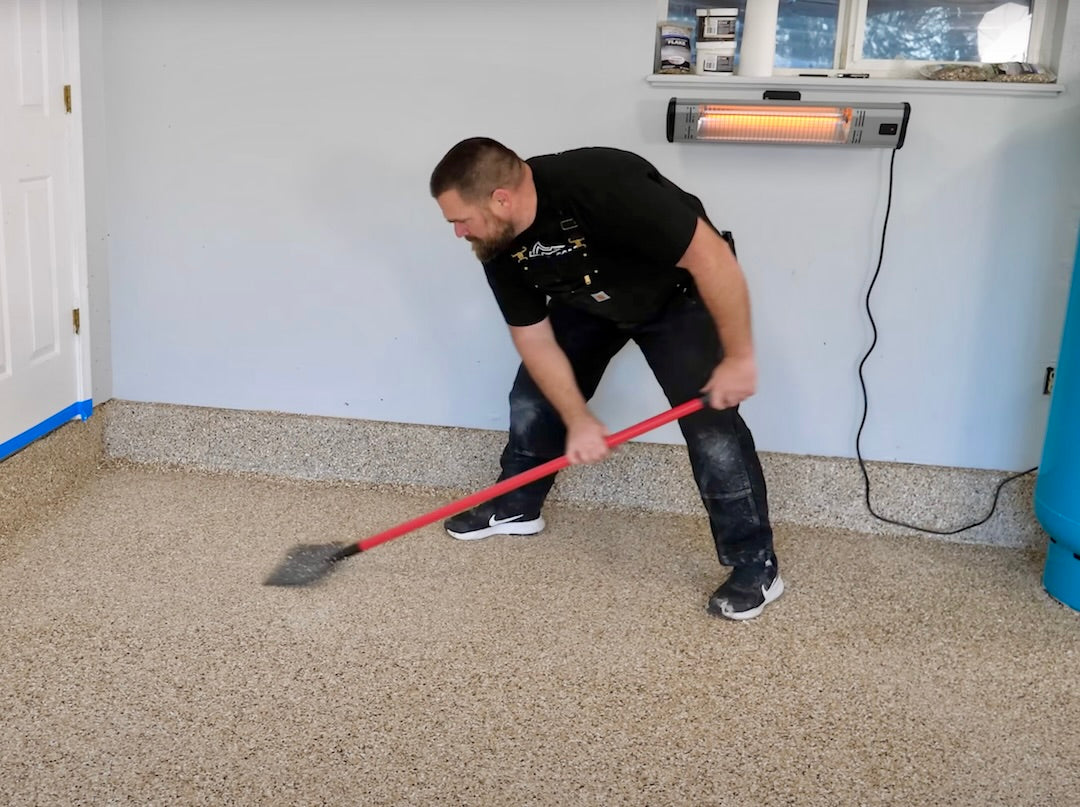
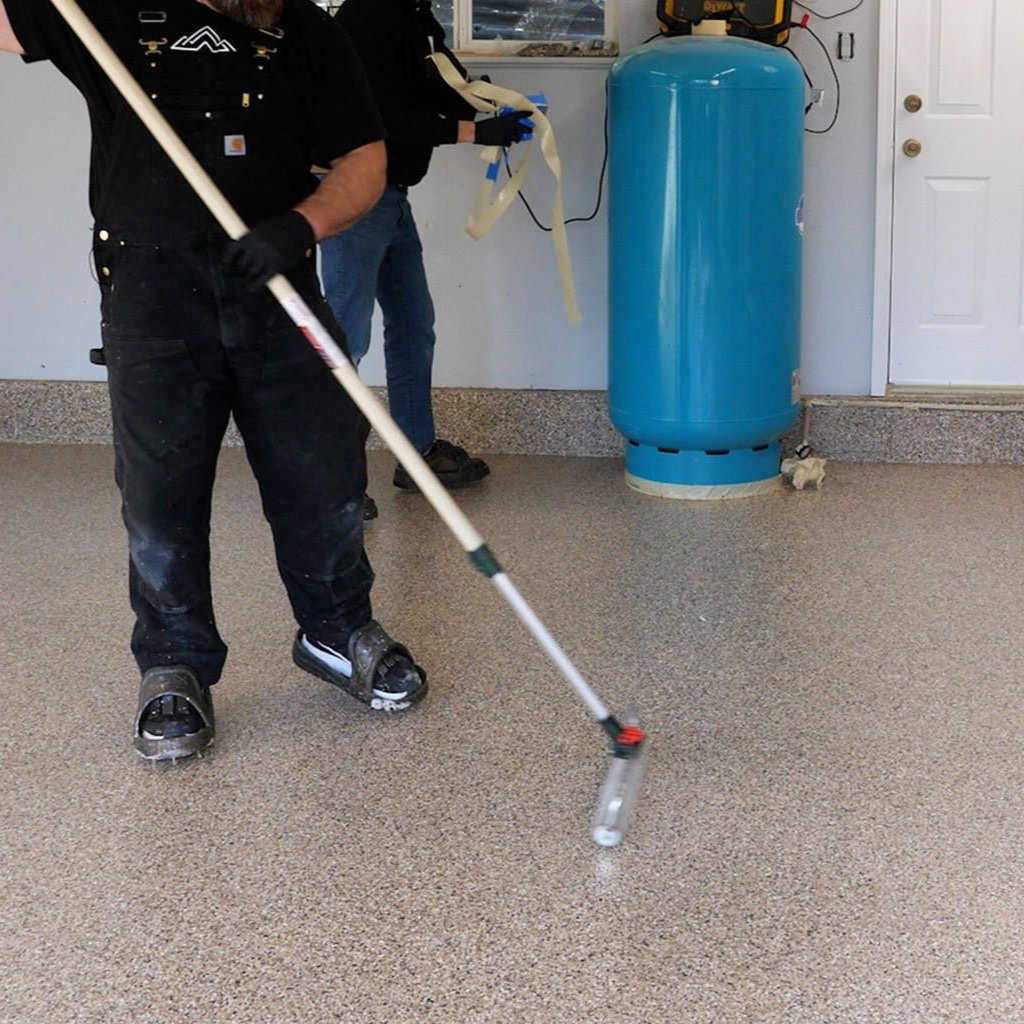
After the epoxy has dried, take a floor scraper and lightly scrape the floor. Move it from front to back and side to side, in a cross-hatch pattern. You don't need to press hard. Just let it glide across and the loose flakes will come off.
If applicable, don't forget to scrape the vertical sections of your project. Use a smaller scraper for the spots that are harder to reach.
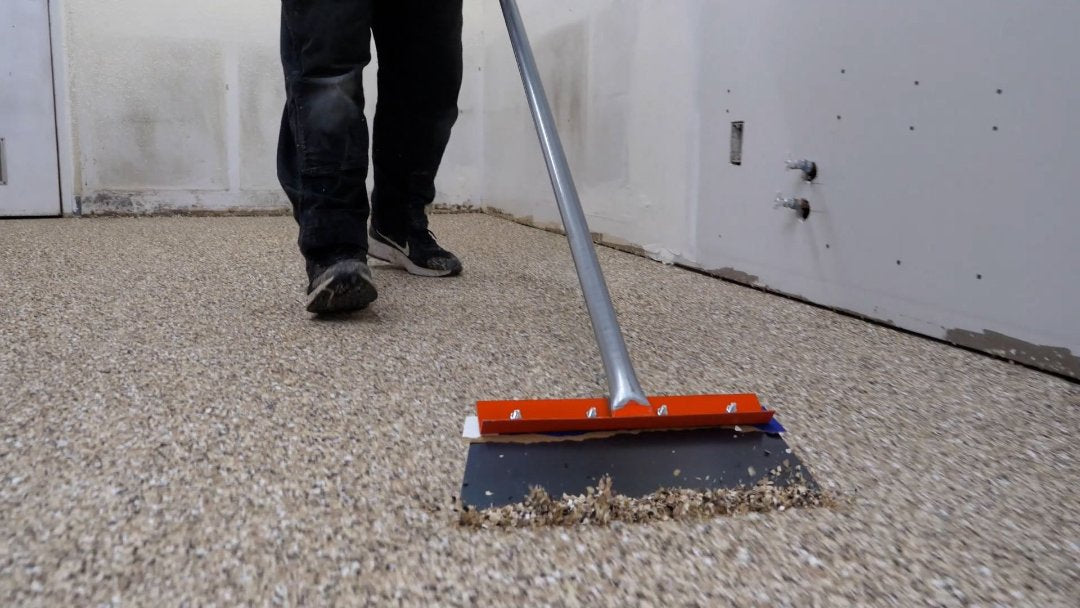
Use a broom or blower to get rid of any loose flakes. Make sure you clean up as many of the flakes as possible before applying the top coat. If you don't, they can pile up and cause high points on your surface.
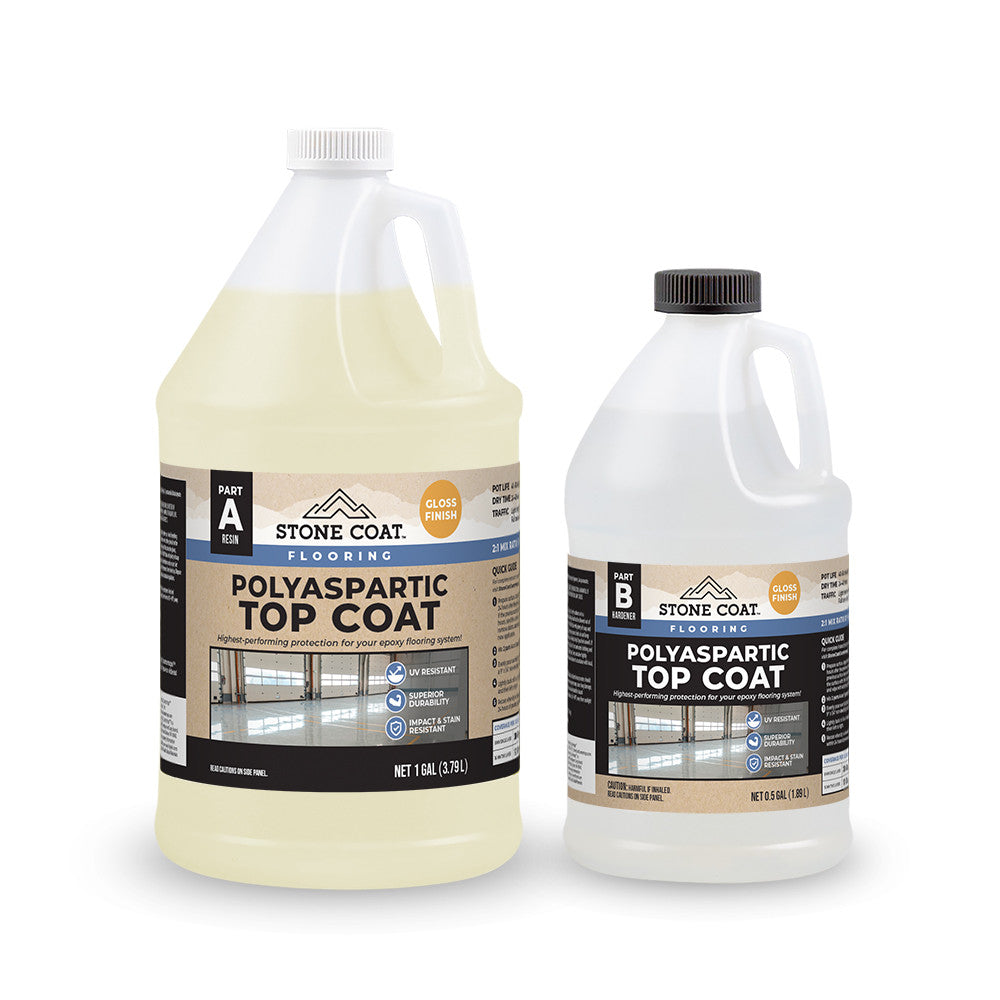
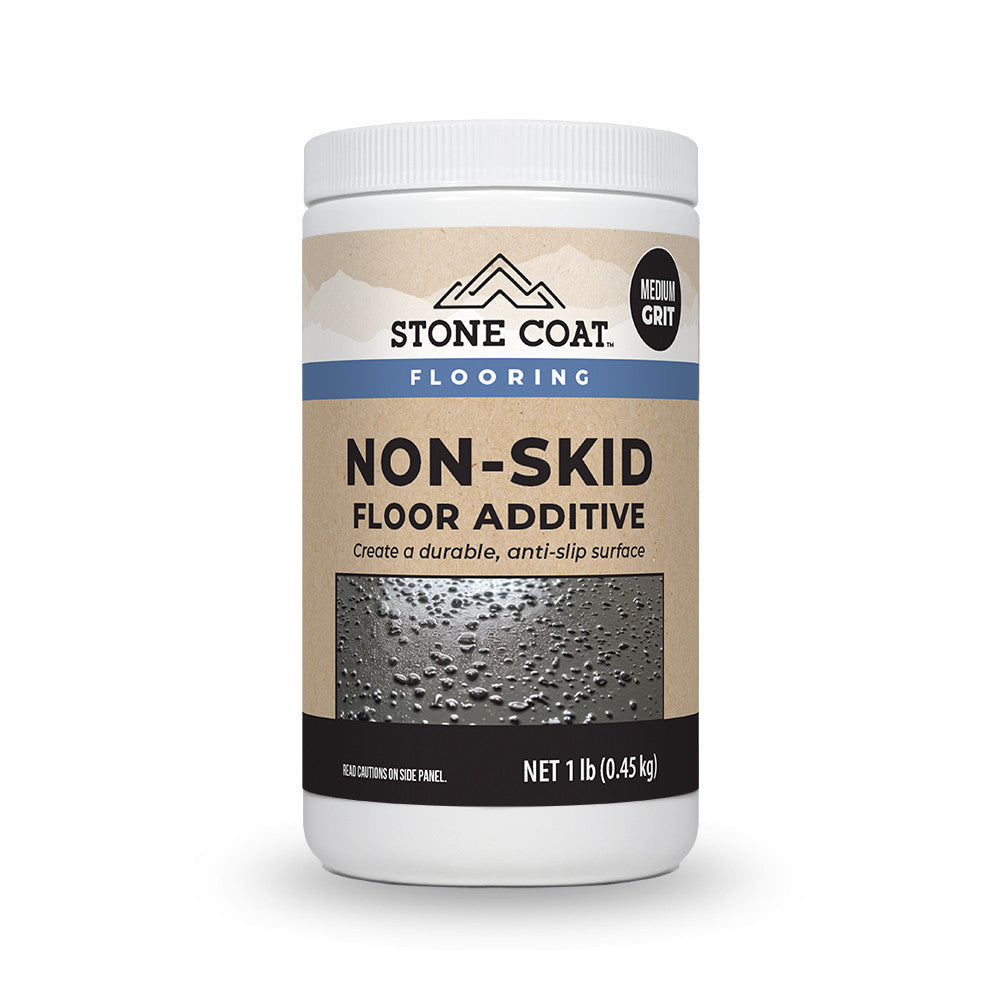
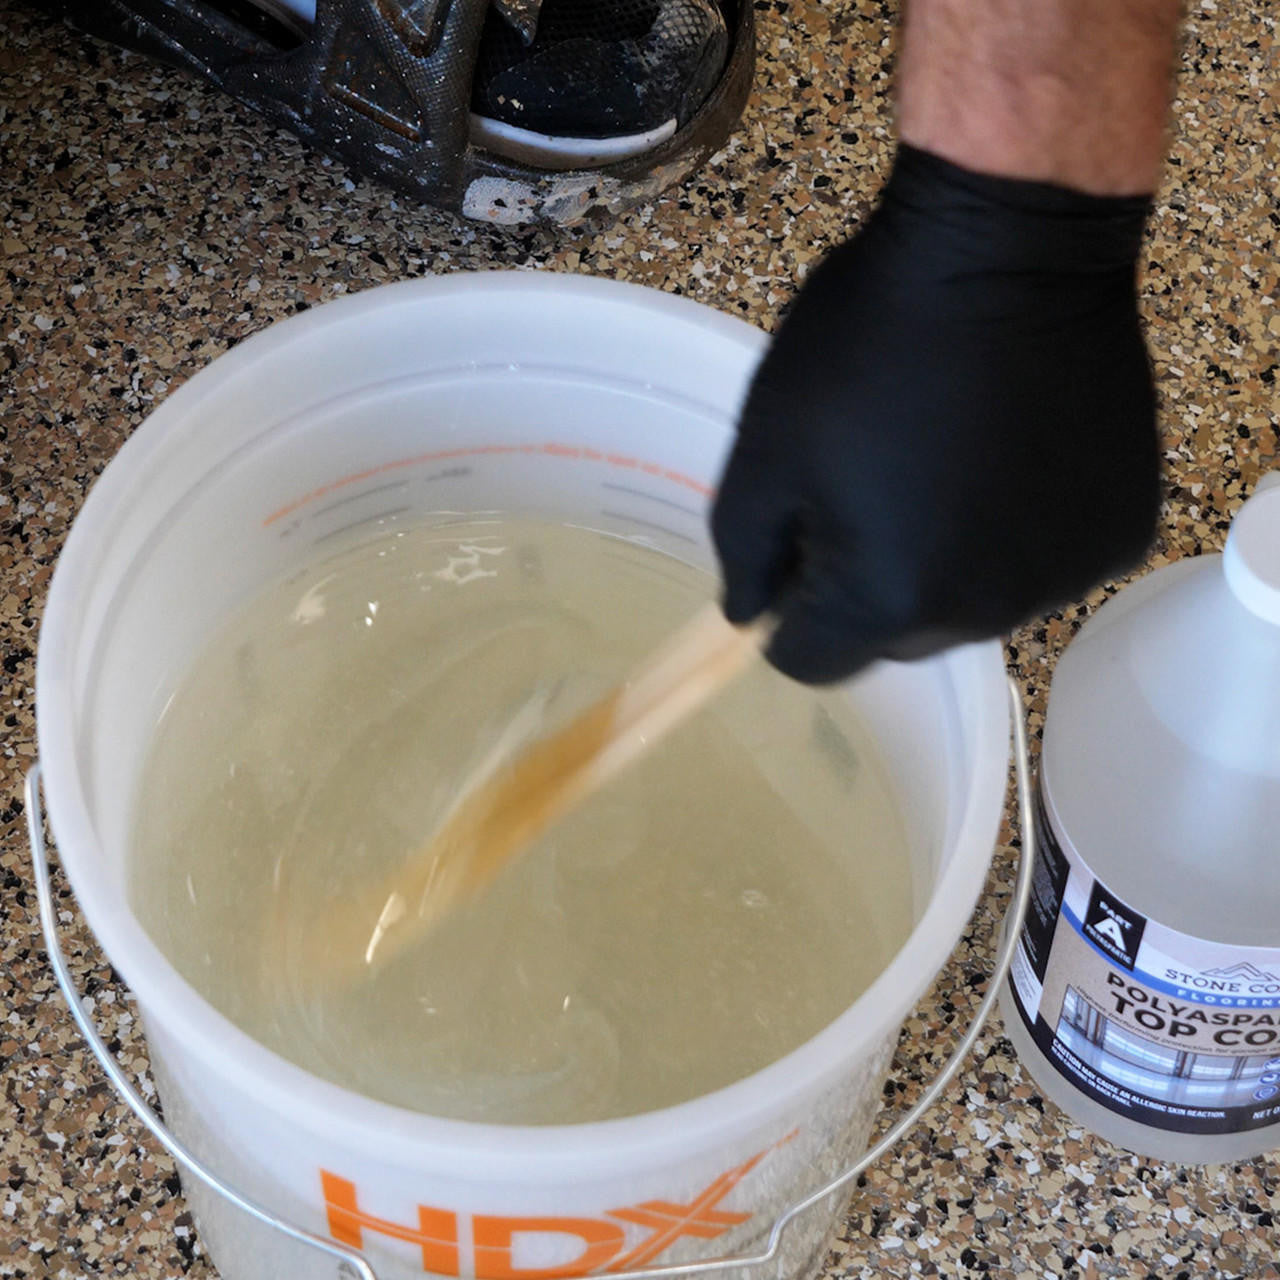
Measure 1-2 ounces of Polyaspartic Top Coat for each square foot of floor. Mix the topcoat with a paint stick or a paddle mixer and a drill for 2-4 minutes. To help prevent slipping, add in 2 ounces of our Non-Skid Floor Additive for light grit per 1.5 gallon kit, 3 ounces for medium grit, or 4 ounce for heavy grit.
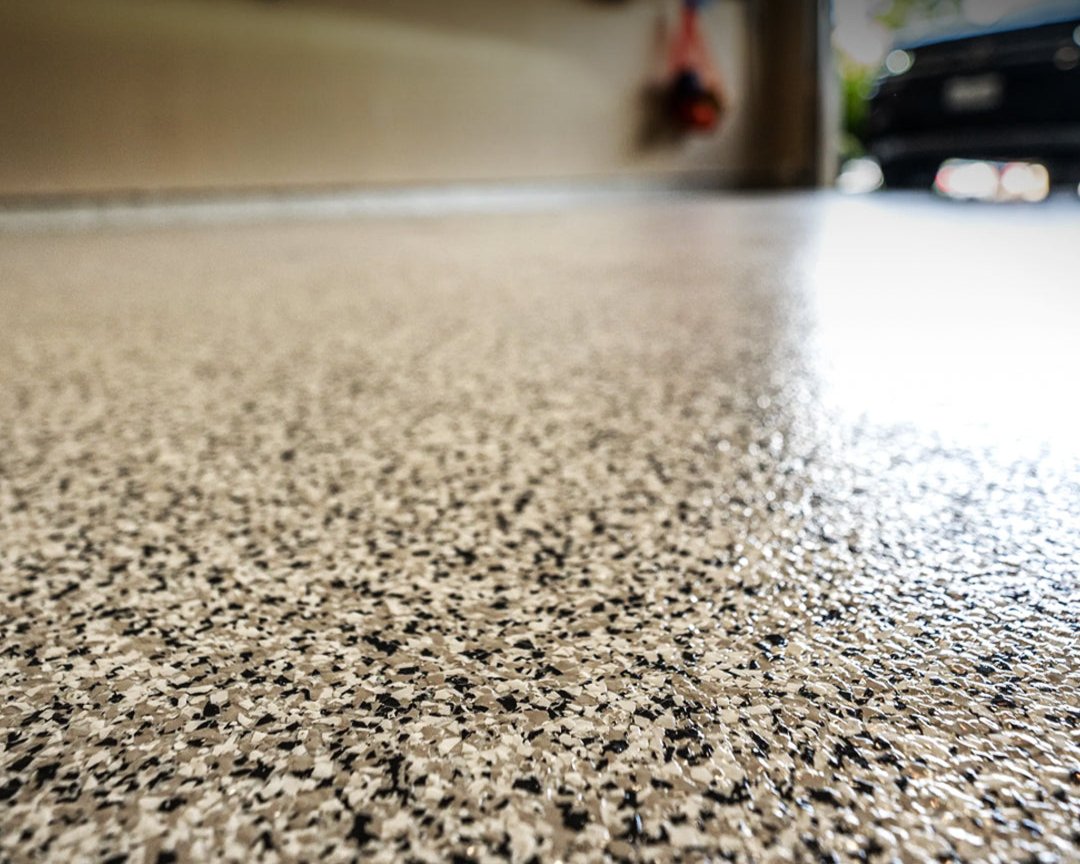
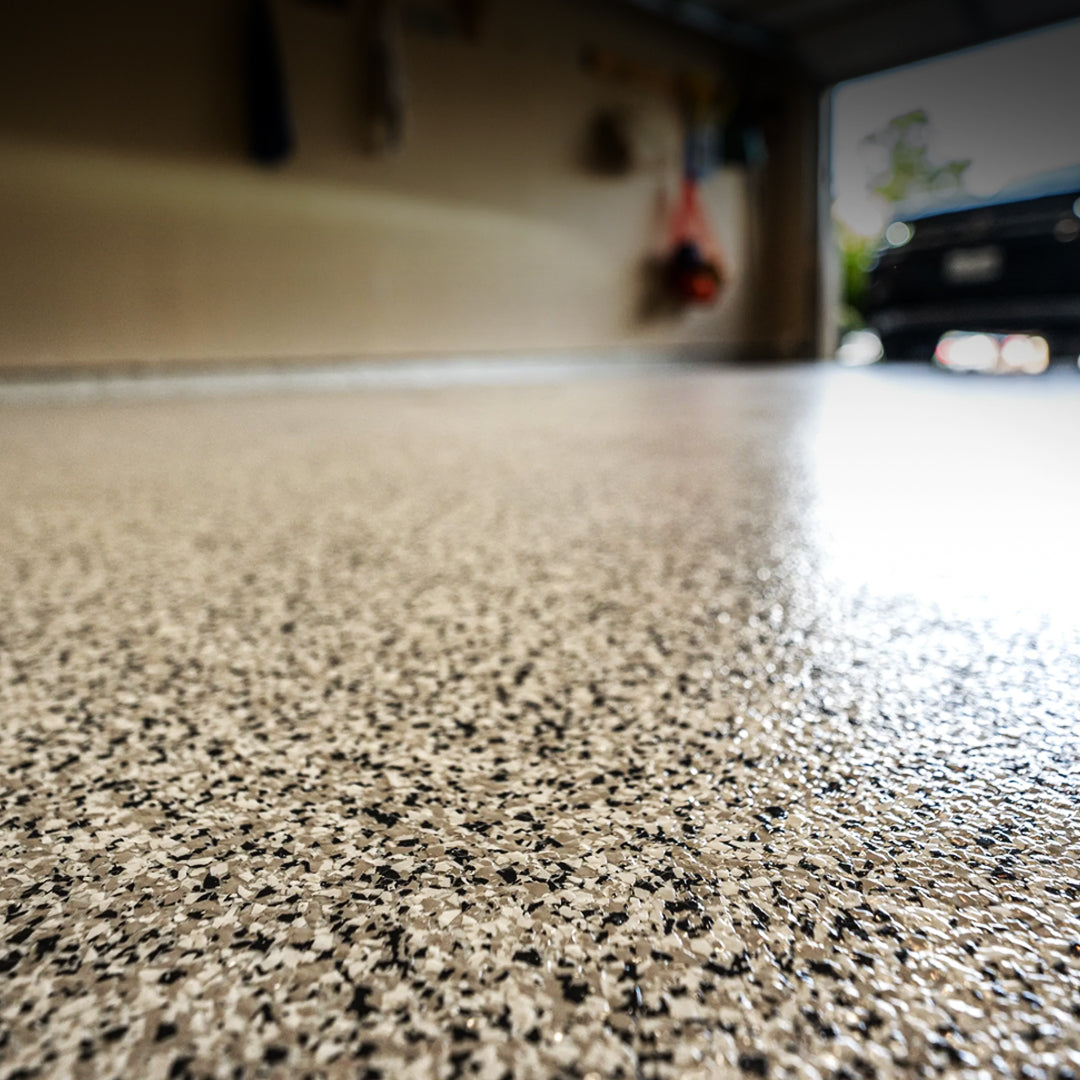
The last and easiest step is to apply the Polyaspartic topcoat. It should cover the edges of the flake to protect your floor for years. To do this, roll it across your floor from left to right and front to back. Make sure you have an even coating, which will be seen in the lights above the floor. Once you are done, take off any tape, and make sure there are no high points or piles of flake before letting it cure for 24-48 hours with a temperature above 65 degrees Fahrenheit.
Project Complete! Light foot traffic is allowed in 24 hours, and you can park your vehicle on the new epoxy floor in 72 hours. Always avoid dry steering your tires on your new surface as an extra precaution. Stone Coat's Epoxy Floor system is chemical resistant and easy to clean. Use cleaners designed for other floor products such as vinyl plank and tile. Keep from sliding heavy sharp items, use felt pads for best results when sliding large furniture.