


benefits of epoxy flooring
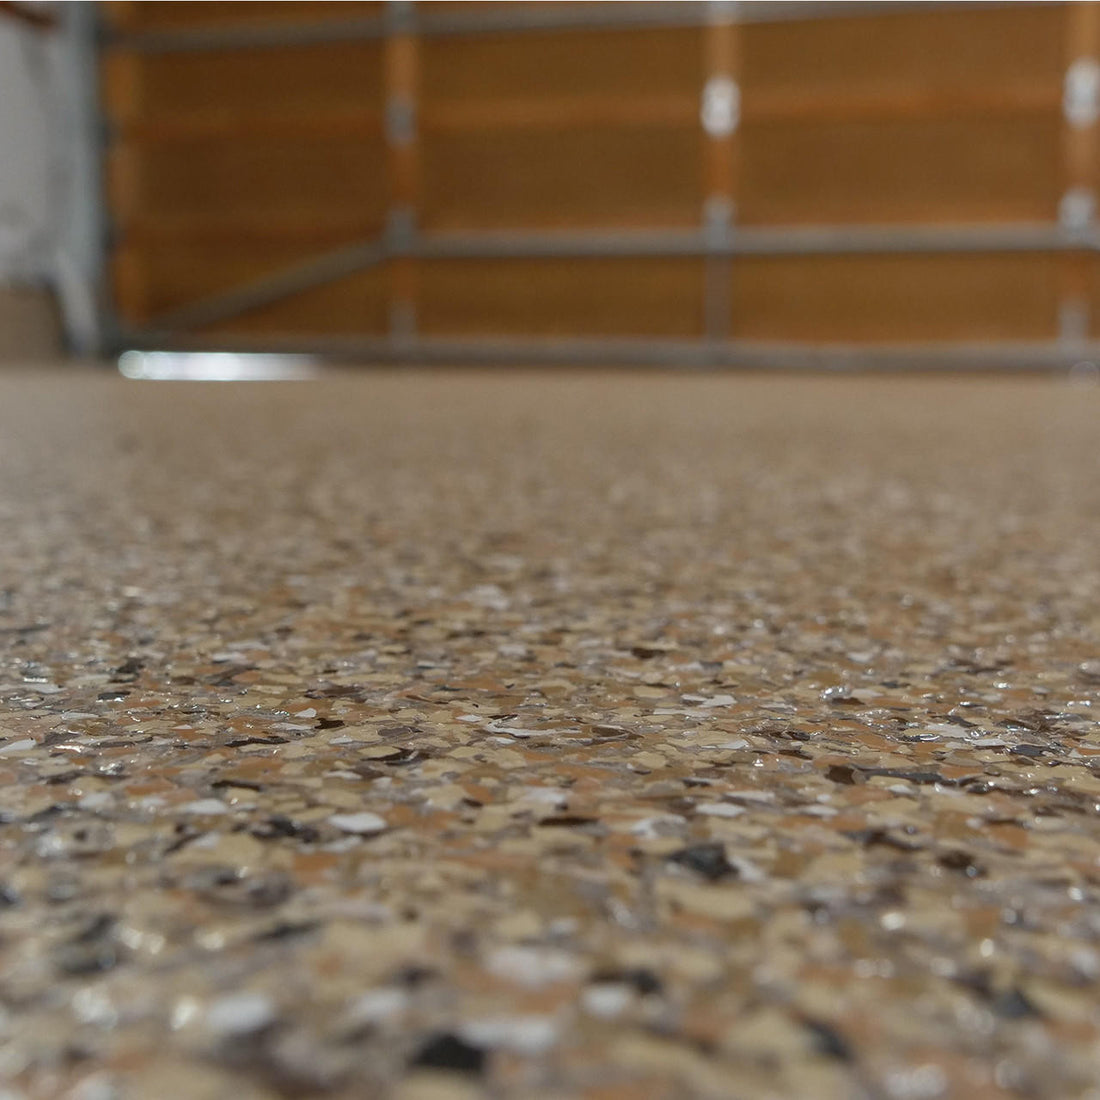
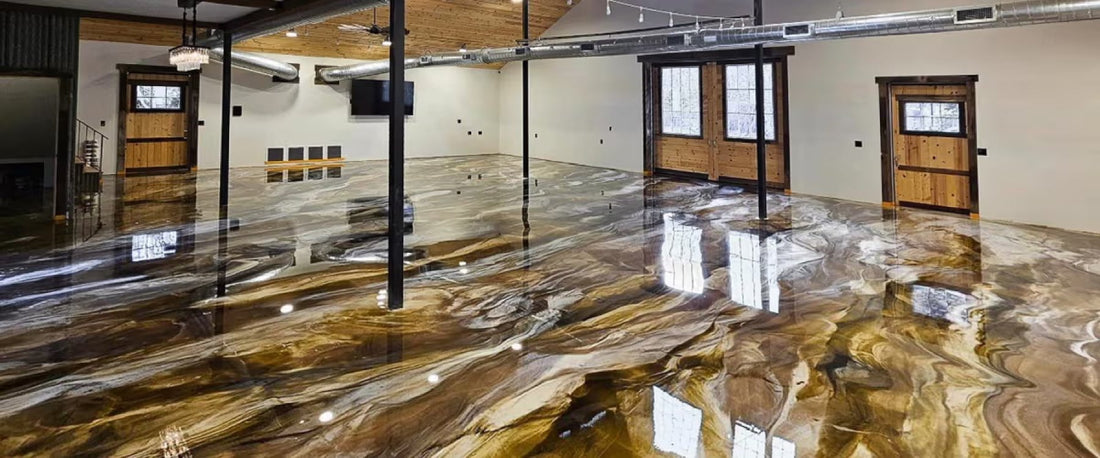
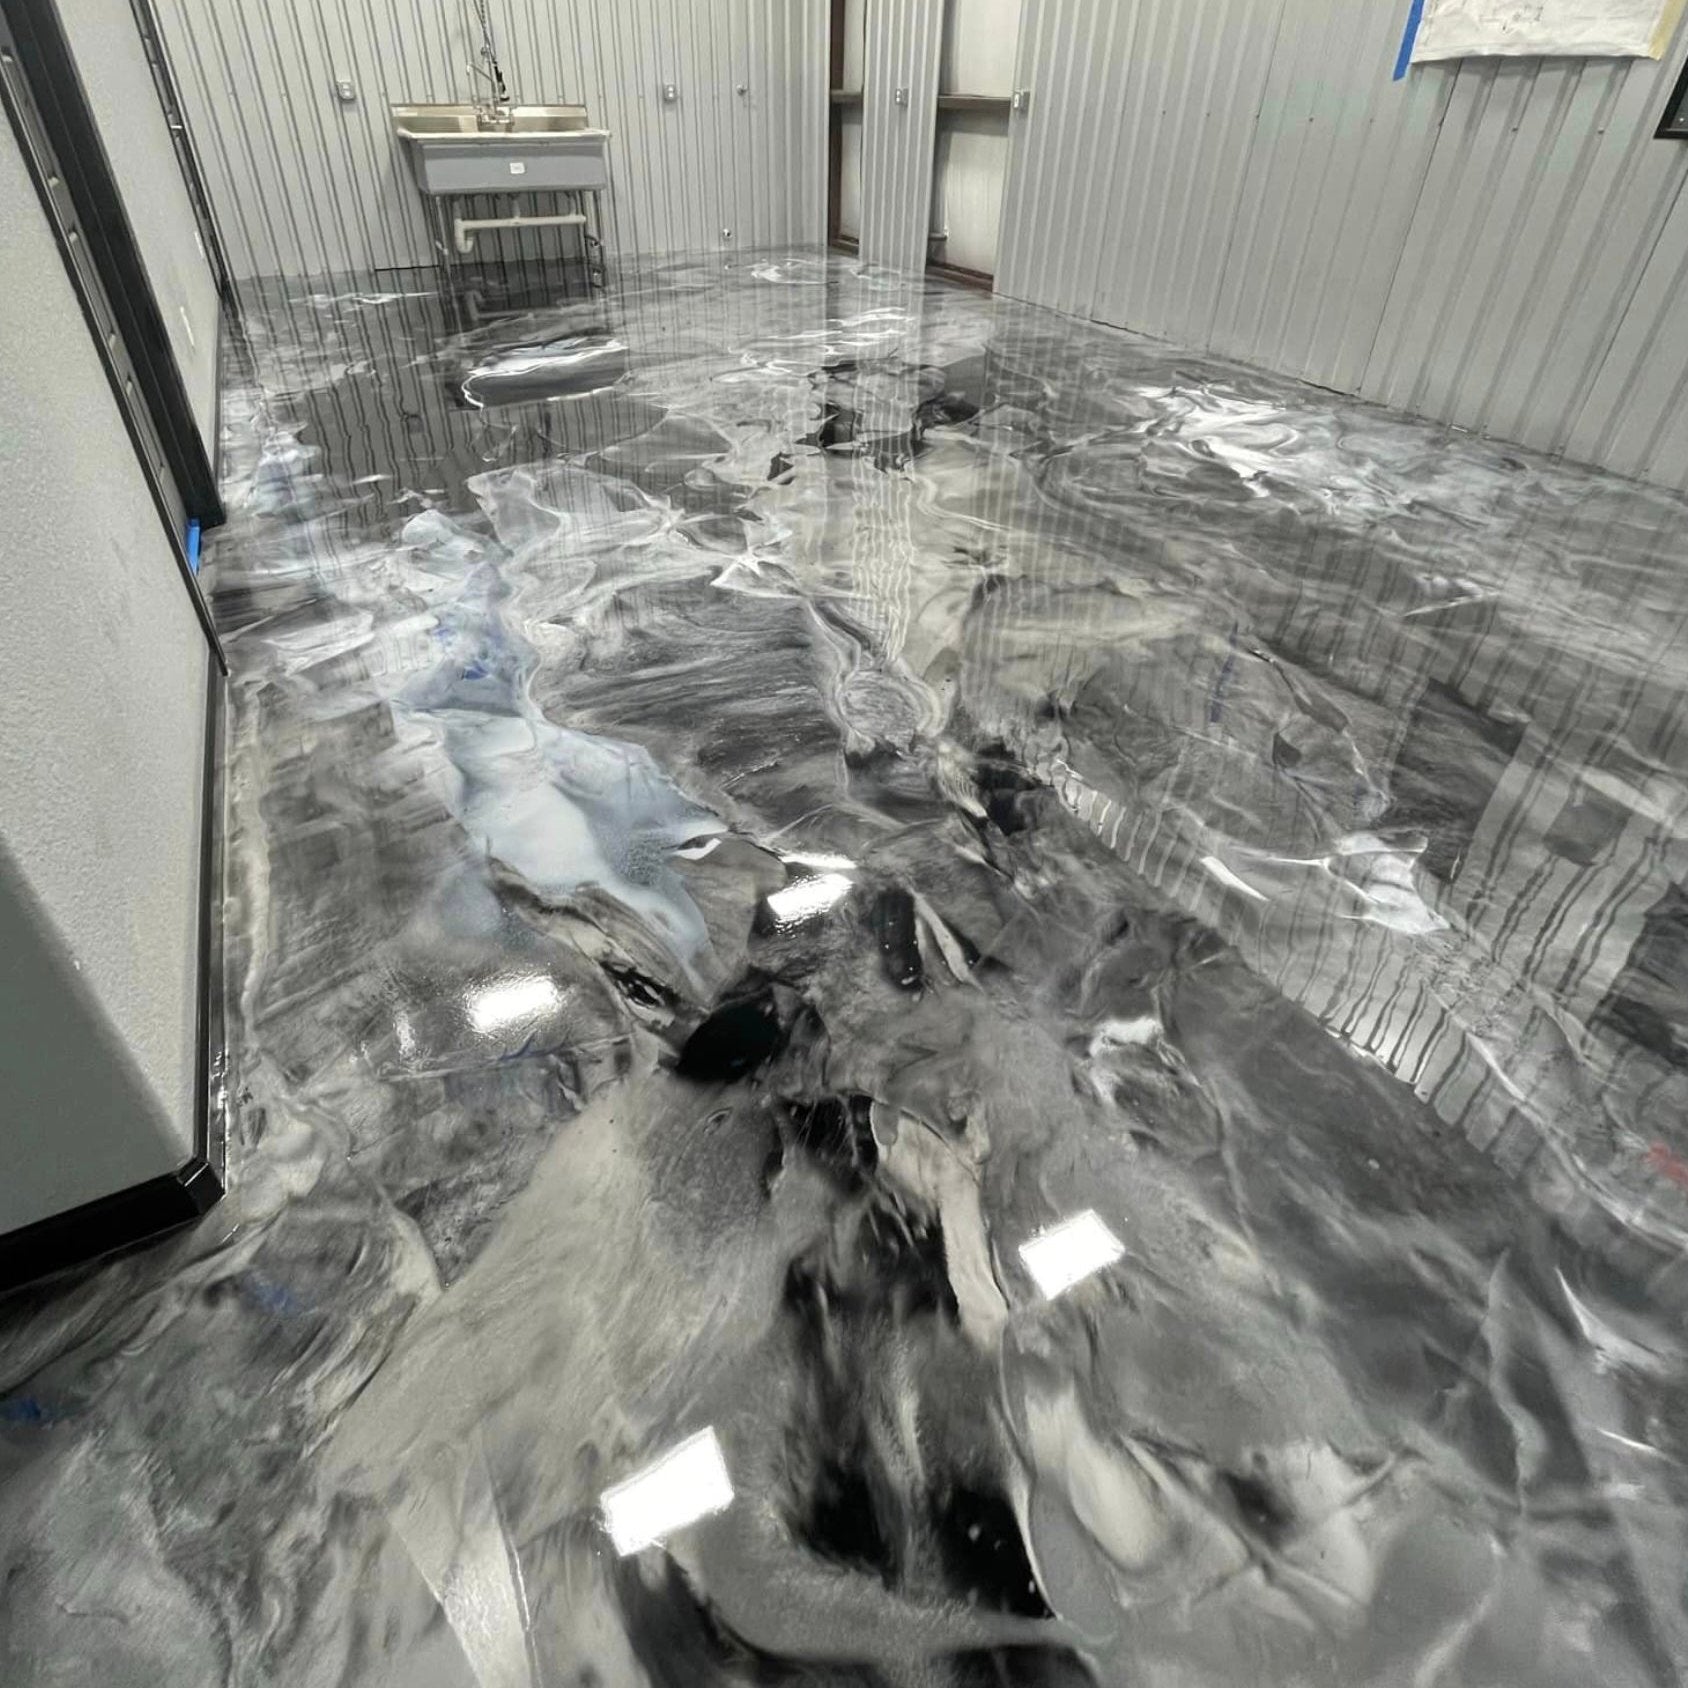
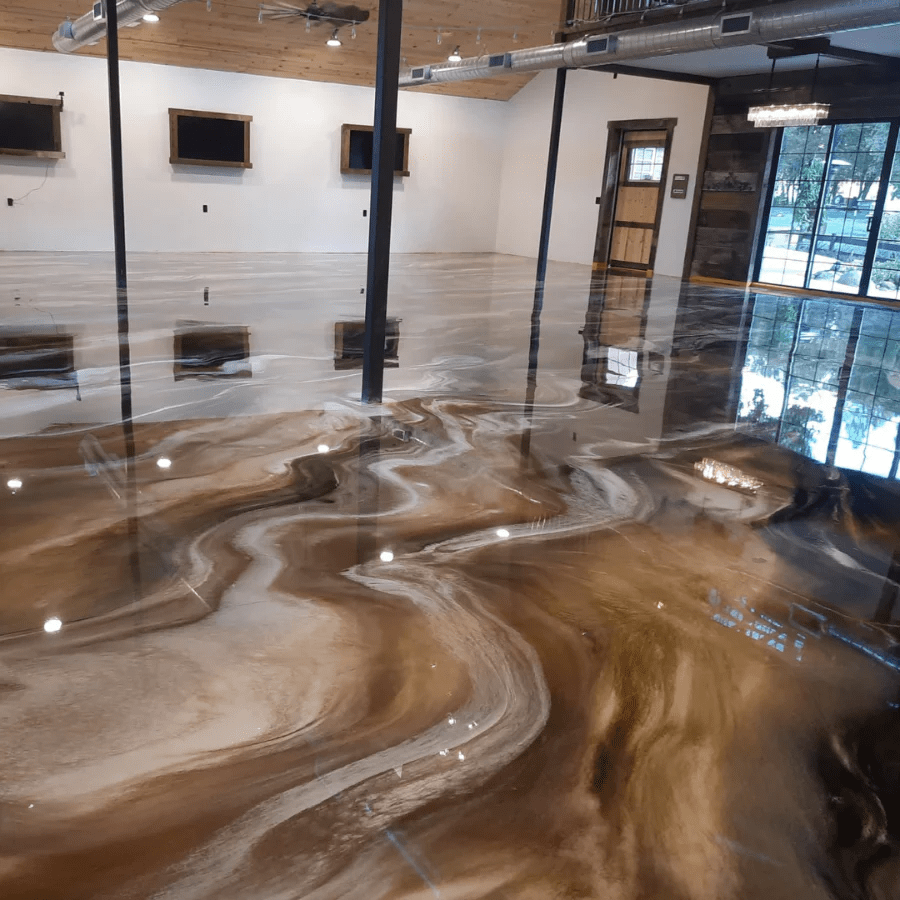
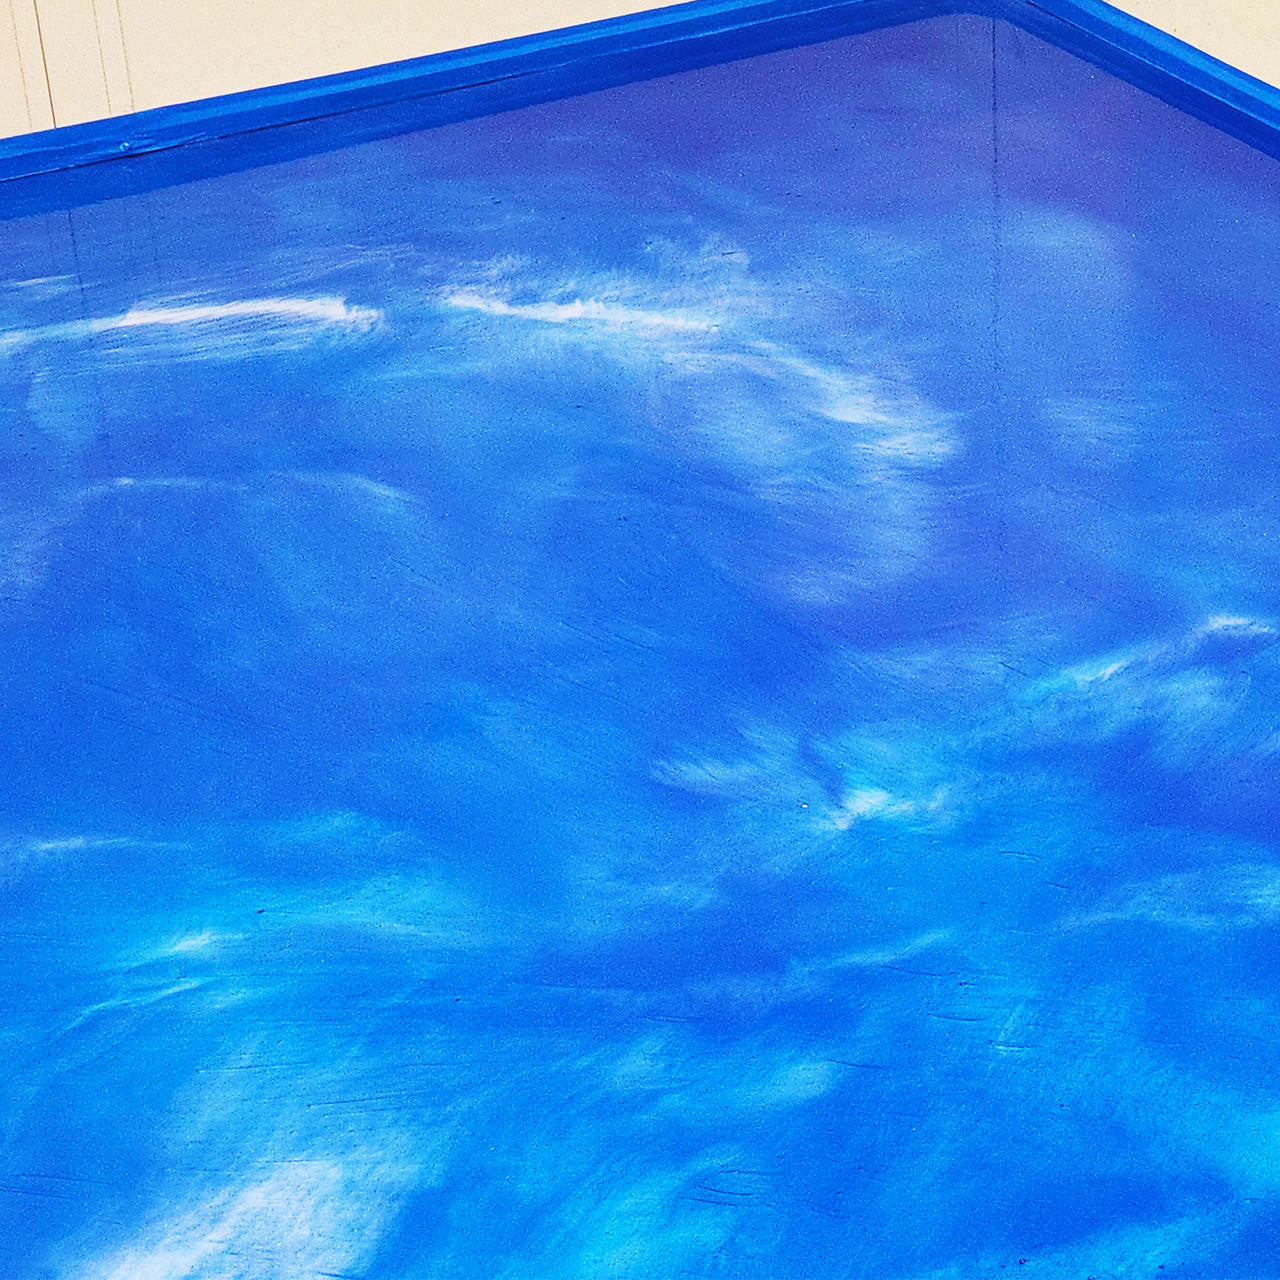
- Flooring epoxy is easy to work with and you can create any look you can imagine. If you want a flake floor, solid colors, a metallic epoxy floor, or something with a bit of sparkle, epoxy can get you there.
- Second, epoxy is tough! It's scratch resistant, UV resistant, heat resistant and impact resistant. These features are a must for the wear and tear of household living (and car parking for the garage!), all while maintaining its incredible look.
- Finally, epoxy floors are cost effective. Natural stone (like marble, granite, and quartz) are very expensive and hard to install. Flooring epoxy is affordable, and any DIYer can tackle an epoxy project over the course of a weekend.
HOW TO APPLY EPOXY FLOOR COATING
Whether you decide on flake or metallic floors, preparation is key for any flooring project. We're going to walk you through the preparation process. Once your floor is prepped, you can follow along with the flake or metallic tutorials below.
Important: Surface Prep & Cleaning Notice
For best results, DO NOT use acetone to clean or prep your surface.
We recommend using 91% isopropyl alcohol for:
- Surface preparation before pouring
- Cleaning between poured layers
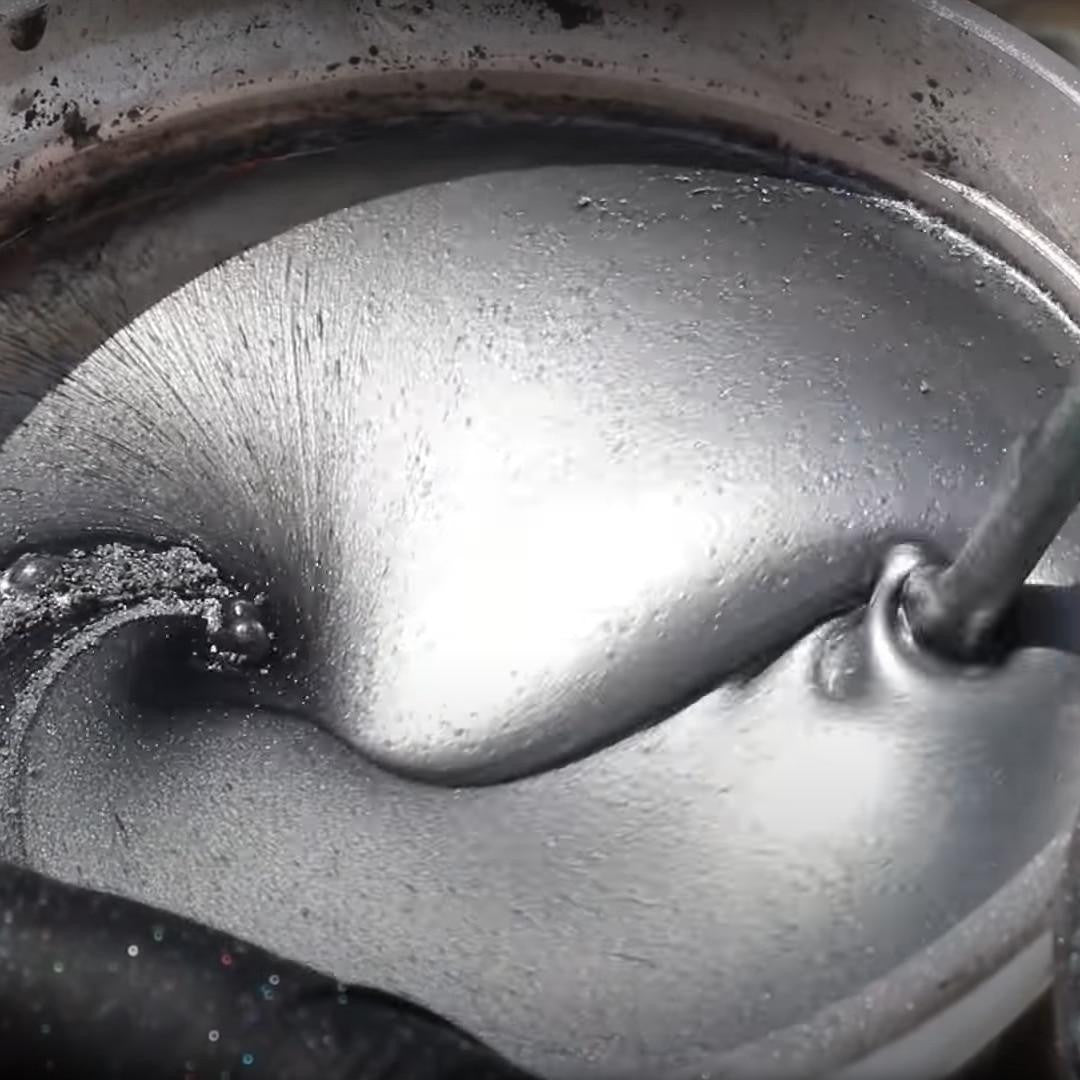
- Creating cell textures and effects
Using acetone may interfere with adhesion and final finish quality. Stick with 91% isopropyl alcohol for a clean, professional result.
Step-by-step Epoxy Floor Preparation Guide (for concrete)
supplies needed for epoxy floor PREP

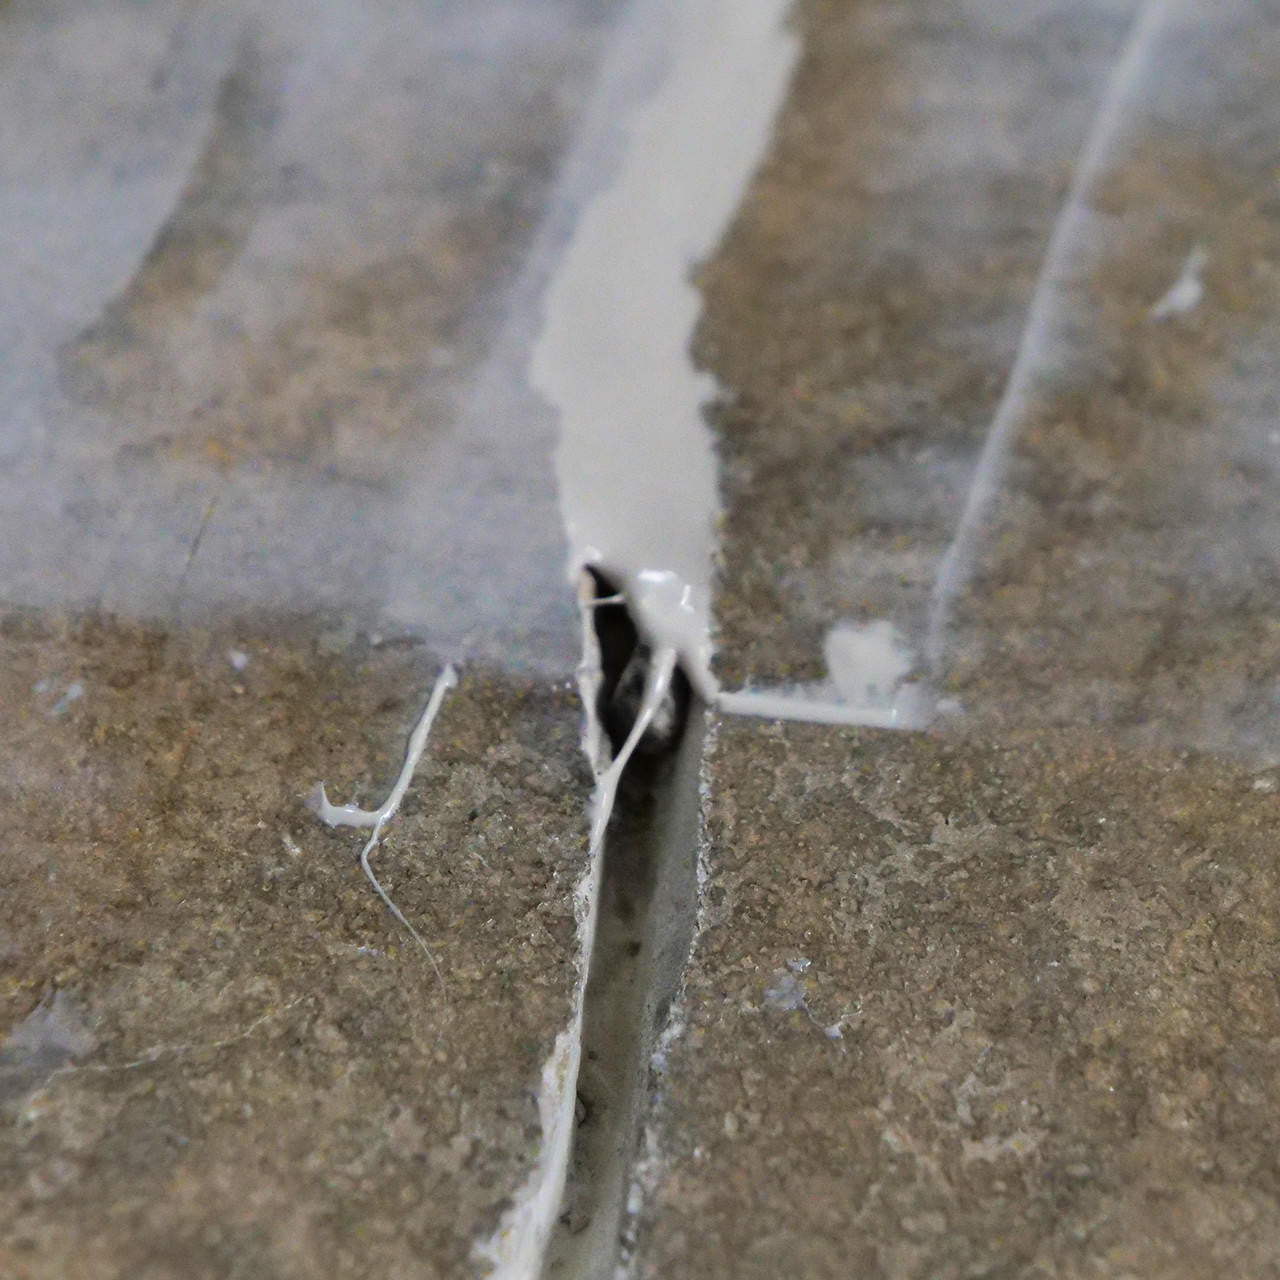
STEP 1: Prep & Patch Floor (Concrete)
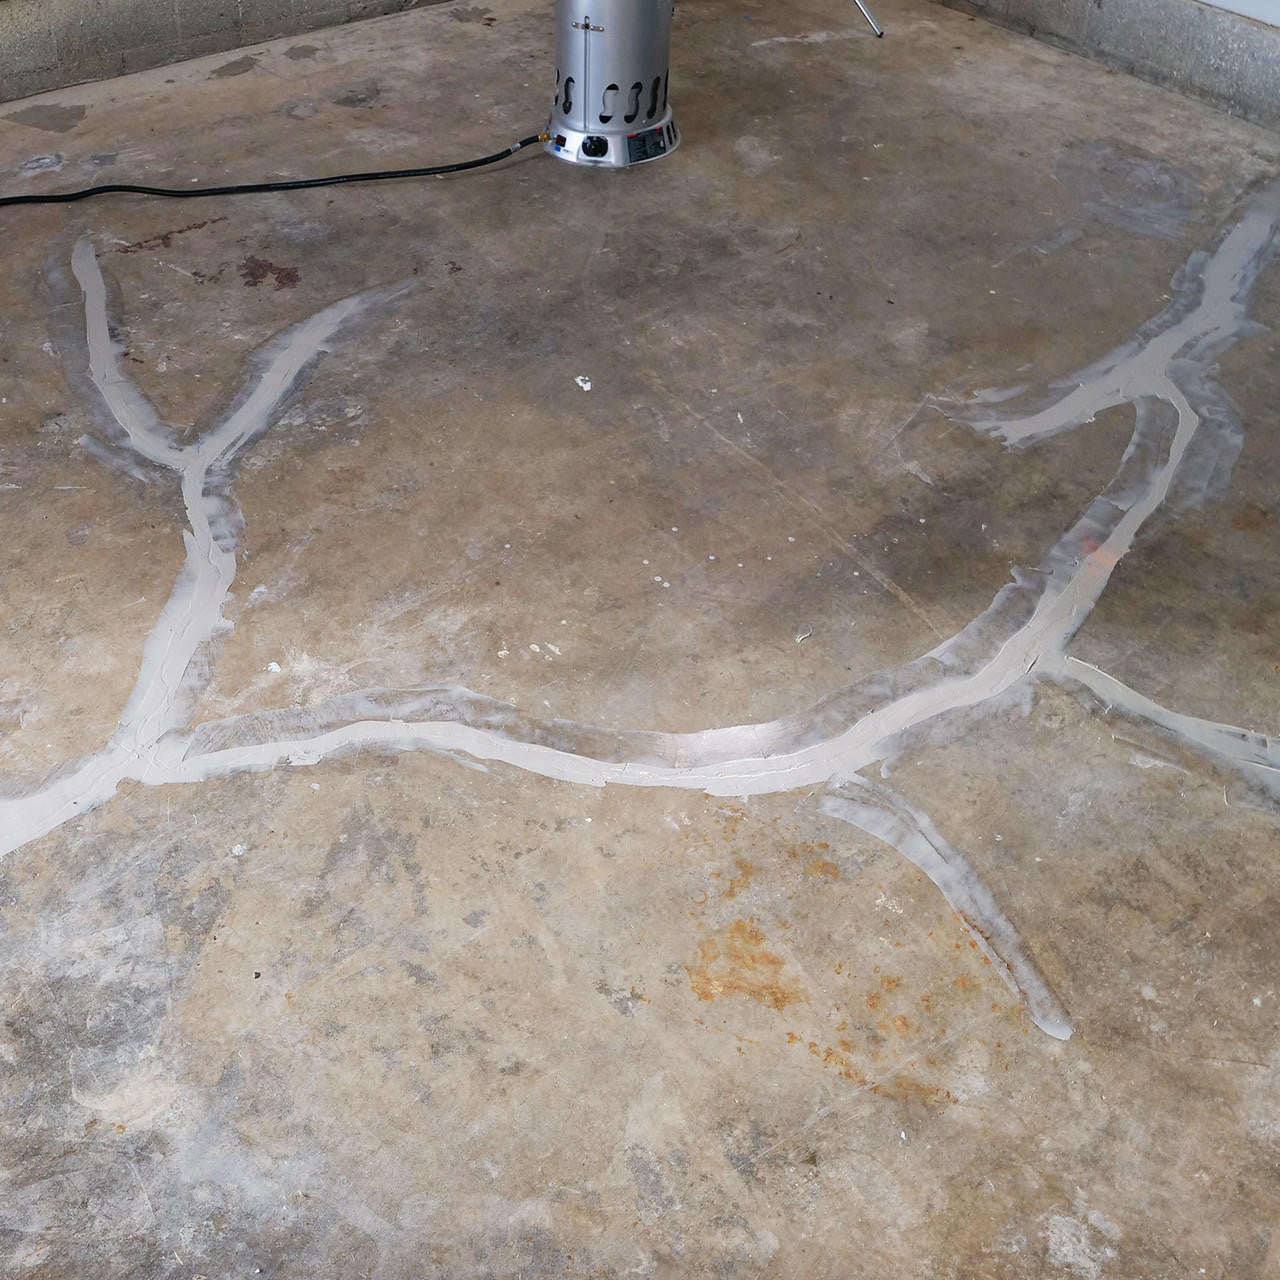
Use a grinder and diamond blade to make any cracks in the concrete floor wider. Don't press too hard - just enough to fit some material into the crack. If you can't fit a playing card into the crack, it doesn't need to be widened because it won't show. Sweep or vacuum any dust before the next step. If your floor is extremely dirty or stained, clean clean it with a heavy-duty outdoor cleaner. Ensure the slab is completely dry before moving to the next step.
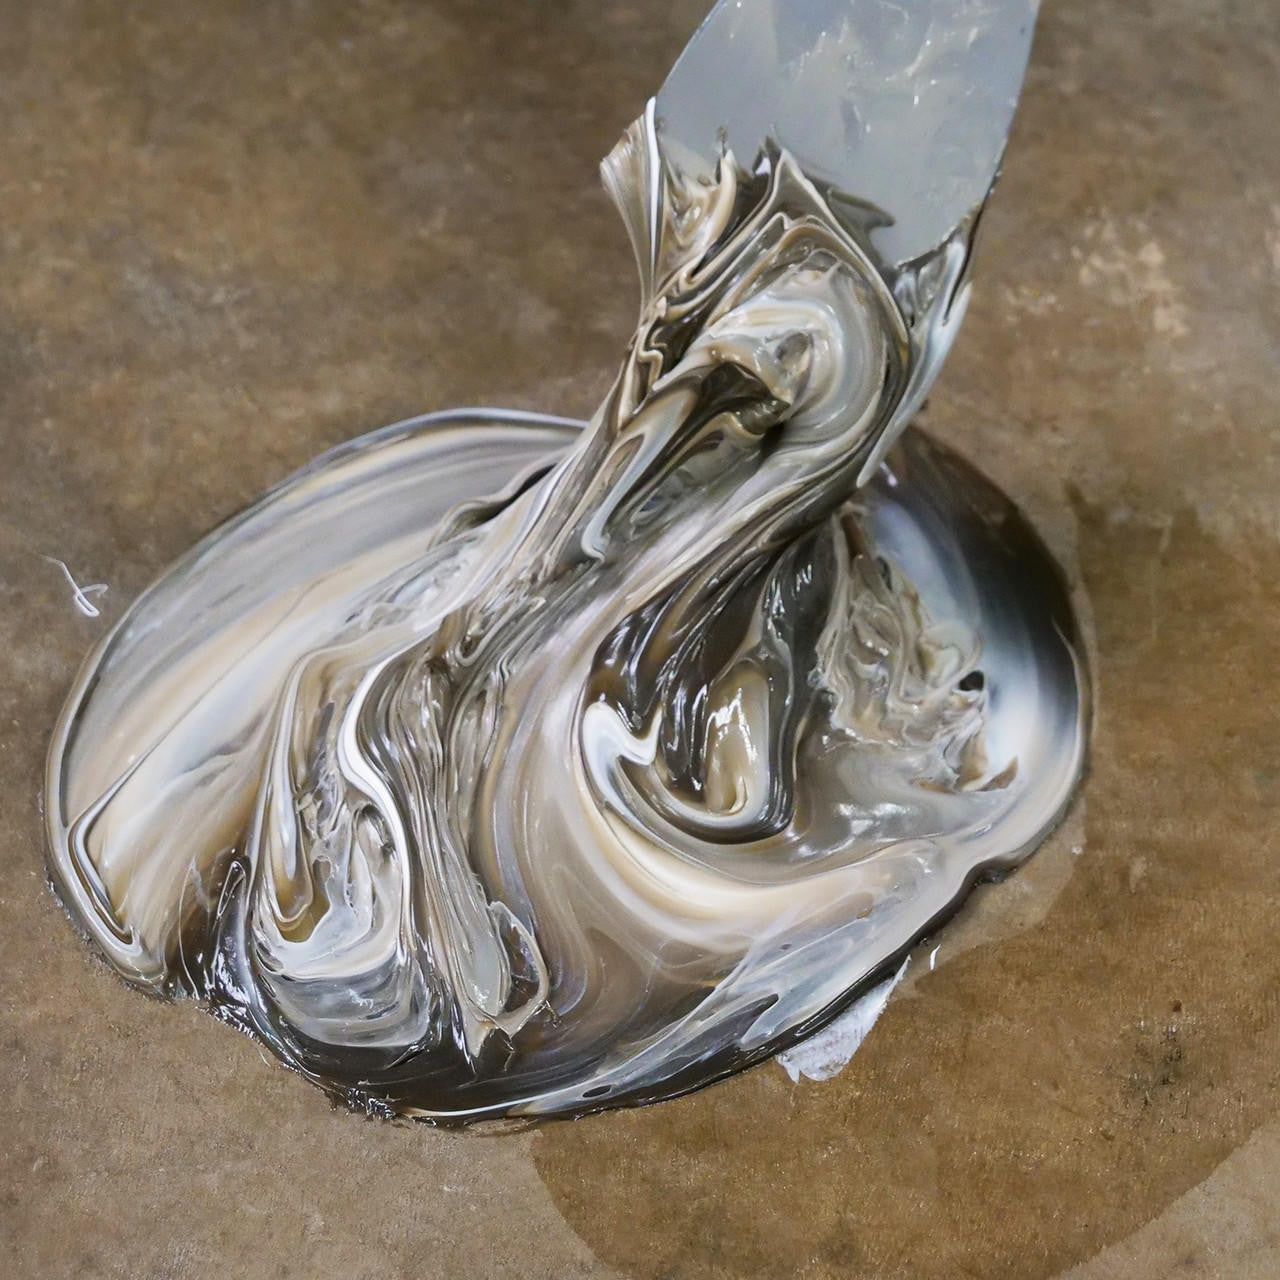
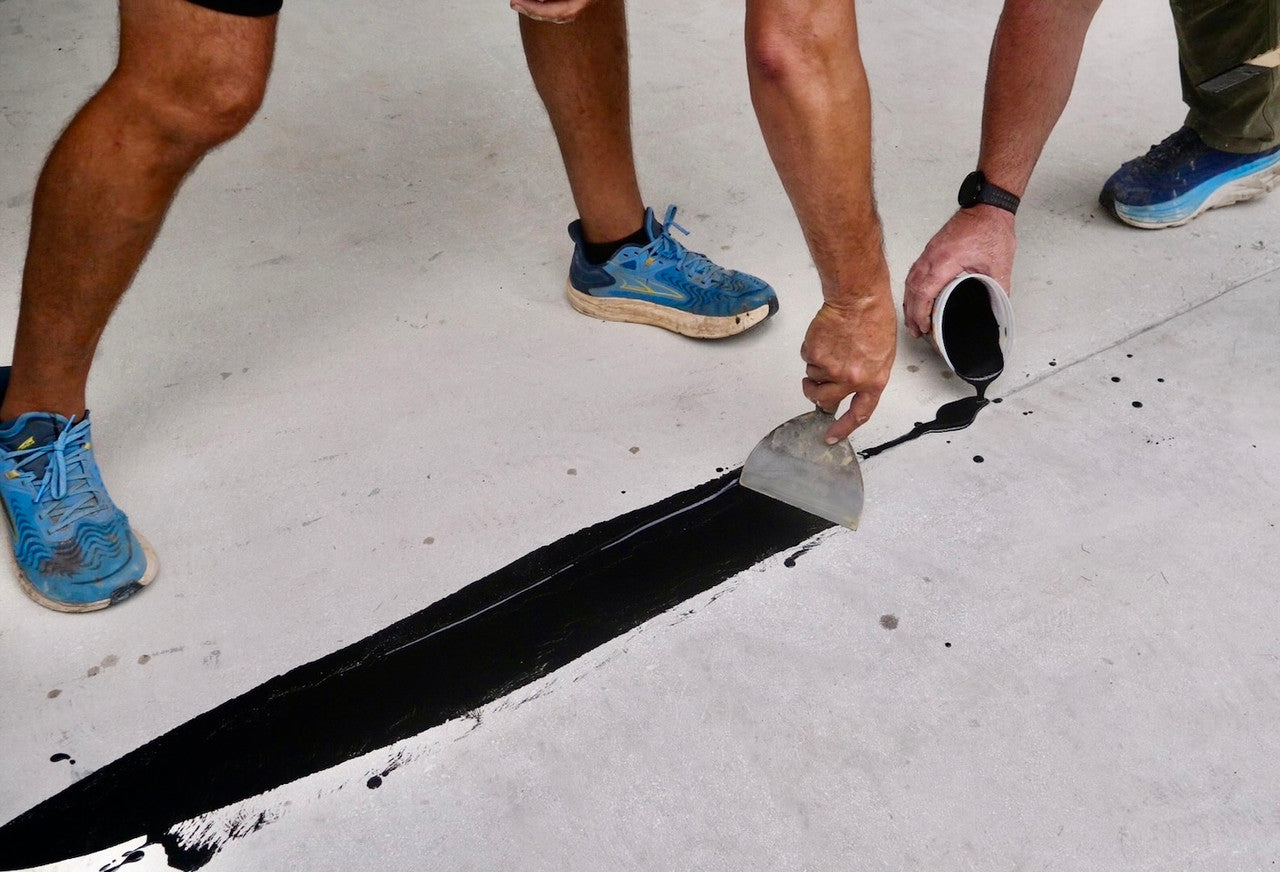
Mix equal amounts of Part A and Part B of Floor Patch Epoxy Gel. Mix well until they become one uniform color. Use a stiff putty knife to fill the cracks with just a little more than it needs. The Floor Patch Epoxy Gel will be cured and ready for the next step in 4-8 hours.
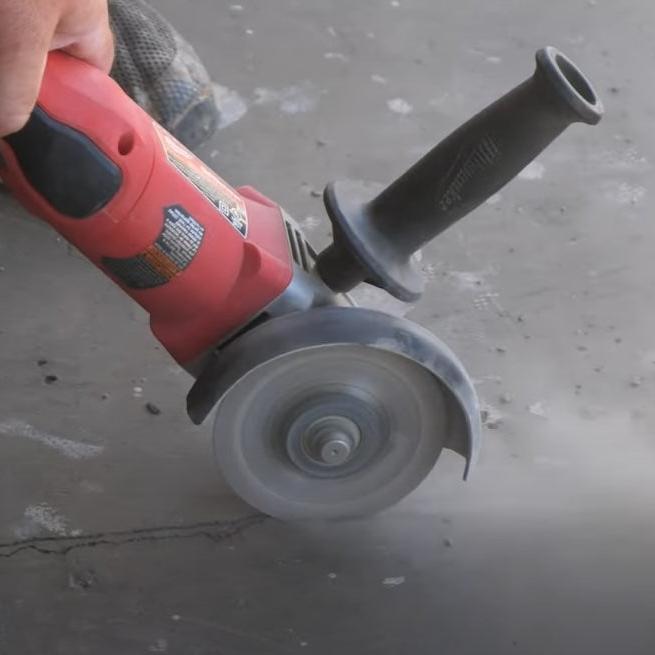
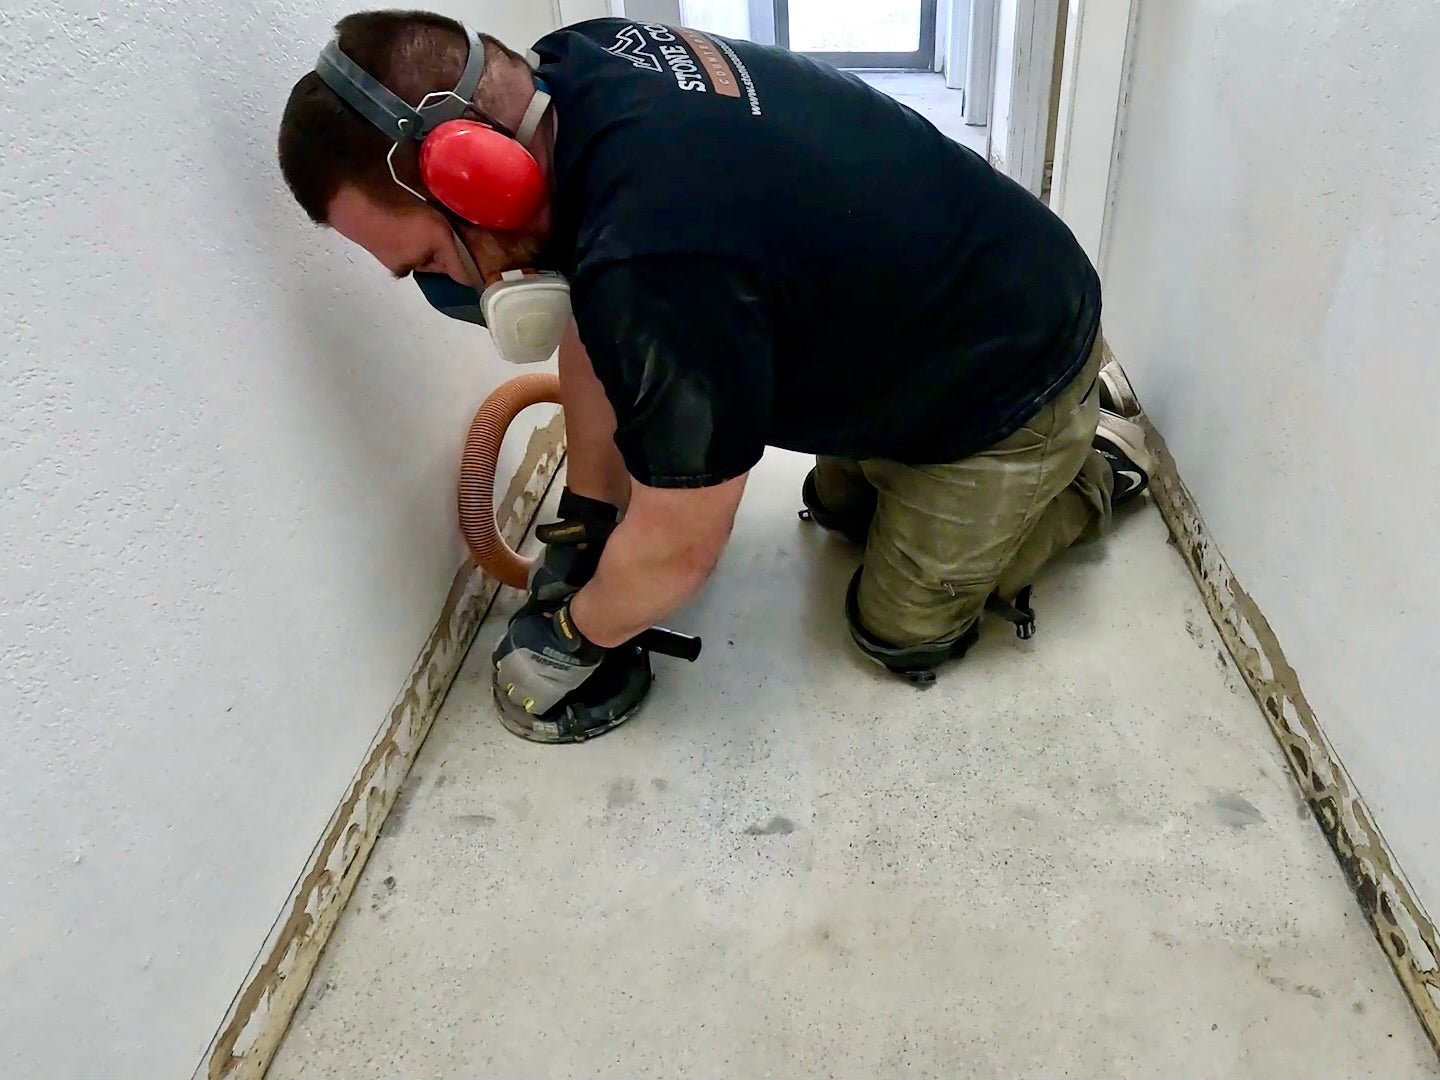
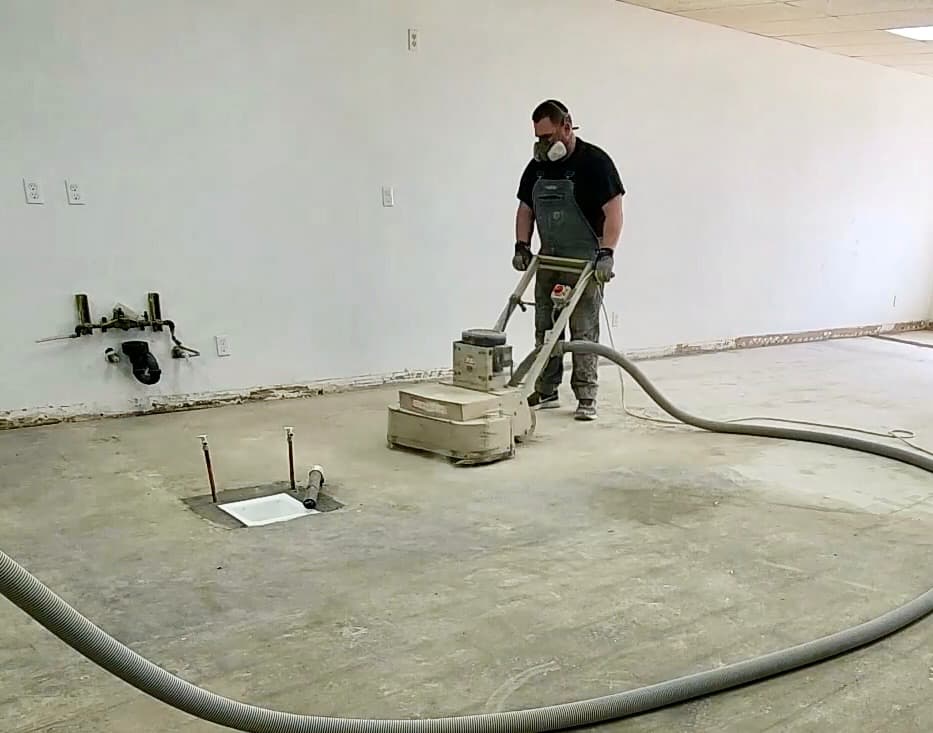
Step 2: GRIND
Use a concrete grinder to scratch the concrete slab. Use a hand grinder with a 7" diamond cup wheel for the edges, and a walk-behind floor grinder for the remainder. Connect these tools to a shop vac so there is less dust in the air while grinding. Clean up any remaining dust with either a vacuum, blower, or broom. Make sure you vacuum under the sheetrock and any small spaces. This will help ensure that the moisture seal epoxy primer applies smoothly.
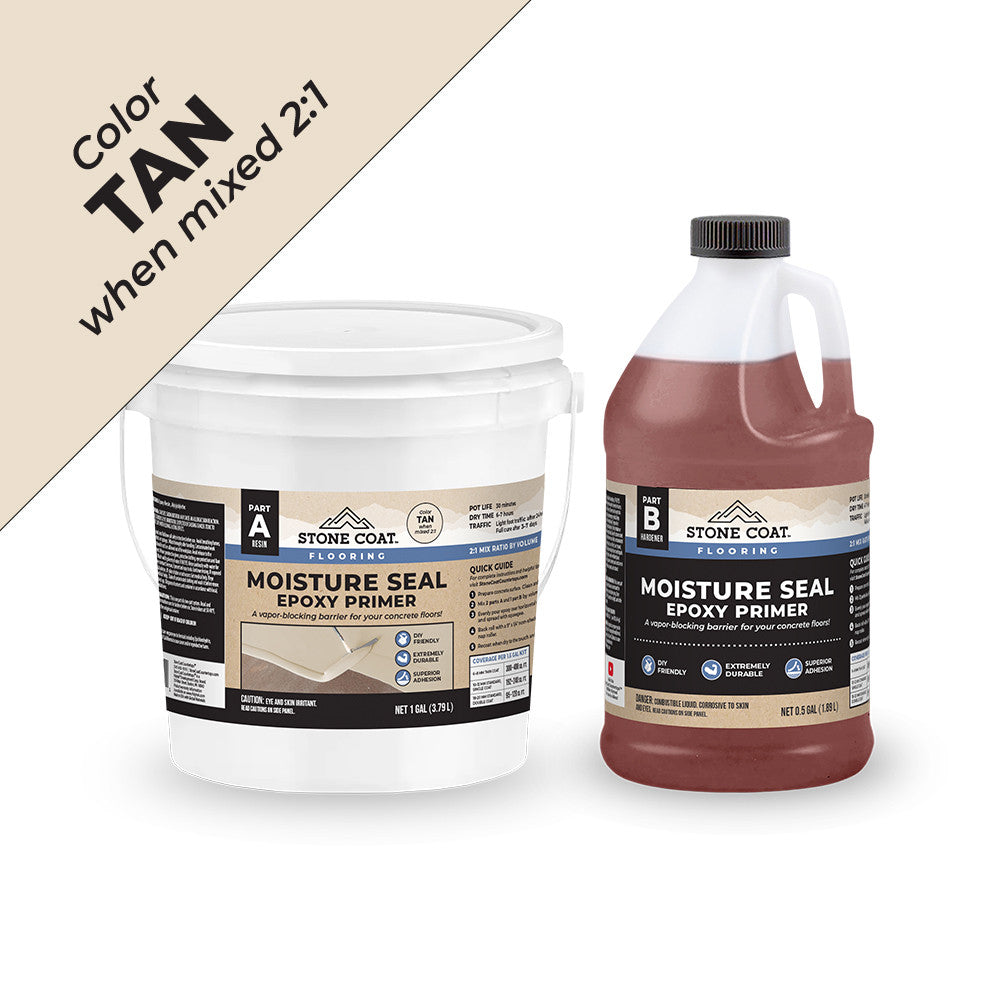
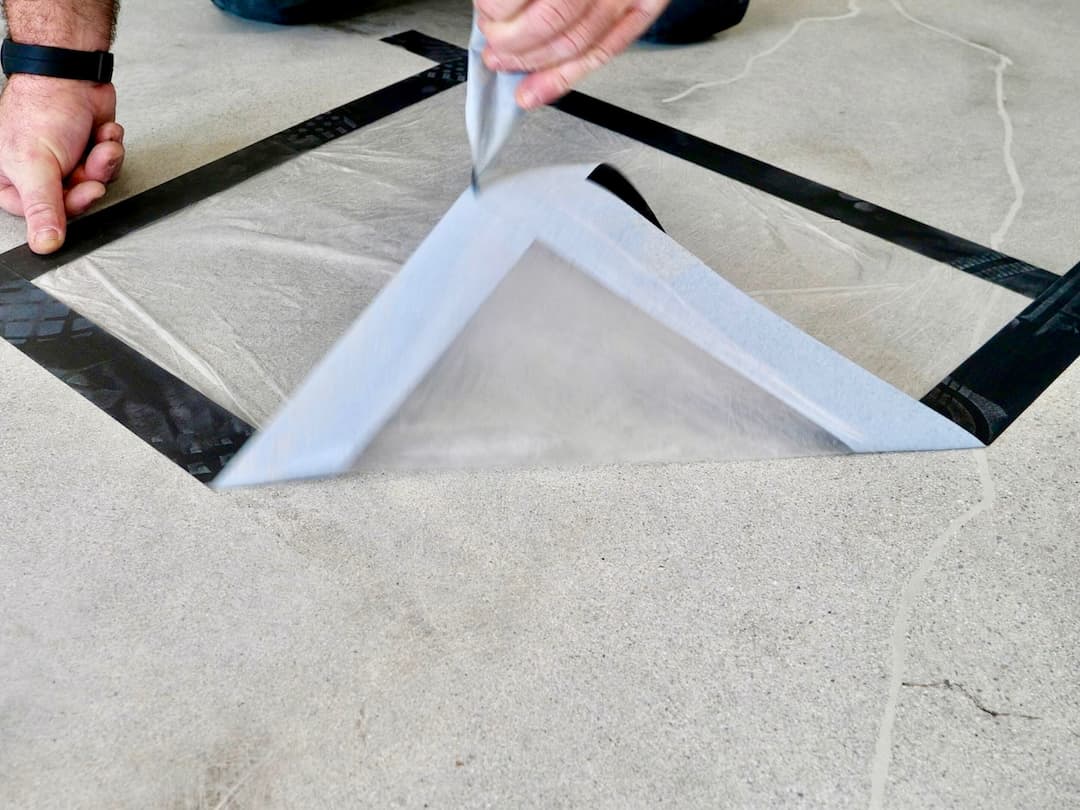
Step 3: Apply Moisture Seal Primer
Before applying primer, do a moisture test on concrete floors. Tape down a piece of plastic and check back in 24 hours. If the plastic is dry and the concrete hasn't changed colors, you're ready for the next step. If moisture is present, allow the concrete to fully dry before applying our Moisture Seal Epoxy Primer.
Measure 1-2 ounces Moisture Seal Epoxy Primer per square foot of floor to cover. Thoroughly mix part A by itself before mixing in part B at a 2:1 ratio by volume. Moisture Seal Epoxy Primer has become the industry standard when applying epoxy over concrete, creating a tenacious bond to the slab. Mix the material for 2-4 minutes with a paint stick or drill and paddle mixer. Take time to scrape the sides and bottom mid-way through mixing.
Put the Moisture Seal Epoxy Primer into a roller pan for use on the concrete block perimeter of your garage. Use a 1/4'' microfiber roller to spread it evenly and use a small paint brush for hard-to-reach spots. The concrete blocks will soak up the primer, so you should roll on one more thin coat before adding flake.
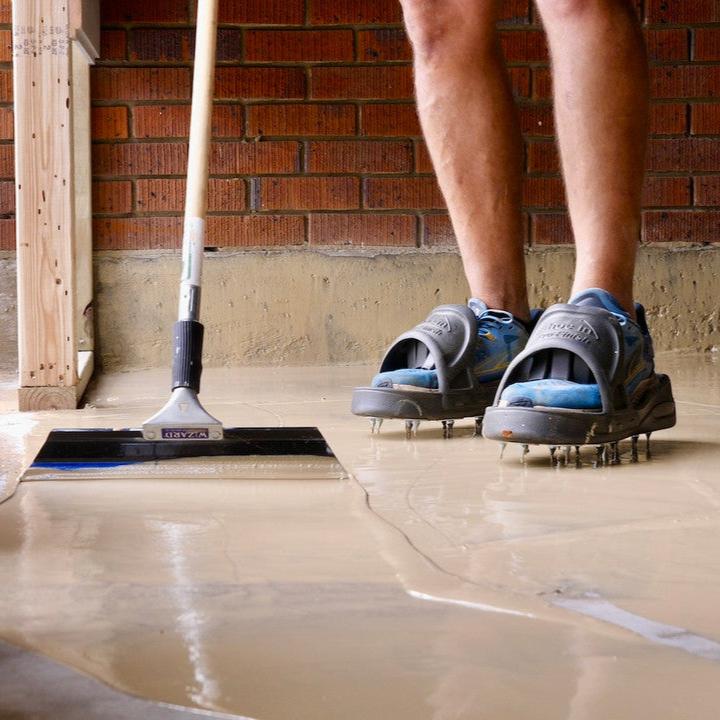
Spread the mixed moisture seal across the floor in thin lines. The goal is to have a thin and even coat of epoxy primer. Don't let it get too thick in any spots. Use the magic trowel squeegee to spread it out, then use a 1/4'' microfiber roller to roll over it twice, front to back and then side to side. This will give you the best results.
EPOXY FLOORING
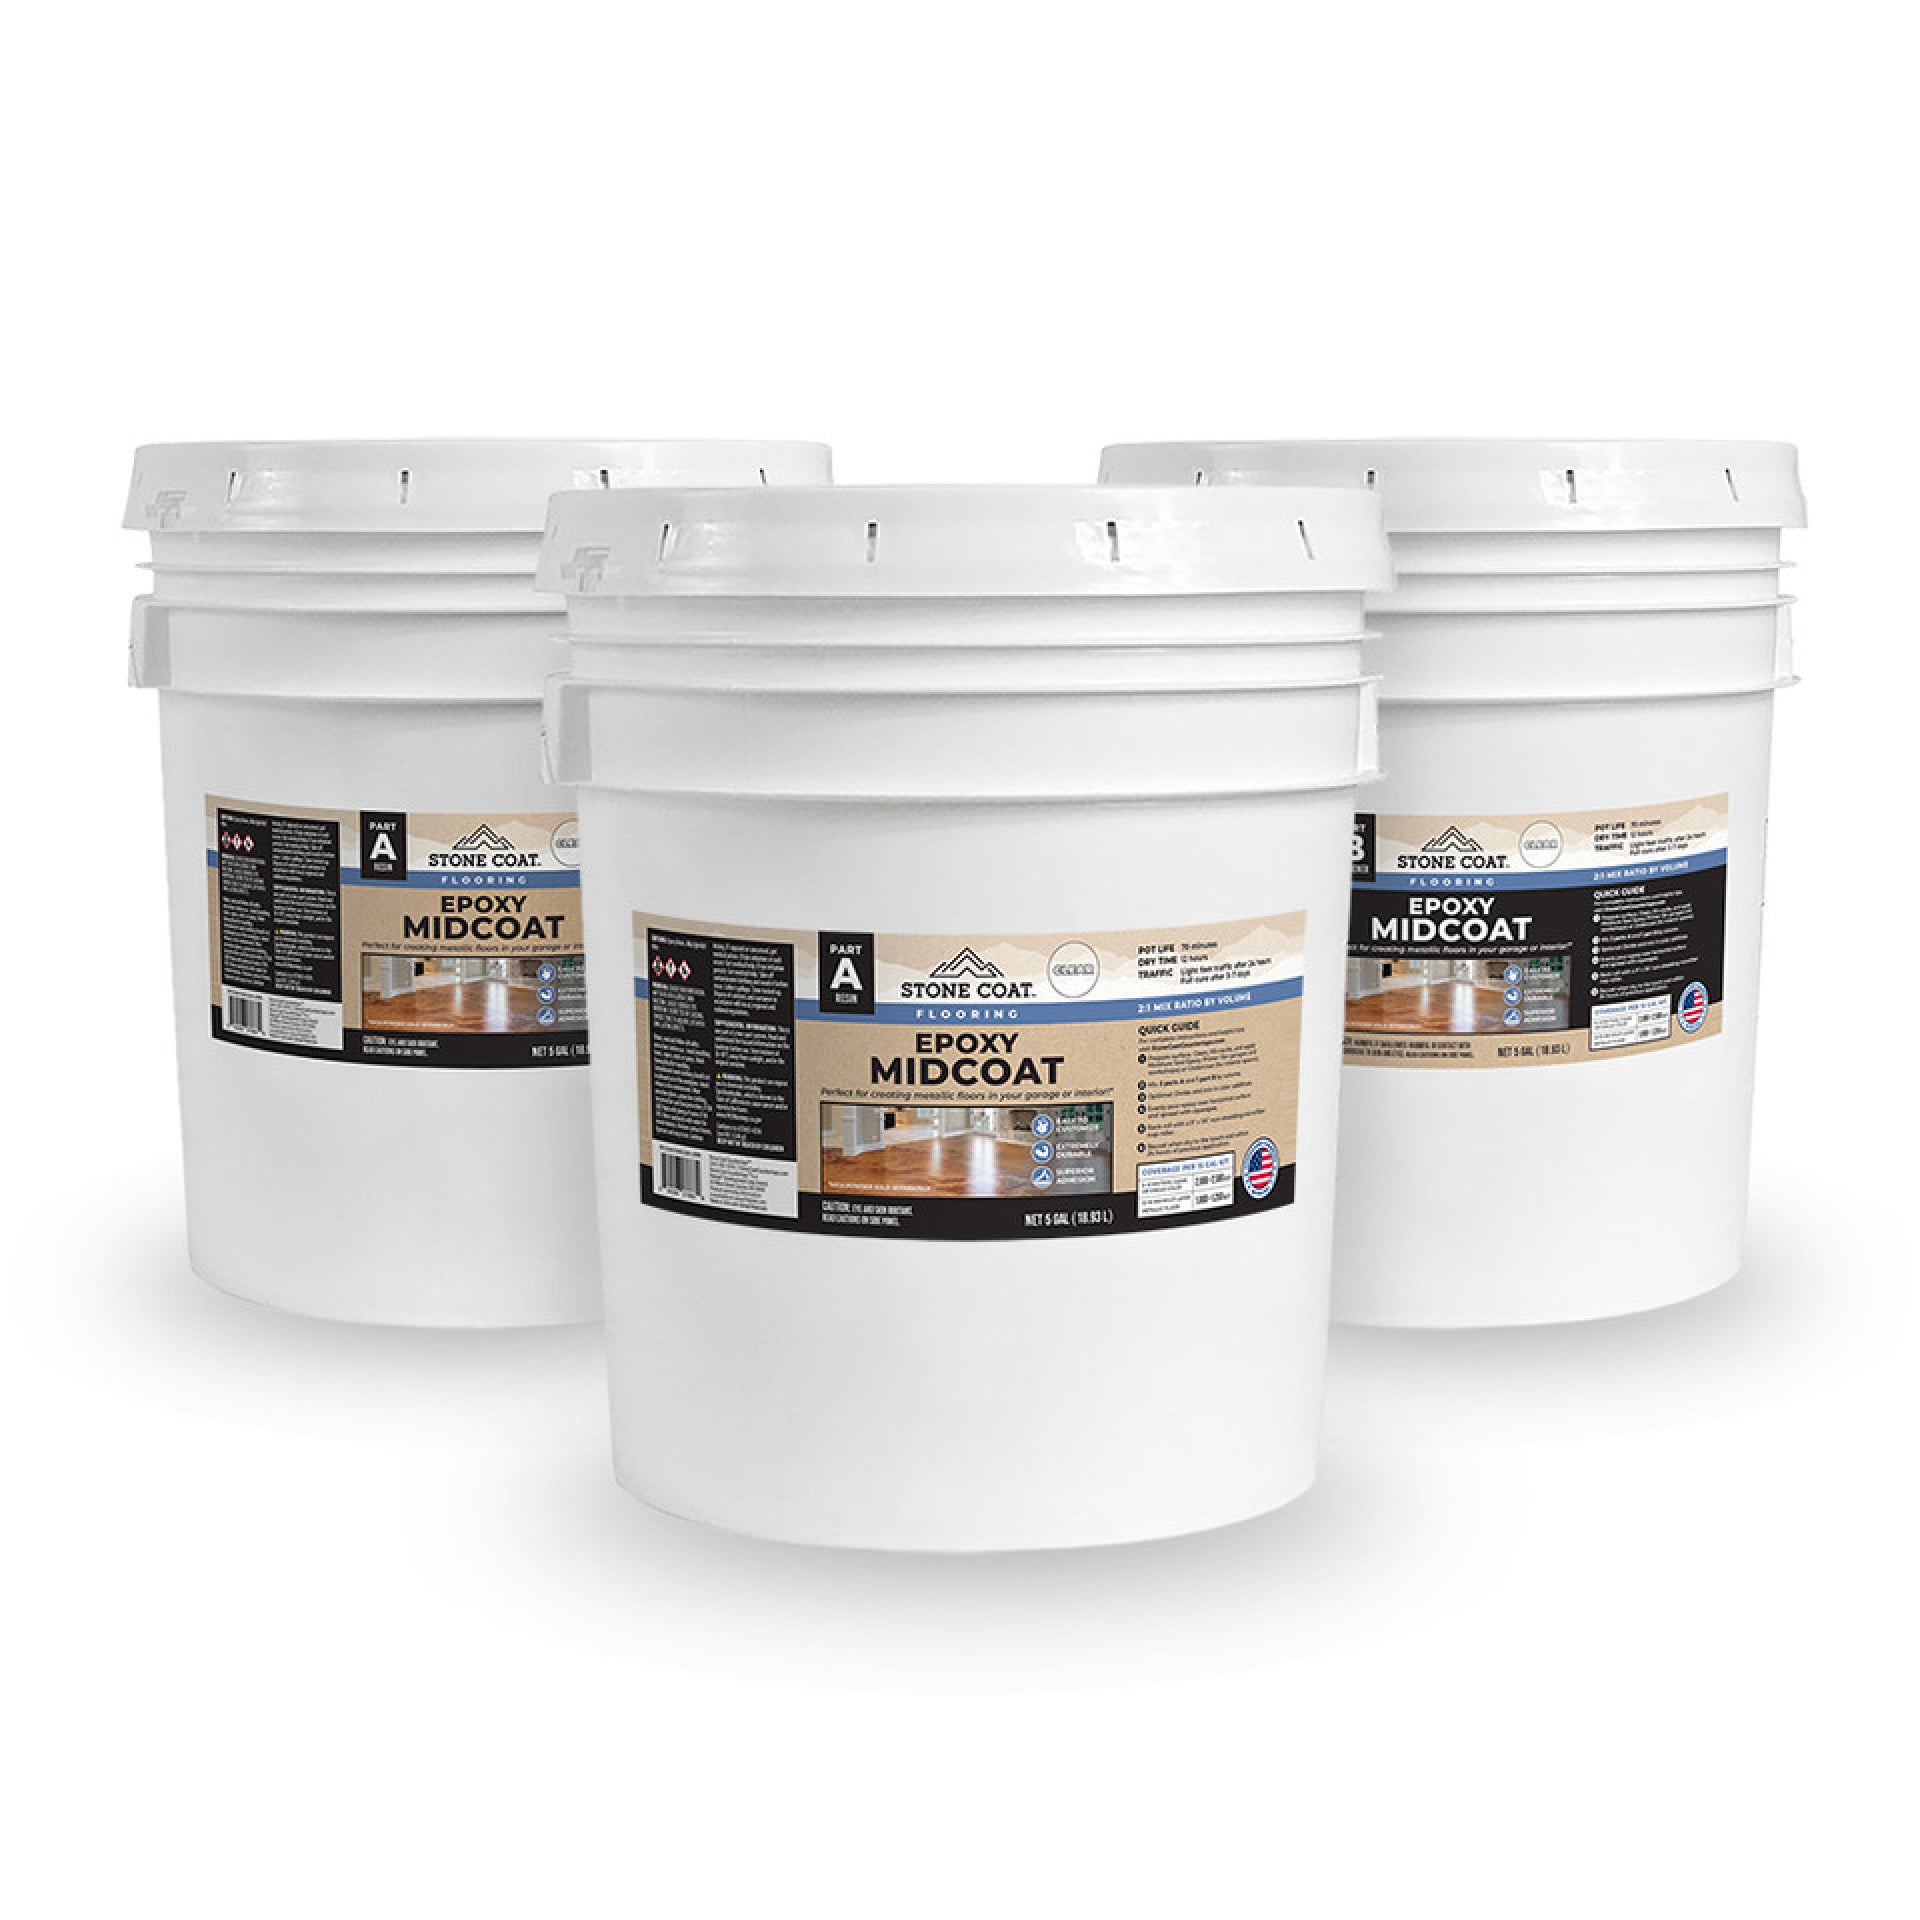
Stone Coat's flooring products make it easy to get professional-grade, long-lasting results at a fraction of the cost. The DIY-friendly Stone Coat Flooring Epoxy Midcoat has a 2:1 ratio and offers 45+ minutes of working time, perfect for creating metallic marble floors. Use Floor Patch Epoxy Gel to fill cracks for a smooth finish. Moisture Seal Epoxy Primer protects and restores concrete floors, while Polyaspartic Flooring Topcoat delivers a durable, professional look.
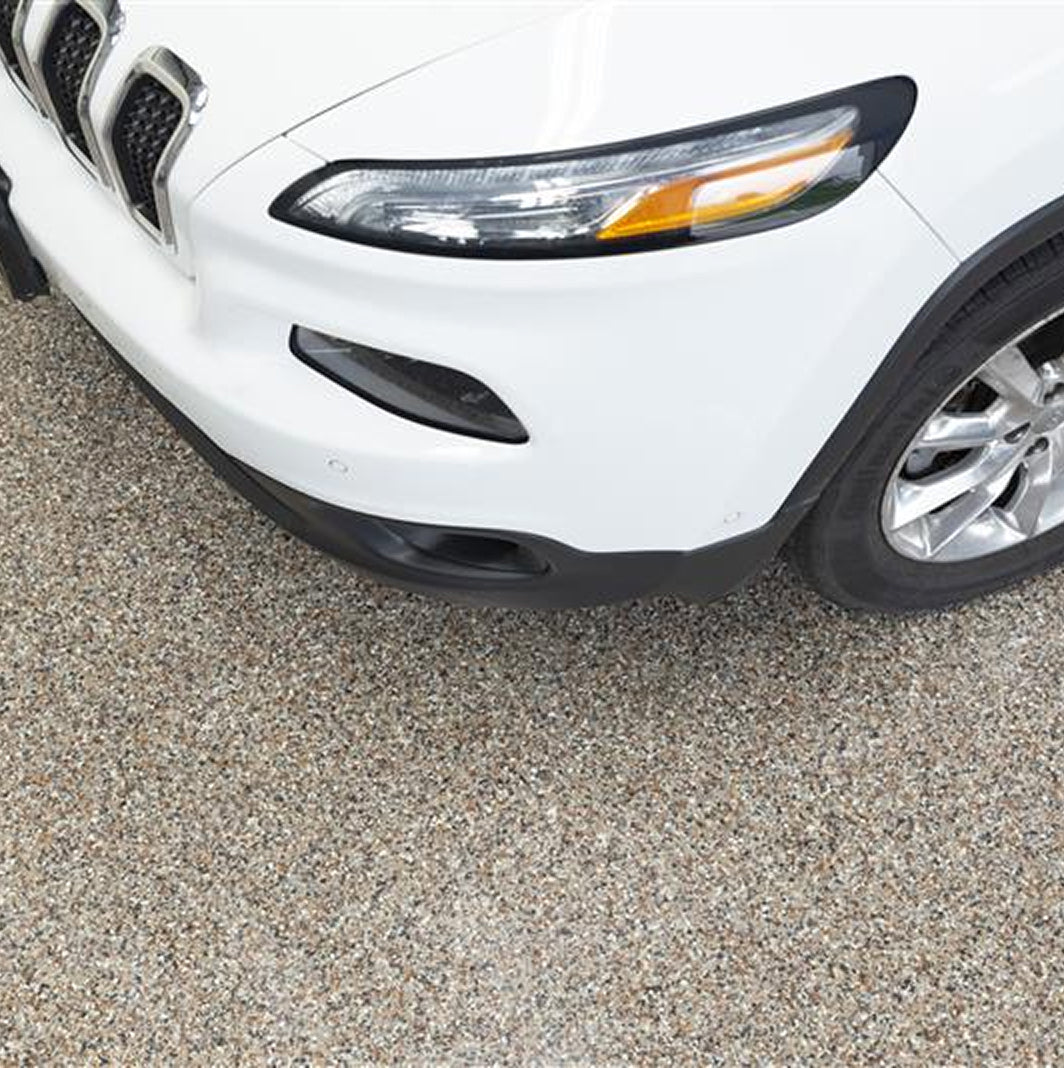
Polymer Flake
Custom Metallic Marble Epoxy Floor Kit
Flooring Epoxy Midcoat - 15 Gallon Project Kit
Epoxy Thickener
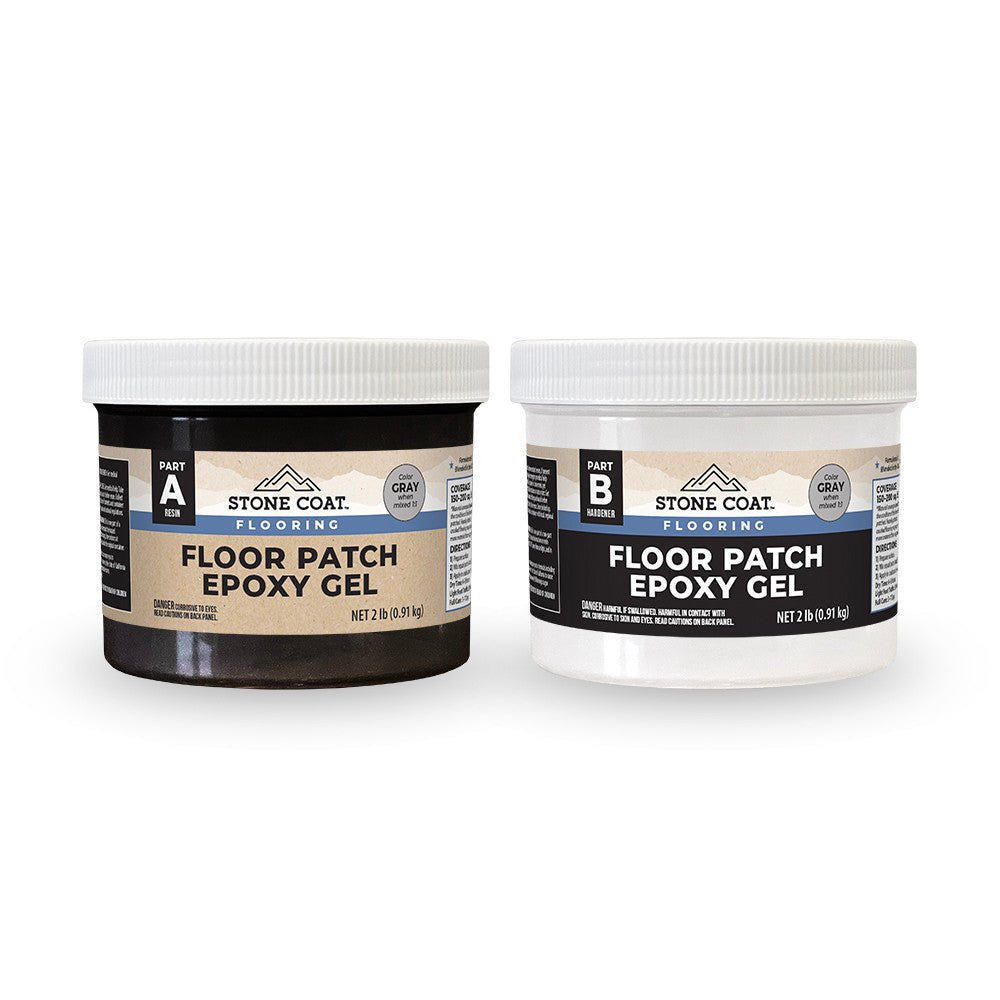
Floor Patch Epoxy Gel Kit
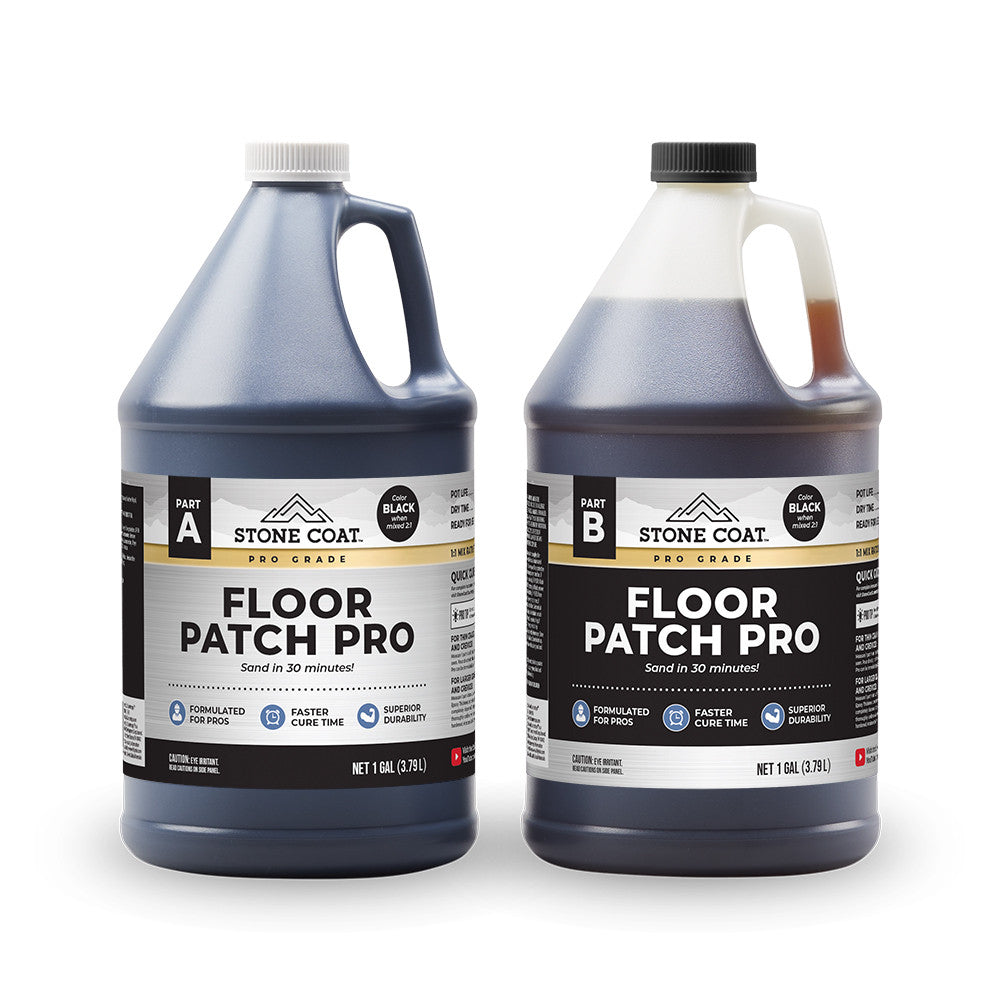
Floor Patch PRO
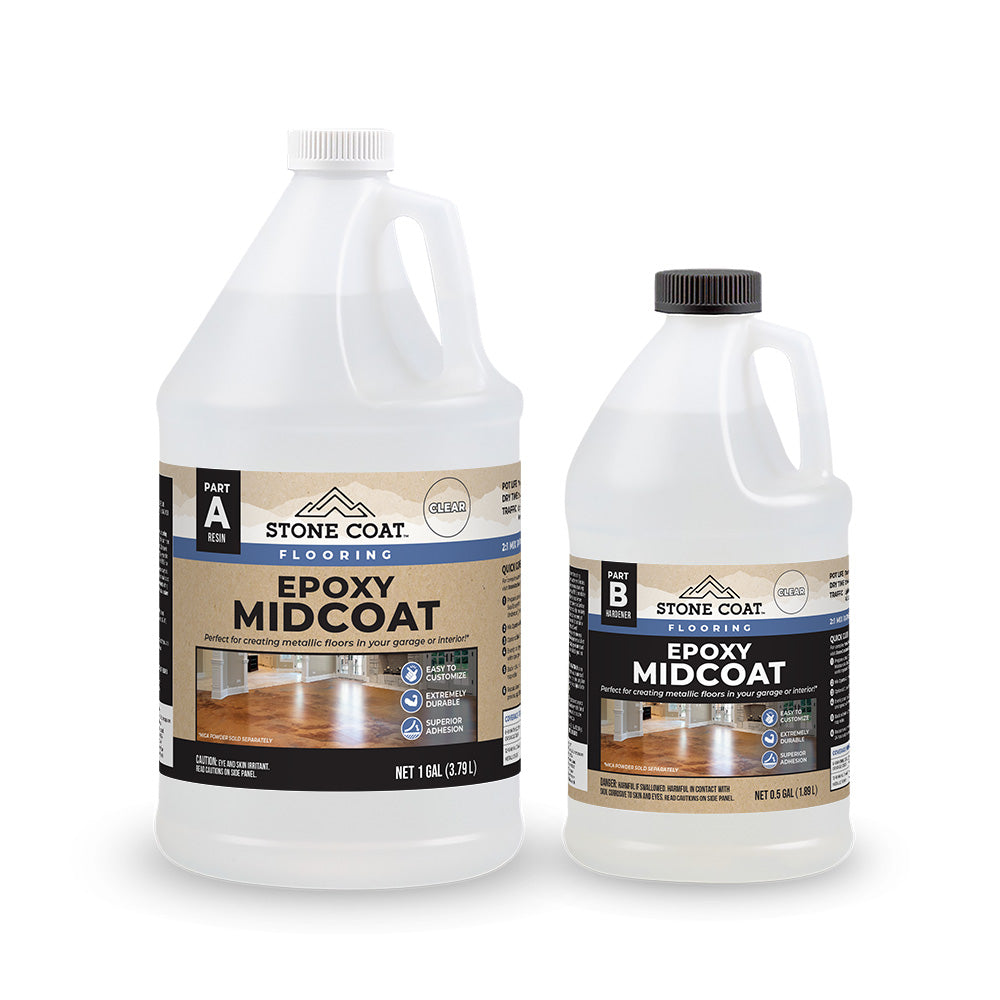
Flooring Epoxy Midcoat

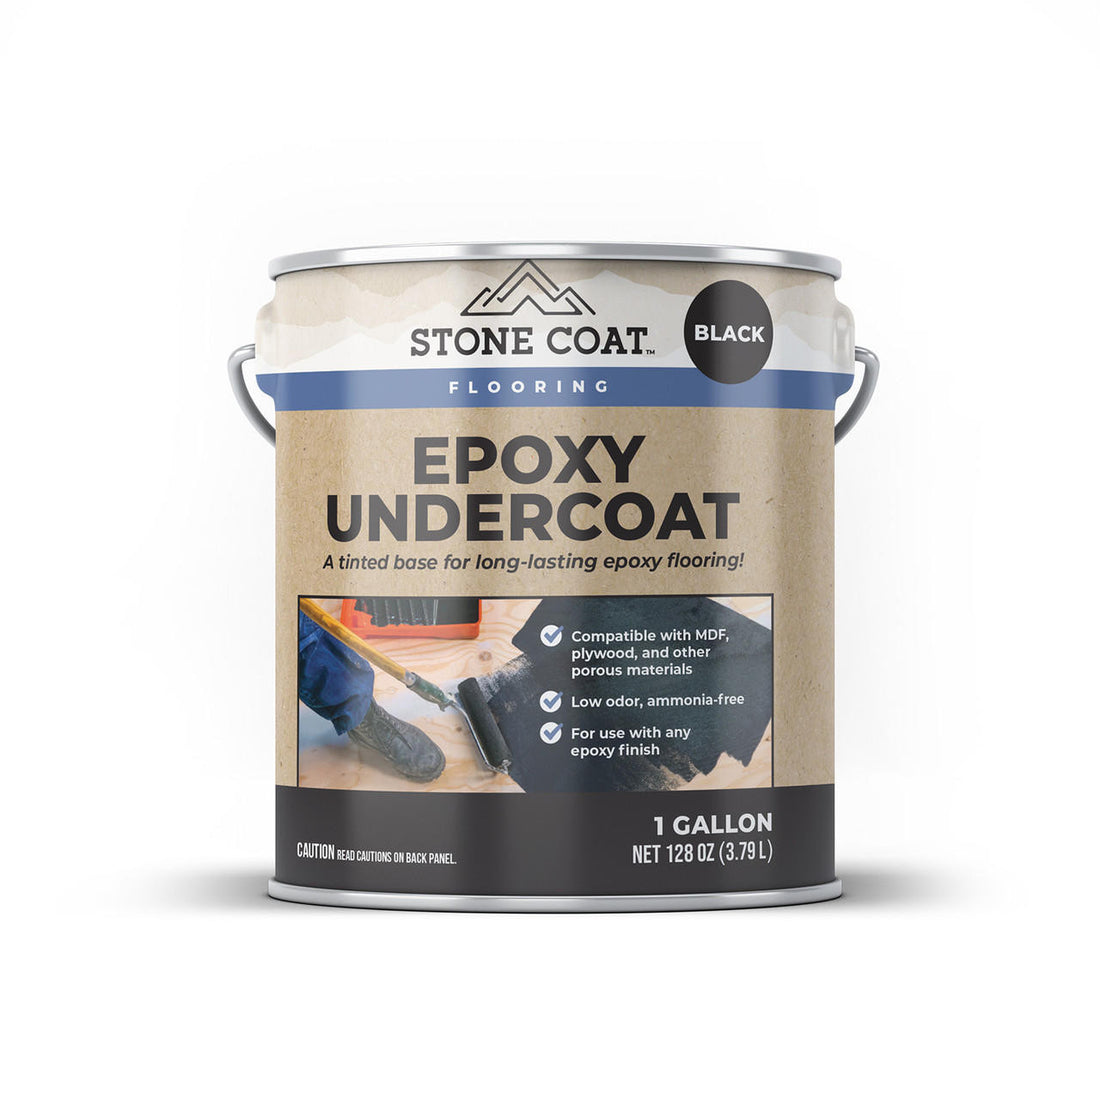
Flooring Epoxy Undercoat
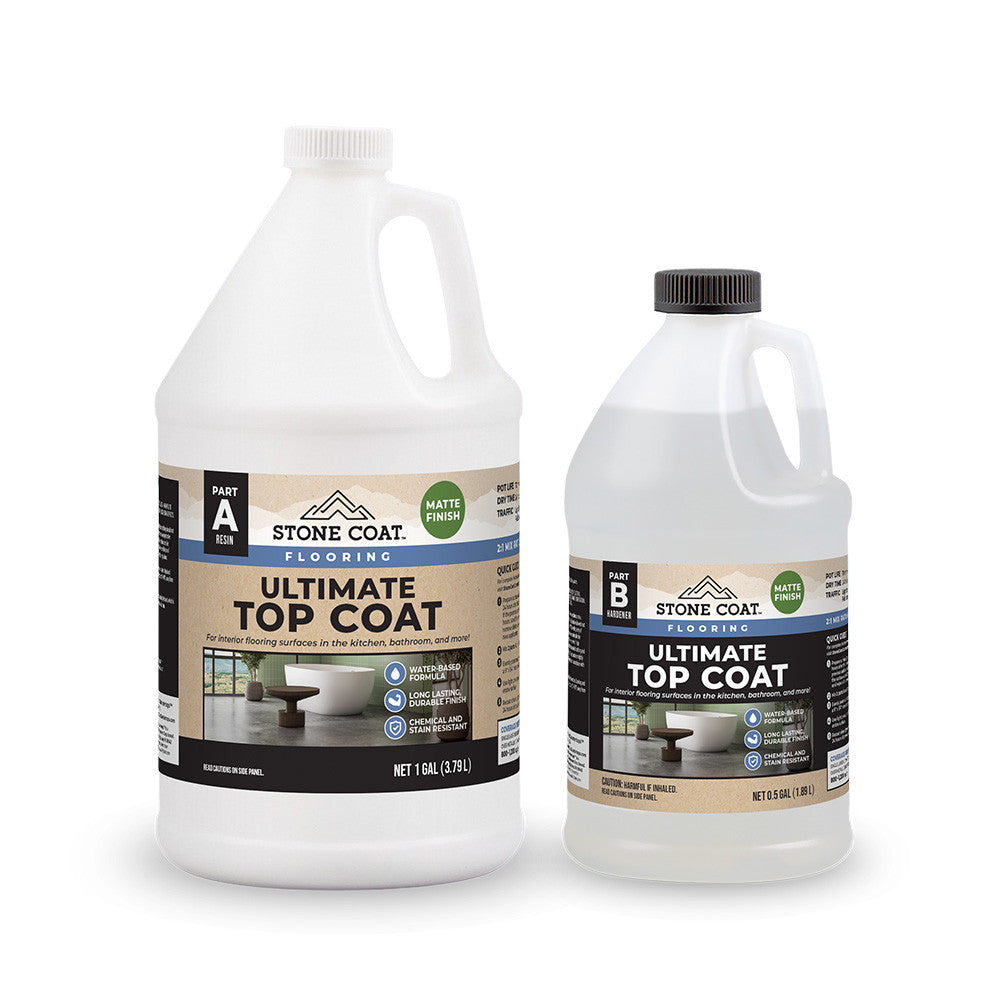

Flooring Ultimate Top Coat
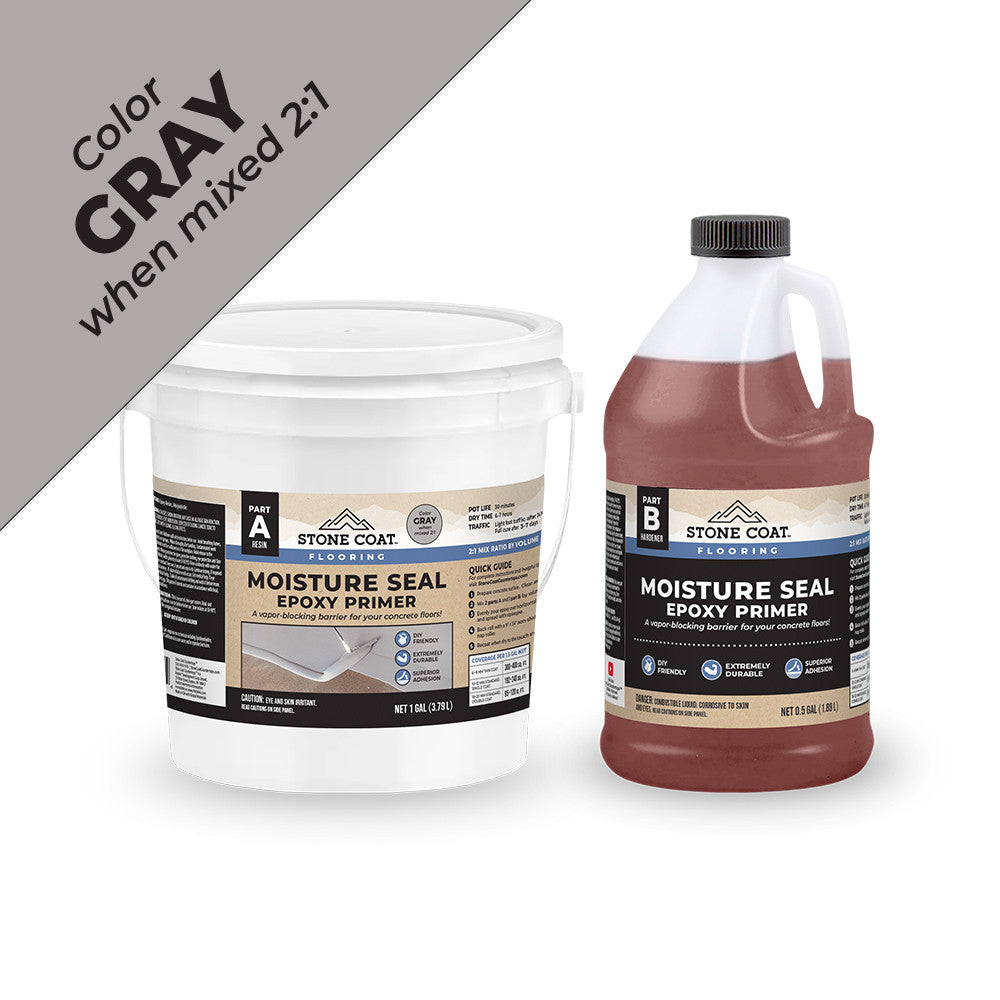
Moisture Seal Epoxy Primer
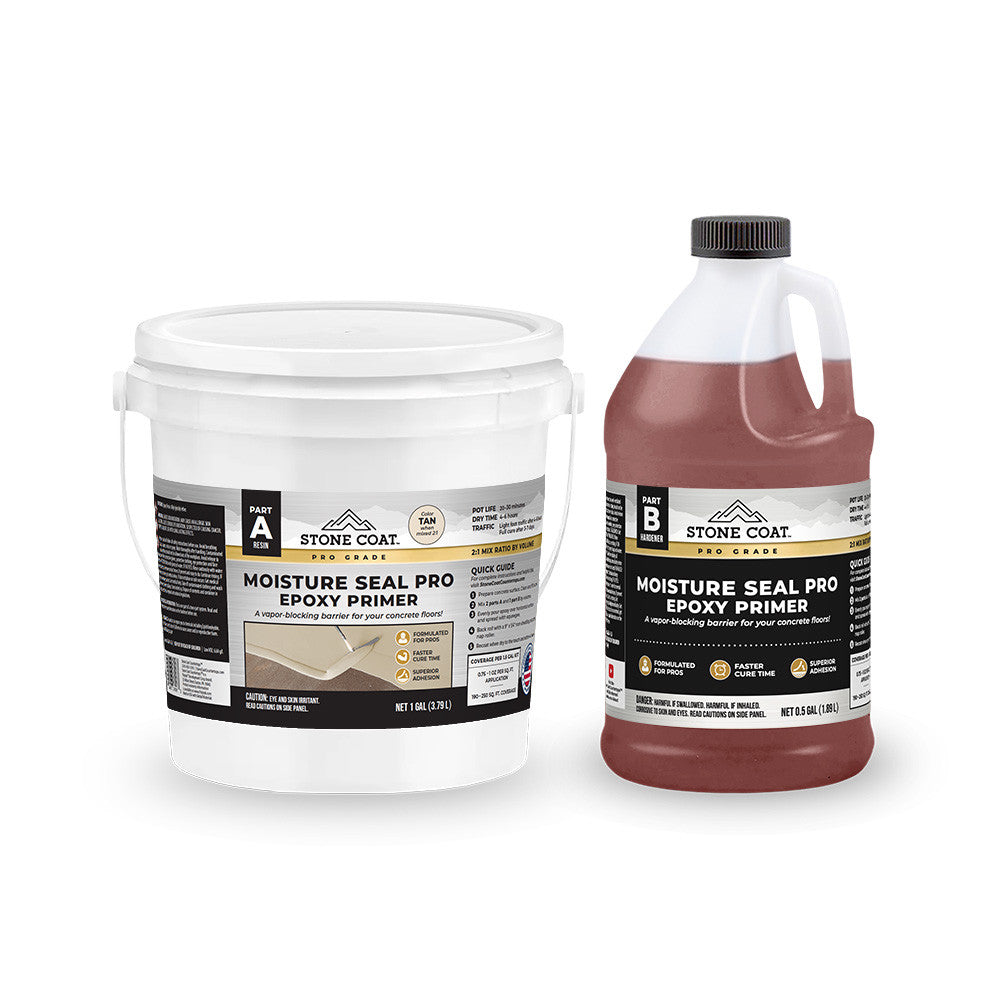
Moisture Seal PRO Epoxy Primer
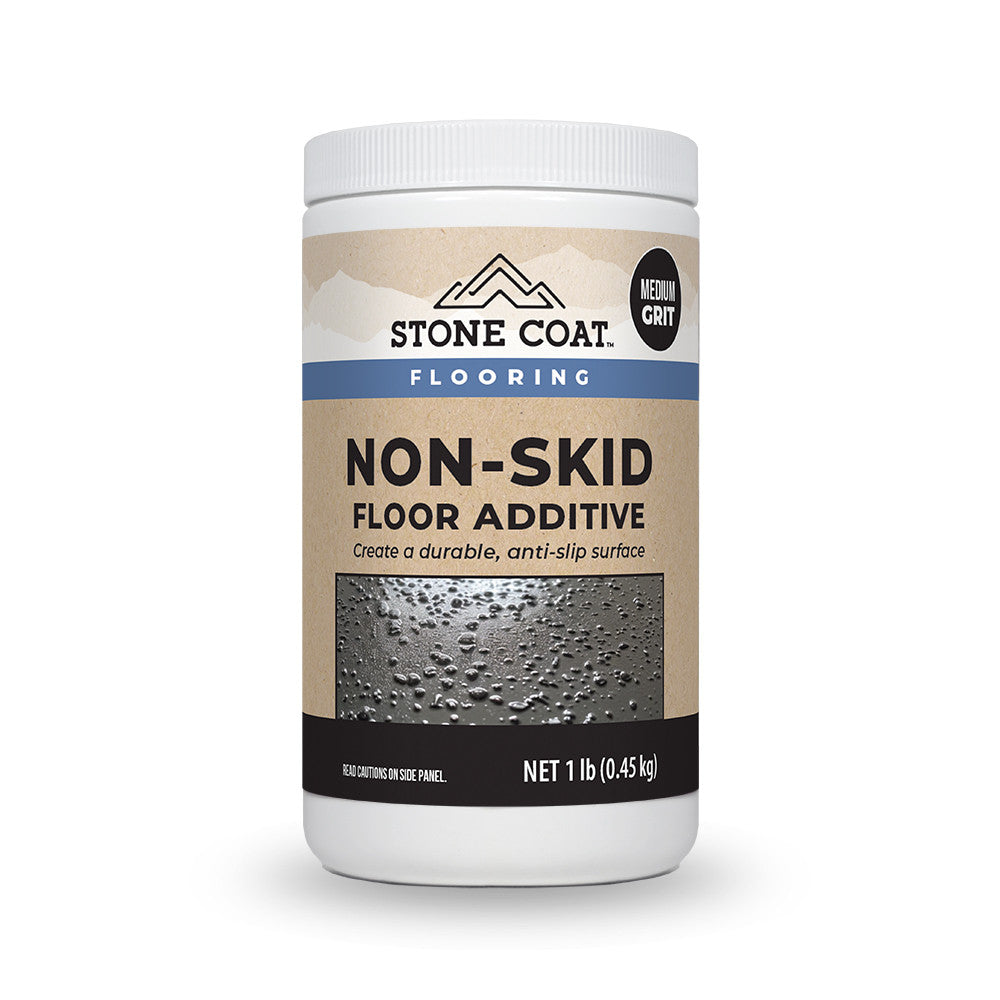

Non-Skid Floor Additive
Visit our Epoxy Flooring playlist on YouTube for tons of flooring project inspiration.