Is your garage floor worn out with cracks, stains, and pits? We’ll show you step-by-step how to prep it to create an attractive and durable Stone Coat Metallic Marble Epoxy Floor. Our DIY-friendly system makes it easy to get pro-level results—even on your first floor. Transform your garage, basement, kitchen, living room, bathroom, and more for a fraction of the cost, adding value and a sleek, finished look to your home!

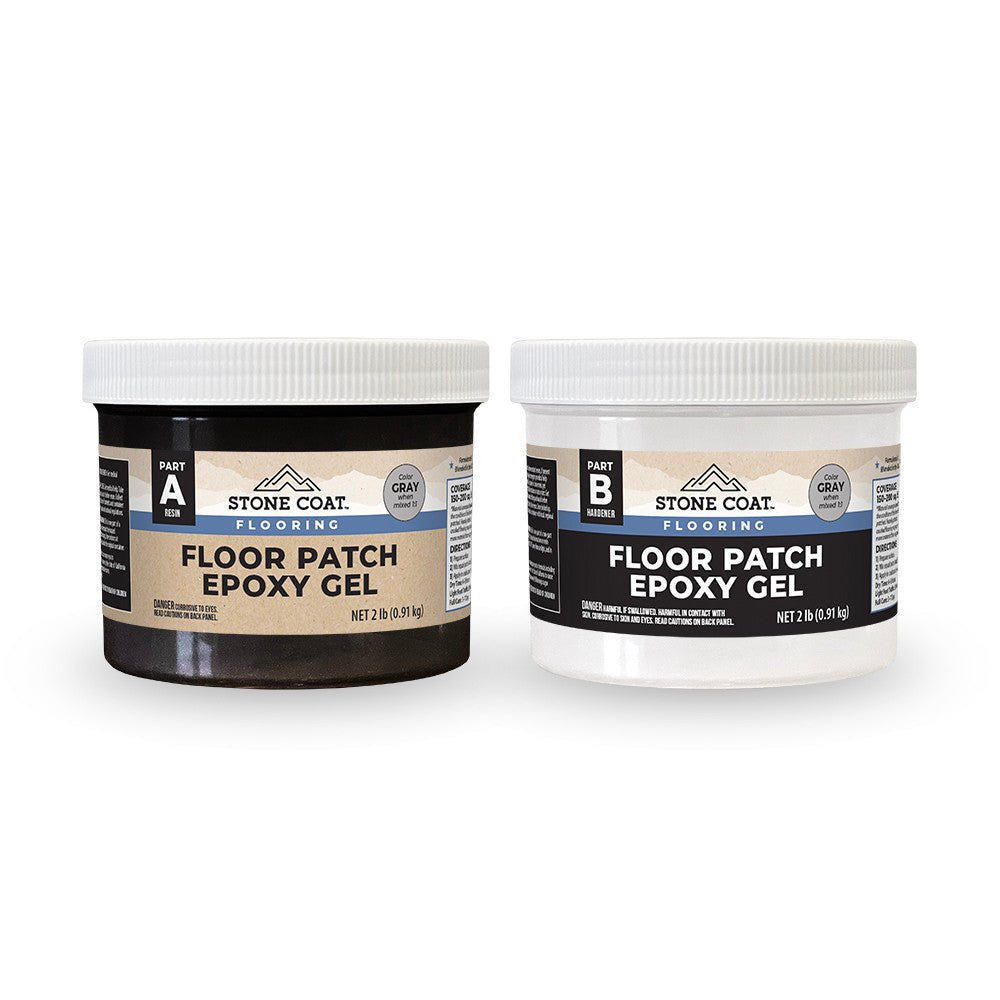


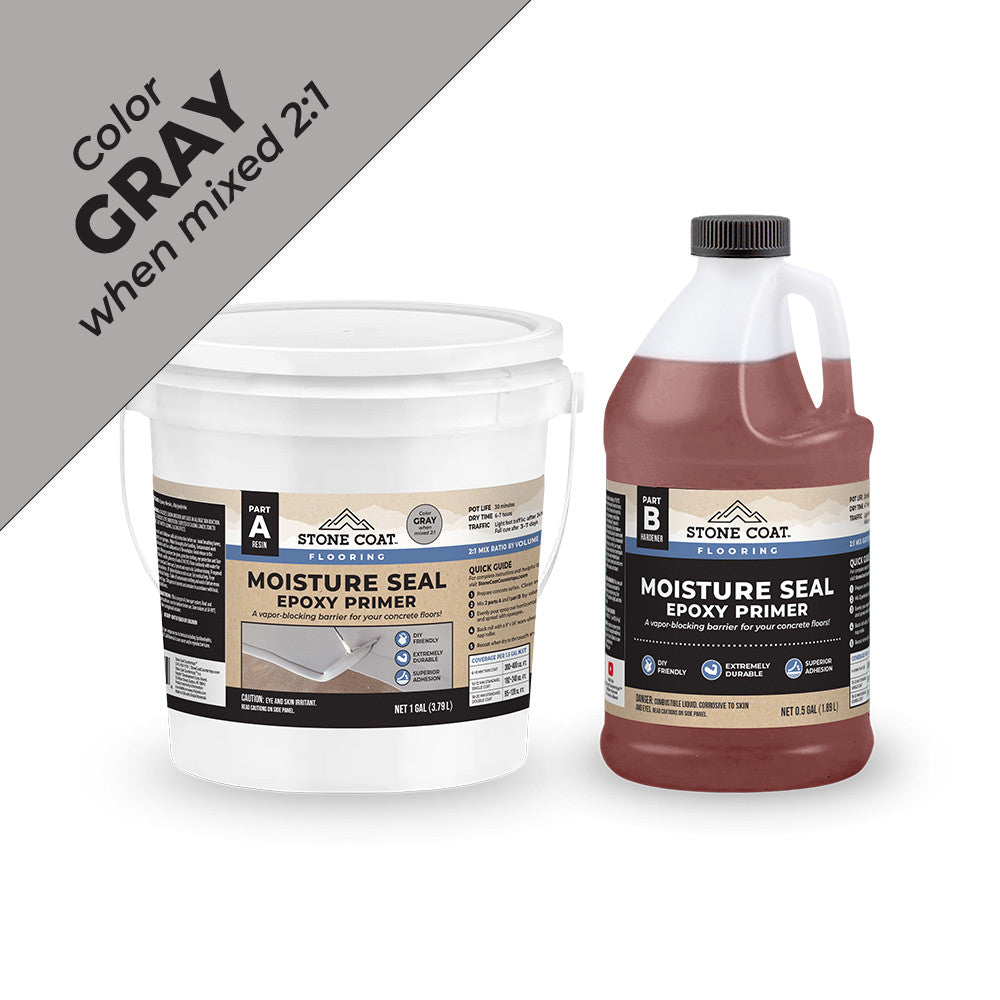
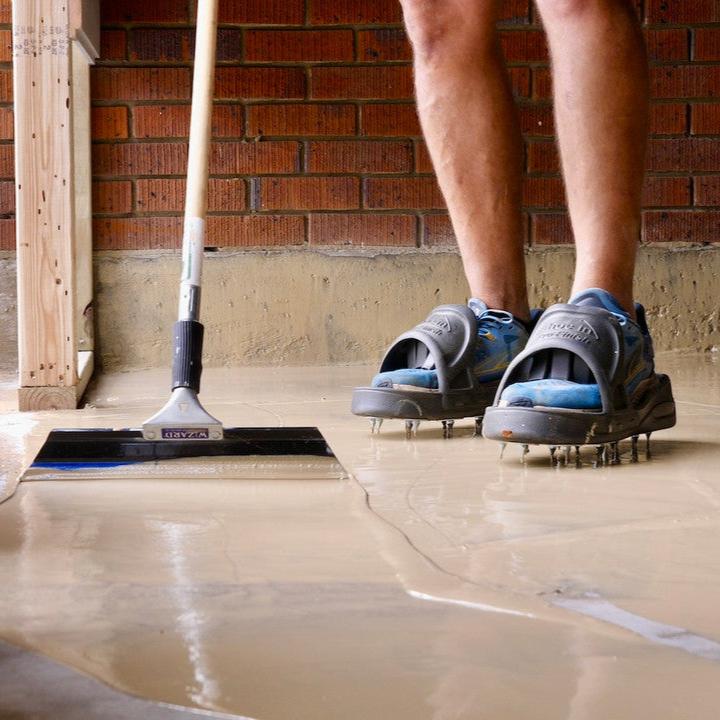
Preparation is key for any flooring project. Please review our in-depth tutorial for preparing floors for epoxy.
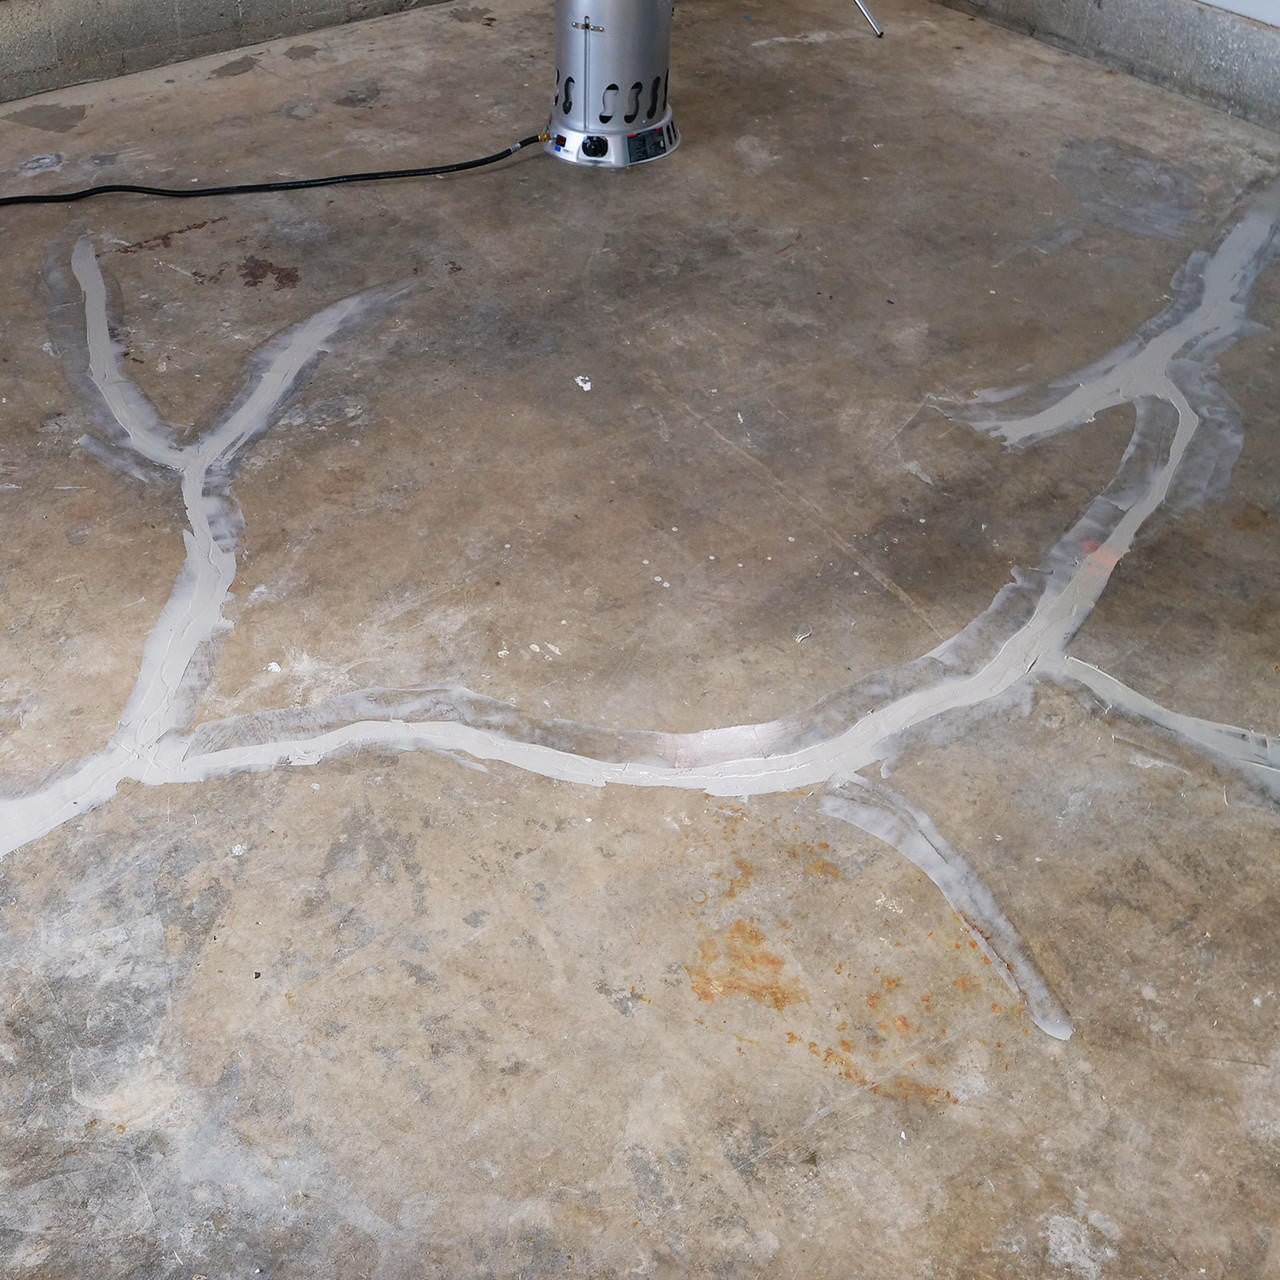
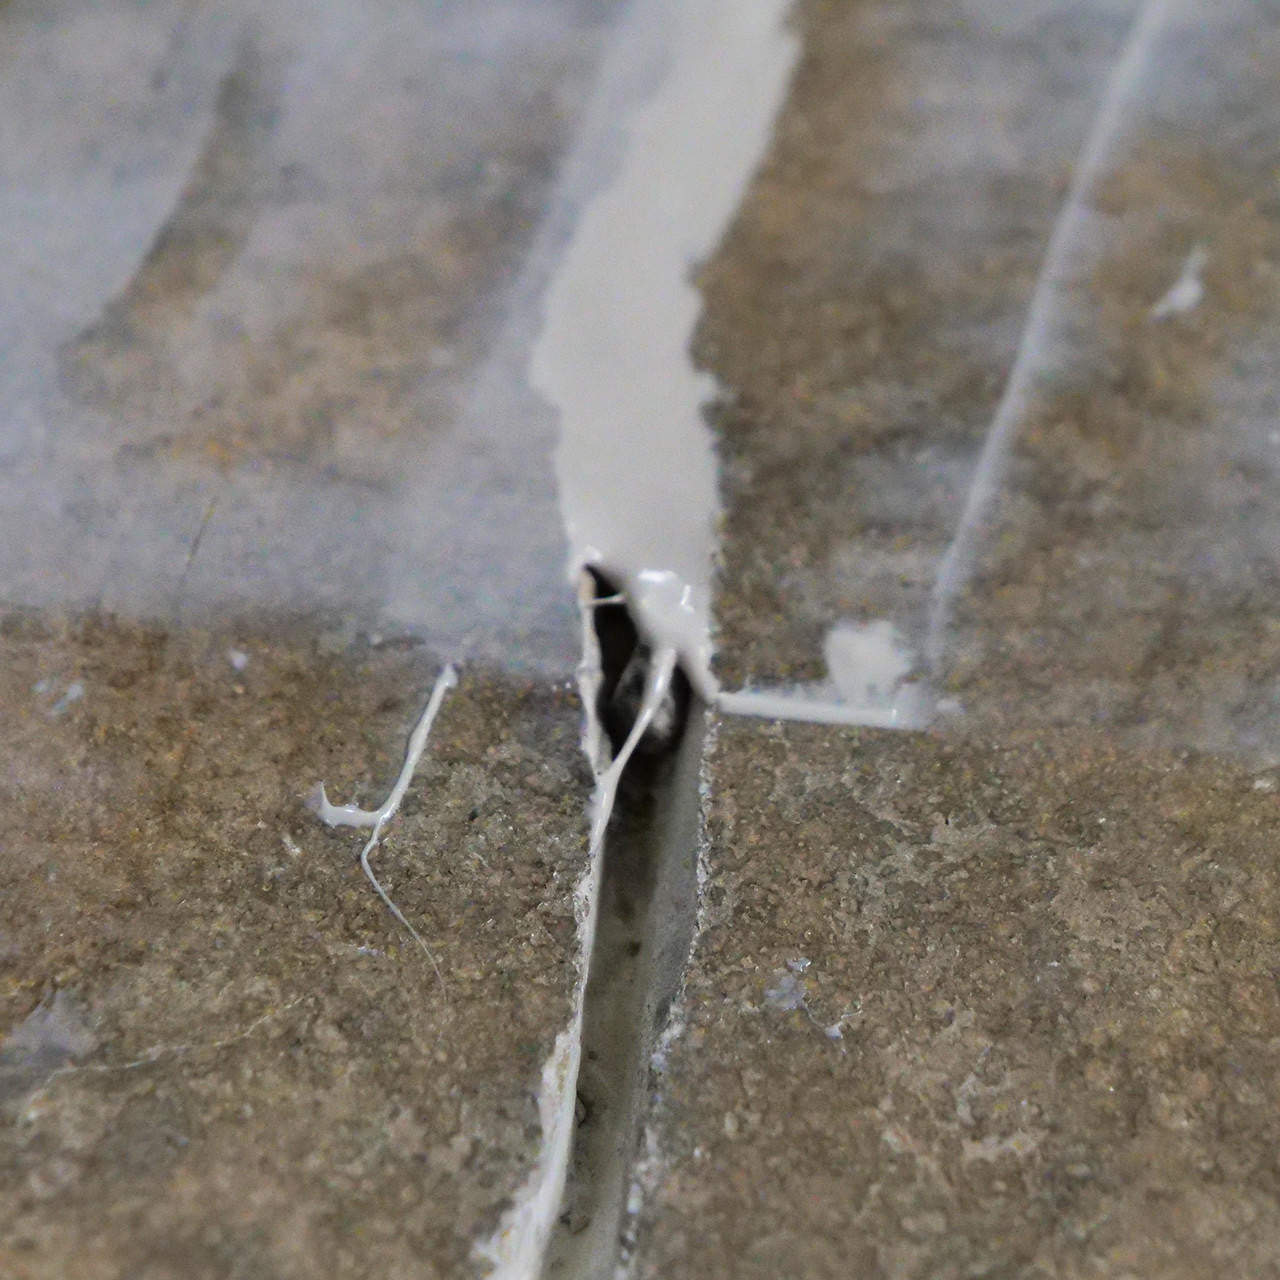
This tutorial begins with your surface fully prepped and ready for a stunning epoxy transformation.
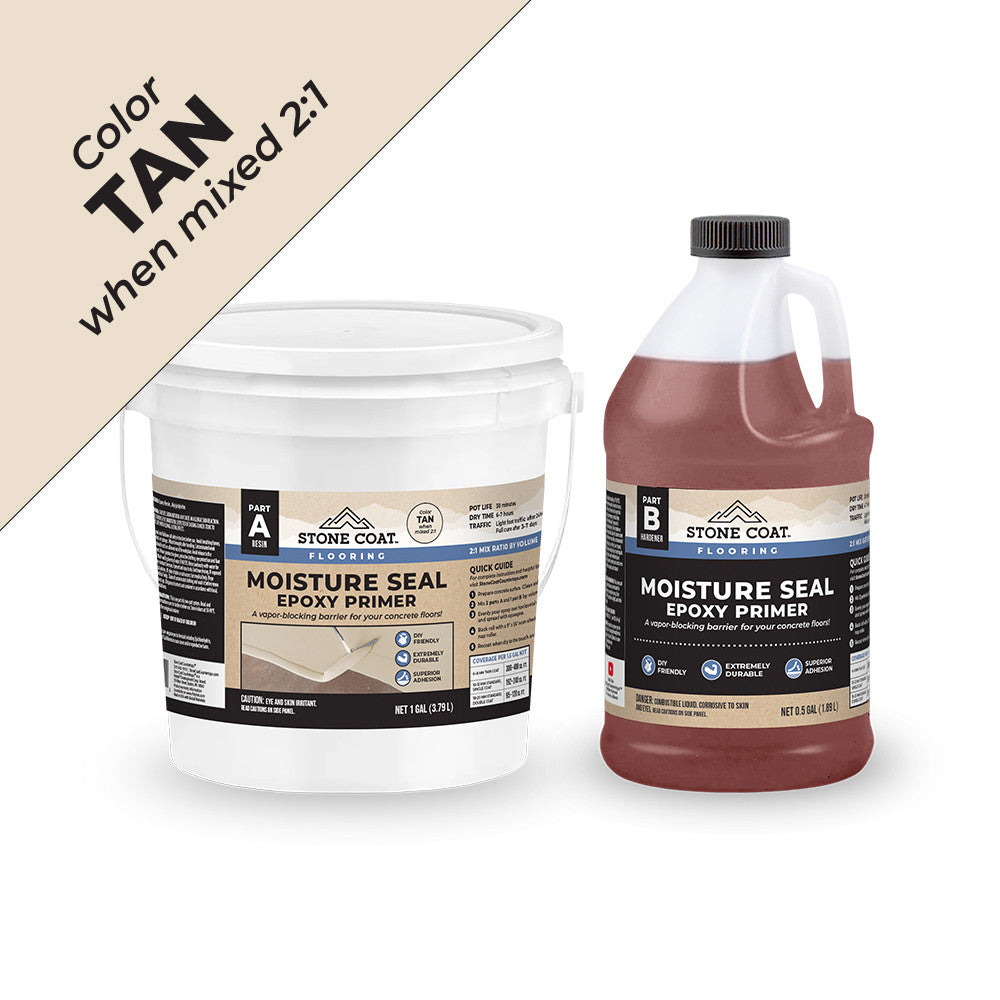
For best results, DO NOT use acetone to clean or prep your surface.
We recommend using 91% isopropyl alcohol for:
Using acetone may interfere with adhesion and final finish quality. Stick with 91% isopropyl alcohol for a clean, professional result.
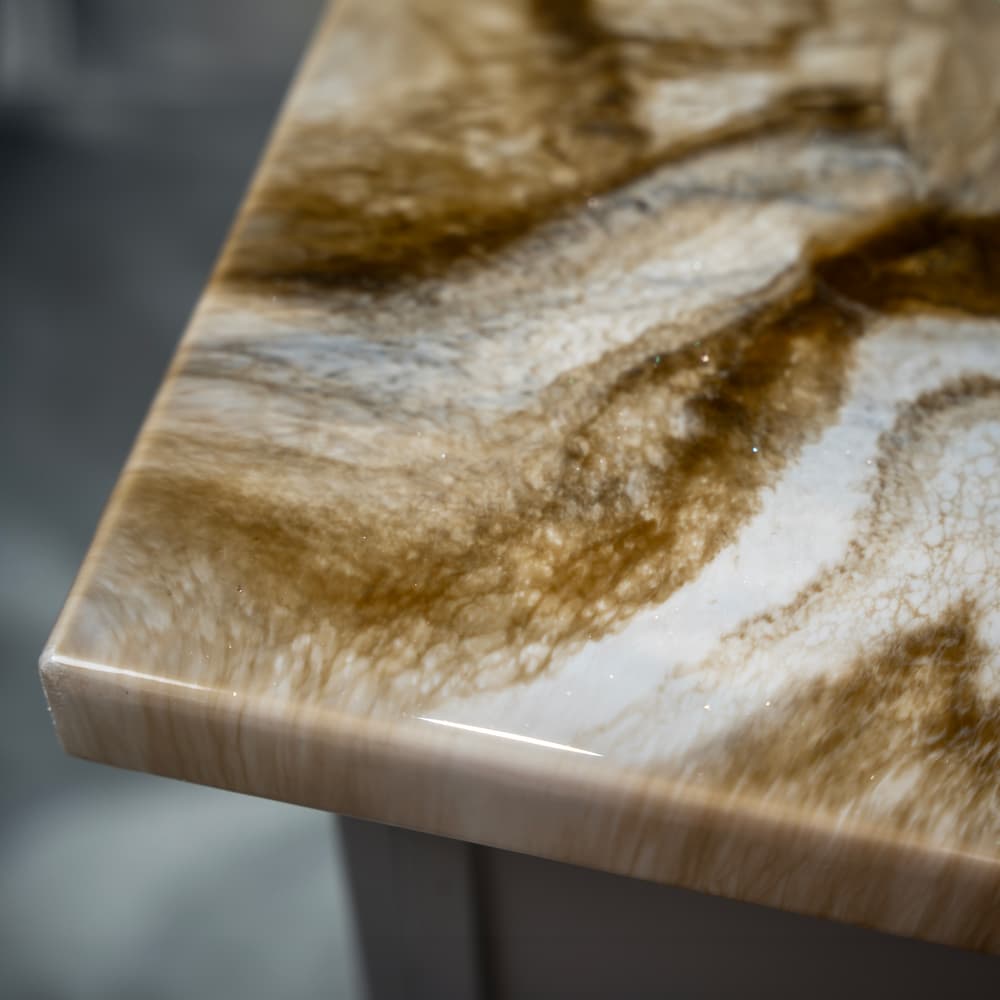
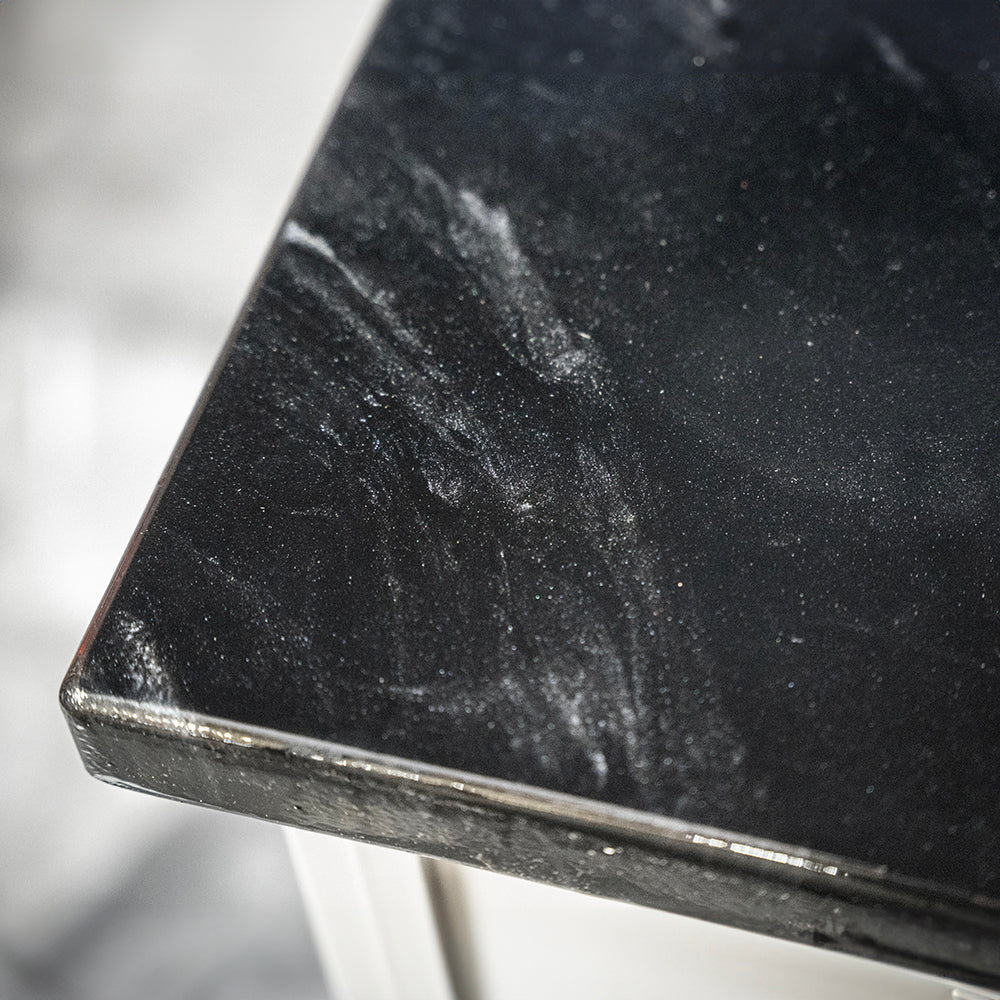
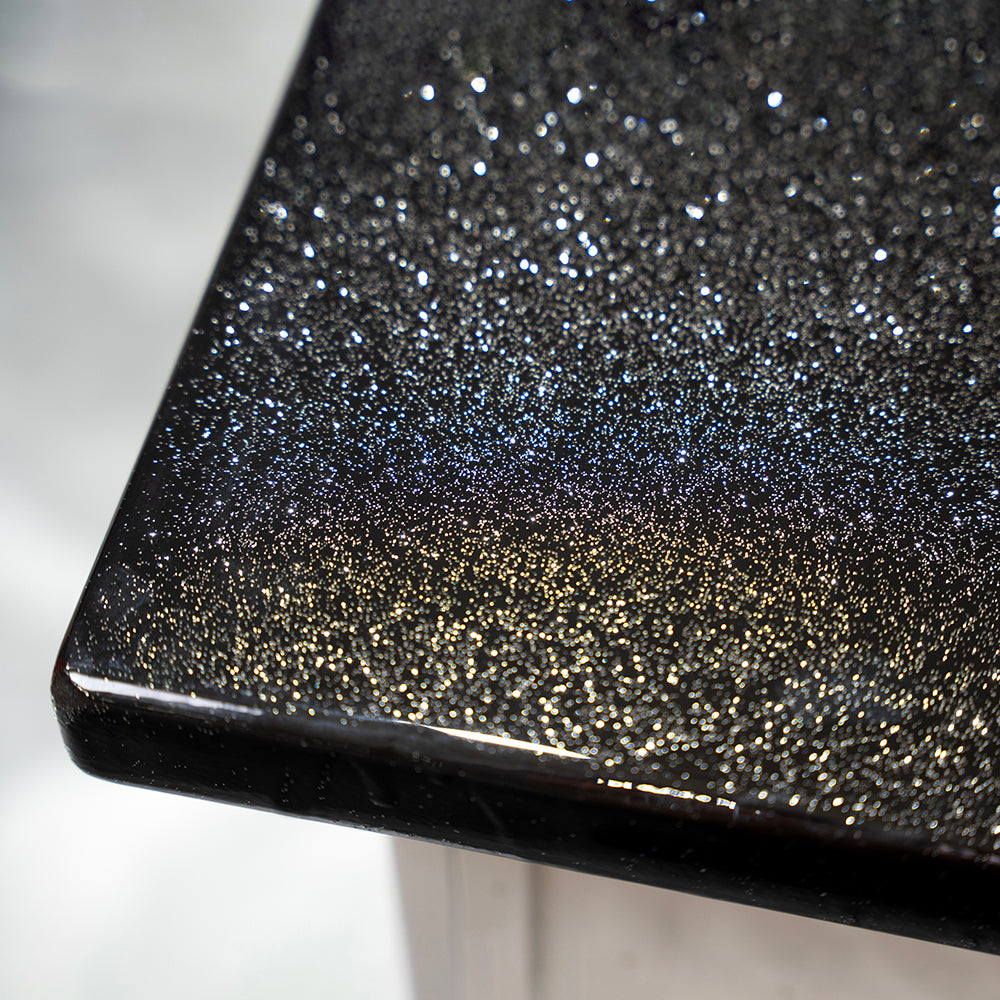
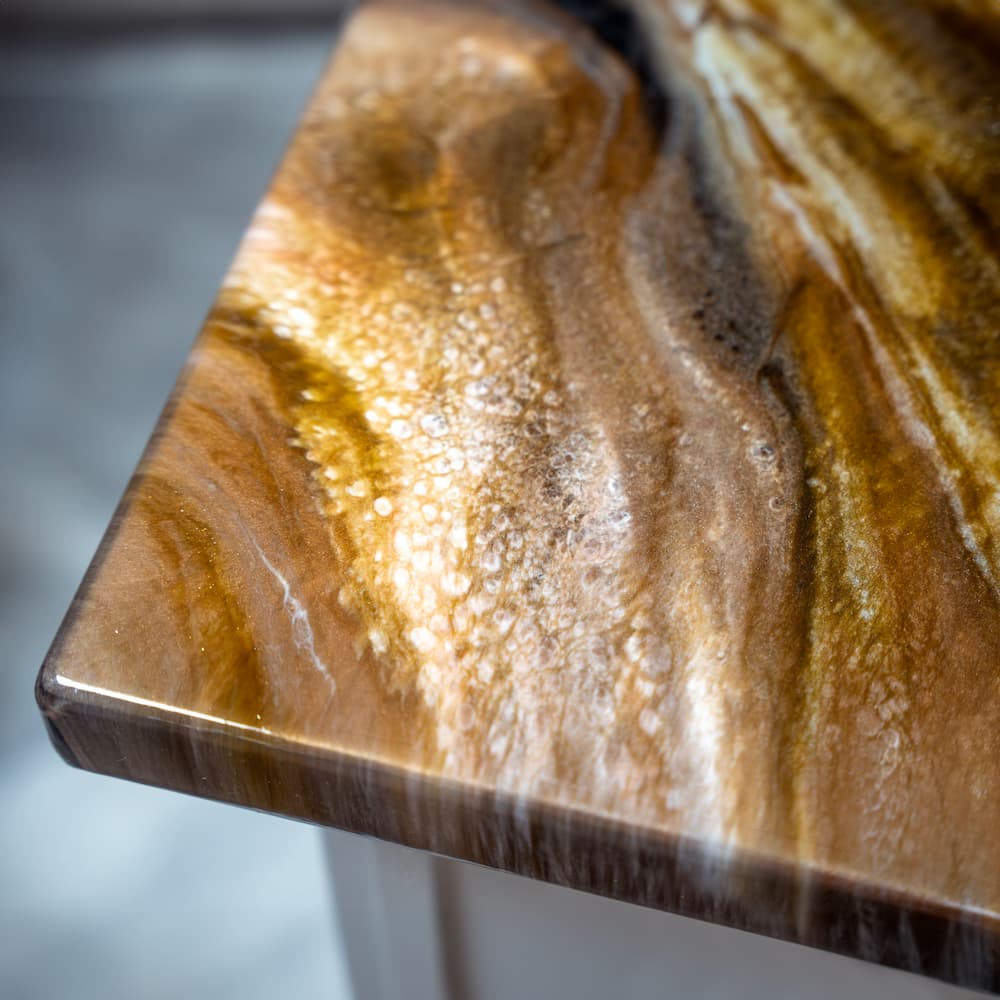
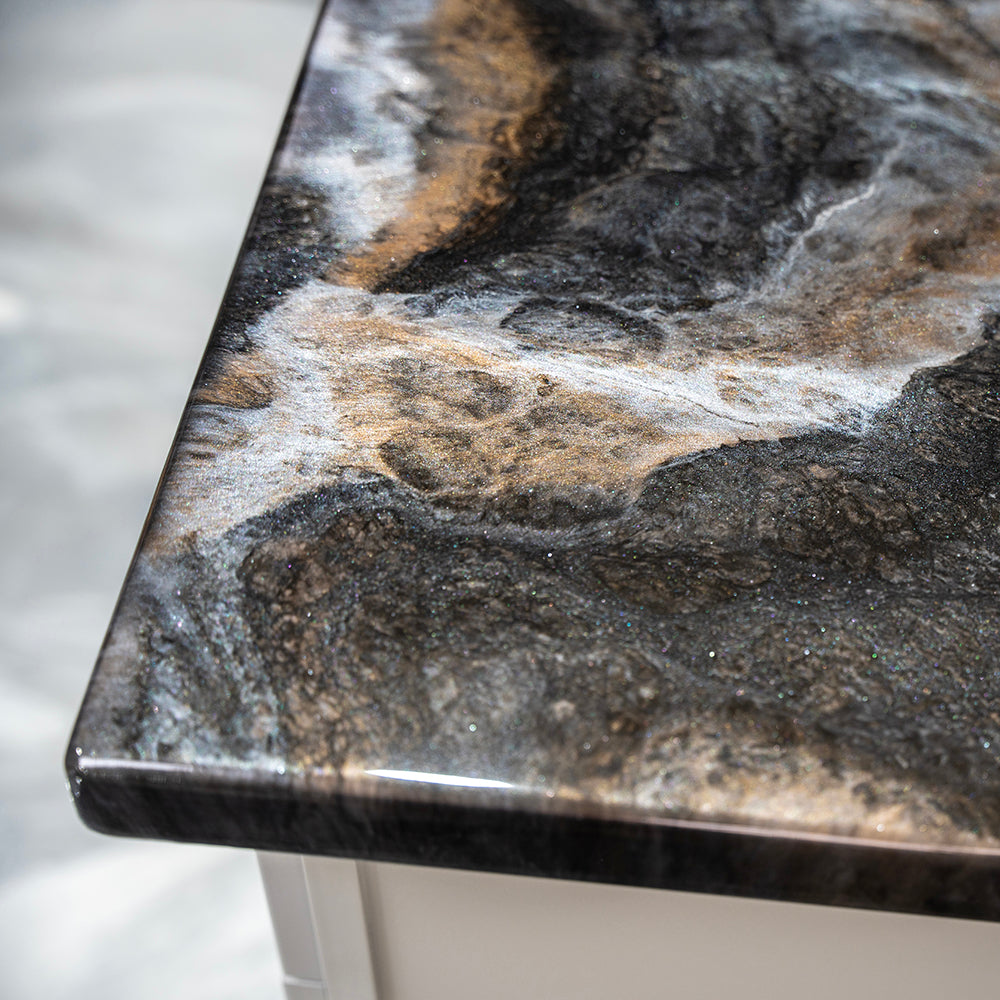
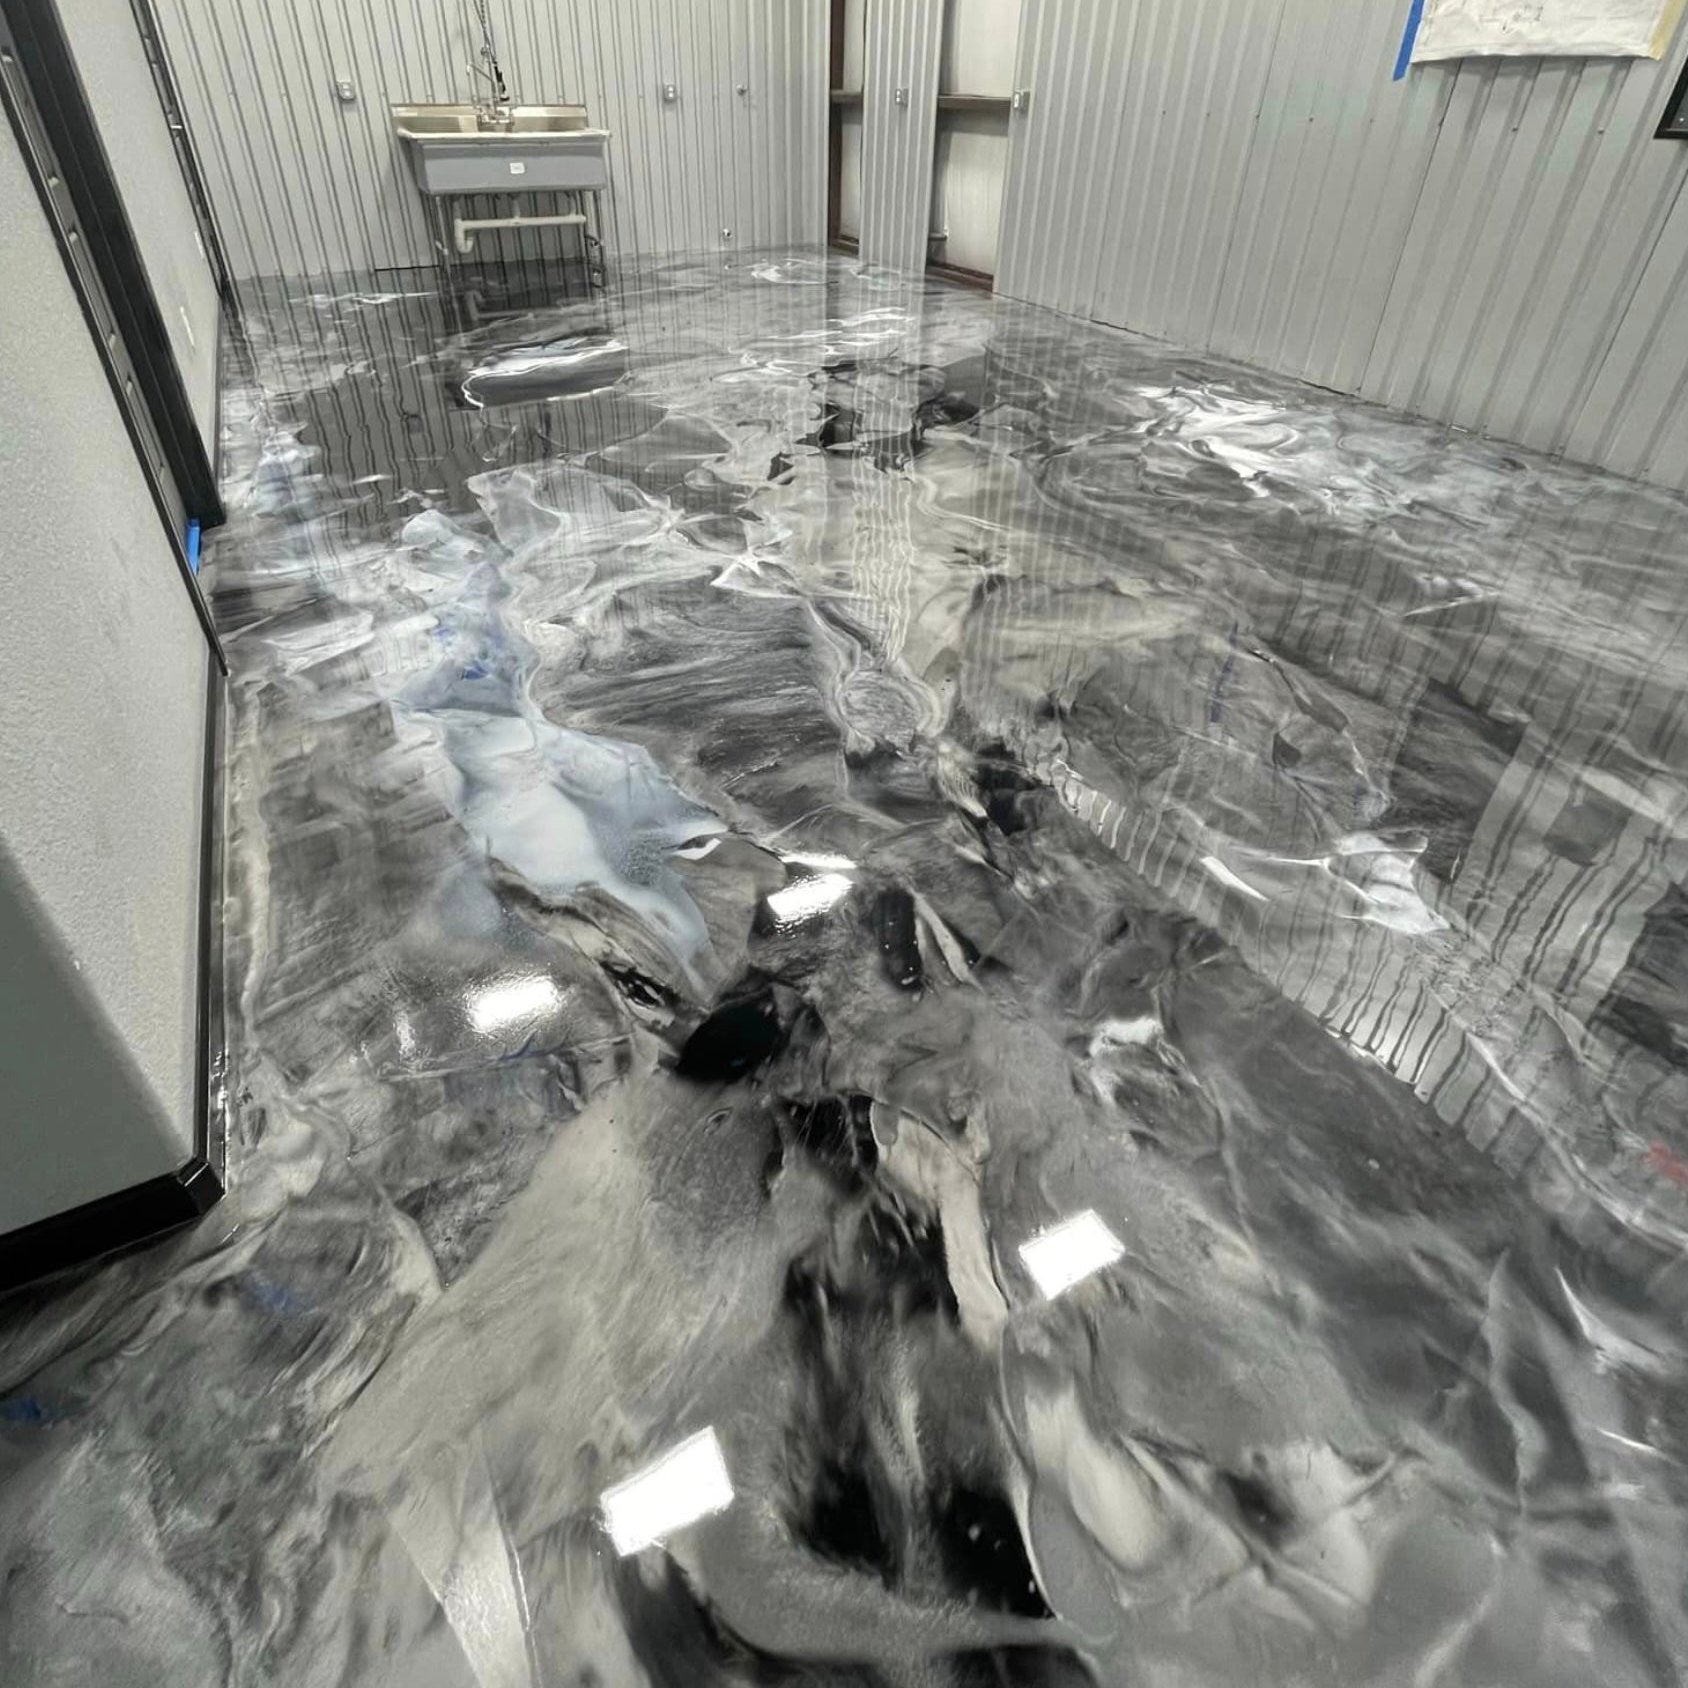
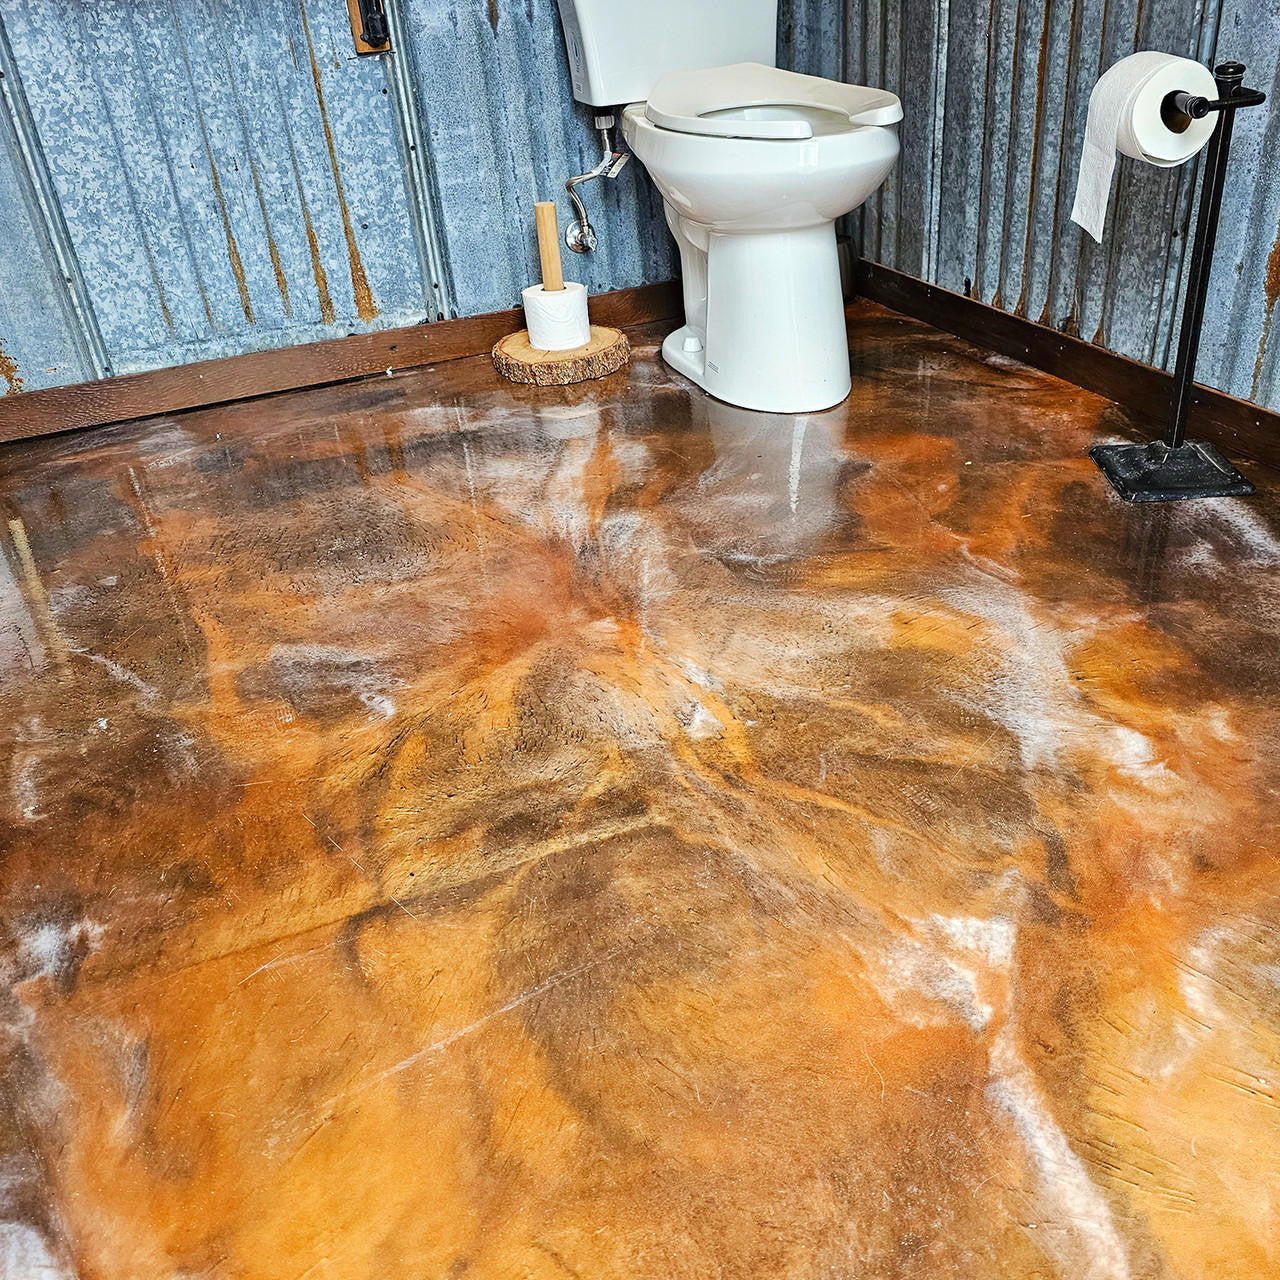
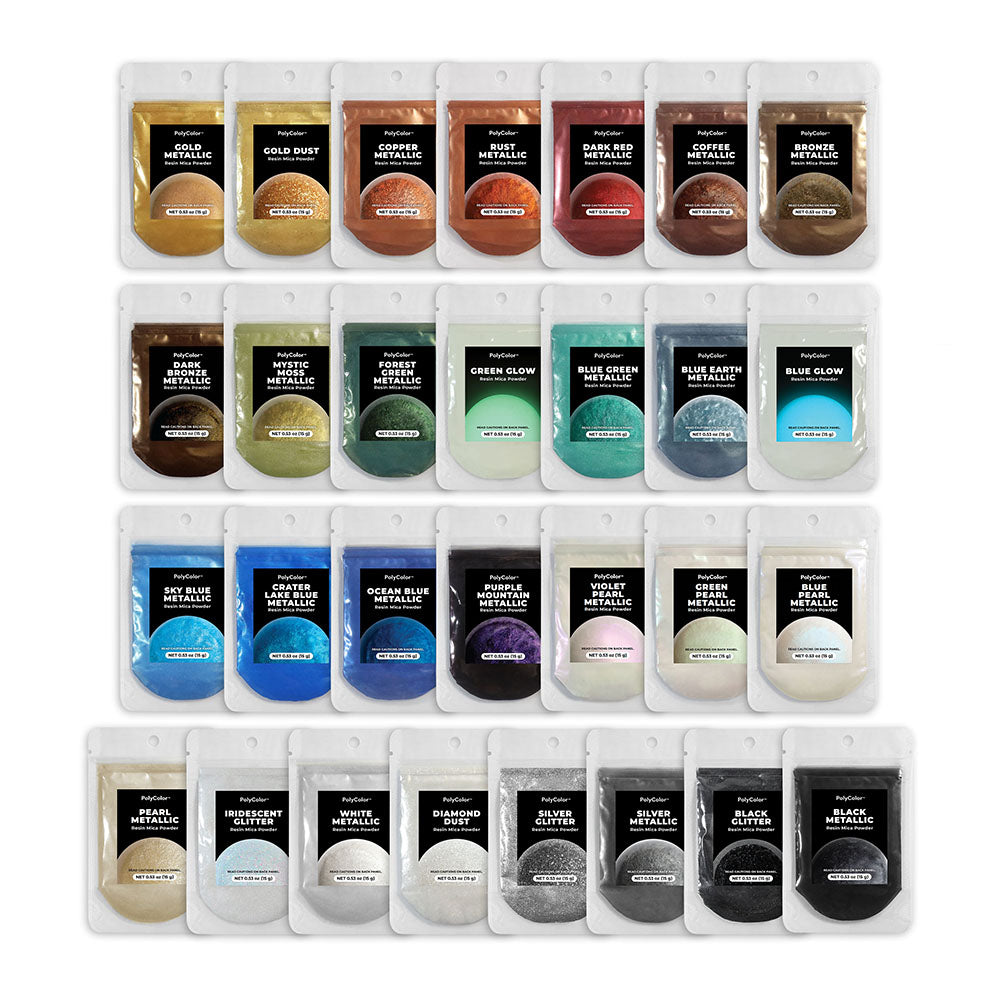
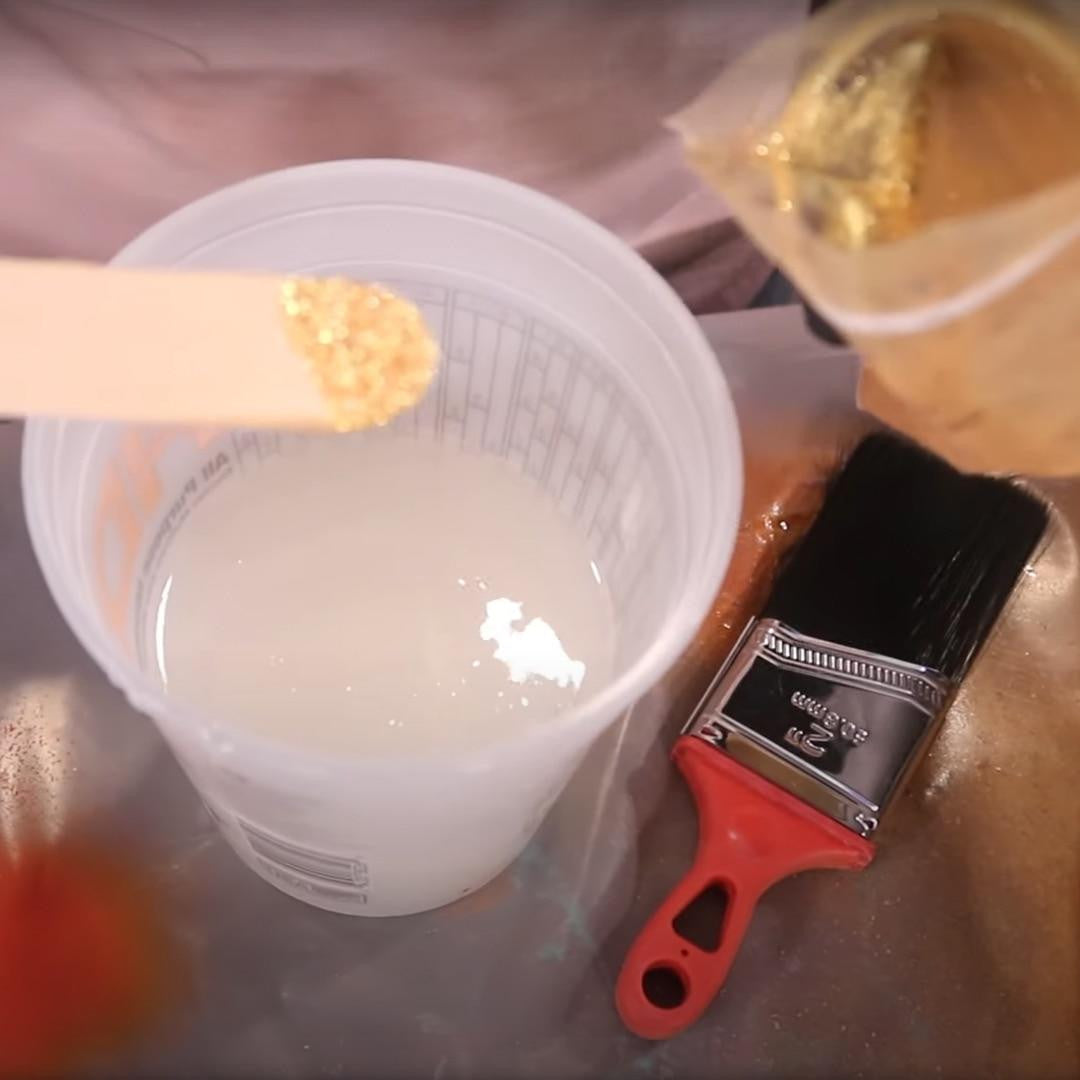
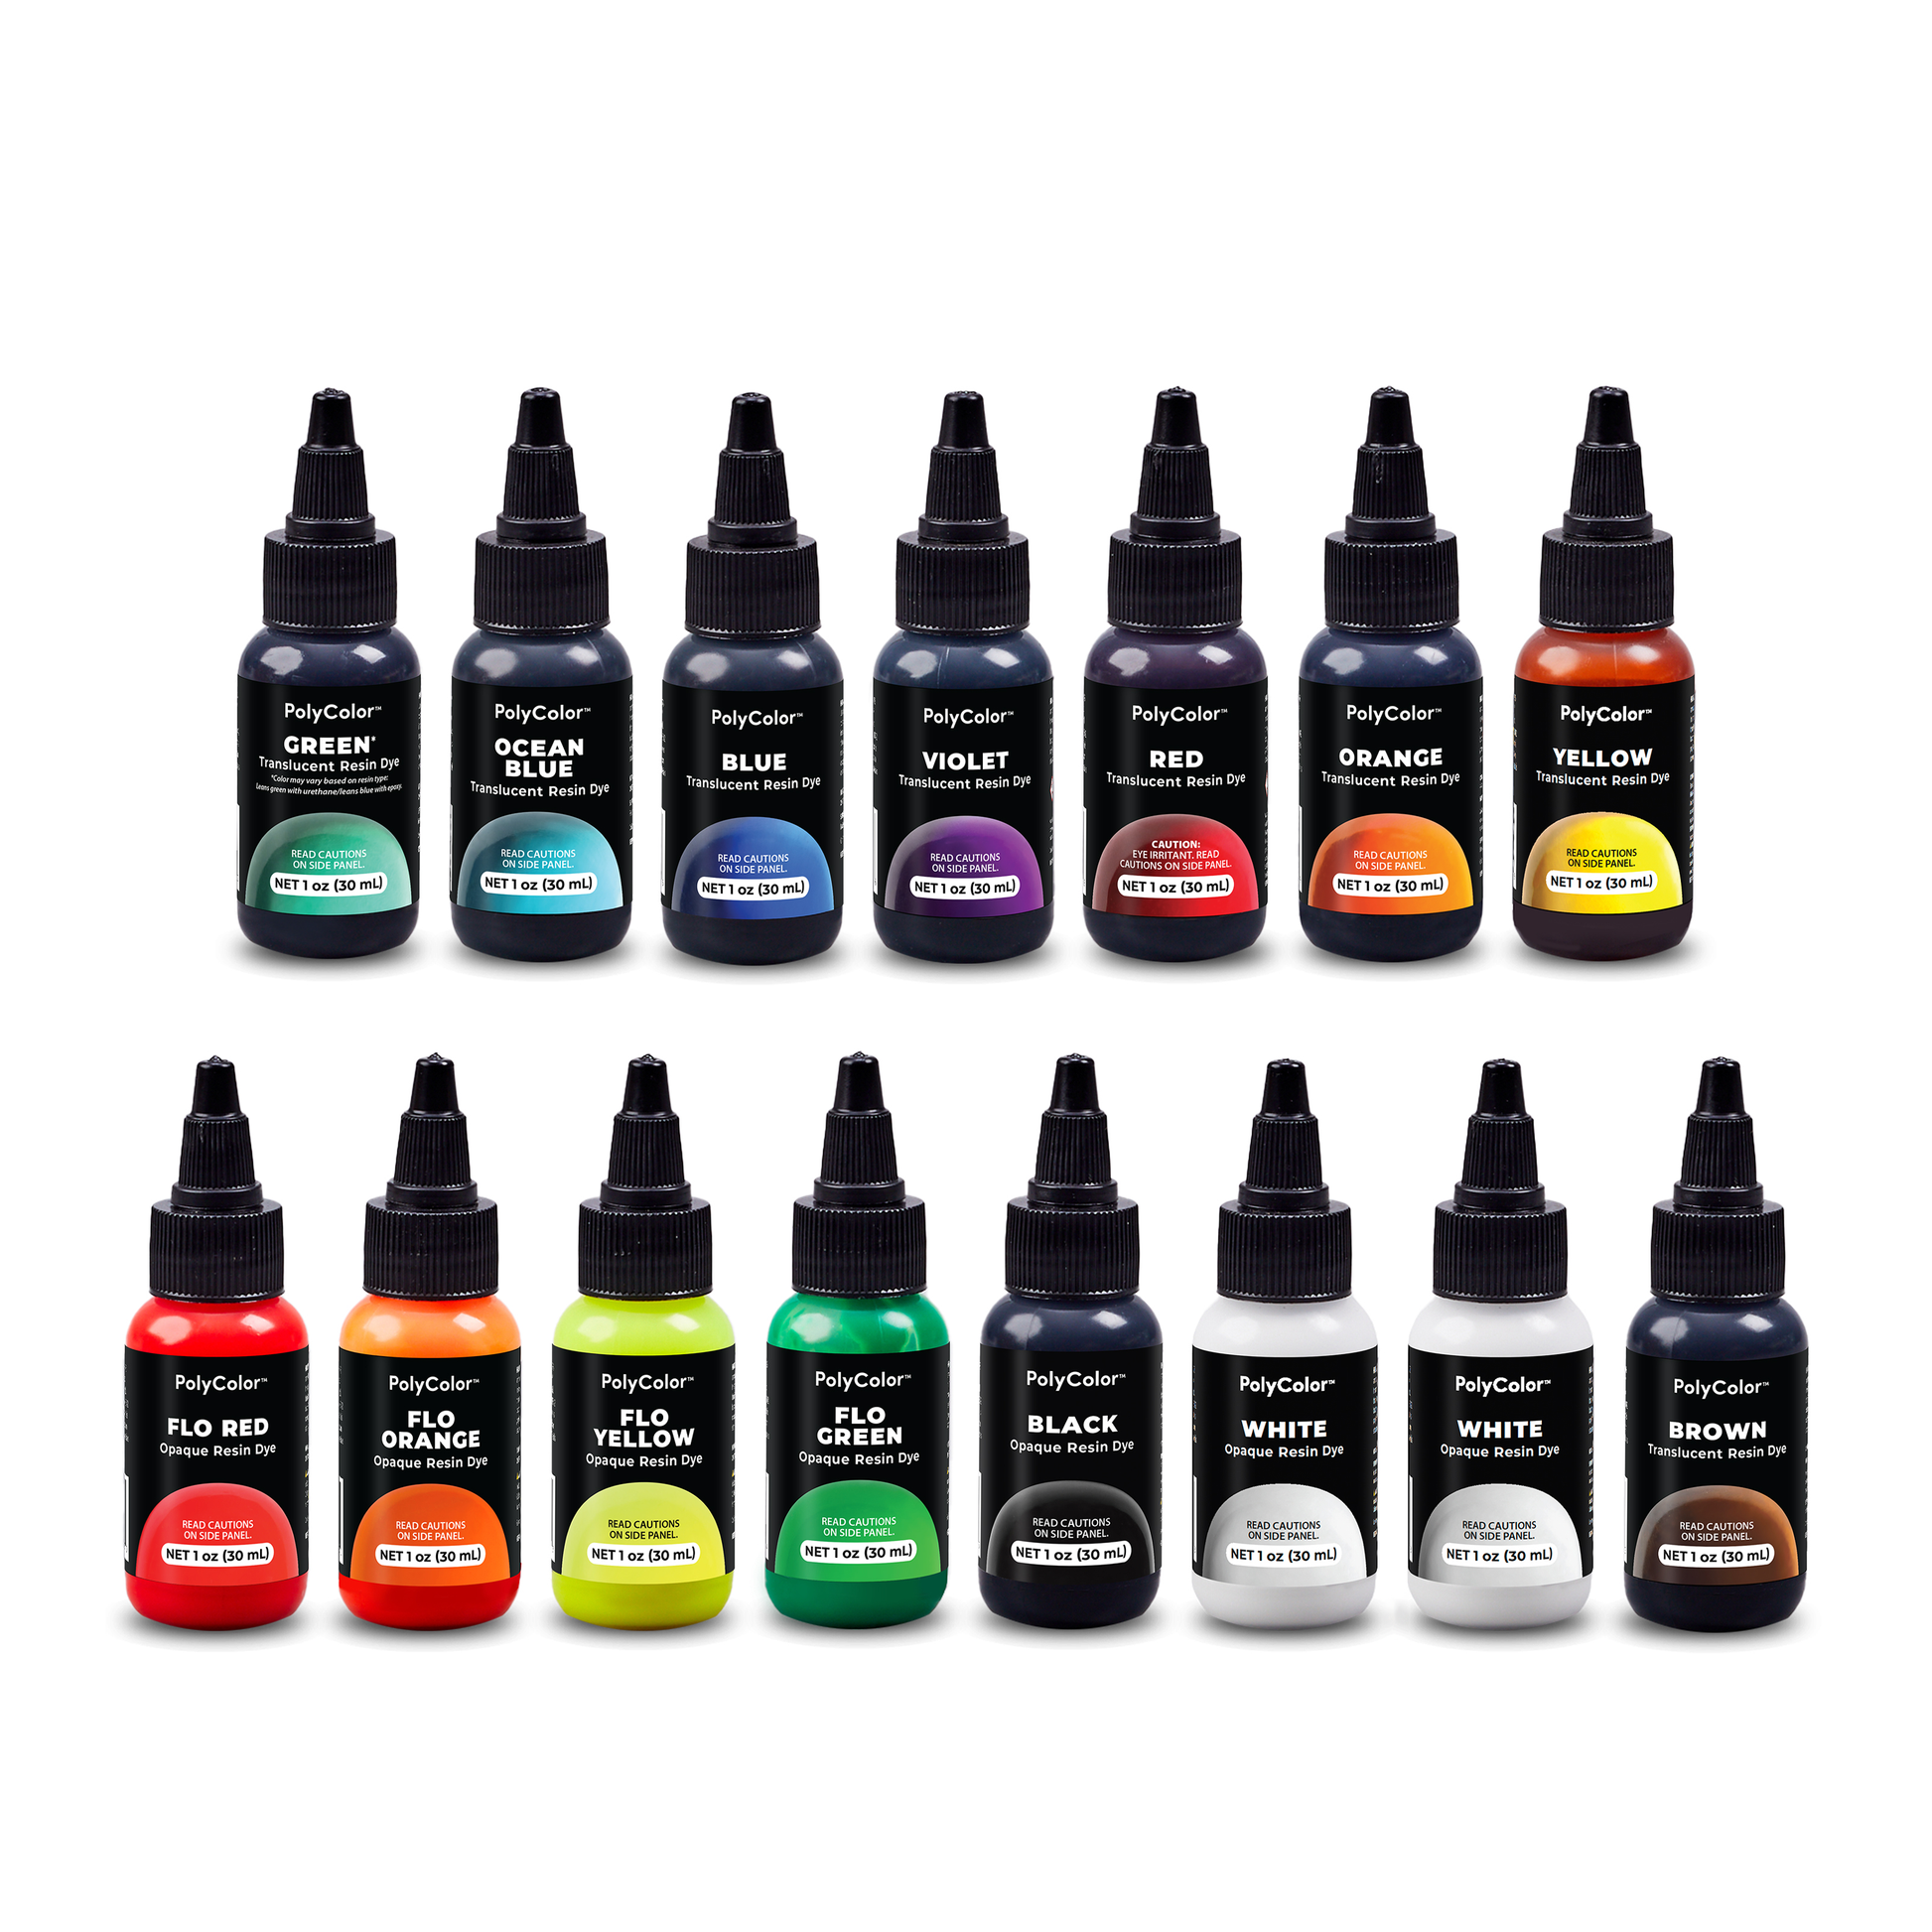
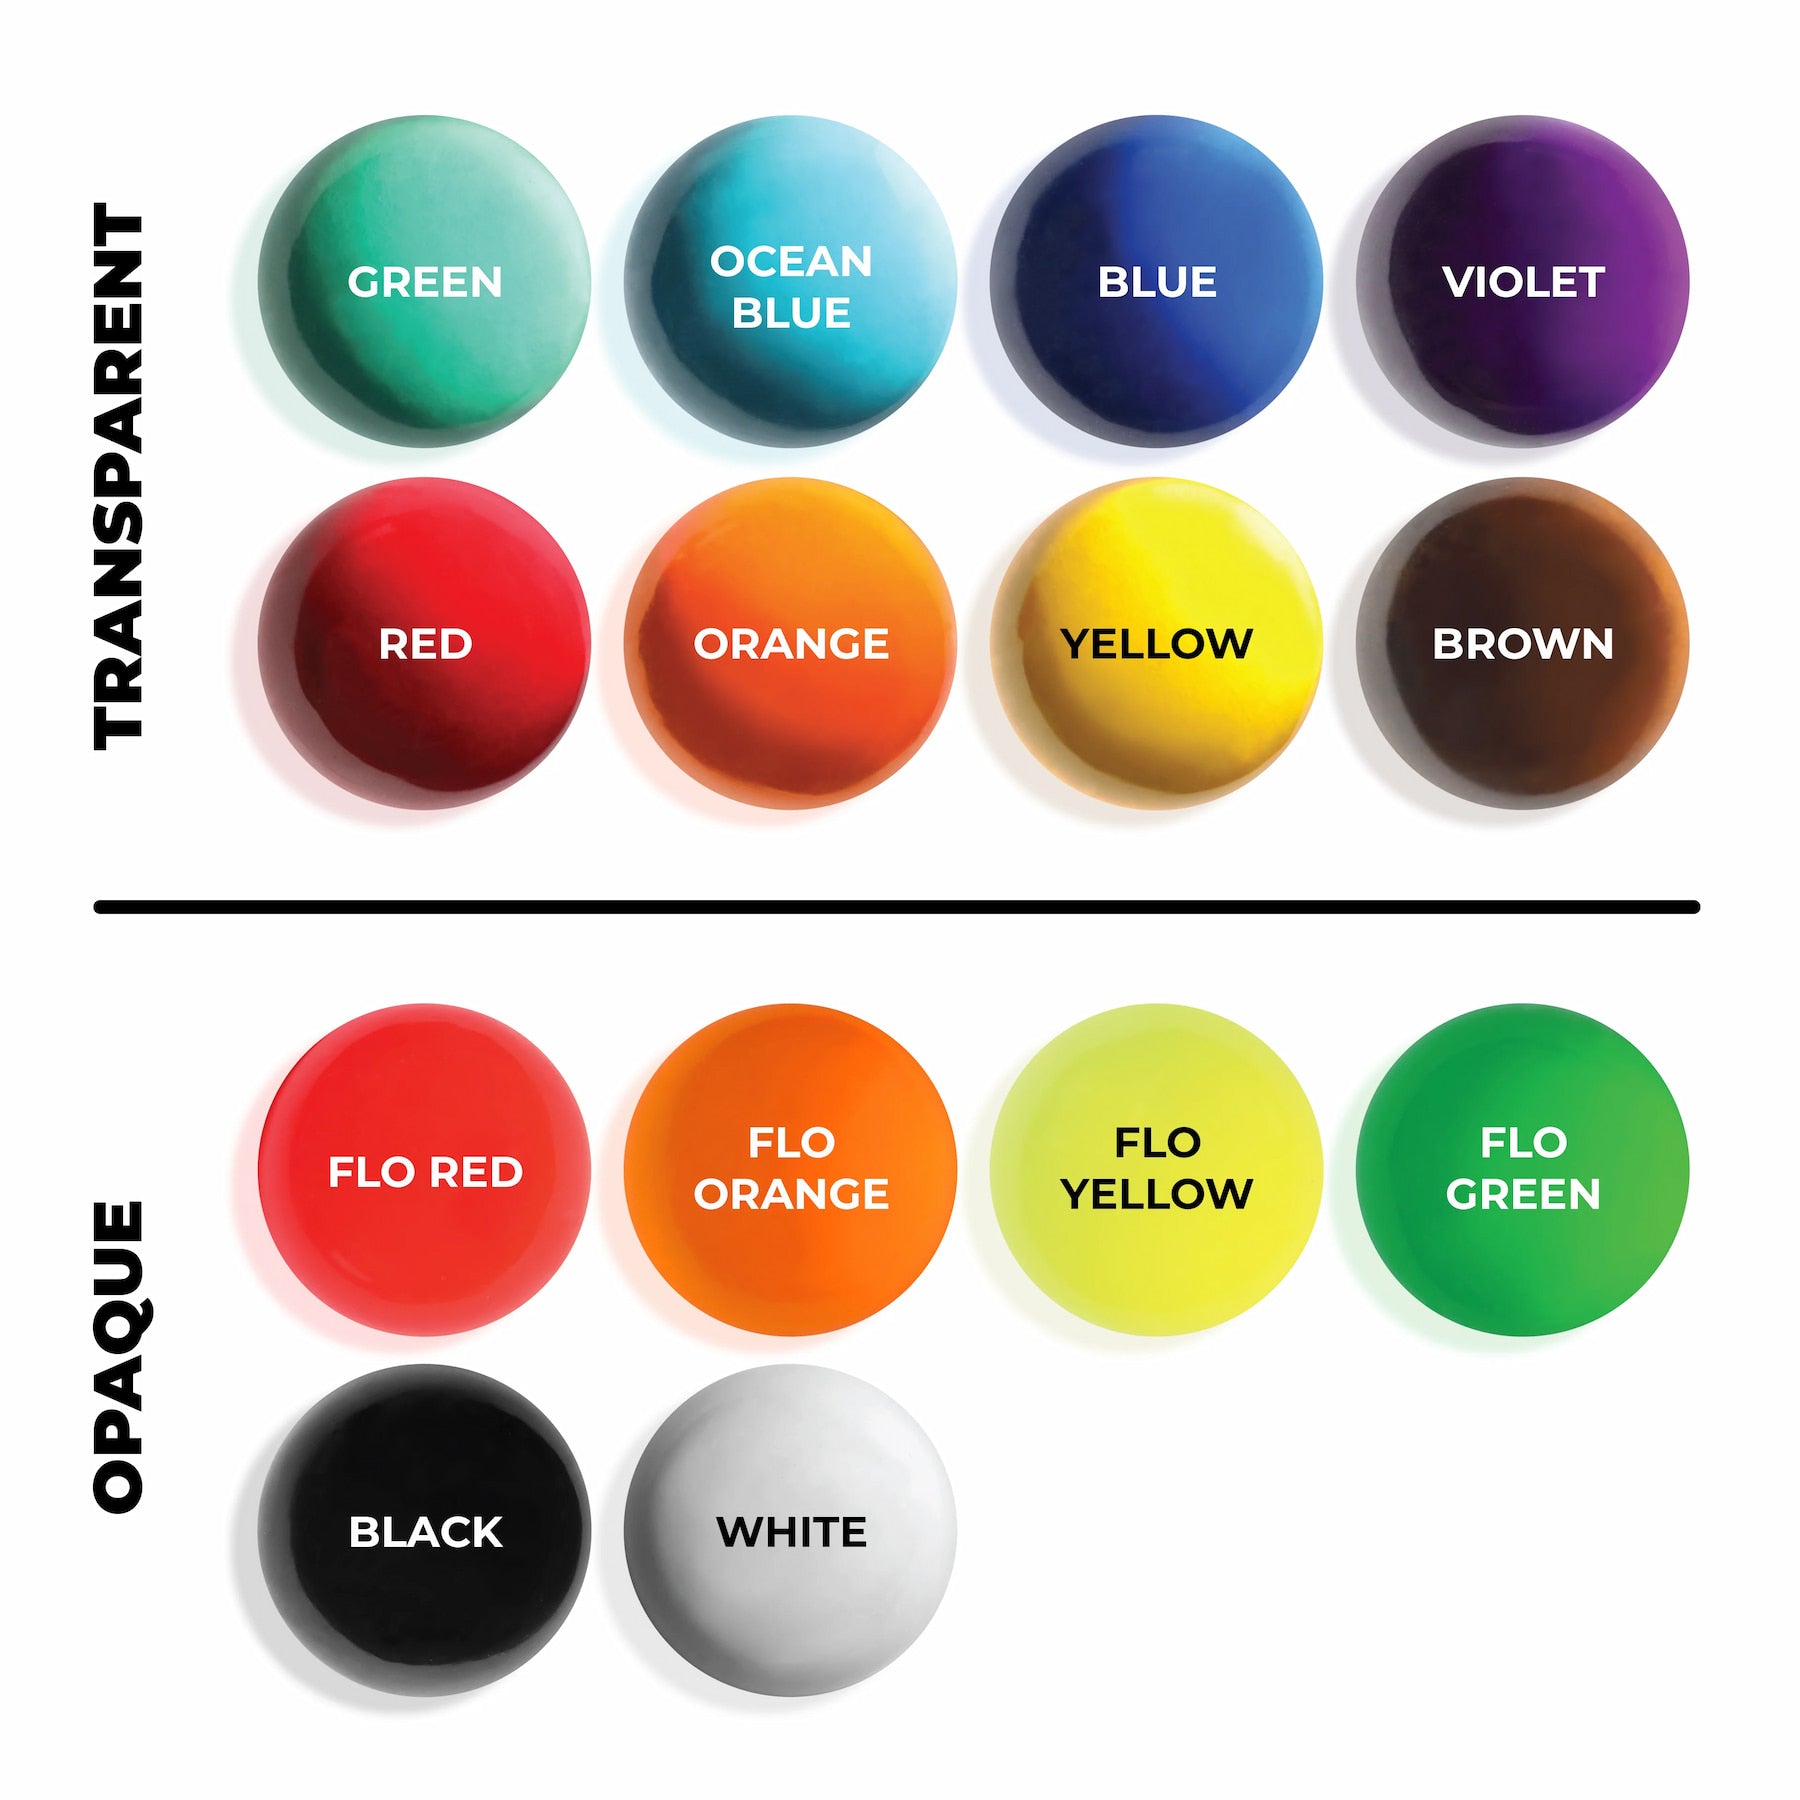
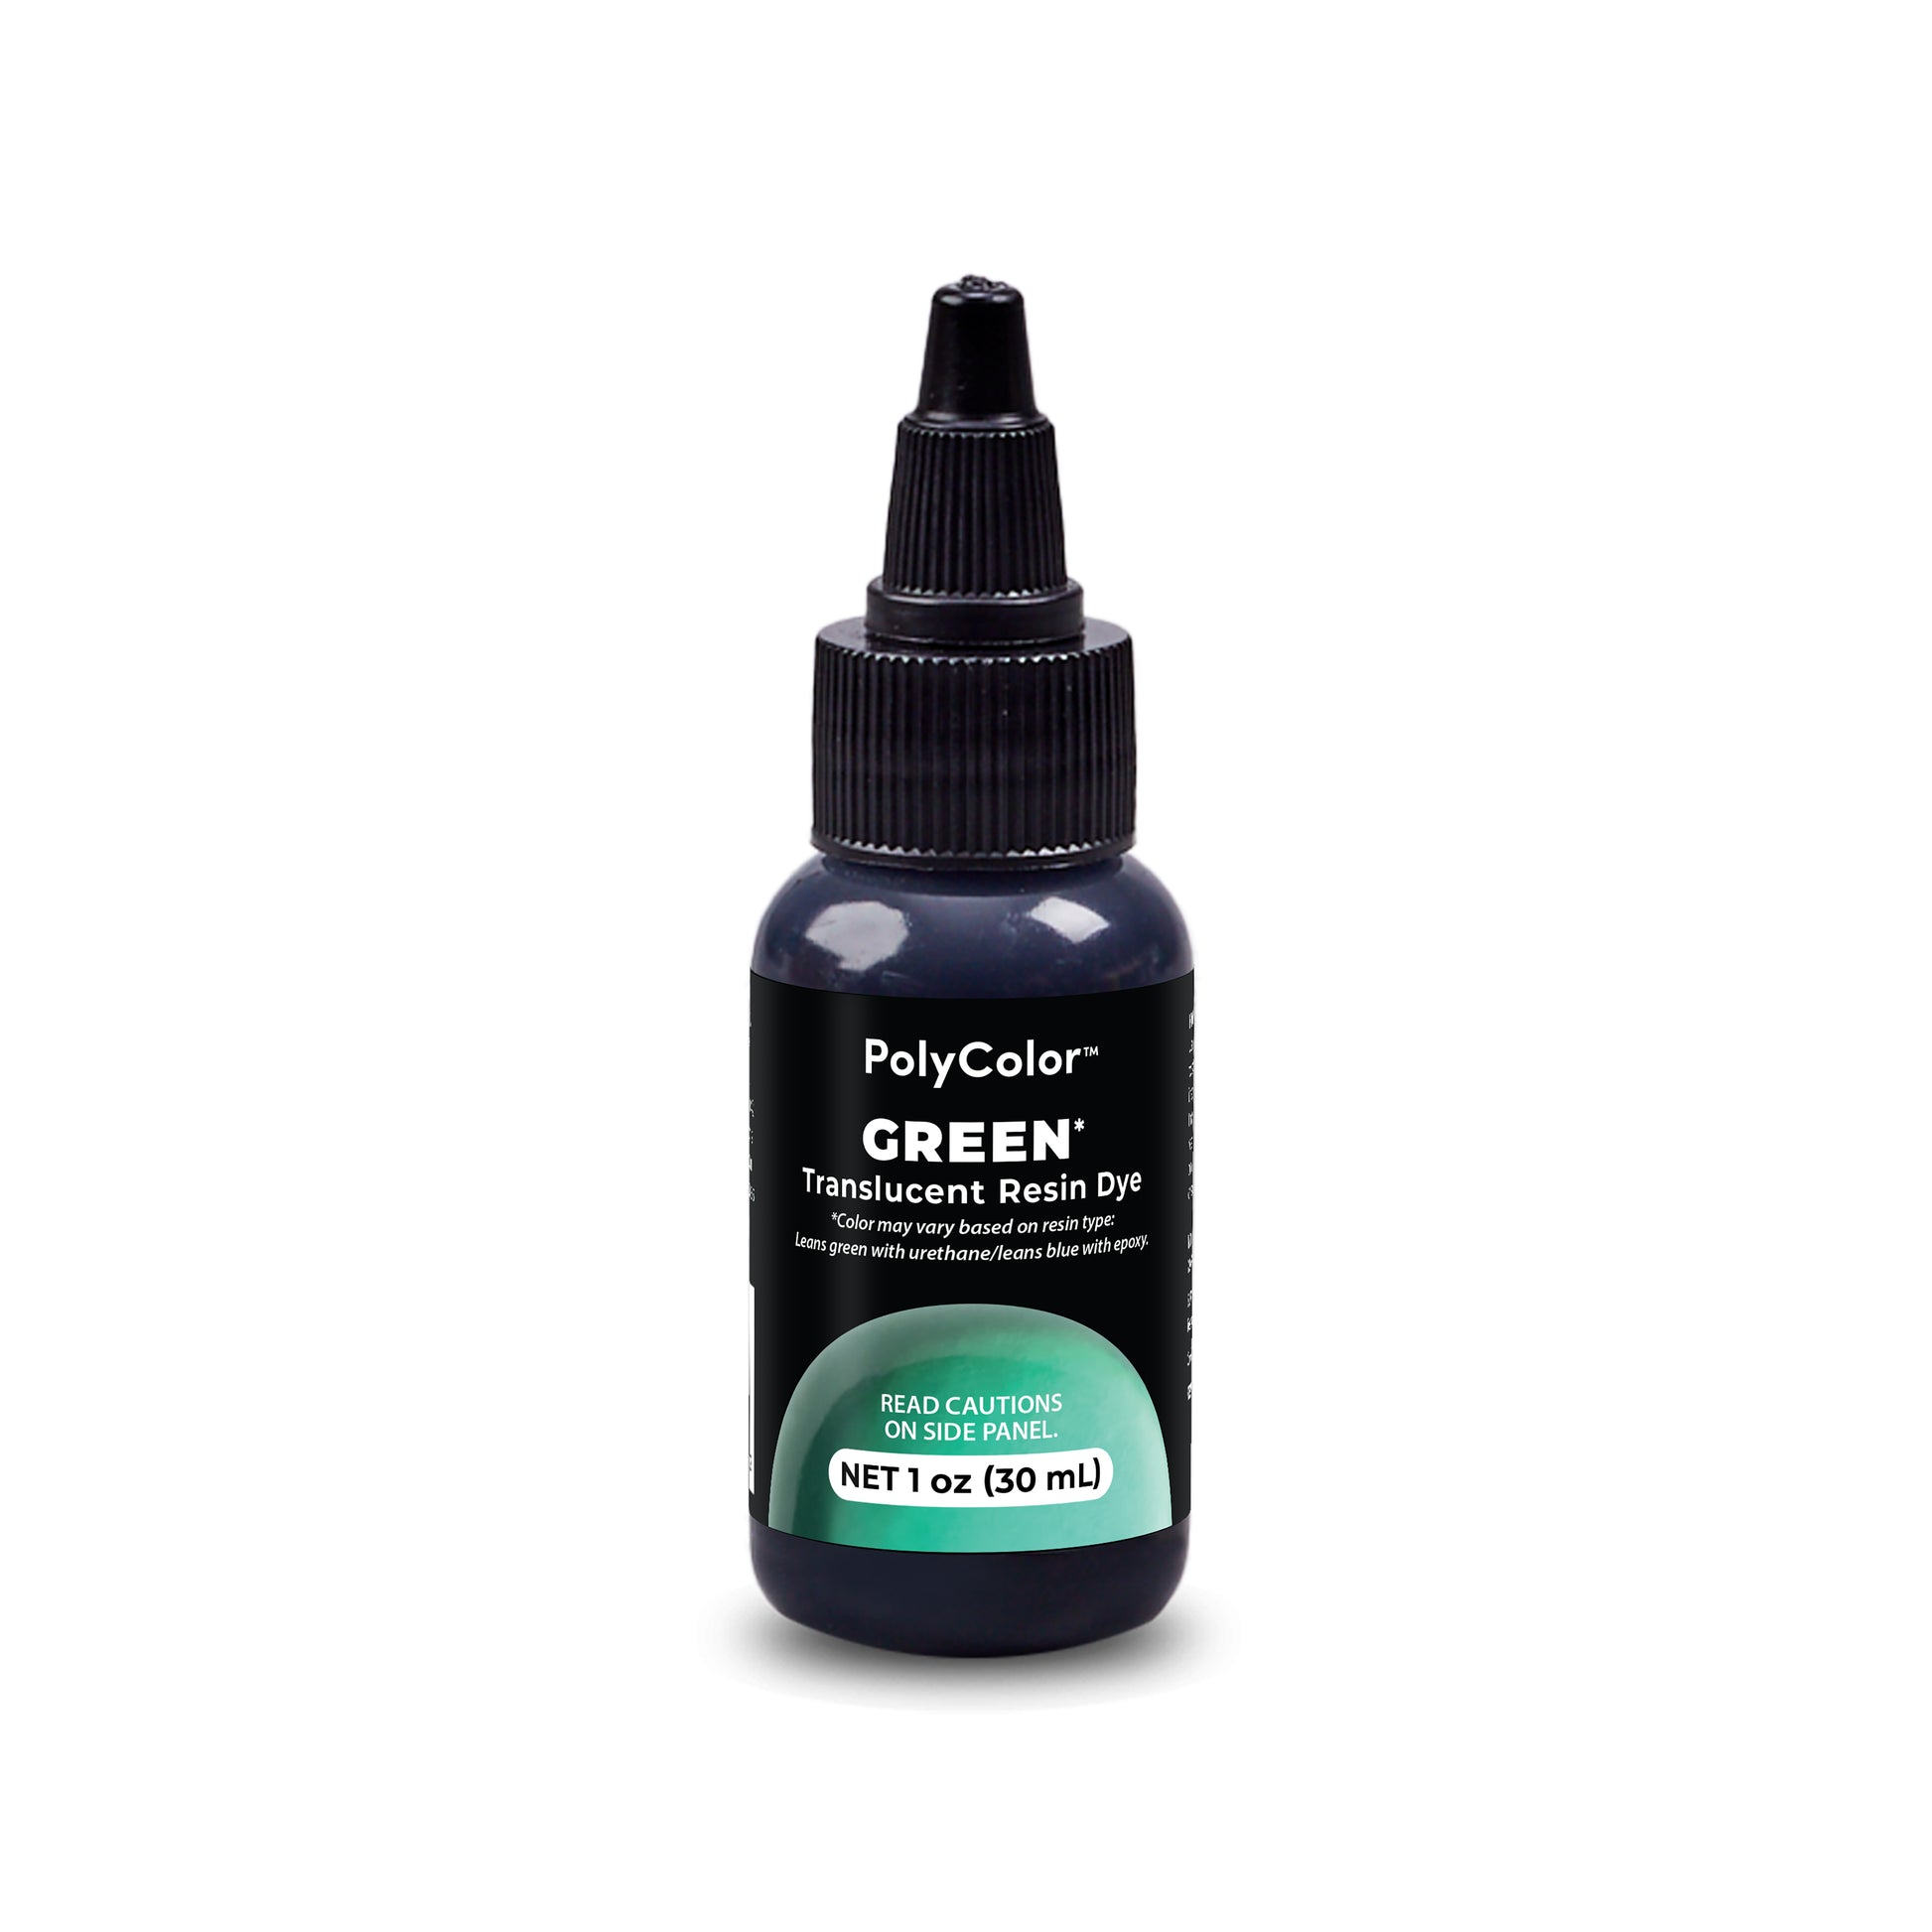
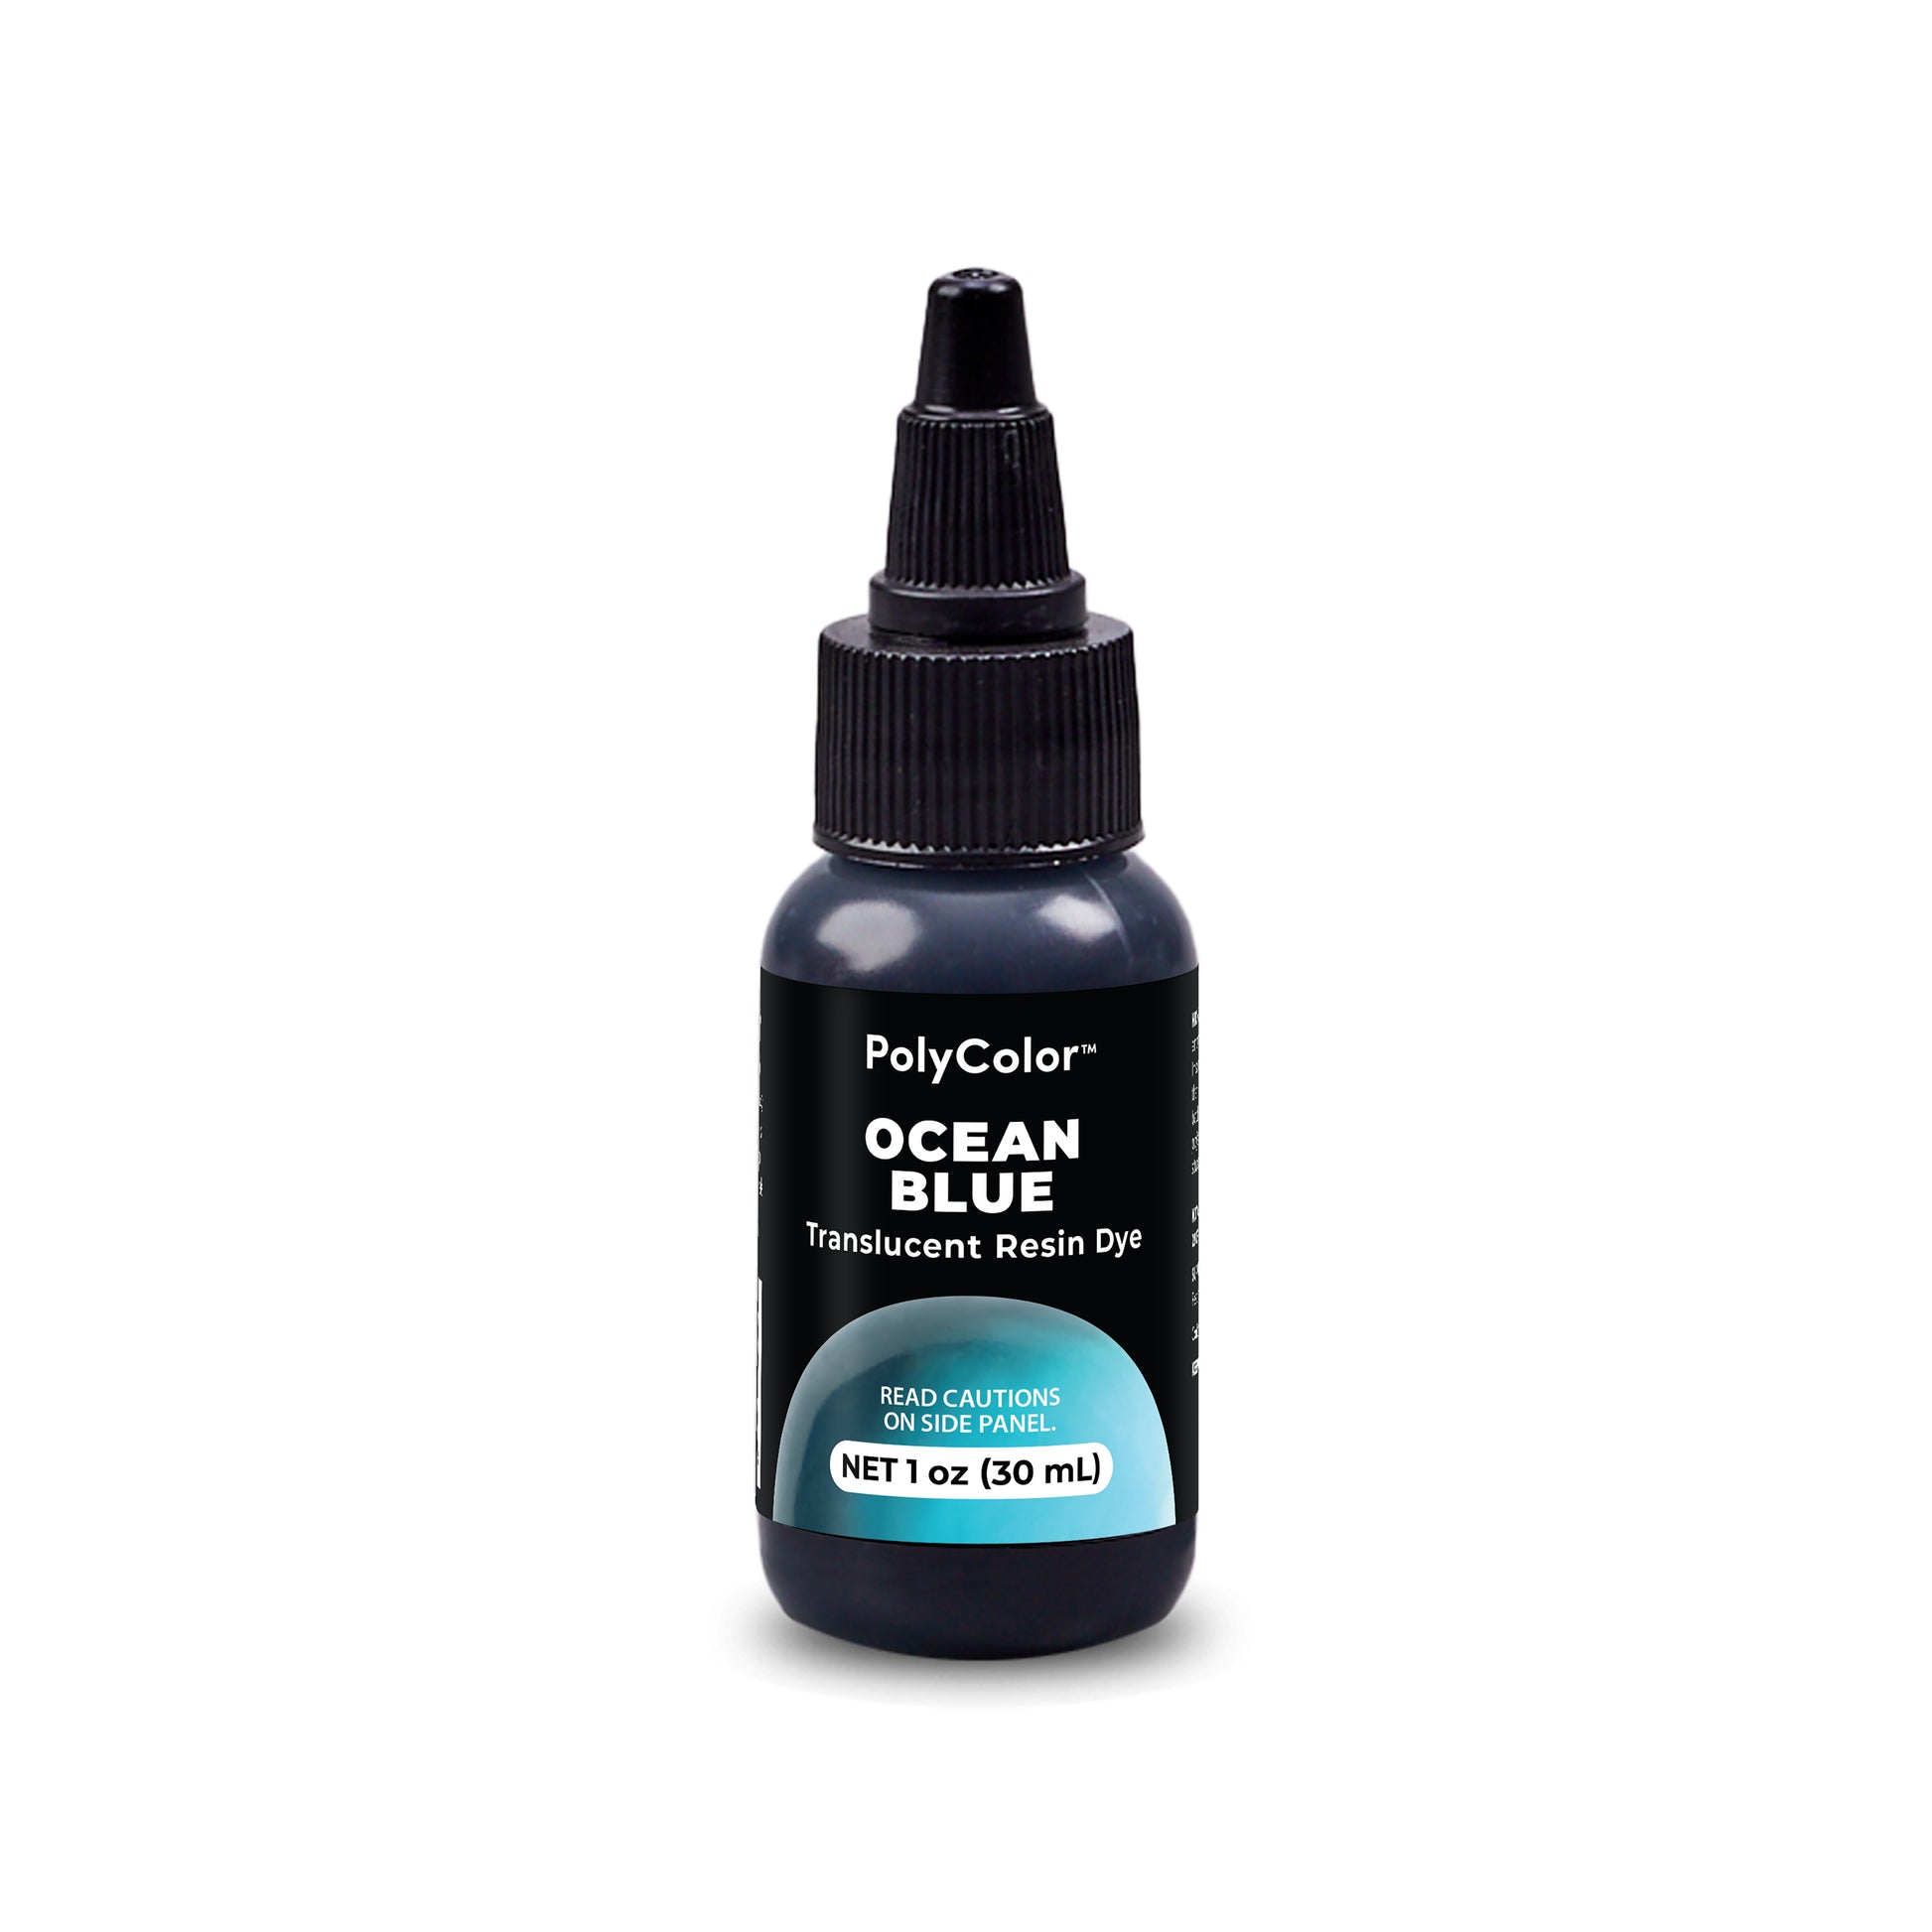
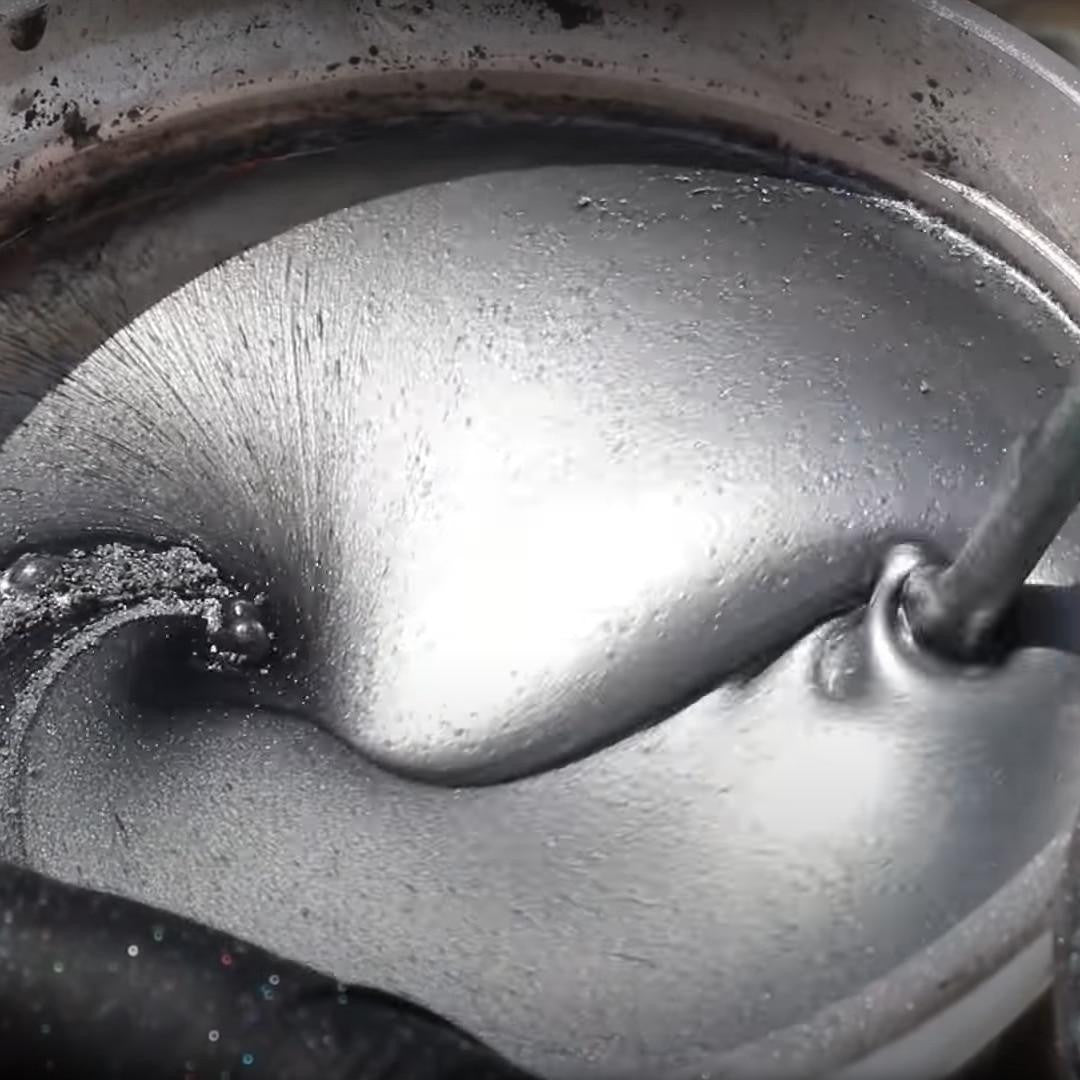
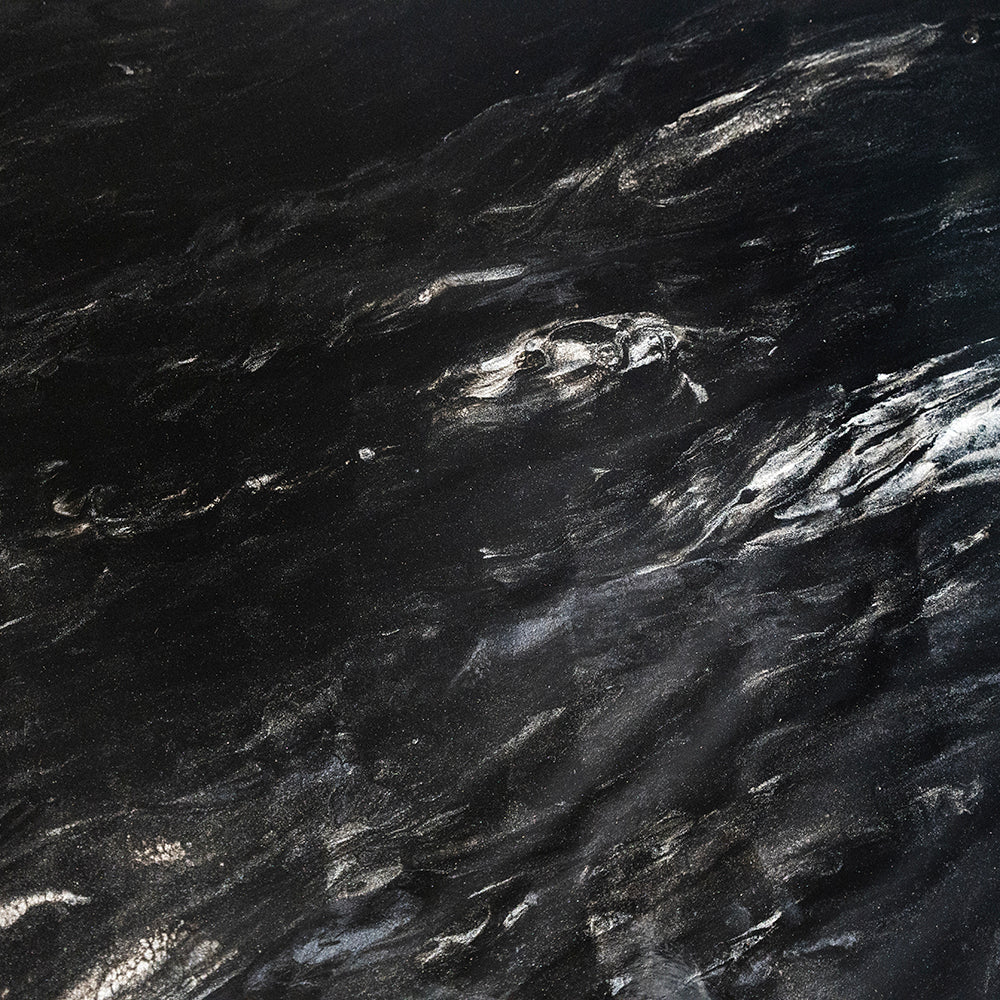
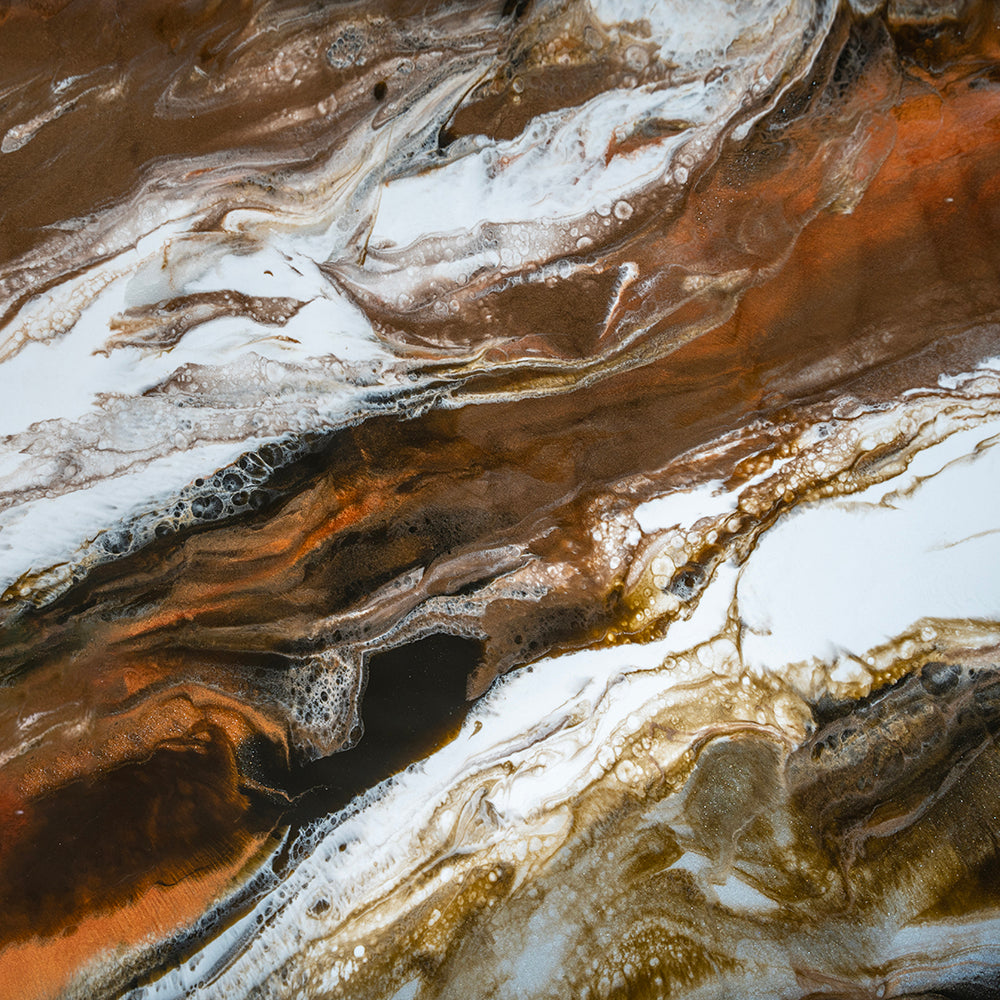
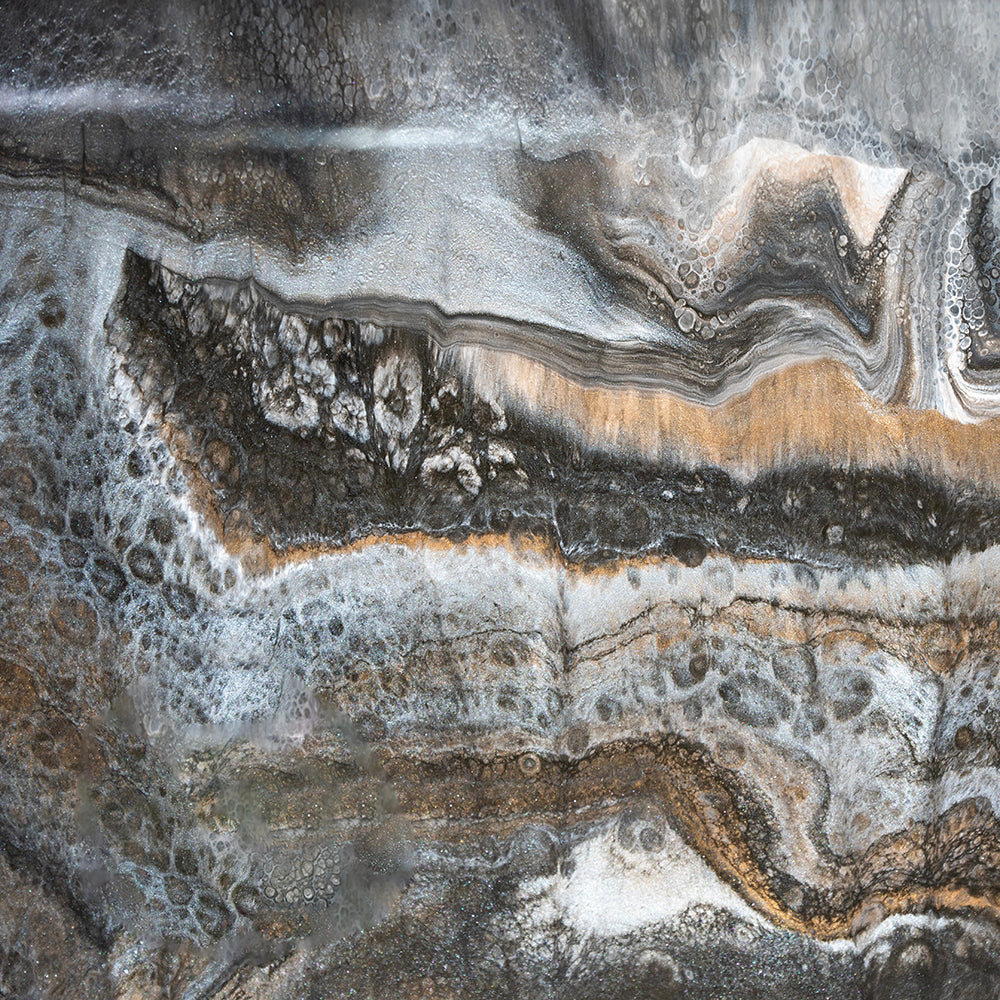
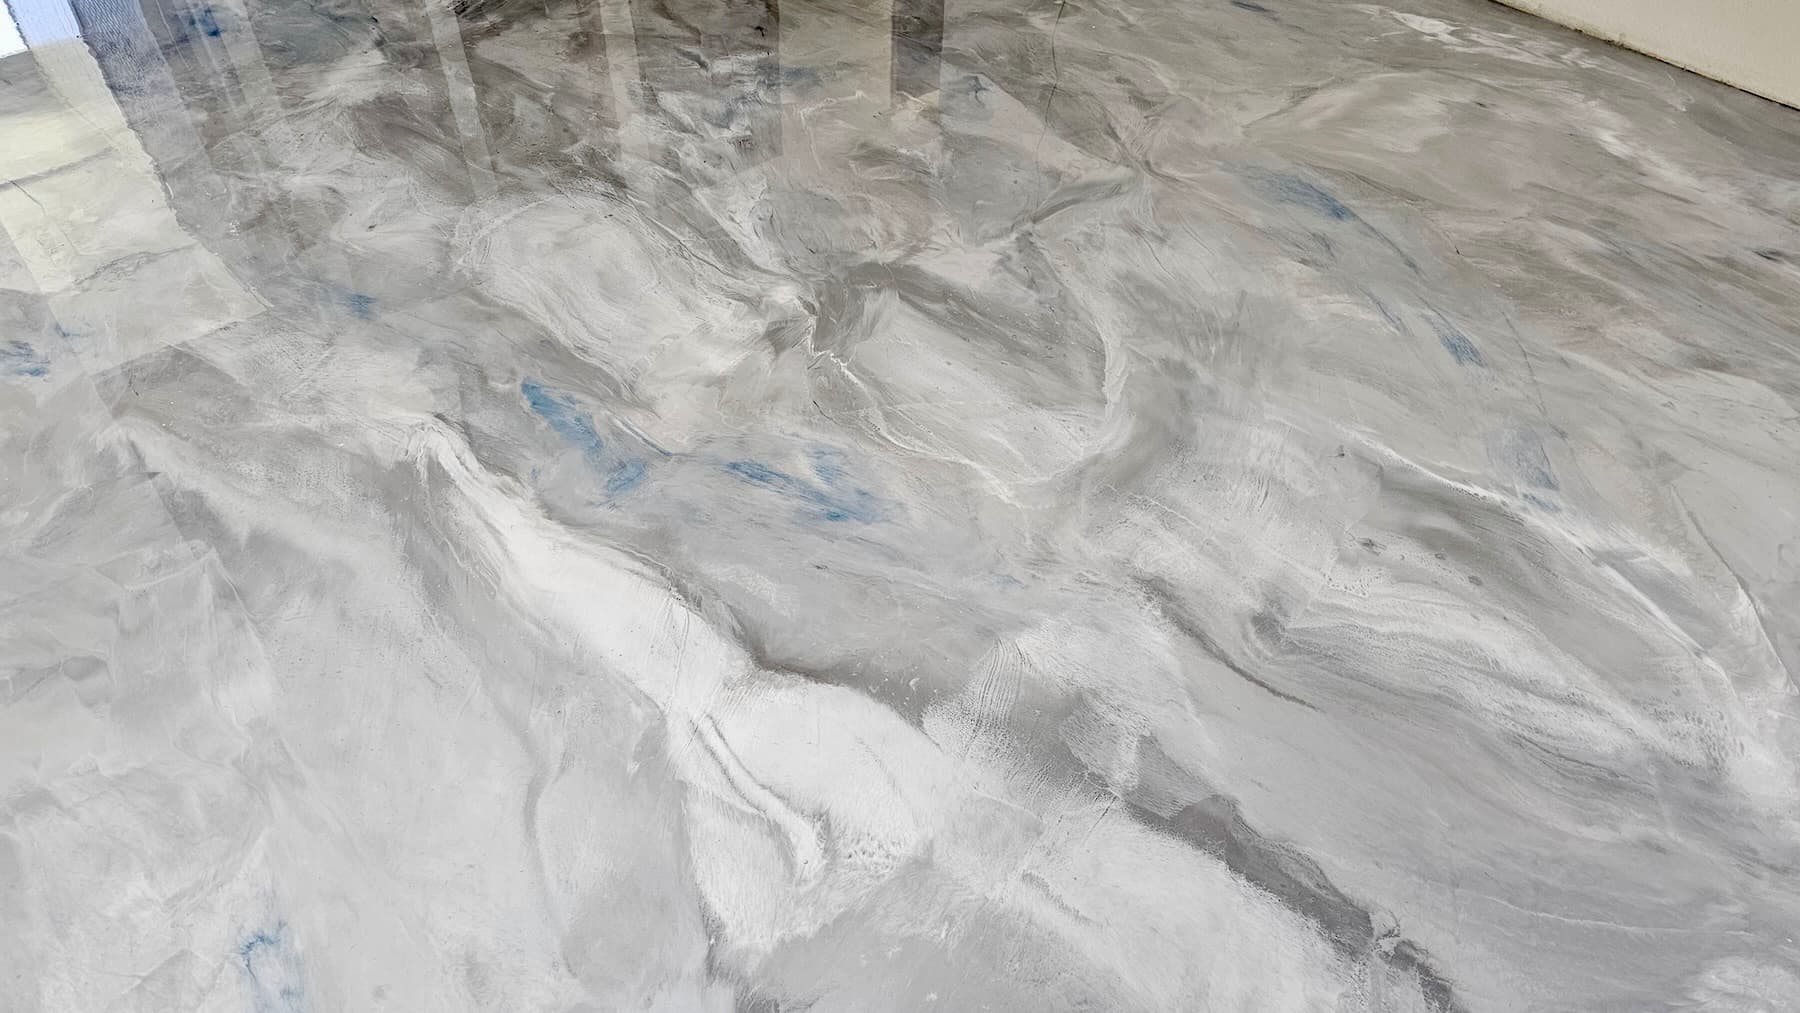
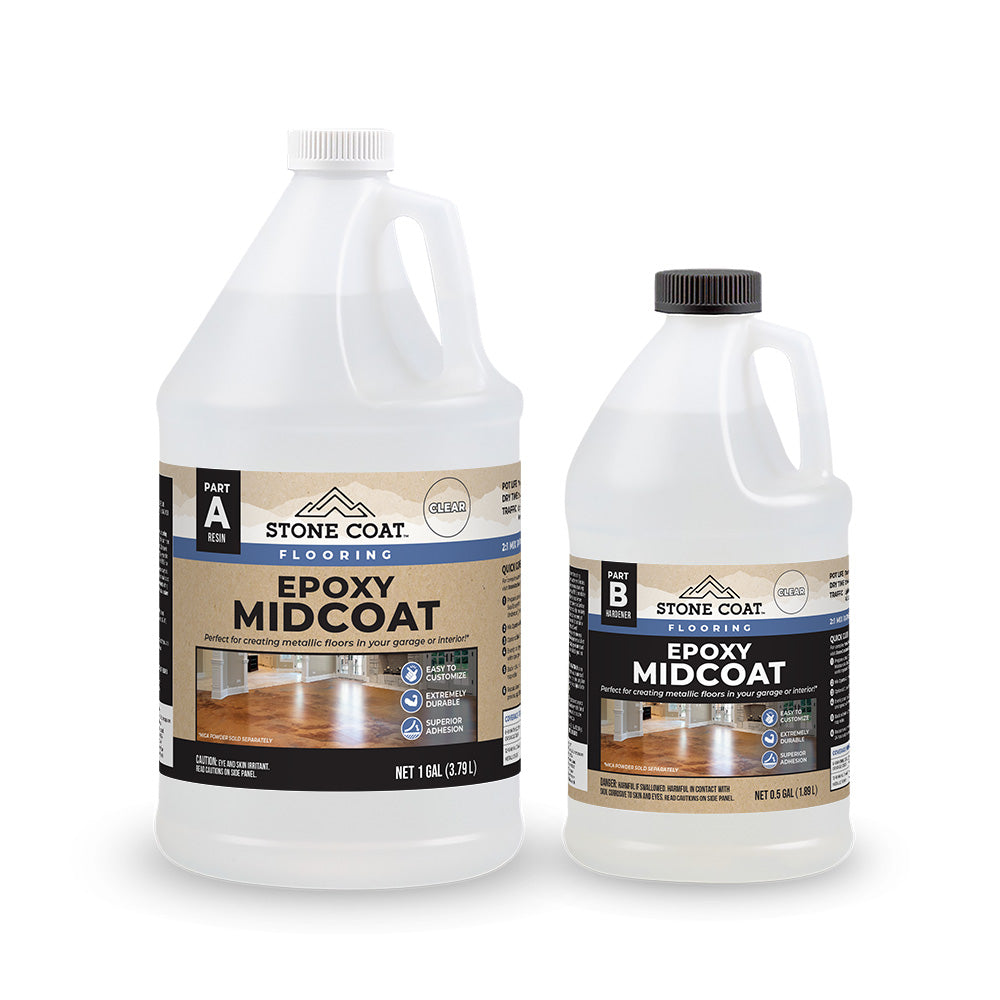
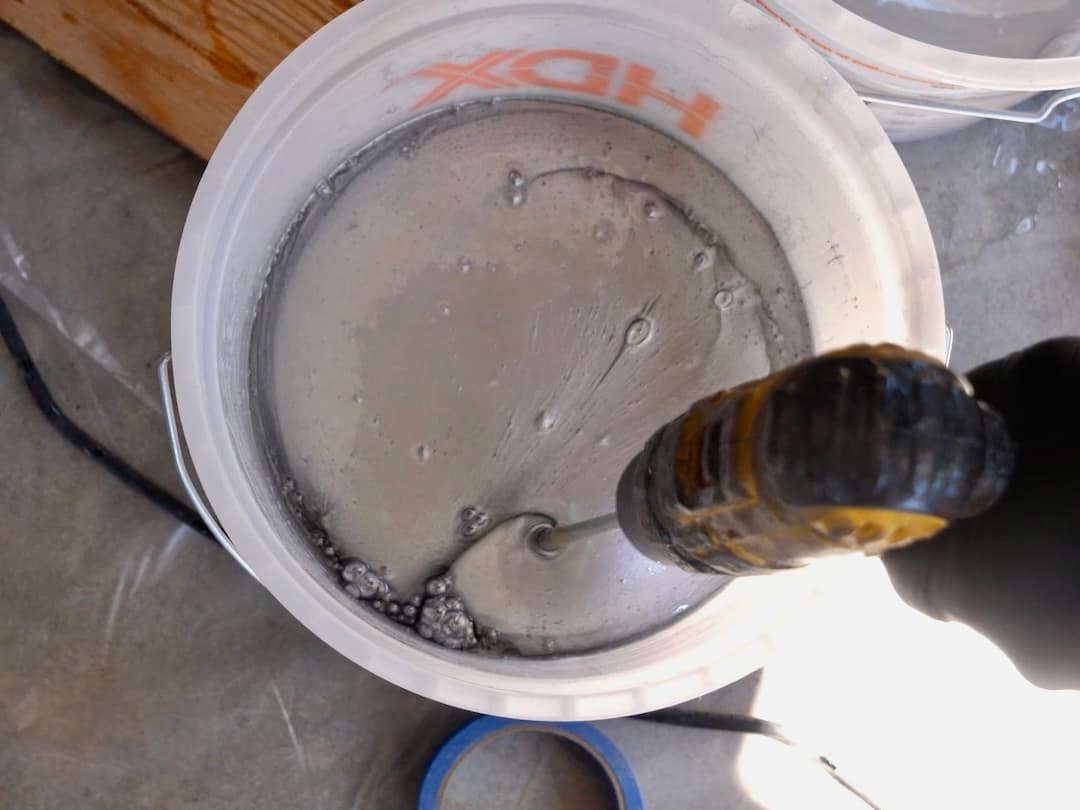
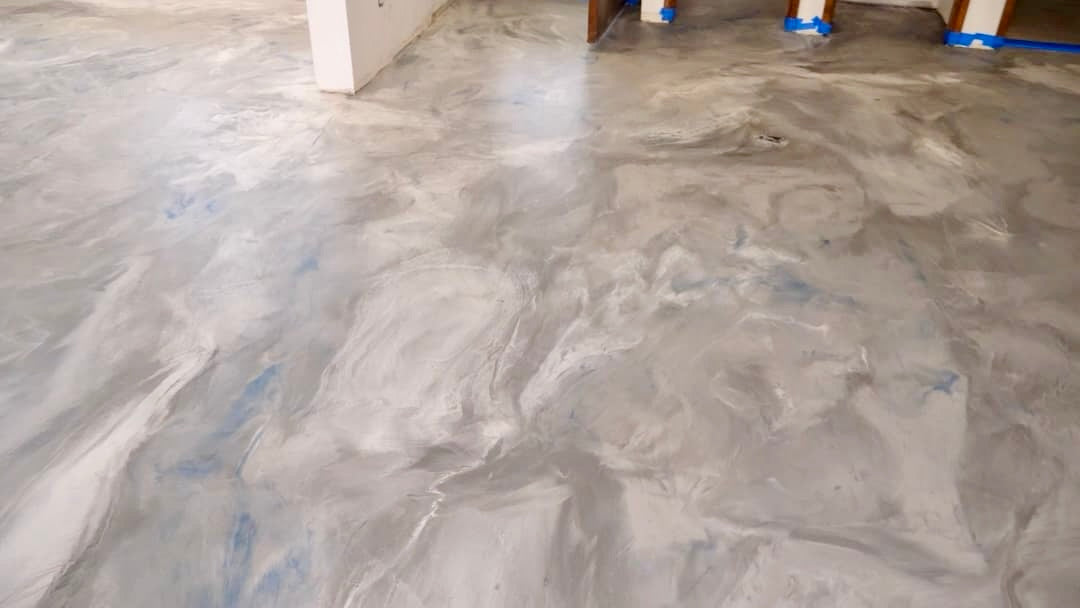
Flooring Epoxy Midcoat is what we use to create our metallic marble epoxy floors. You will need 3-6 ounces for every square foot of the project. For a dirty pour marble floor, you'll need more epoxy per square foot. Mix the Flooring Midcoat for 2-4 minutes with a mixing stick or drill with a paddle mixer at a 2:1 ratio. Divide the mixed epoxy into three different cups and add colors to each one—one should be your main base color and have most of the epoxy, while the other two should be accent colors and have less epoxy. When all three are tinted, you are ready for the next step!
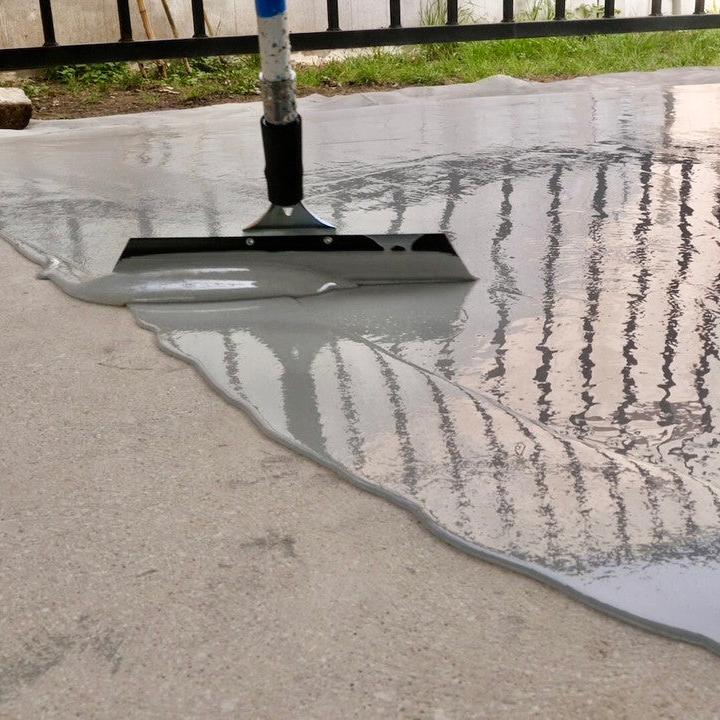
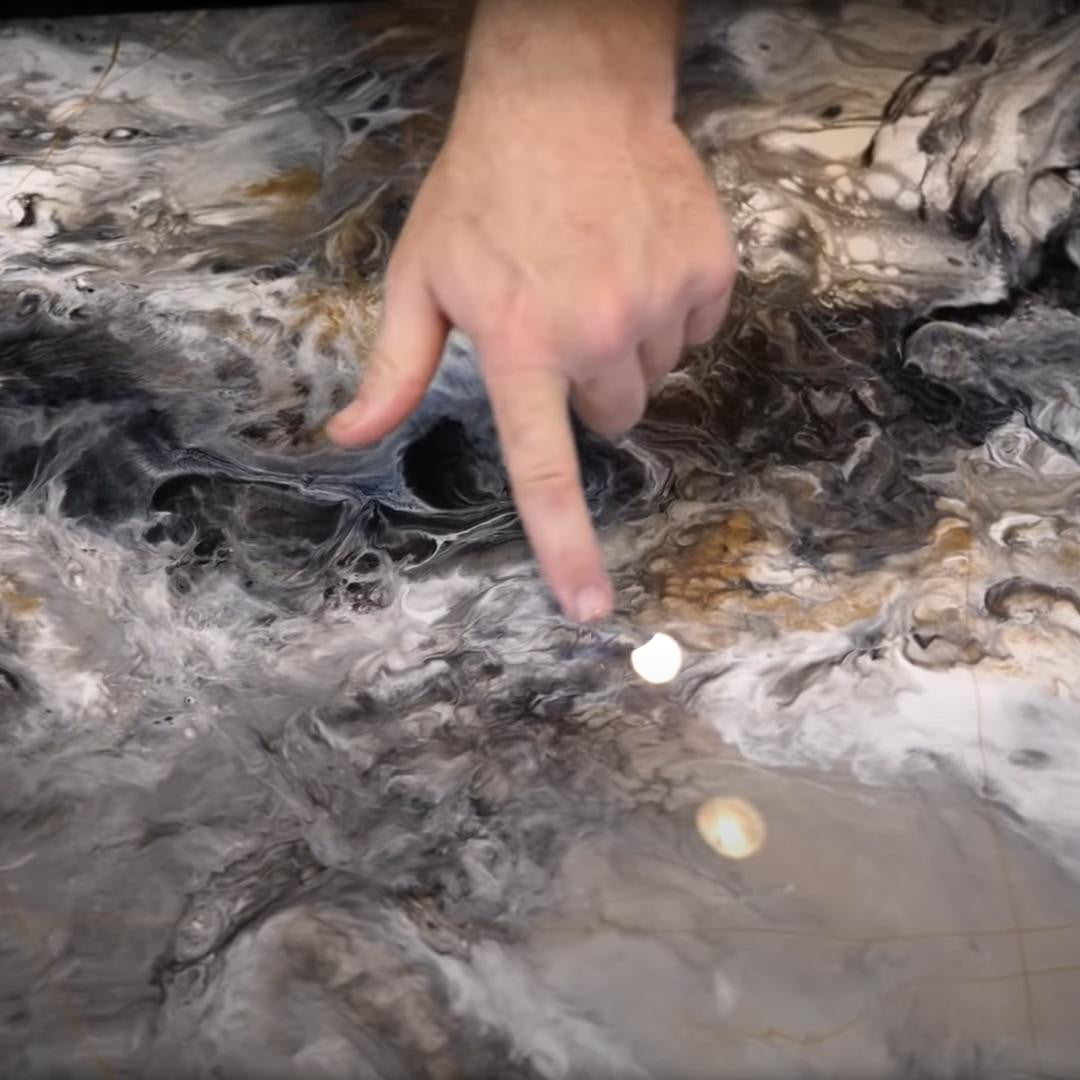
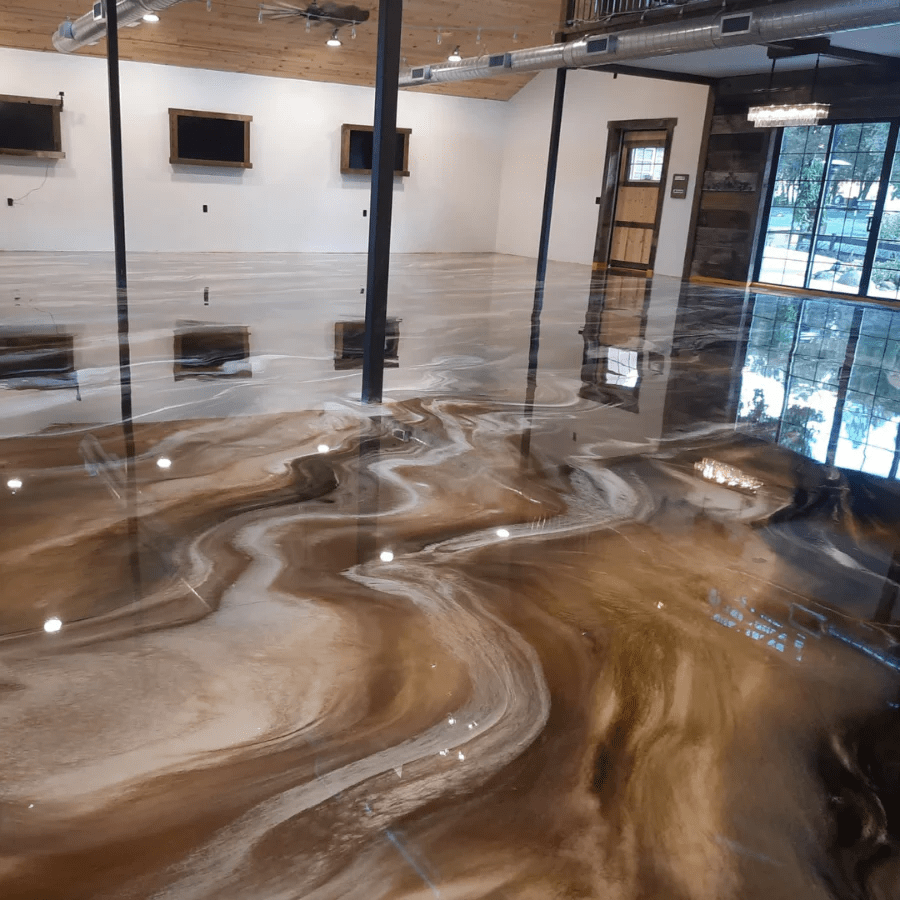
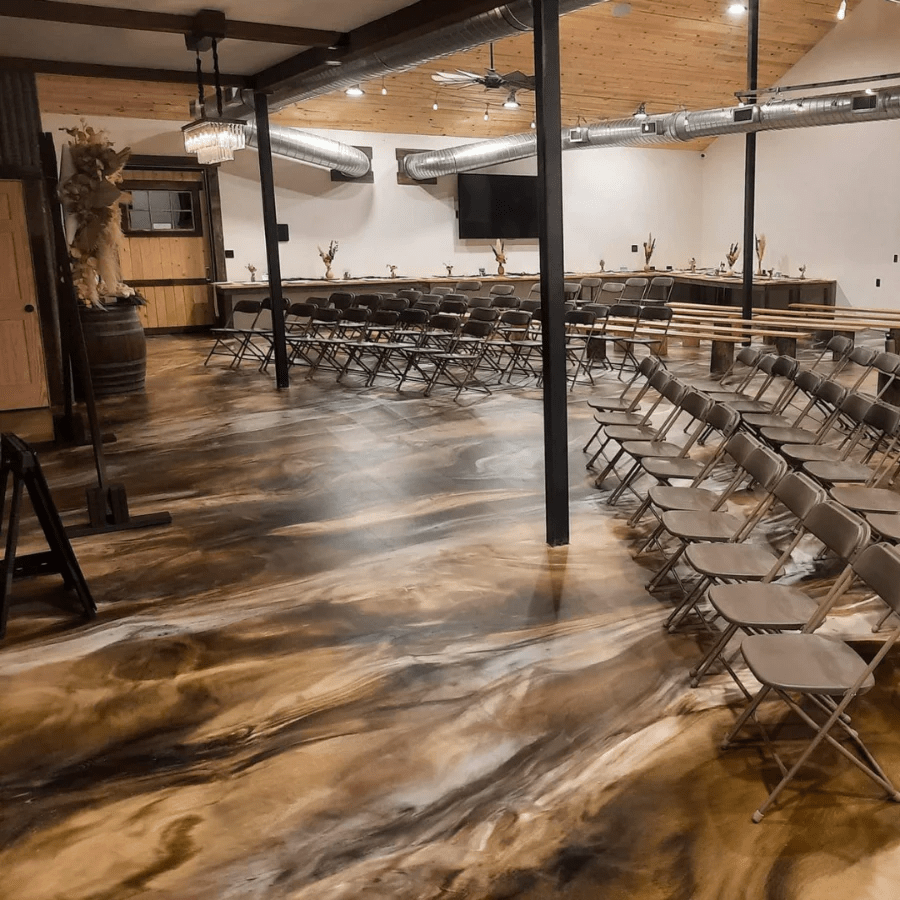
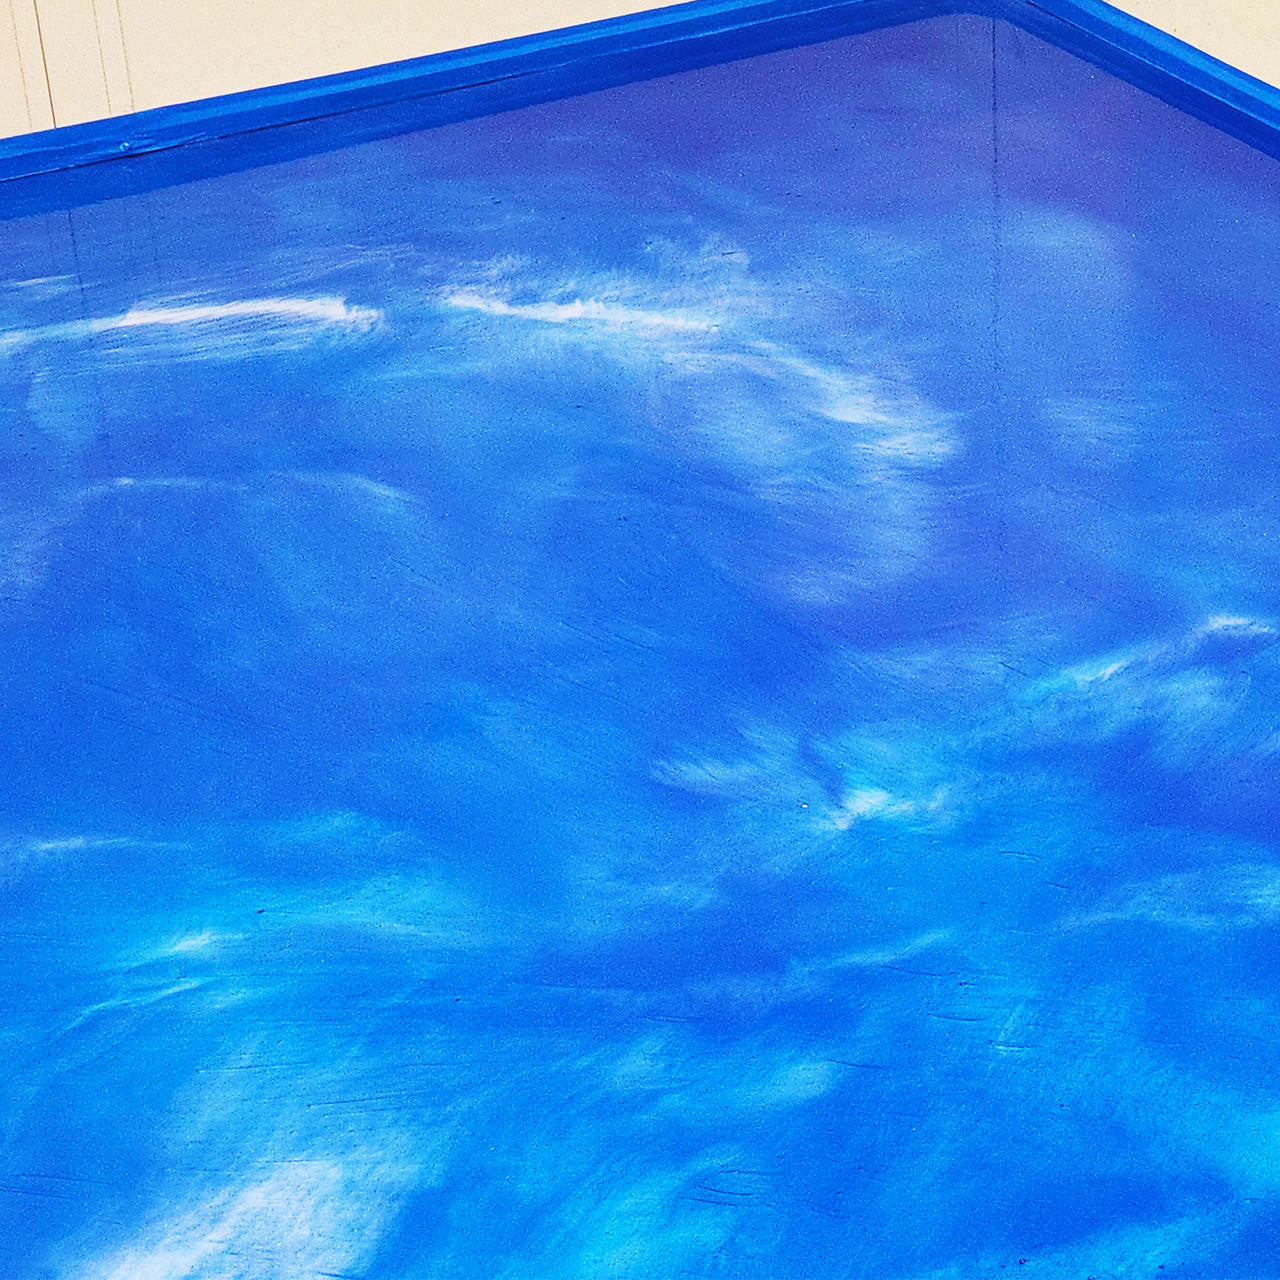
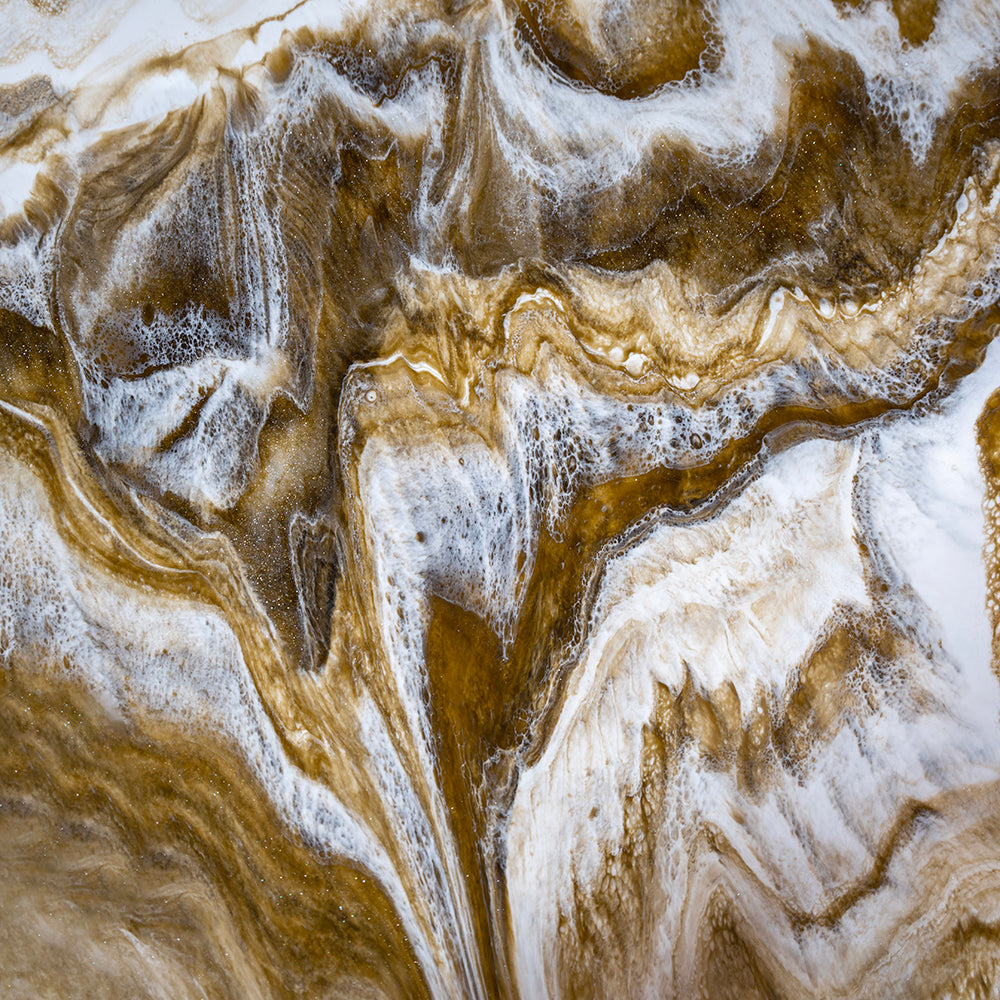
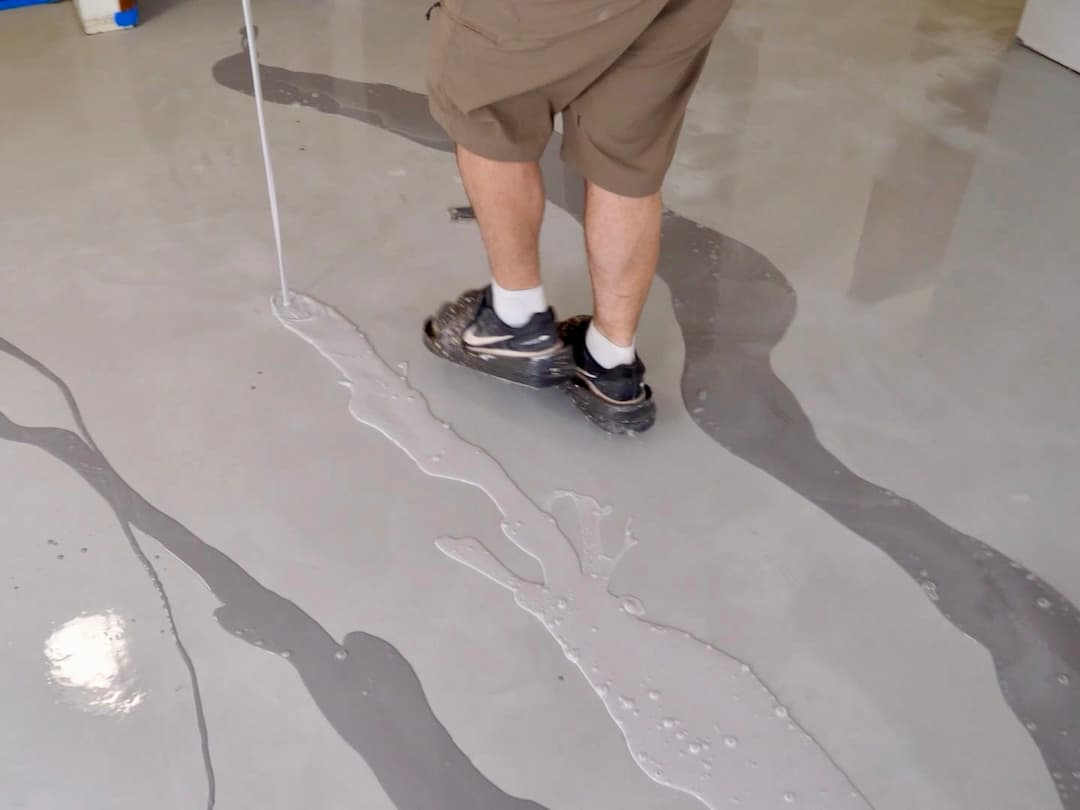
Pour out the main metallic epoxy floor color in ribbons. Use a floor magic trowel to spread it on the whole floor. Spray 91% isopropyl alcohol to get rid of air bubbles in the epoxy.

Add the accent colors to your base color epoxy. Use a floor trowel and light pressure to spread the accent colors until you get the look you want. Use 91% isopropyl alcohol to blend and mix the epoxy colors together. Spray some of this alcohol on any micro bubbles that appear to help to pop them. The floor will keep self-leveling and melding for hours. You can also use a small 6 and a 1/4'' microfiber roller to make patterns in your epoxy and blend it together. Allow the floor to cure 24 hours after mixing in room temps above 65 degrees Fahrenheit.

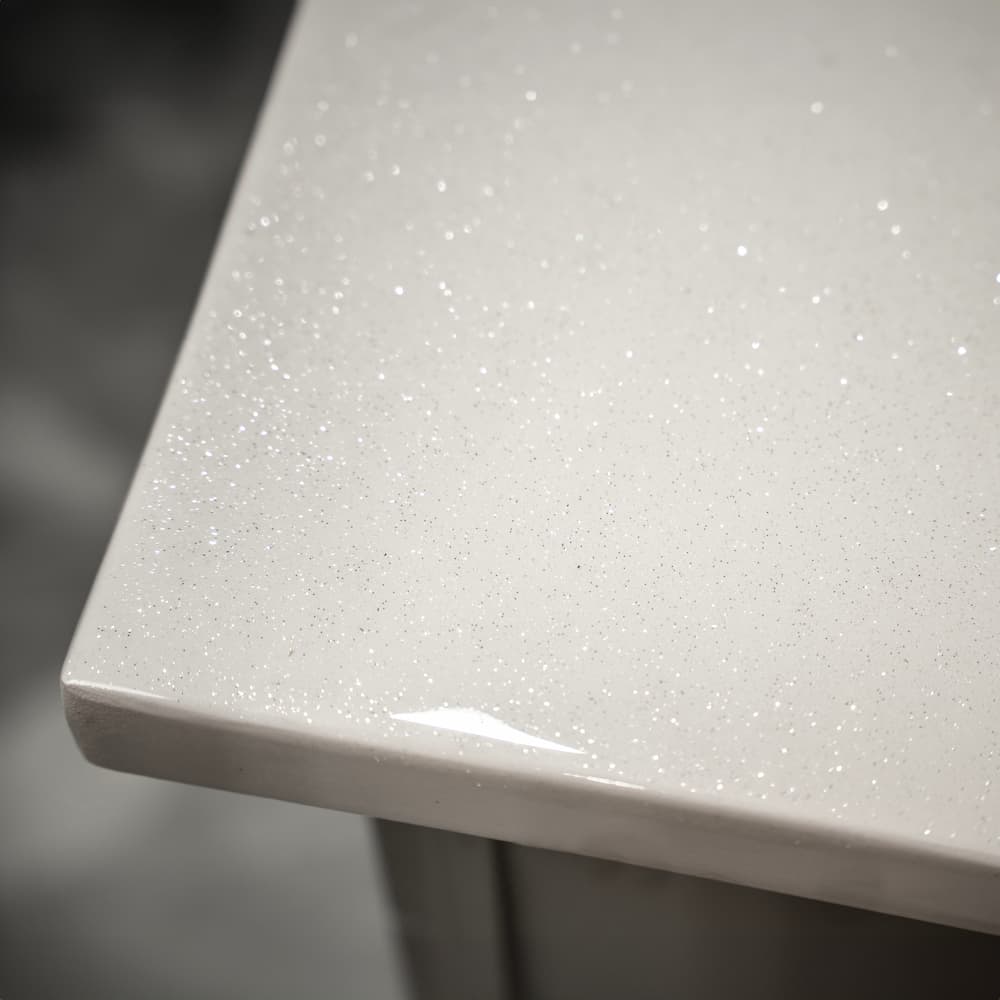
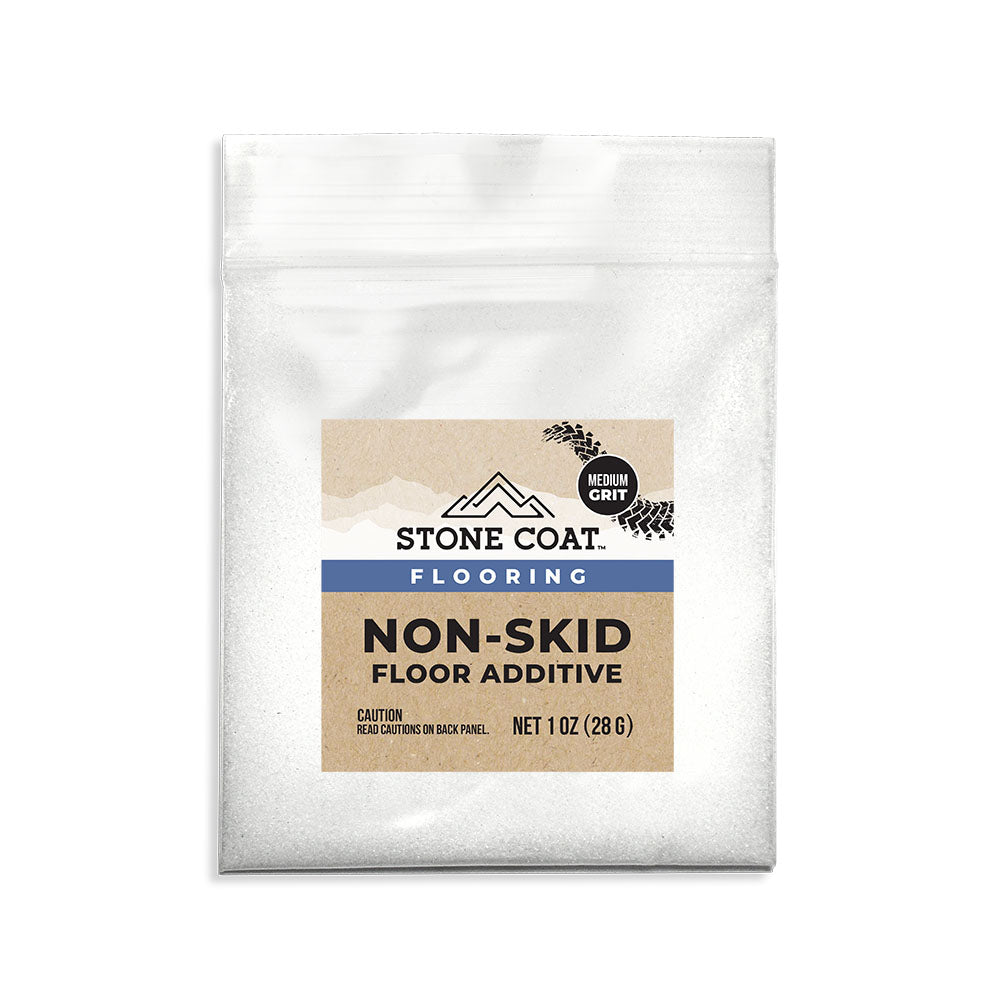
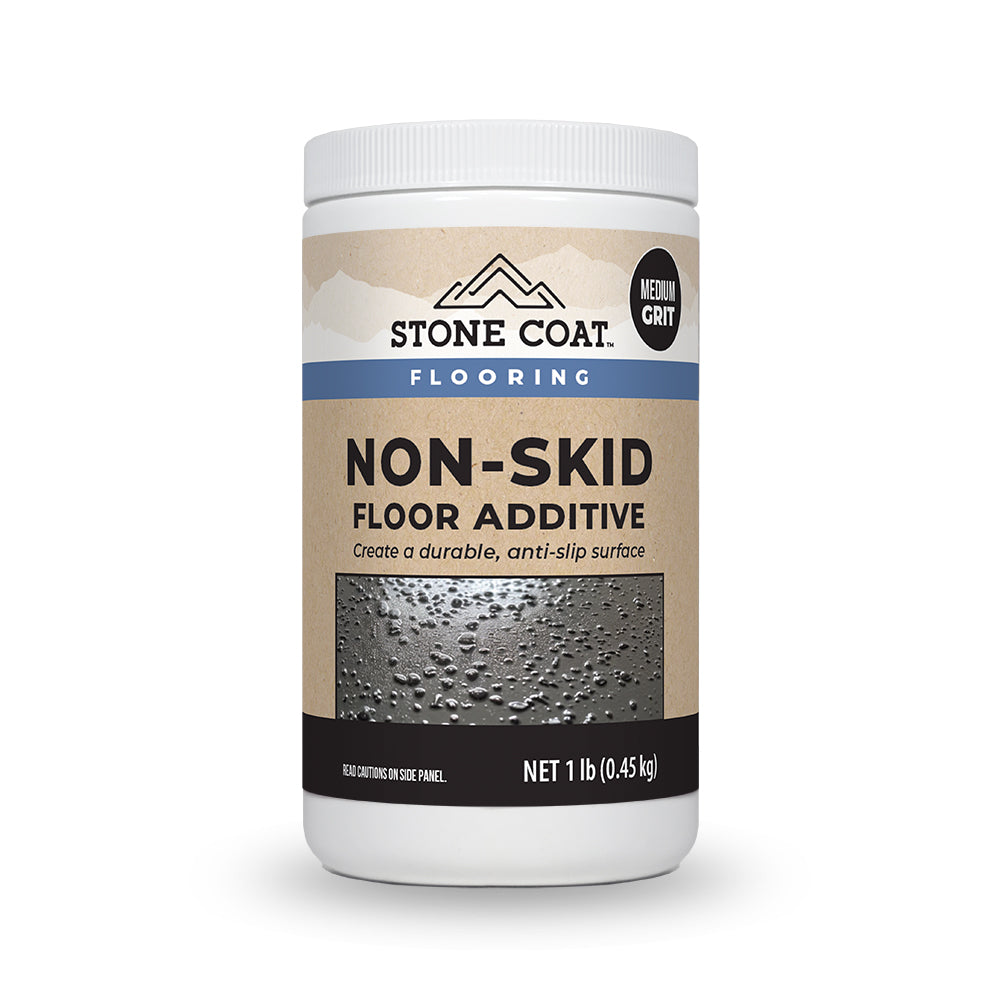
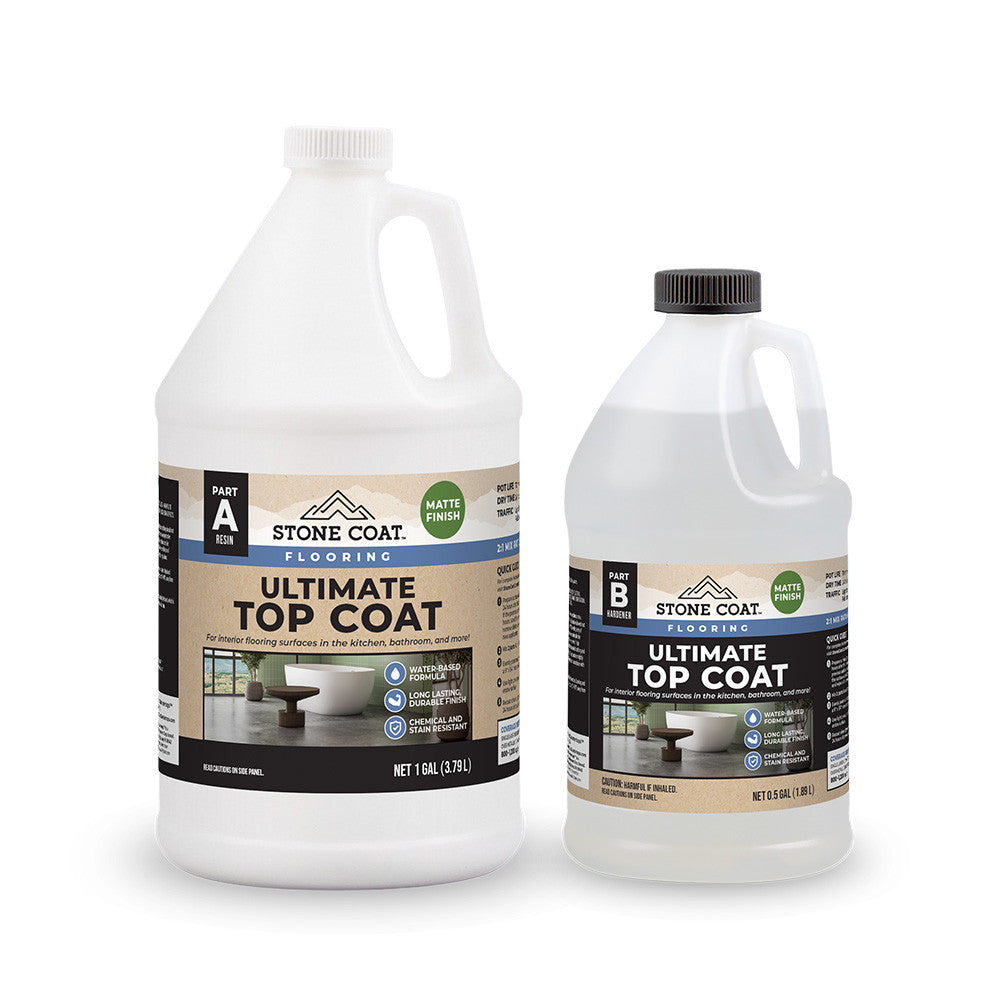
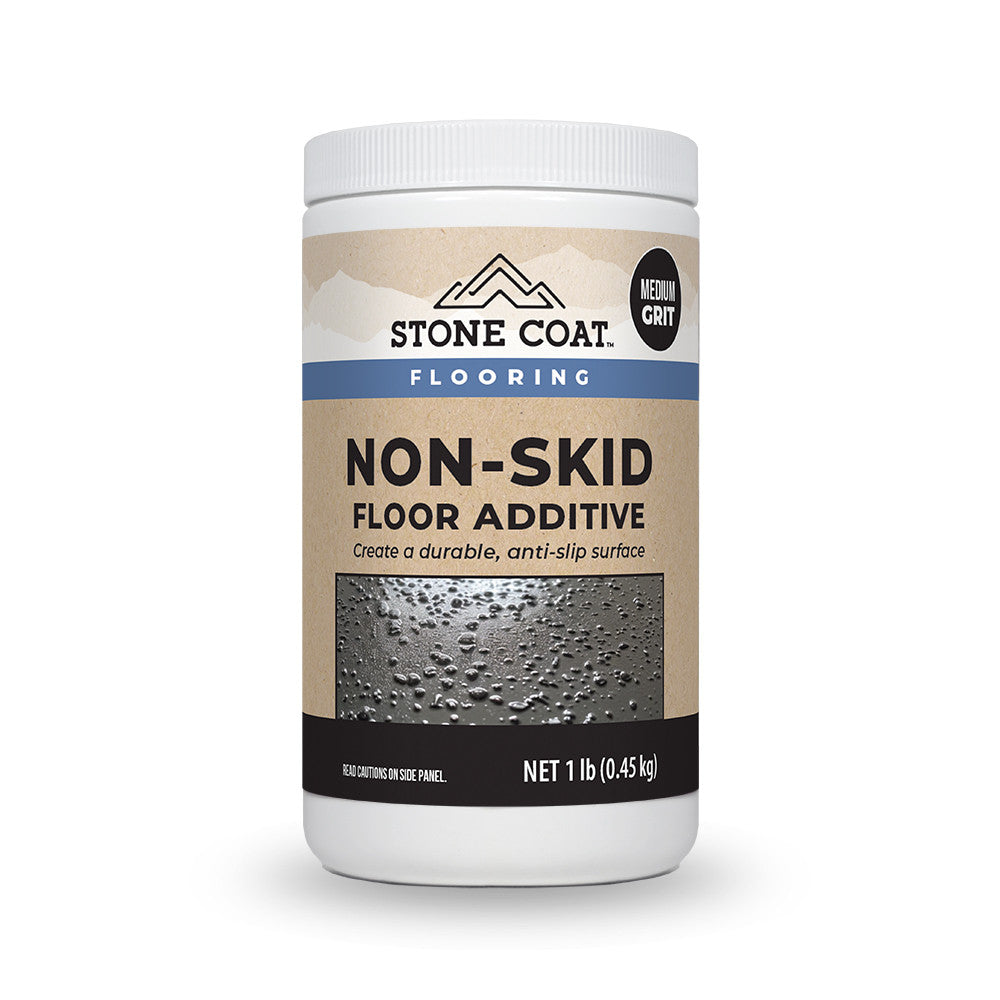
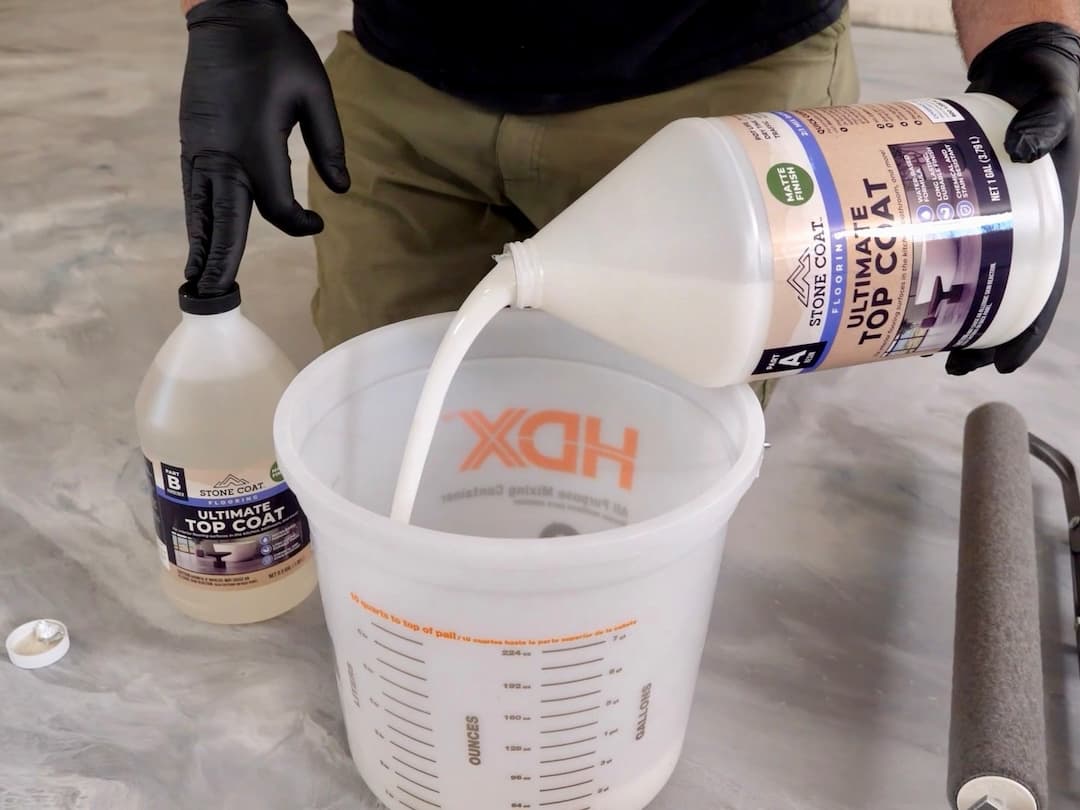
We recommend using our Flooring Ultimate Top Coat, in either matte or gloss finish, as the final top coat to visually enhance and protect your new metallic marble epoxy floor. Mix the full Flooring Ultimate Top Coat Kit for 60-90 seconds with a paint stir stick. For extra safety and slip resistance, add our Non-Skid Floor Additive to the Flooring Ultimate Top Coat (Per 1.5 gallon kit of top coat, add 2 ounces of our Non-Skid Floor Additive for light grit, 3 ounces for medium grit, or 4 ounce for heavy grit. Mix the material after adding the Non-Skid Flooring Additive until fully incorporated.
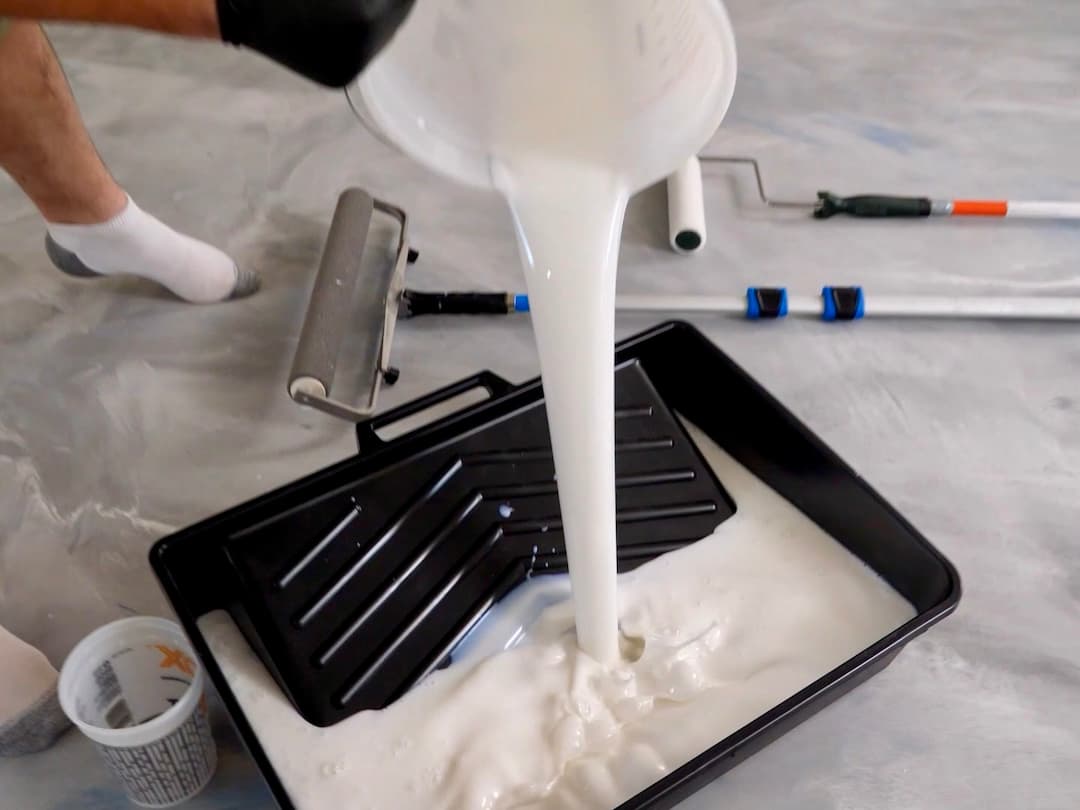
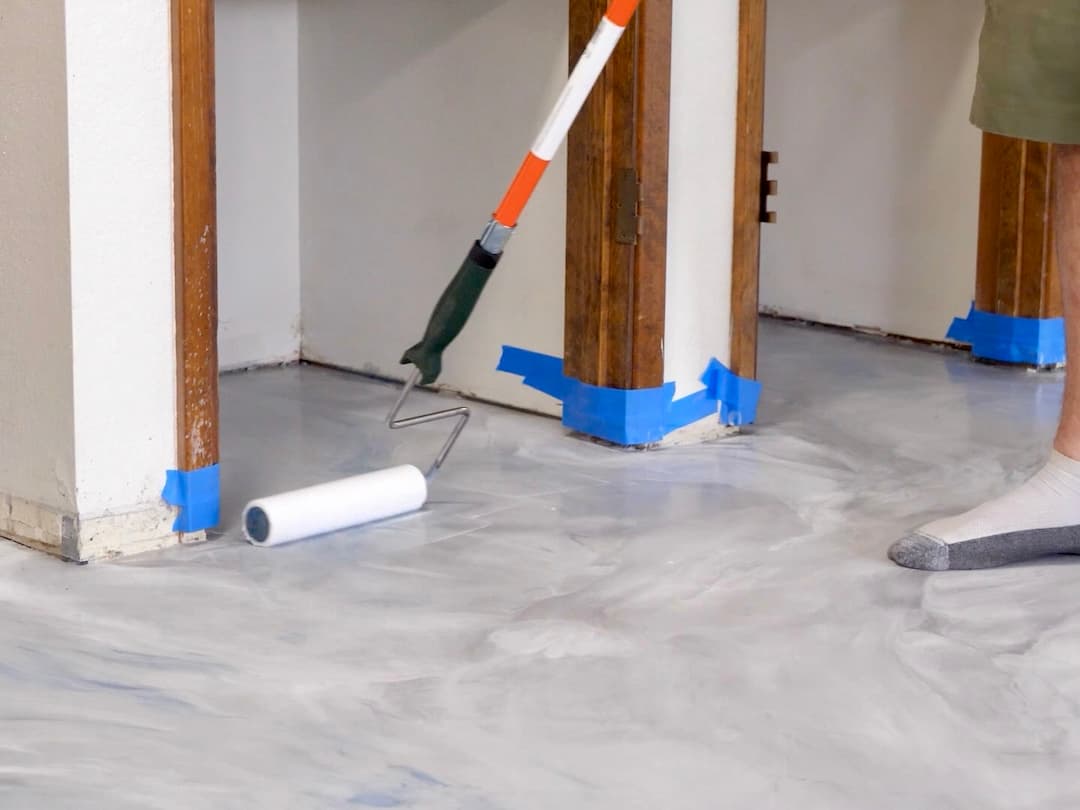
Pour the mixed Flooring Ultimate Top Coat into a large paint pan. Using a 3/8'' nap microfiber roller, apply the Flooring Ultimate Top Coat evenly across the floor, feathering lap lines as you go. For edges and perimeters, use a 4-6'' mini roller. For bigger jobs, use wider rollers so you can cover more of the floor faster. Apply it evenly in a thin layer—roll from front to back and side to side in a cross-hatch pattern. Make sure not to apply too thickly. You will ideally want to use about 1-2 ounces of top coat per square foot. Let the top coat cure above 65 degrees Fahrenheit. Wait 24 hours before anyone walks on it again.
Project Complete! Light foot traffic is allowed in 24 hours and you can park your vehicles back on the fresh epoxy in as little as 72 hours. Use floor cleaners designed for tile or vinyl flooring for long lasting beautiful results. Keep from sliding heavy sharp items. To keep your floor looking fantastic, use felt pads under chairs and heavy furniture. Enjoy your new floor!
YOU GOT THIS!
Our premium epoxy flooring kits, paired with free step-by-step YouTube tutorials, make it easy to achieve a seamless, professional finish in your garage, basement, or any space in your home, while saving time and money.
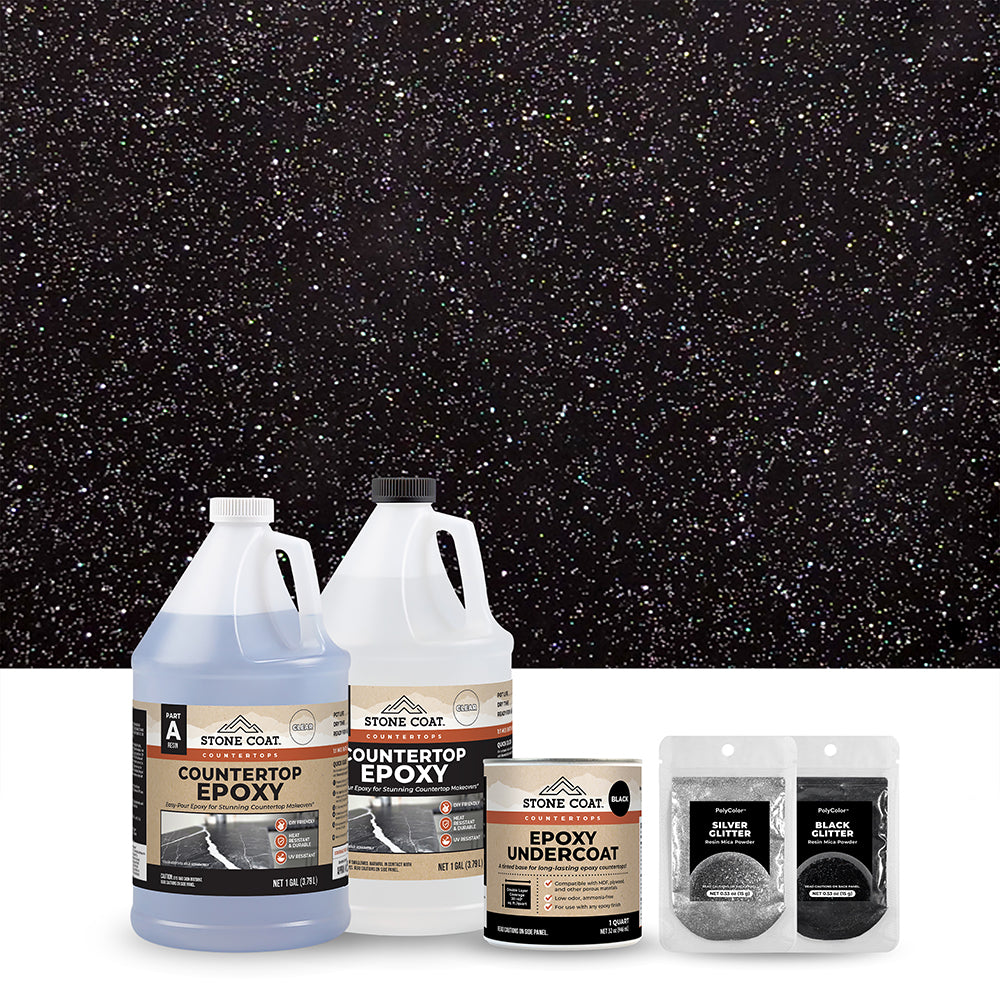
Now that your floors look amazing, it's time to upgrade those countertops! Our Epoxy Countertop Kits are just as easy to use as our flooring system, creating a high-end stone look for a fraction of the cost—saving you thousands on natural stone and professional installation.