


In stock
Carrara Marble Countertop Kit
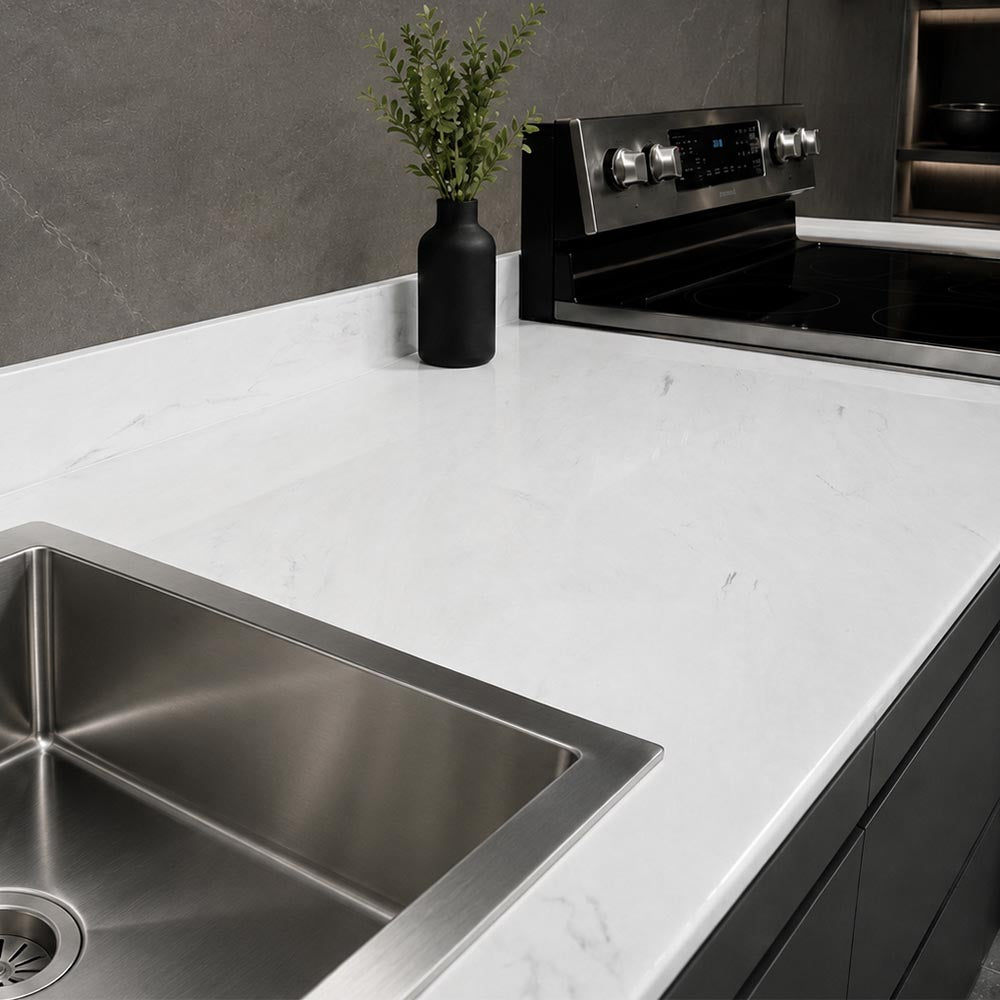
Carrara Marble Countertop Kit
The new standard for true white countertops.
Ideal for countertops, tabletops, bar tops, and more
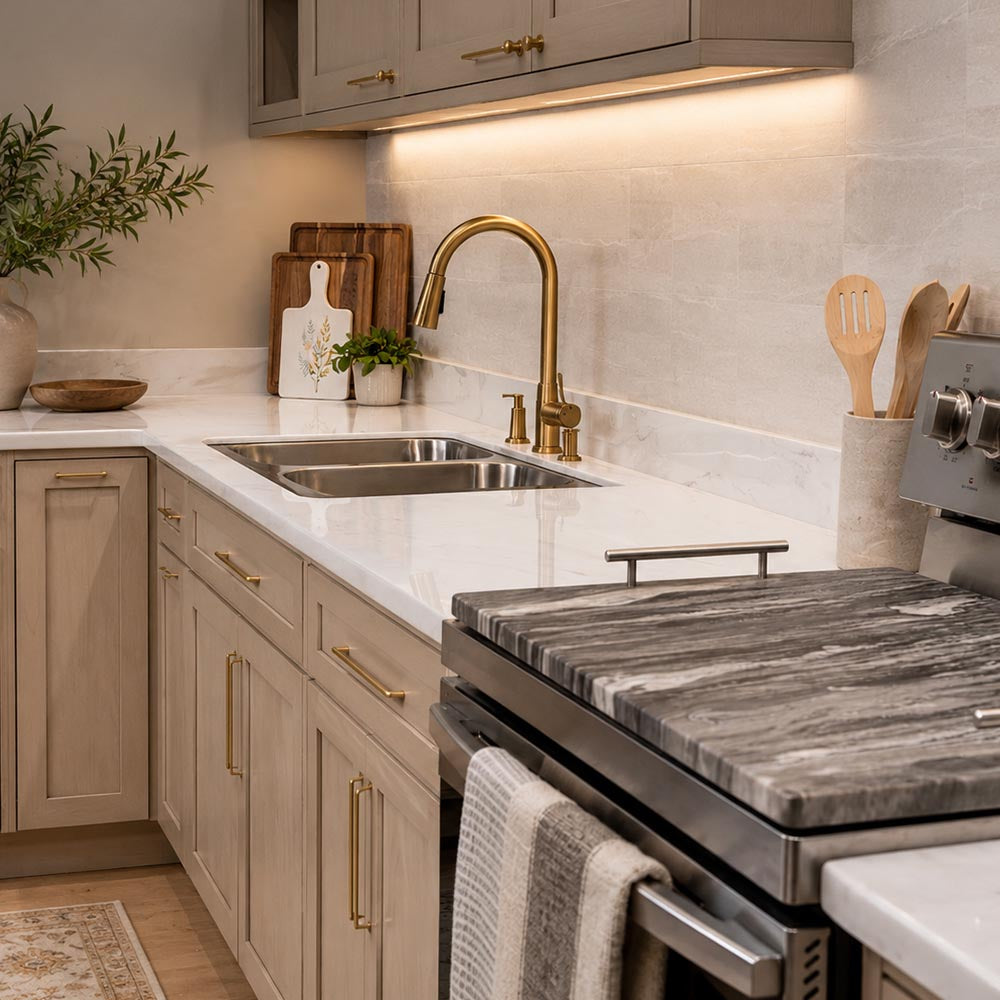
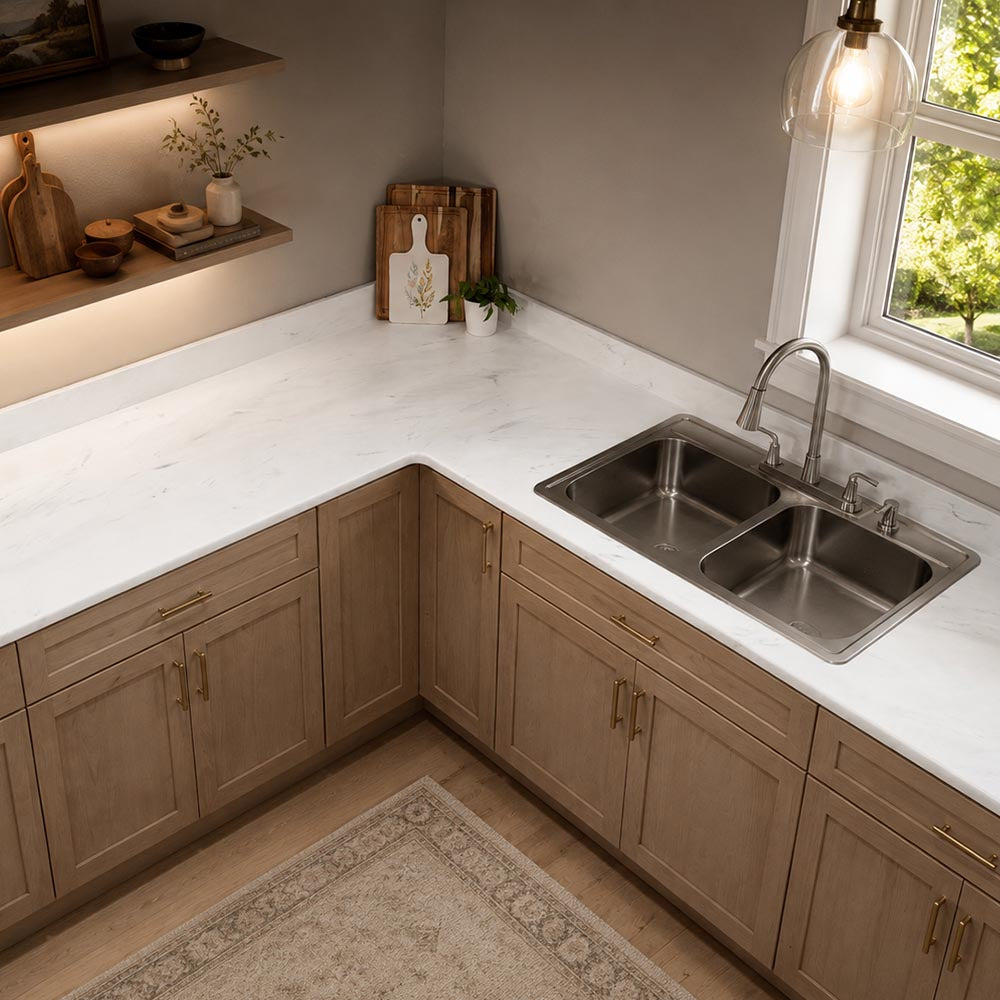
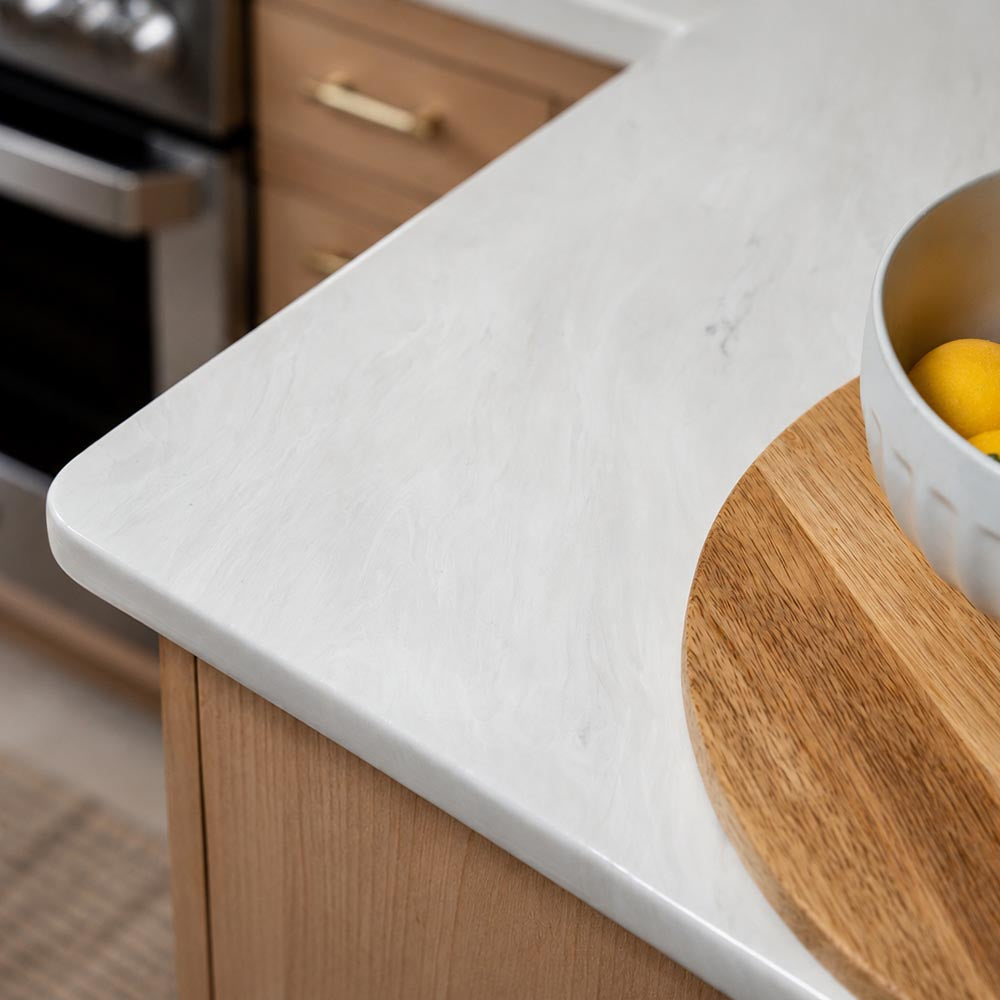
Experience the timeless elegance of Carrara marble countertops—famous for their polished white tones and delicate gray veins—minus the hefty price tag of natural stone. With the Carrara Marble Countertop Kit from Stone Coat, you can easily tackle projects of any size. Formerly our epoxy countertop kit, now upgraded with non-yellowing APEX polyaspartic technology, each kit comes with all the essential metallic pigment powders and dyes you need to create beautiful, marble-like finishes that will leave your guests in awe.
The classic white and gray design complements traditional and modern fixtures and decor alike, making it a fantastic pairing with our rich blue, Indigo Twilight Cabinet & Furniture Paint, for added depth and style in your space. Elevate your home with APEX white countertops, delivering the beauty of Carrara marble with the advanced durability of APEX polyaspartic technology. Your dream DIY countertops await.
Kit Includes:
- Stone Coat APEX Polyaspartic Countertop Coating
- PolyColor Metallic Pigment Powders: White, Black
- APEX Poly White Countertop Dye
- APEX Poly Fuse Countertop Primer
- APEX Surface Control Finishing Spray
Key Features
Key Features
Preparation
Preparation
Application
Application
Technical Information
Technical Information
Share this product
WHY CHOOSE A STONE COAT COUNTERTOP KIT?
THE BENEFITS ARE UNDENIABLE.
Luxury for less
We know life's essentials come first, but that doesn't mean luxury should be out of reach. Our DIY epoxy and APEX polyaspartic kits make it possible to create high-end stone looks, at prices that fit almost any budget.
Professional Results
Imagine transforming your home with your own hands, without the cost or hassle of replacement or hiring a contractor. Effortlessly create sleek, lasting, Stone Coat countertop finishes, even with little time or experience.
Durable Beauty
Our countertop coatings are heat, scratch, and impact-resistant, making them ideal for high-traffic kitchens and baths. Unlike granite or marble, they resist chipping and cracking while maintaining long-lasting color and clarity.
Unmatched Versatility
Whether replicating a popular stone-look or creating something completely original, our products allow you to fully customize your bathroom or kitchen countertop with our wide variety of colors, textures, and finishes.
Never compromise on style
If you've been searching for the perfect combination of aesthetics, durability, and cost-efficiency, Stone Coat countertop coating systems are the clear winner. Our wide range of DIY kits make it easy to get started. Whether you're upgrading an old surface or starting from scratch, Stone Coat is the modern, savvy choice that delivers on both quality and style.
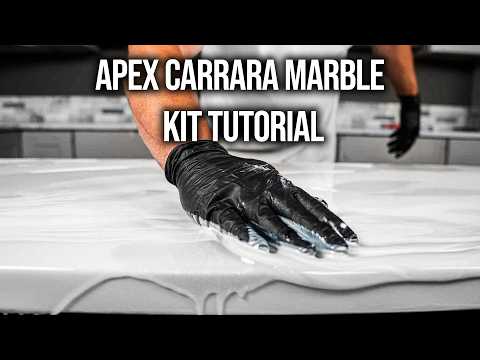
Watch, learn, create
Our range of DIY epoxy and APEX polyaspartic countertop kits, paired with free step-by-step YouTube tutorials, makes it simple to achieve stunning results from the comfort of your home.
Frequently asked questions
Can I use a Stone Coat Countertop Kit on my newly fabricated countertops?
Can I use a Stone Coat Countertop Kit on my newly fabricated countertops?
Yes! You can use our kits on newly fabricated countertops made from MDF. Be sure to use the correct products and follow the proper surface prep instructions whether you're using APEX or Countertop Epoxy.
What should I use to prep and clean for my project?
What should I use to prep and clean for my project?
For best results, DO NOT use acetone to clean or prep your surface.
We recommend using 91% isopropyl alcohol for:
- Surface preparation before pouring
- Cleaning between poured layers
- Creating cell textures and effects when using Countertop Epoxy
Using acetone may interfere with adhesion and final finish quality. Stick with 91% isopropyl alcohol for a clean, professional result.
Will my white countertop turn yellow over time?
Will my white countertop turn yellow over time?
No. Our white and light countertop kit styles have been updated to use the APEX system, which was engineered specifically to preserve true whites and light-colored countertop designs over time.
Unlike traditional epoxy systems, which can naturally amber or yellow as they age, APEX is designed with advanced UV stability to help maintain color clarity and brightness. Our UV chamber testing indicates 20+ years of color stability.
With proper application and care, an APEX countertop coating is built to provide long-term durability and help your white countertop stay bright for years to come.
Does my Stone Coat countertop kit have a shelf life?
Does my Stone Coat countertop kit have a shelf life?
Yes. Stone Coat countertop kits have a shelf life, and storage conditions can impact product performance.
APEX countertop kits have an unopened shelf life of 18 months when stored properly. Once opened, we recommend using the product promptly and resealing containers tightly between uses.
Epoxy countertop kits have an unopened shelf life of approximately 1 year. After opening, exposure to oxygen can begin to affect the material, so proper storage is important. Keep containers tightly sealed and store in a cool, dark place. When stored properly, opened epoxy products typically perform best when used within 6 months.
For the best results, always check your product packaging and use materials within the recommended timeframe.
