Countertop Template Tool Checklist | Stone Coat Countertops
Oct 17th 2023
Template Tool Checklist
We get asked all the time about our countertop template techniques. I've been in the countertop industry for years and this method I'm about to show it's gonna make your templating go to the next level.
Template Tool Checklist:
- ⅛” thick template material cut into 2” wide strips
- 2P-10 thick glue & accelerator
- 5-gallon bucket for trash and cut-offs
- 2” masking tape
- Tape measure
- Razor knife with a new blade
- Pencil & Sharpie
- Speed square
- Clamps
Let's get started. This video is jam-packed full of pro tips for the do-it-yourself for the weekend warrior and the contractor artisan. Adhesion is key. Acetone will be our glue. For this template material, just a couple of drops gives you permanent adhesion and it won't come apart.
Any little squeeze bottle will work and you don't need a lot of acetone for a permanent bond that's going everywhere. Now what you want is just a little bit of acetone coming out.
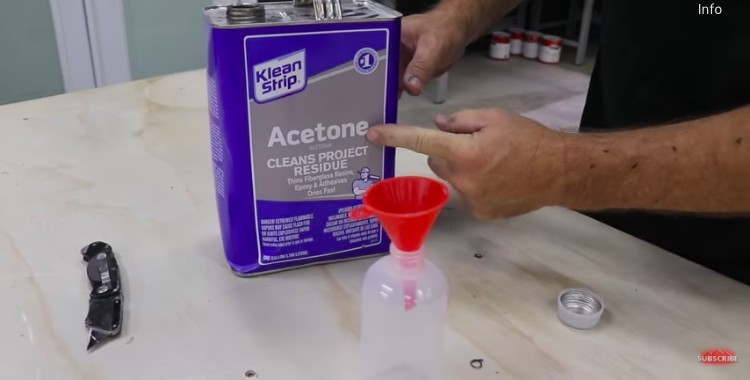
Countertop Template Materials You’ll Need
Okay, you only need a few things to make a very accurate and helpful template. You need template material, you need acetone, you need a razor knife, and you need a sharpie when taking notes.
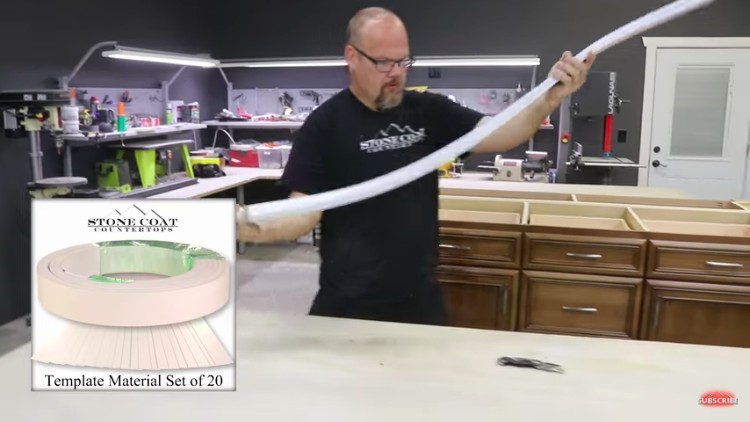
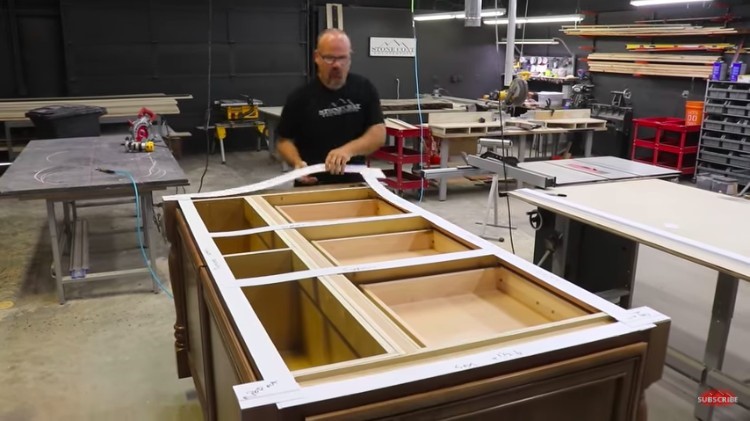
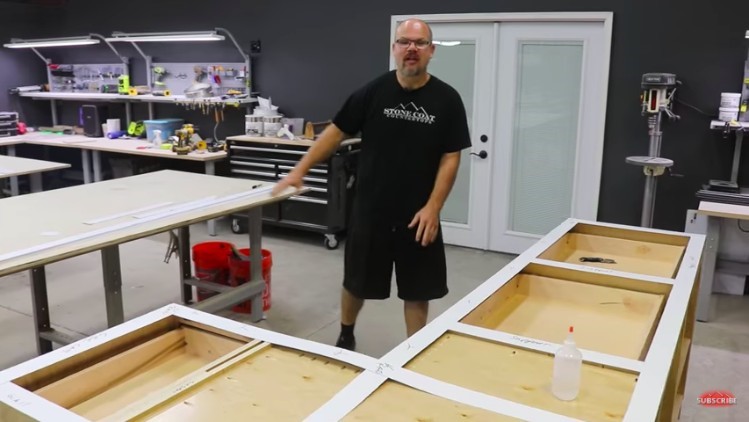
You want to keep in mind your overhangs, where your walls are, where your appliances are, and things that you need to know in your shop when you're away from the job site. You’ll transfer those to your template so you have a cheat sheet. We'll lay our template material on top of our cabinets, we'll score it, we’ll snap it, we’ll drop a couple of drops of acetone that will hold our pieces together for a few seconds.
Step 1:
I'm just gonna do a couple of drops right here and then we're just gonna hold them together for a few seconds and then you have an instant template that doesn't come apart. That's really a strong bond, so you can roll this up and put it in your car, and then when you get back to the shop it's right where you template it.
We’ll template the majority of our project then we'll come in and we'll finish with these fine details like these popouts and we use our scrap material to make that a cinch.
As you can see, notes will help me when I'm building the substrate for this countertop I'm gonna add an inch and a half while my overhangs are, except for the back here I'm gonna do a big radius.
Protip:
When you're just starting out with this template material, do a couple of test pieces to see how good your bond is. Understand how long you have to hold your joint and that experience will go a long way in the field. Put your support pieces where your actual support pieces are on the countertop and this will help you when building sinks or choosing seam location so that you can better build your substrate.
I put an outside radius here just three-quarters of an inch. Because I don't have a huge overhang, I'm gonna add an inch and a half to all of my overhangs, so I'll do a 3/4 inch radius on this outside corner.
I labeled my cabinet sides, I got the front of the cabinet and I got the back wall labeled, time to build the substrate. Templating those two large cabinets only took 8 and a half strips.
That's key, it's also important to note that these are reusable. I can wipe off my markings using alcohol and reuse these strips on another job. You can see how easy it is to make templates of any countertop, shower floor, or anything that you need. You can simply use our template material found at stonecoatcountertops.com.
