Smokey Grey Epoxy Countertop DIY | Stone Coat Countertops
Sep 23rd 2021
DIY Smokey Grey Epoxy Countertop
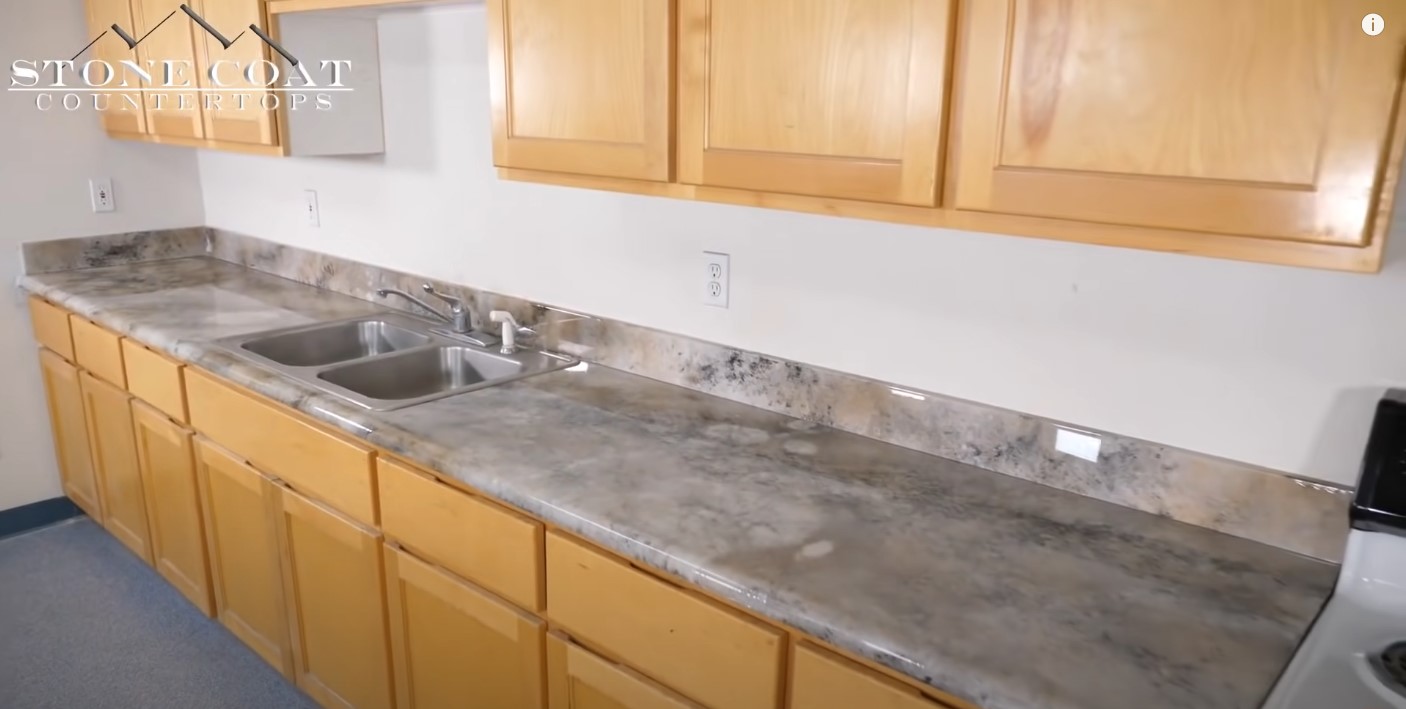
In this article we use epoxy to mimic the looks of natural Smokey gray countertops. Continue reading to learn right now how to renew and refinish your old surfaces. This DIY grey epoxy countertop will be resistant to heat, stains, and impacts. With our helpful step-by-step instructions we can help you create beautiful surfaces in your home or office. Turn cheap laminate into a high-end looking grey epoxy countertop on a budget. You don't need expensive equipment or years of experience. The process is simple, fun, and the completed project is second to none.
Step 1. Protect Your Cabinets
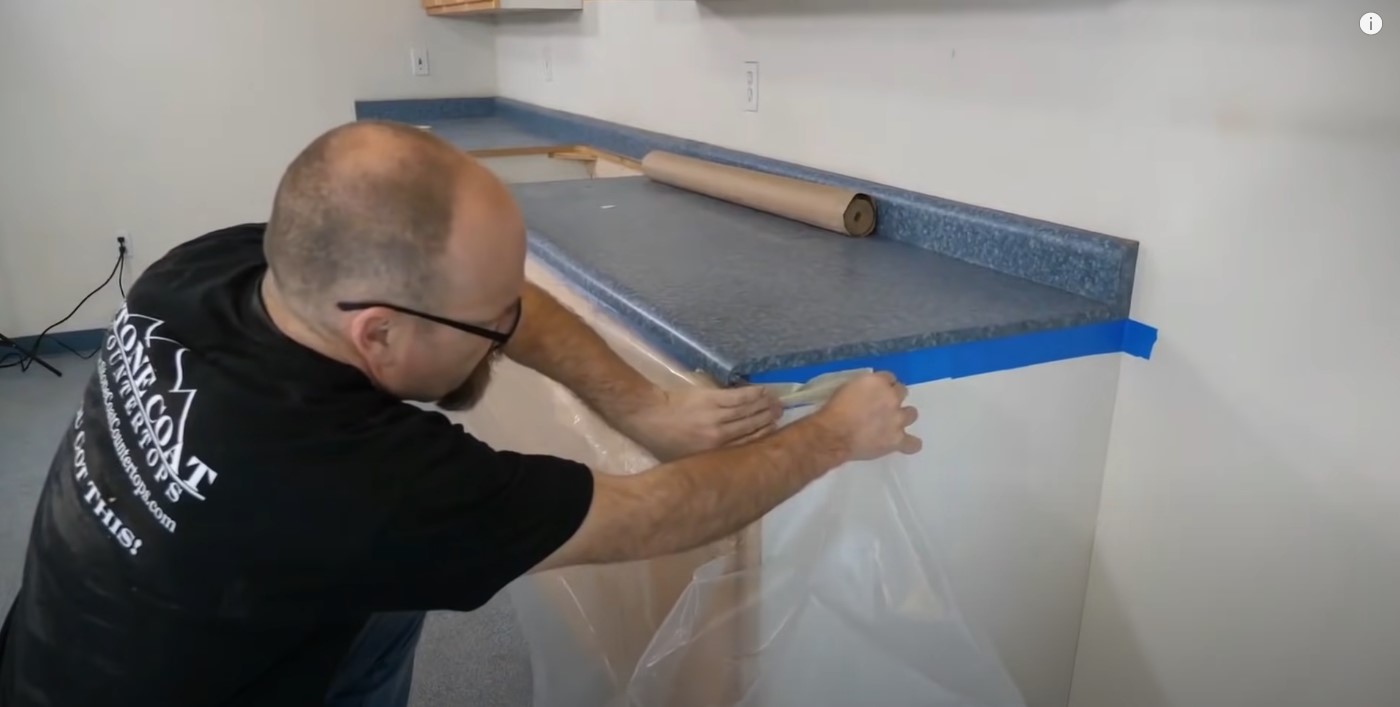
It's a good idea to get your kitchen cabinets covered up and prepared before moving onto the next step that generally creates a lot of sawdust. We recommend covering the entire bottom cabinets with masking tape and painter’s cloth or vinyl.
Step 2. Take Off The Original Laminate Backsplash
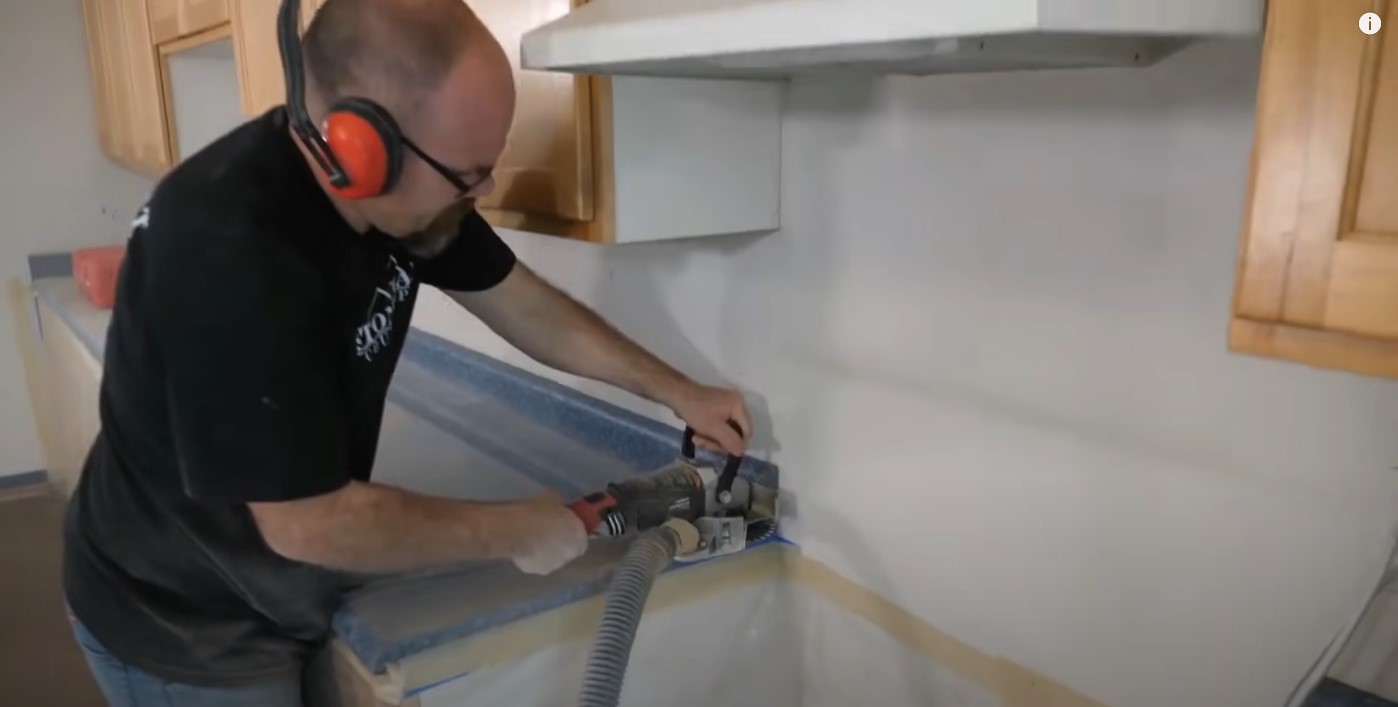
There are many different ways to cut off the original laminate backsplash, our go-to method is to use a plunge cut jamb saw, a reciprocating multitool, and a Sawzall. With your preferred cutting tool, you can begin to cut the backsplash off your old laminate countertop. Completing this step will allow us to make a custom epoxy countertop gray backsplash later.
Step 3. Fill-in The Gaps With Bondo
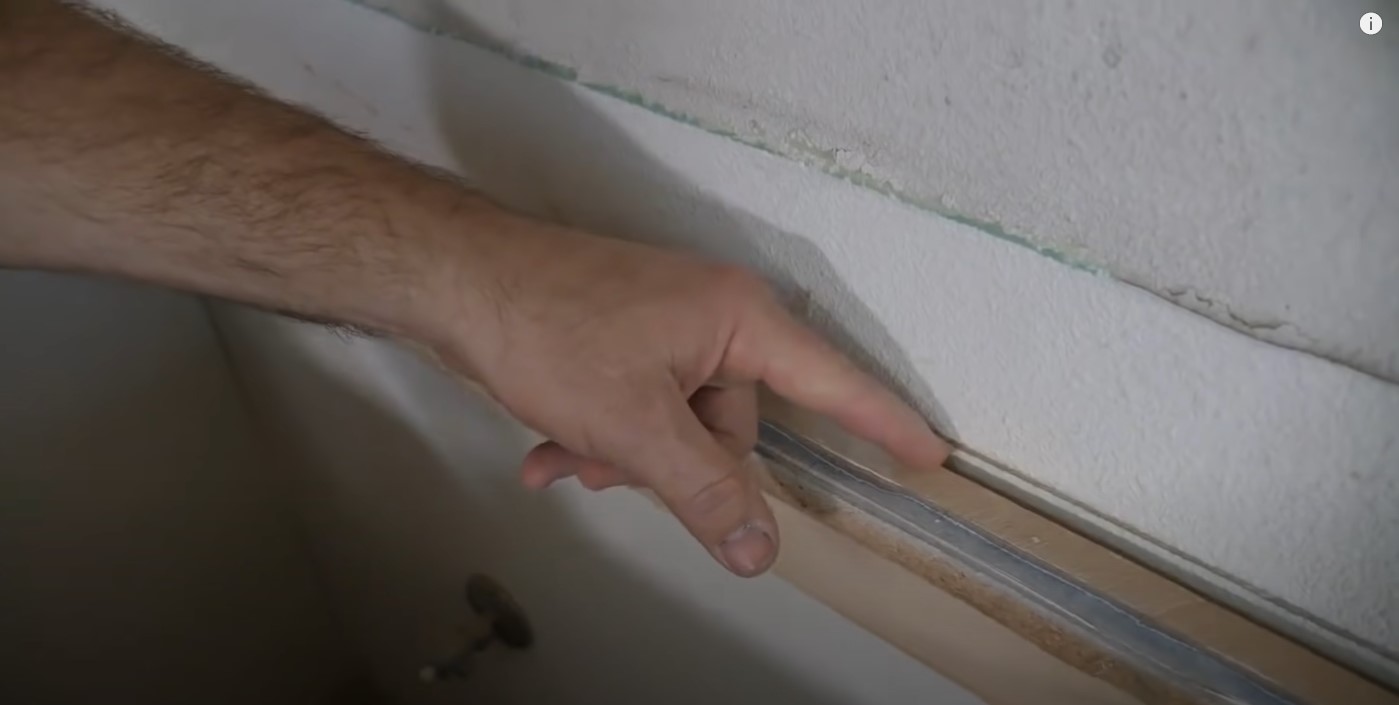
This is typical with most laminate jobs, there will be a space between the wall and the cabinets. We’ll want to fill in this gap with Bondo to keep our grey epoxy countertop resin from seeping into the crack.
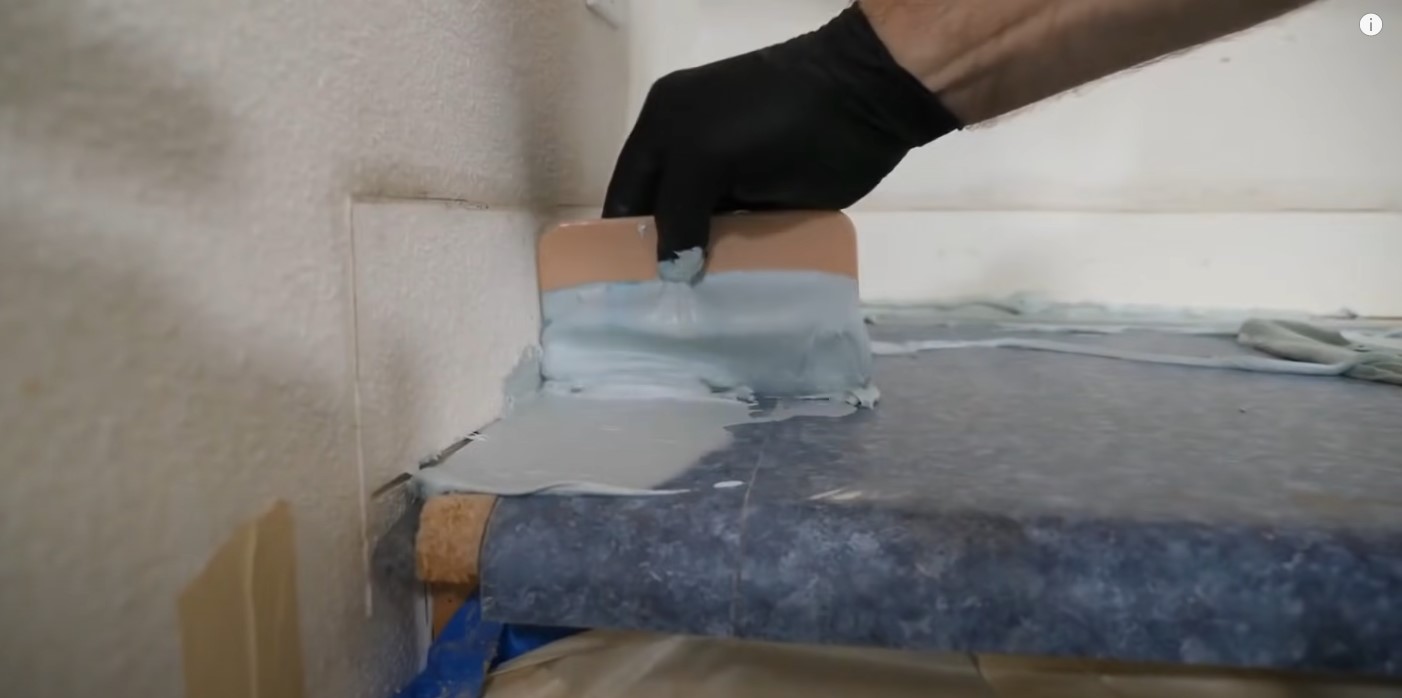
Thoroughly mix a comfortable amount of Bondo and spread it thick across the crack and any imperfections on your laminate countertop. After a few hours, the Bondo should be hard to the touch and ready to be sanded. We’re going to use our 5-inch random orbital sander with a 60 grit sanding disk to help us smooth out the bumps in the Bondo. This will also help us create a mechanical bond for this gray epoxy countertop project.
Step 4. Clean & Prep Your Grey Epoxy Countertop Project
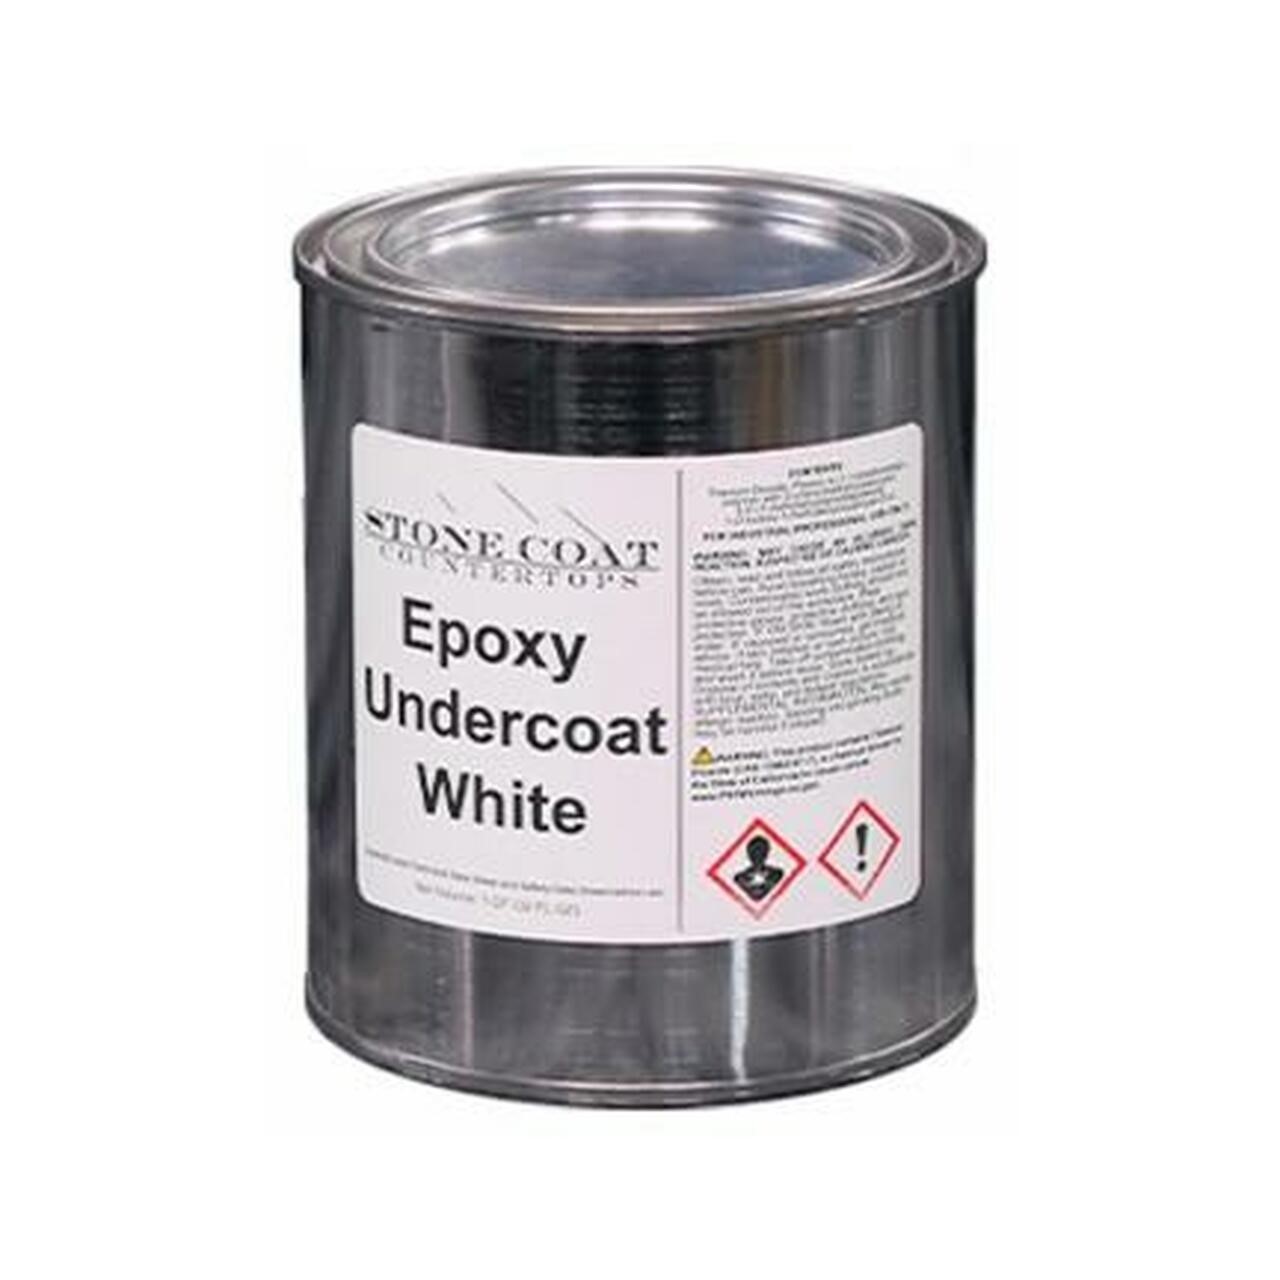
Moving onto step four of the DIY smokey gray countertop project, you’ll want to thoroughly clean off your countertop with a degreaser solution so we can begin to apply a thin layer of White epoxy undercoat. You’ll want to apply 2 coats of bonding primer with a small paint roller to get an even and smooth finish.
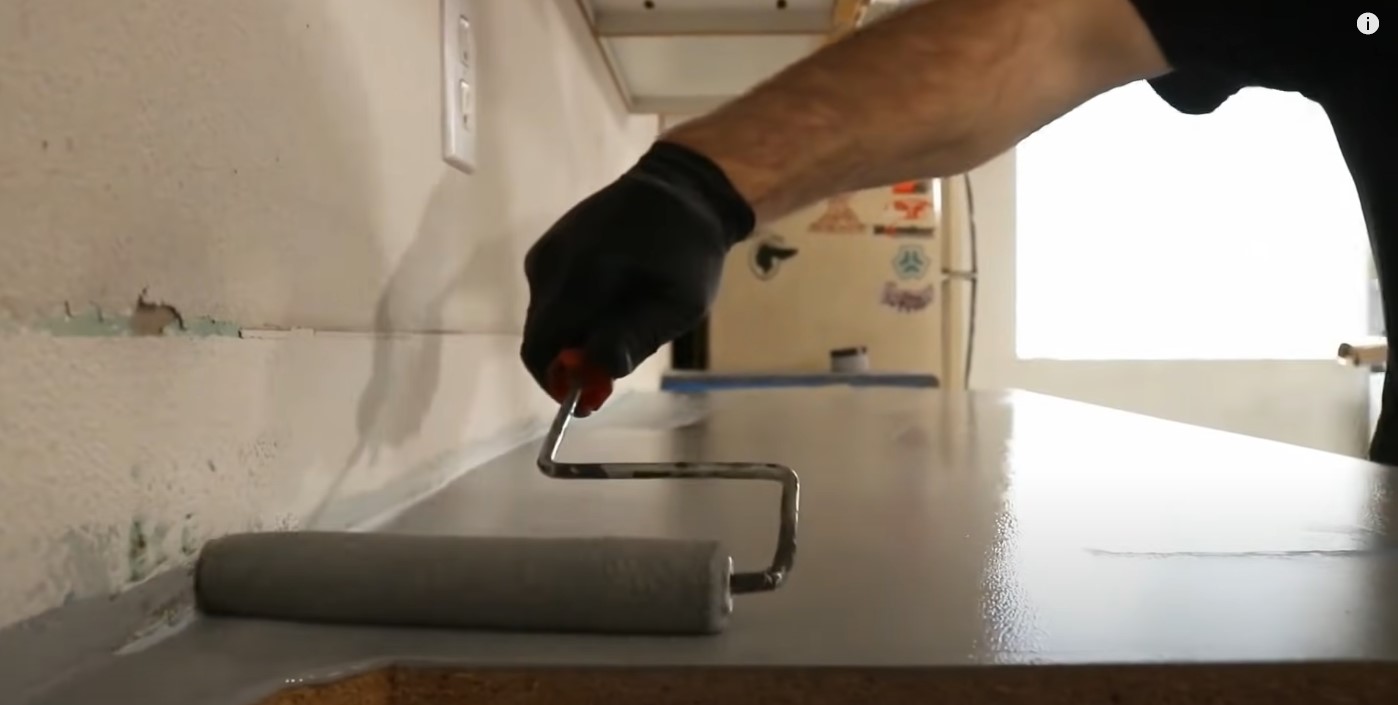
Step 5. Mix Your Epoxy Base Coat
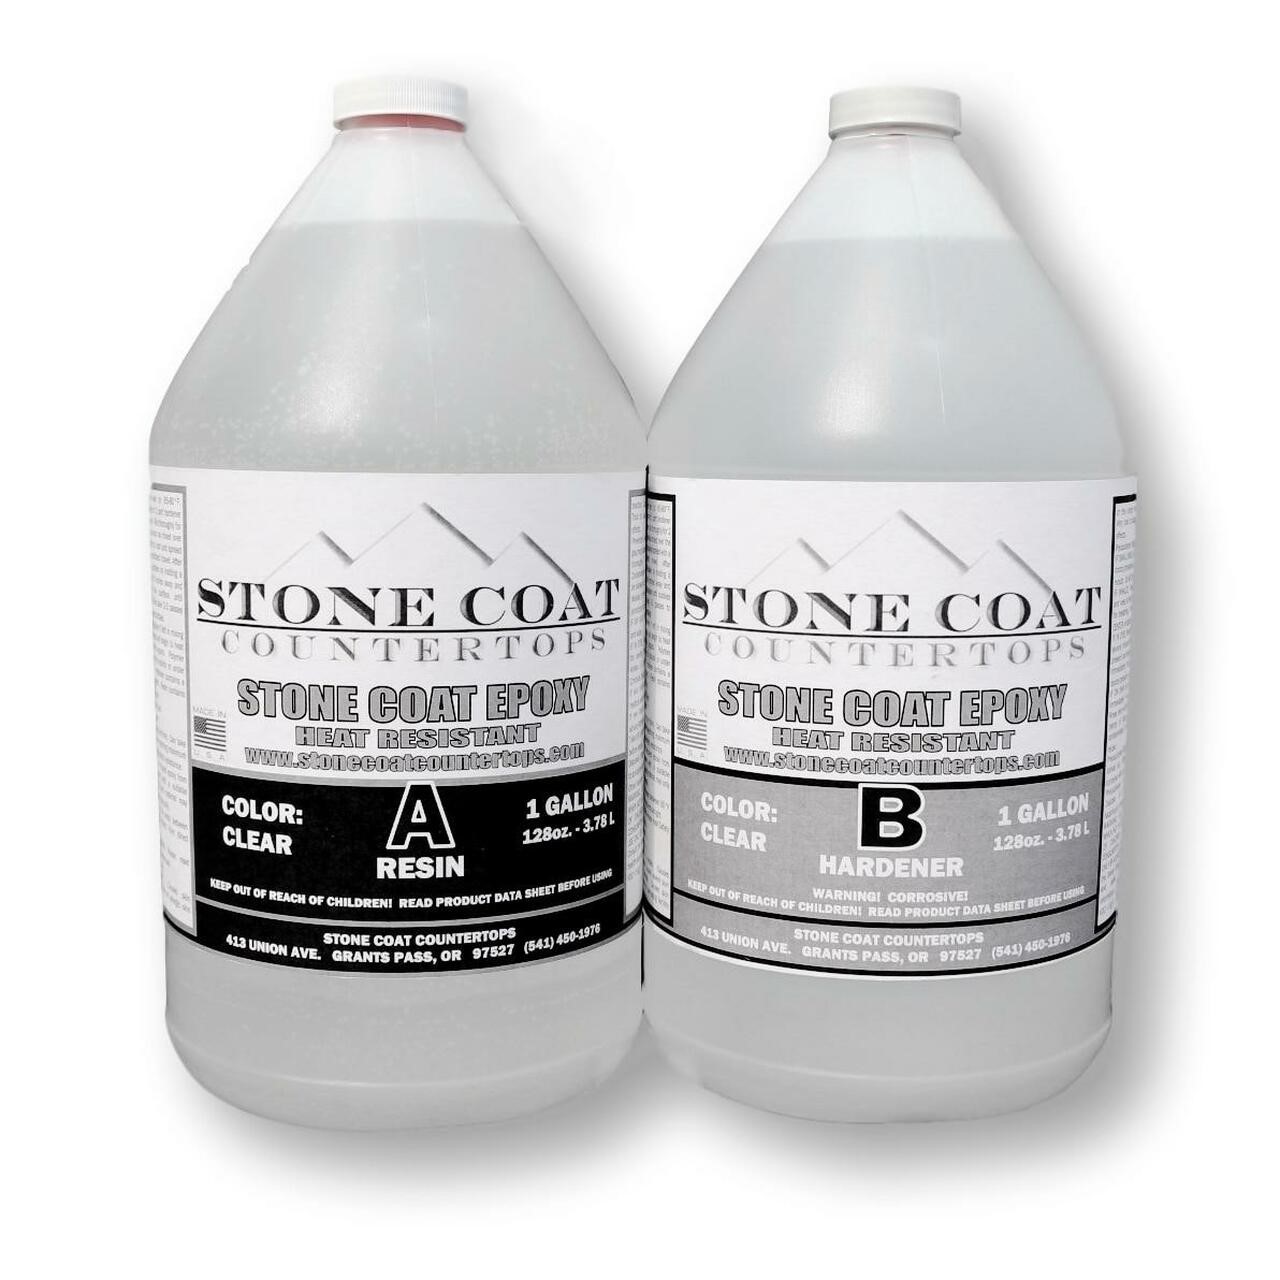
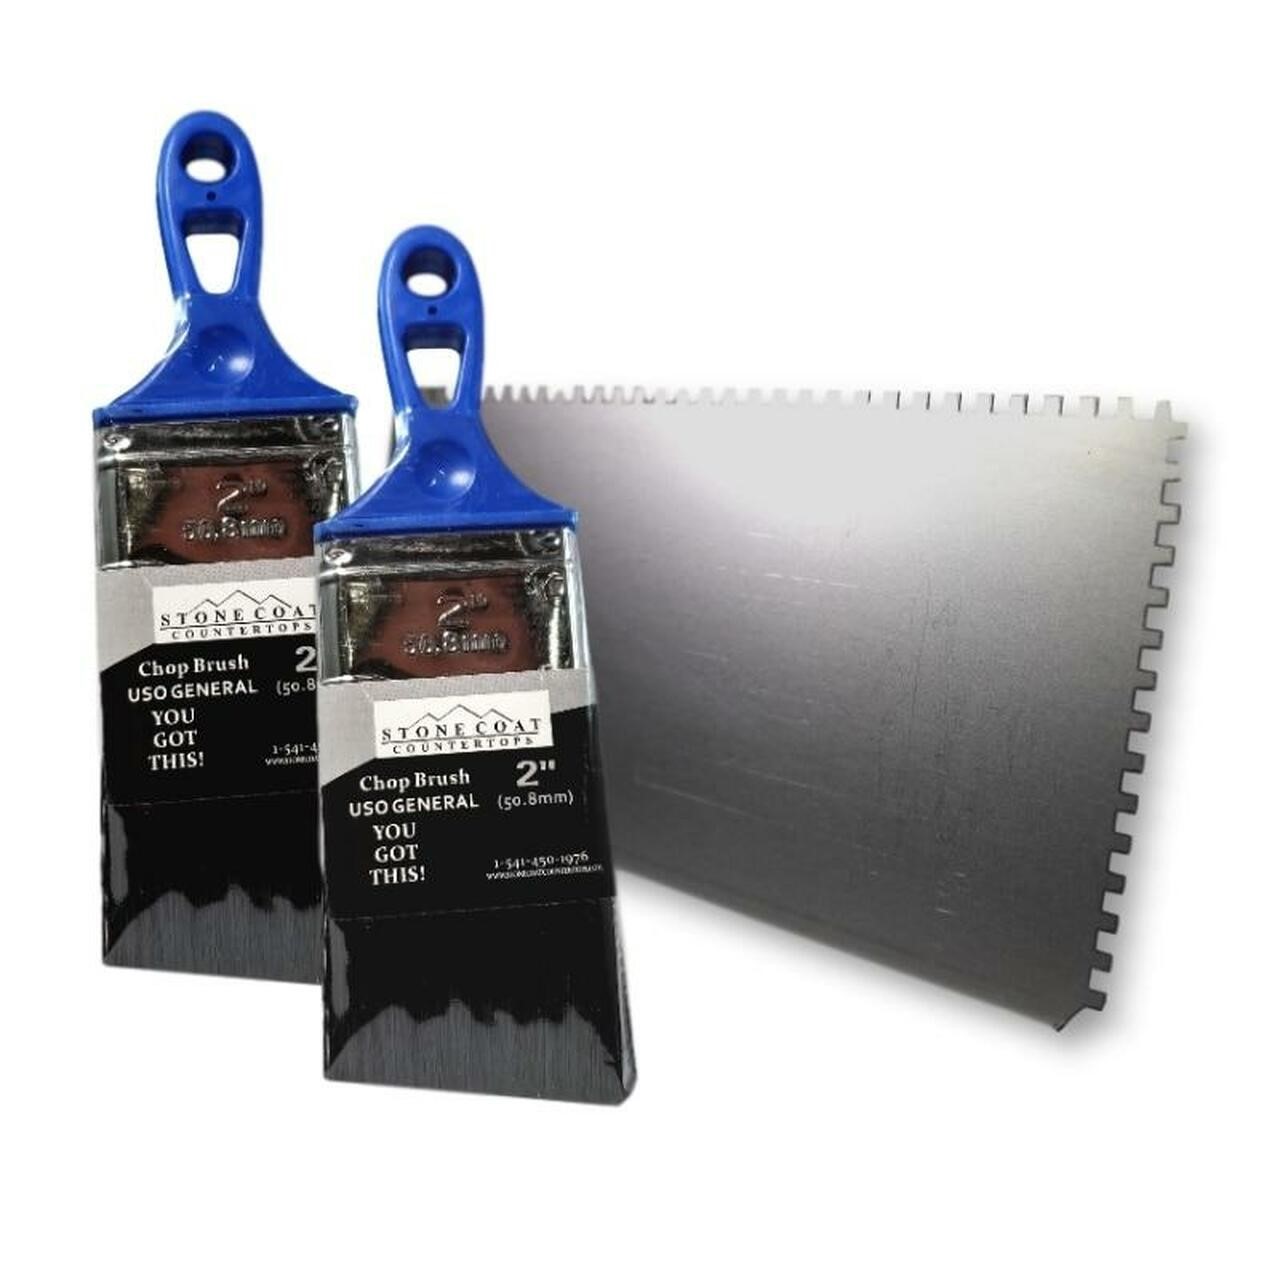
This first pour of epoxy is going to be the foundation of your smokey grey epoxy countertop project. We’ll begin just by mixing a couple of quarts of our clear epoxy resin with some light-colored base paint. You’ll want to spread this evenly over the laminate using a notched trowel and chopping brush to relieve some of the surface tension.
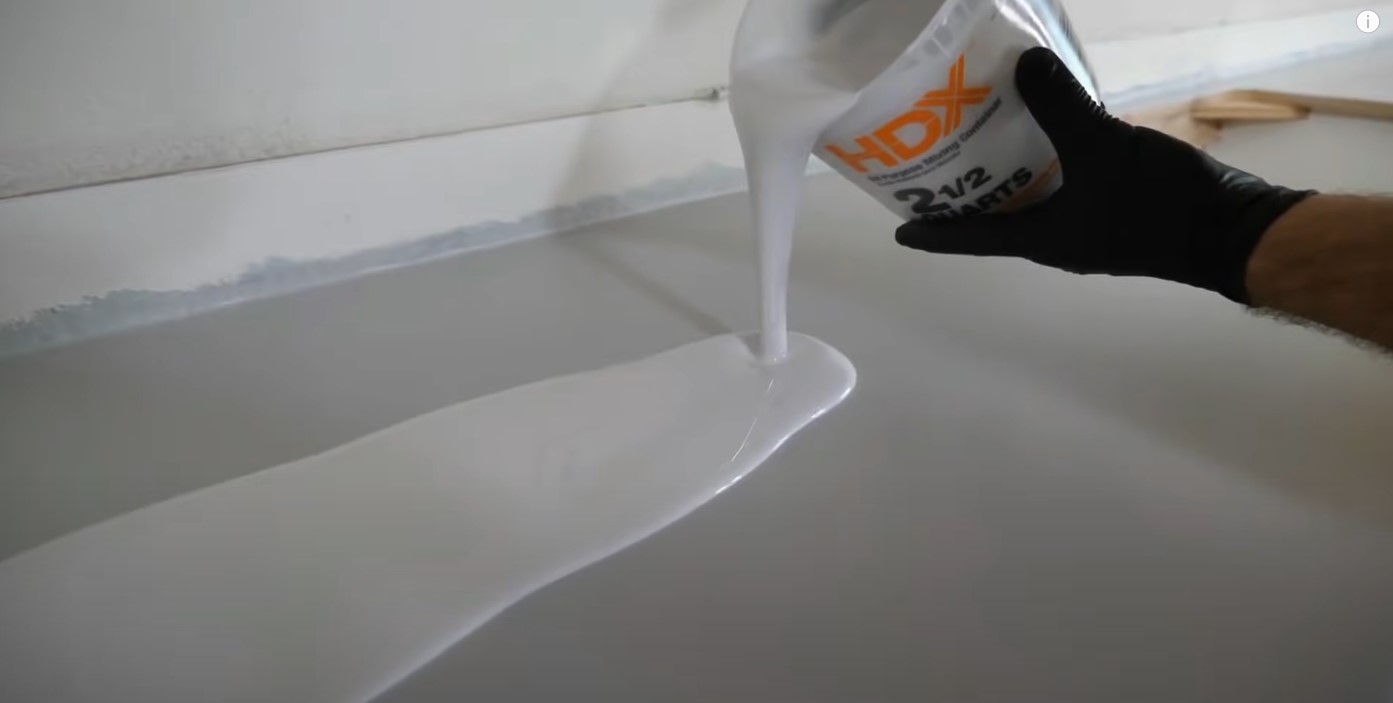
Pro Tip: Don't ever mix too much grey epoxy at a time or else it will force you to rush causing errors and imperfections. We recommend mixing 2 quarts at a time and laying down the color effect. Once we're pleased with the effect, we'll mix another batch of the smokey gray countertop epoxy.
Step 6. Apply The Grey Epoxy Countertop Colors
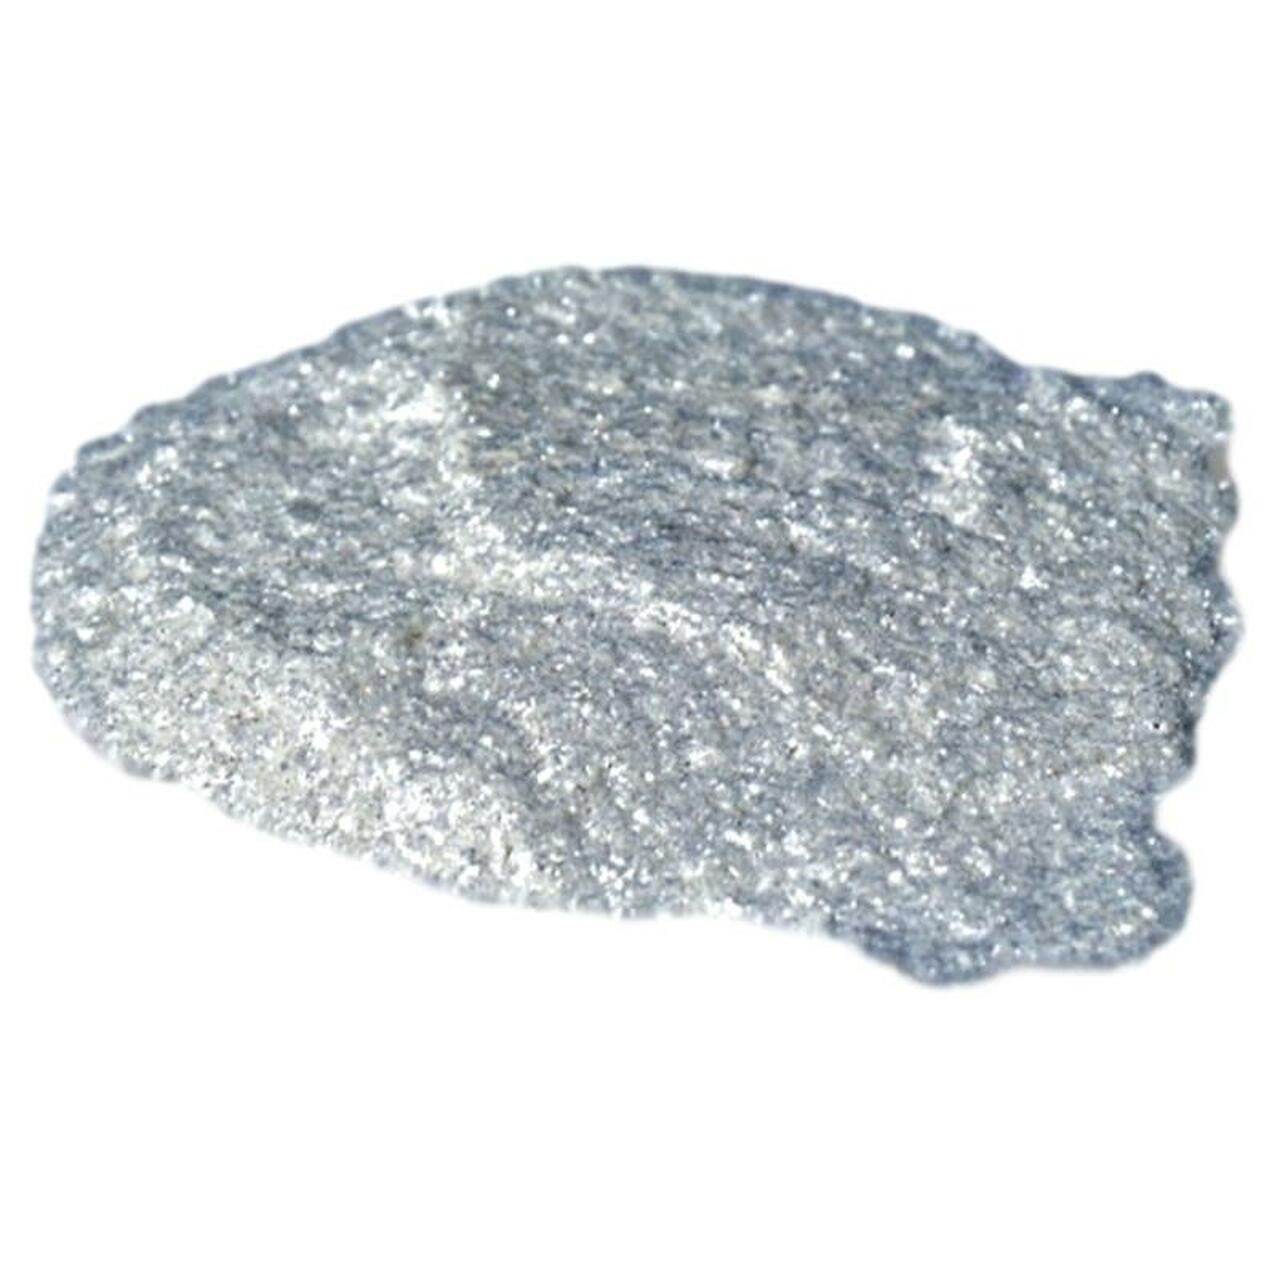
In this first color additive step, you'll want to start off by adding some of the deep silver metallic powder into a spray bottle containing 91% isopropyl alcohol, we do this at a ratio of ½ a bag of metallic powder to 8 oz. of alcohol. This formula will give you the best contrasting effects when misted onto your gray epoxy countertop.
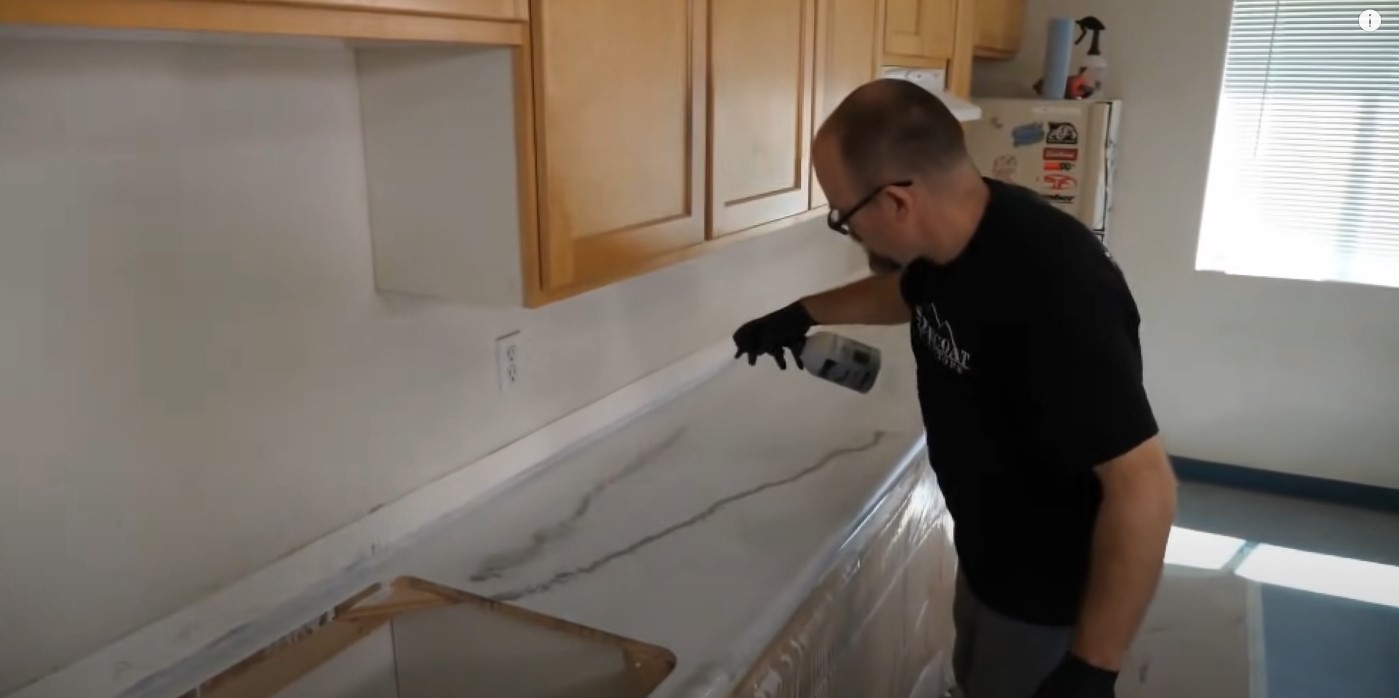
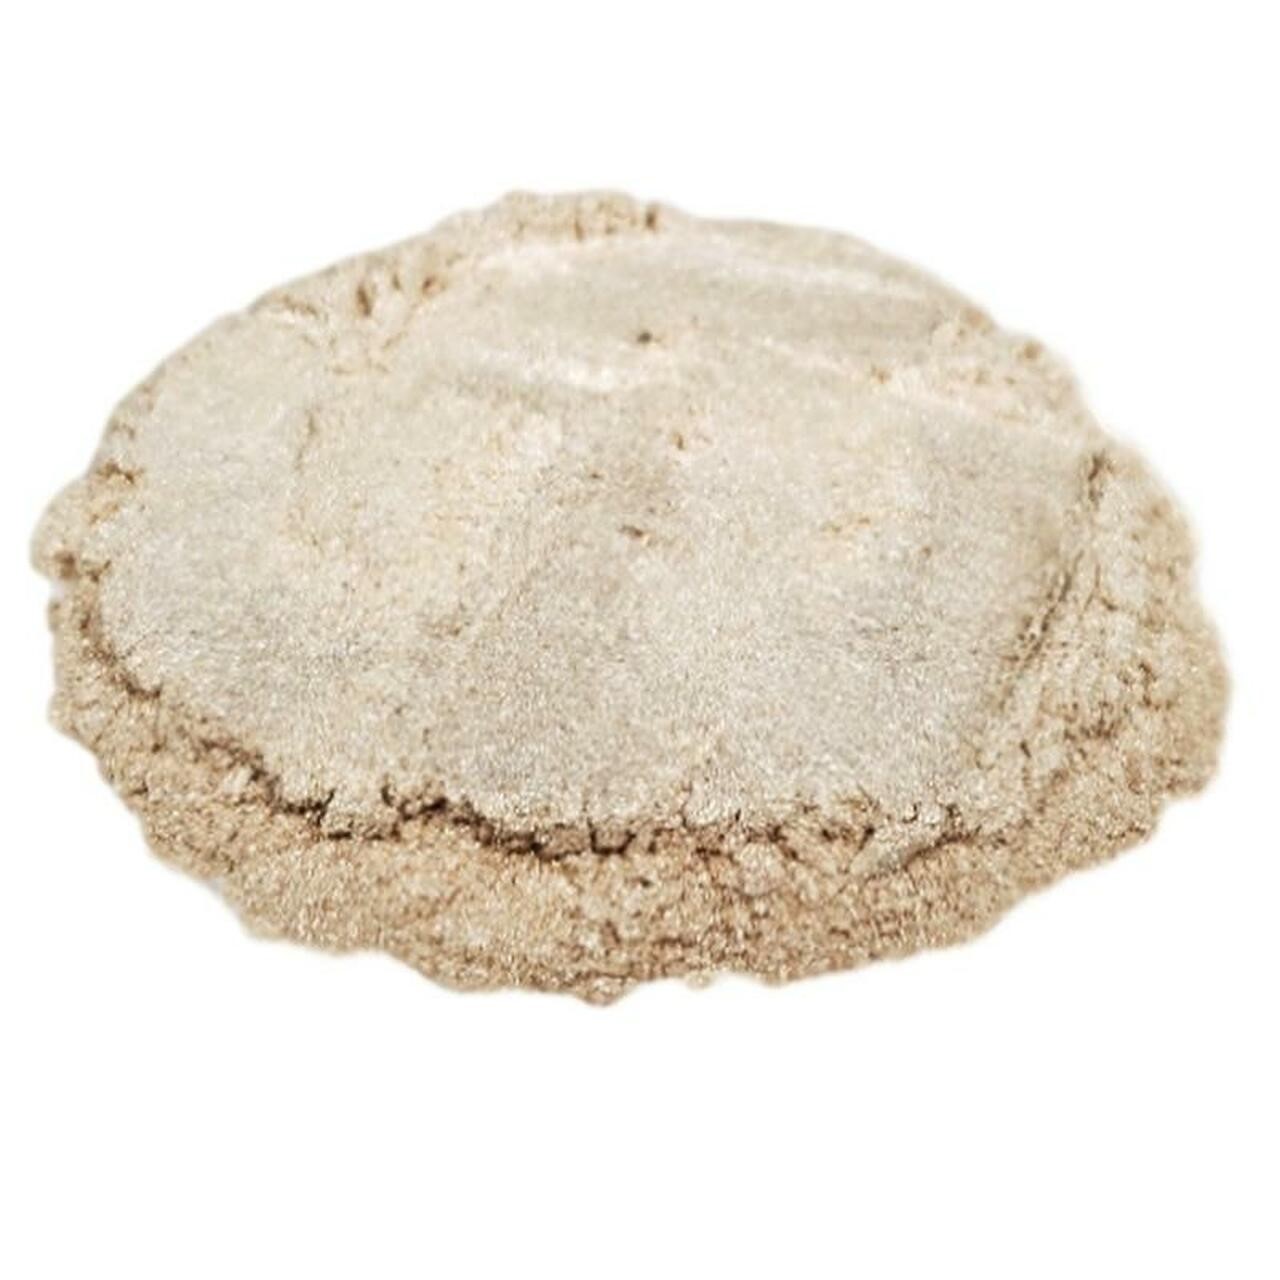
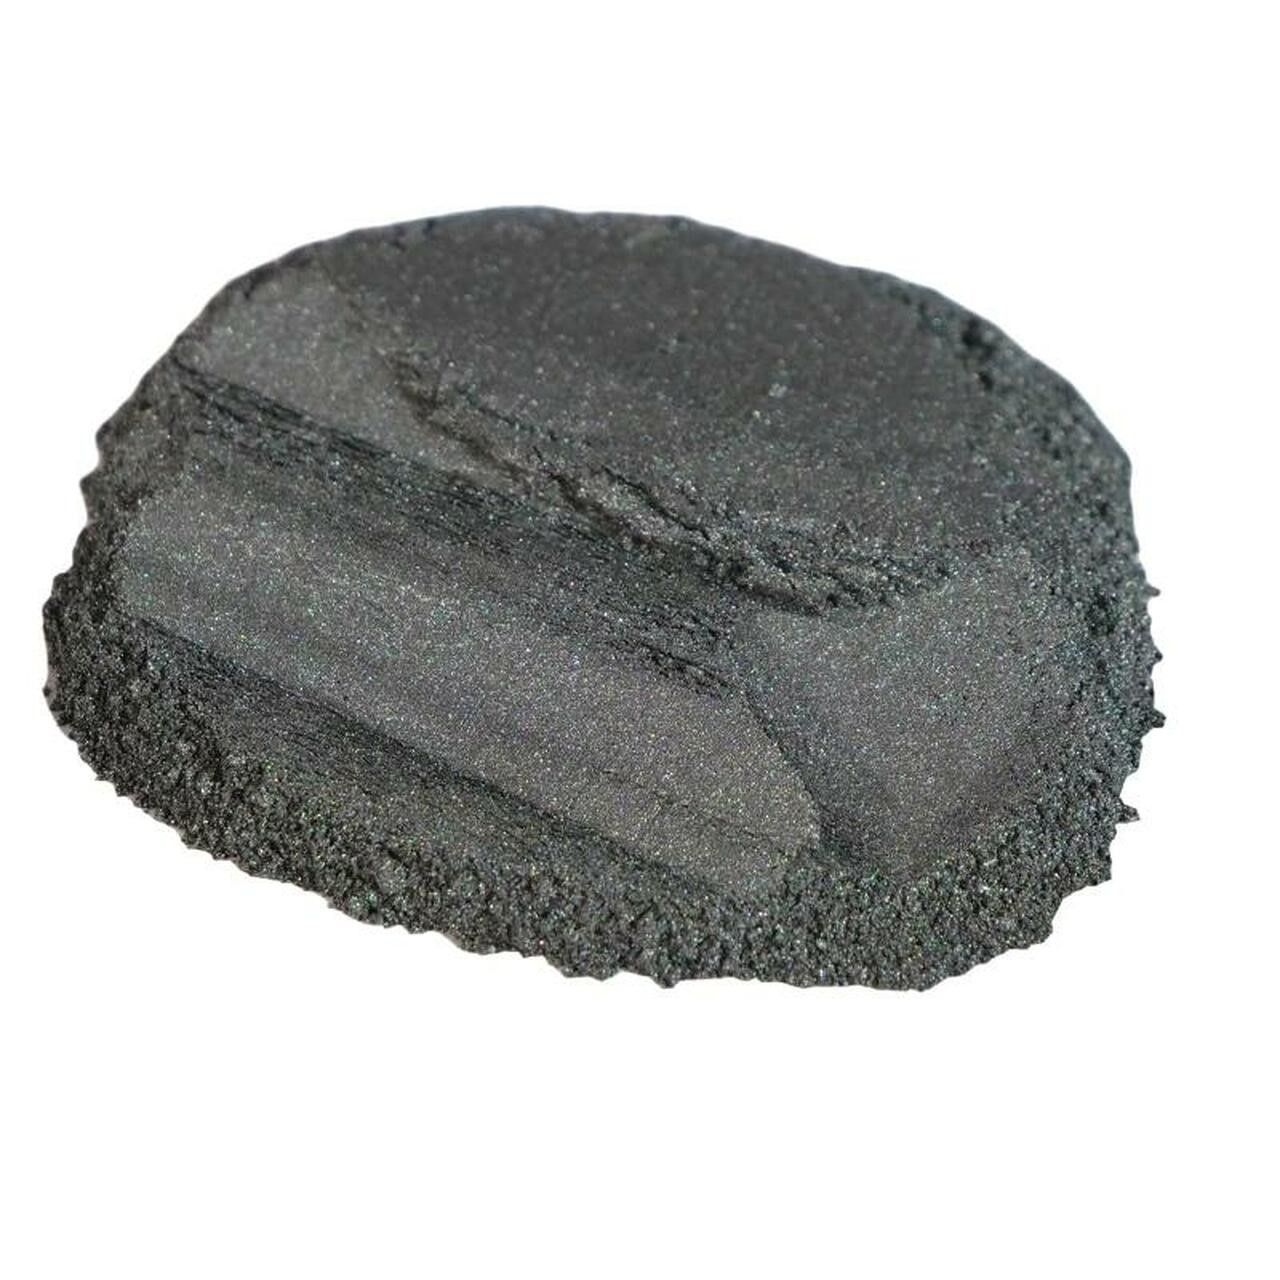
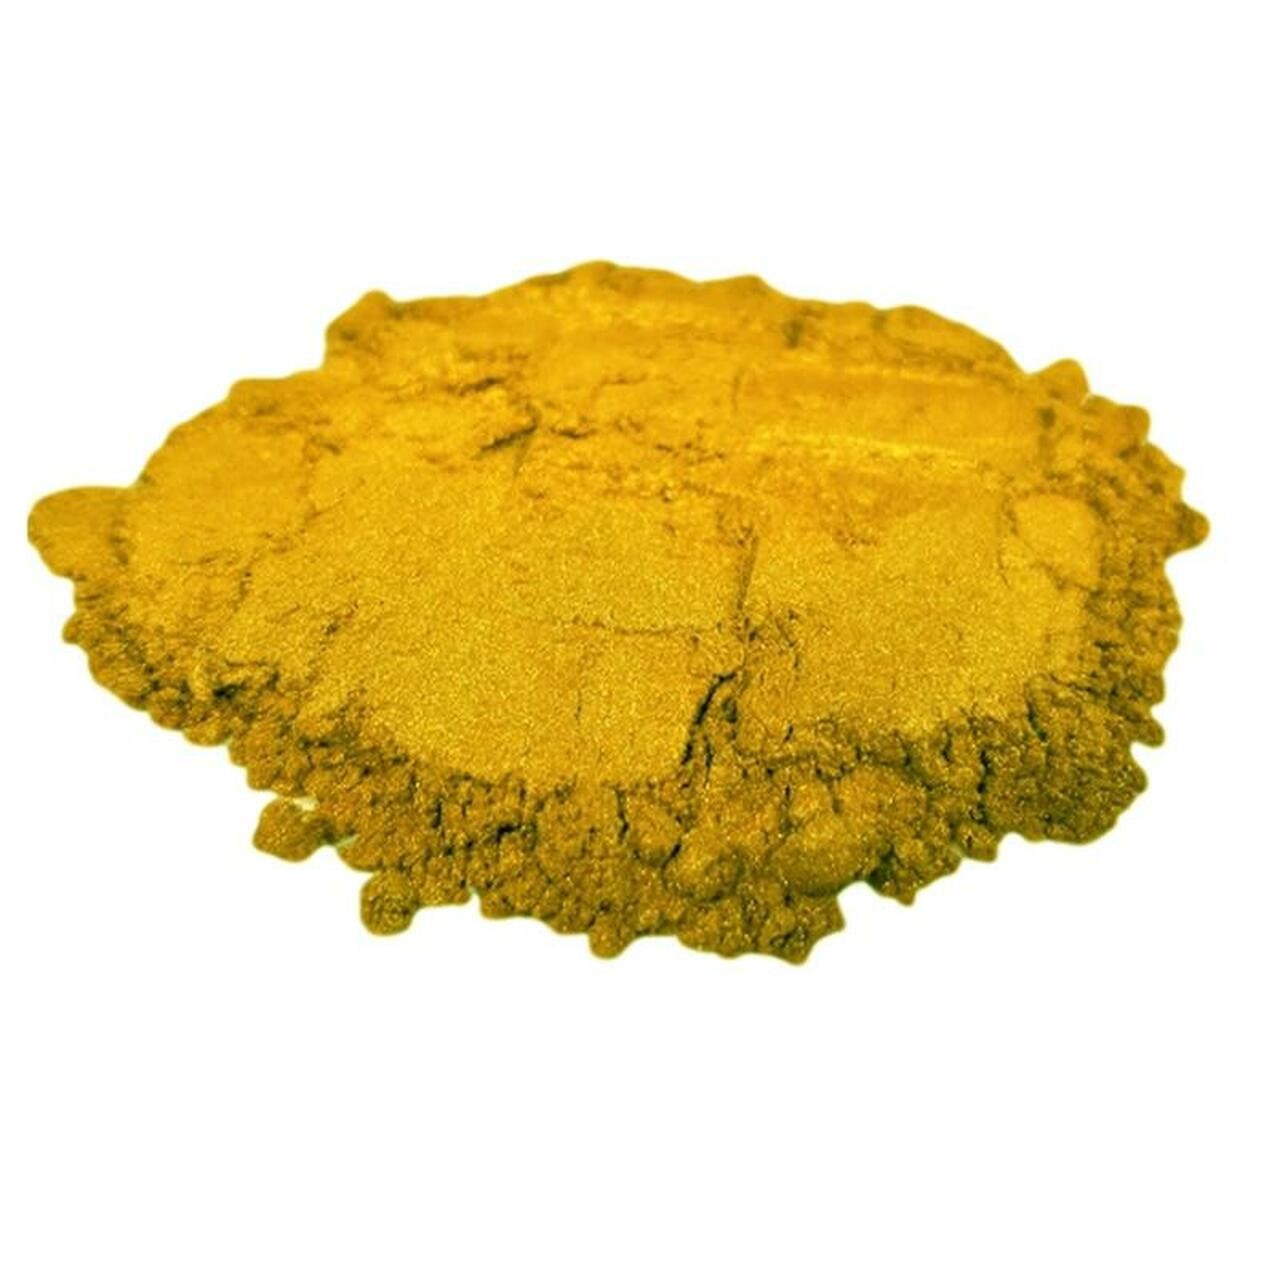
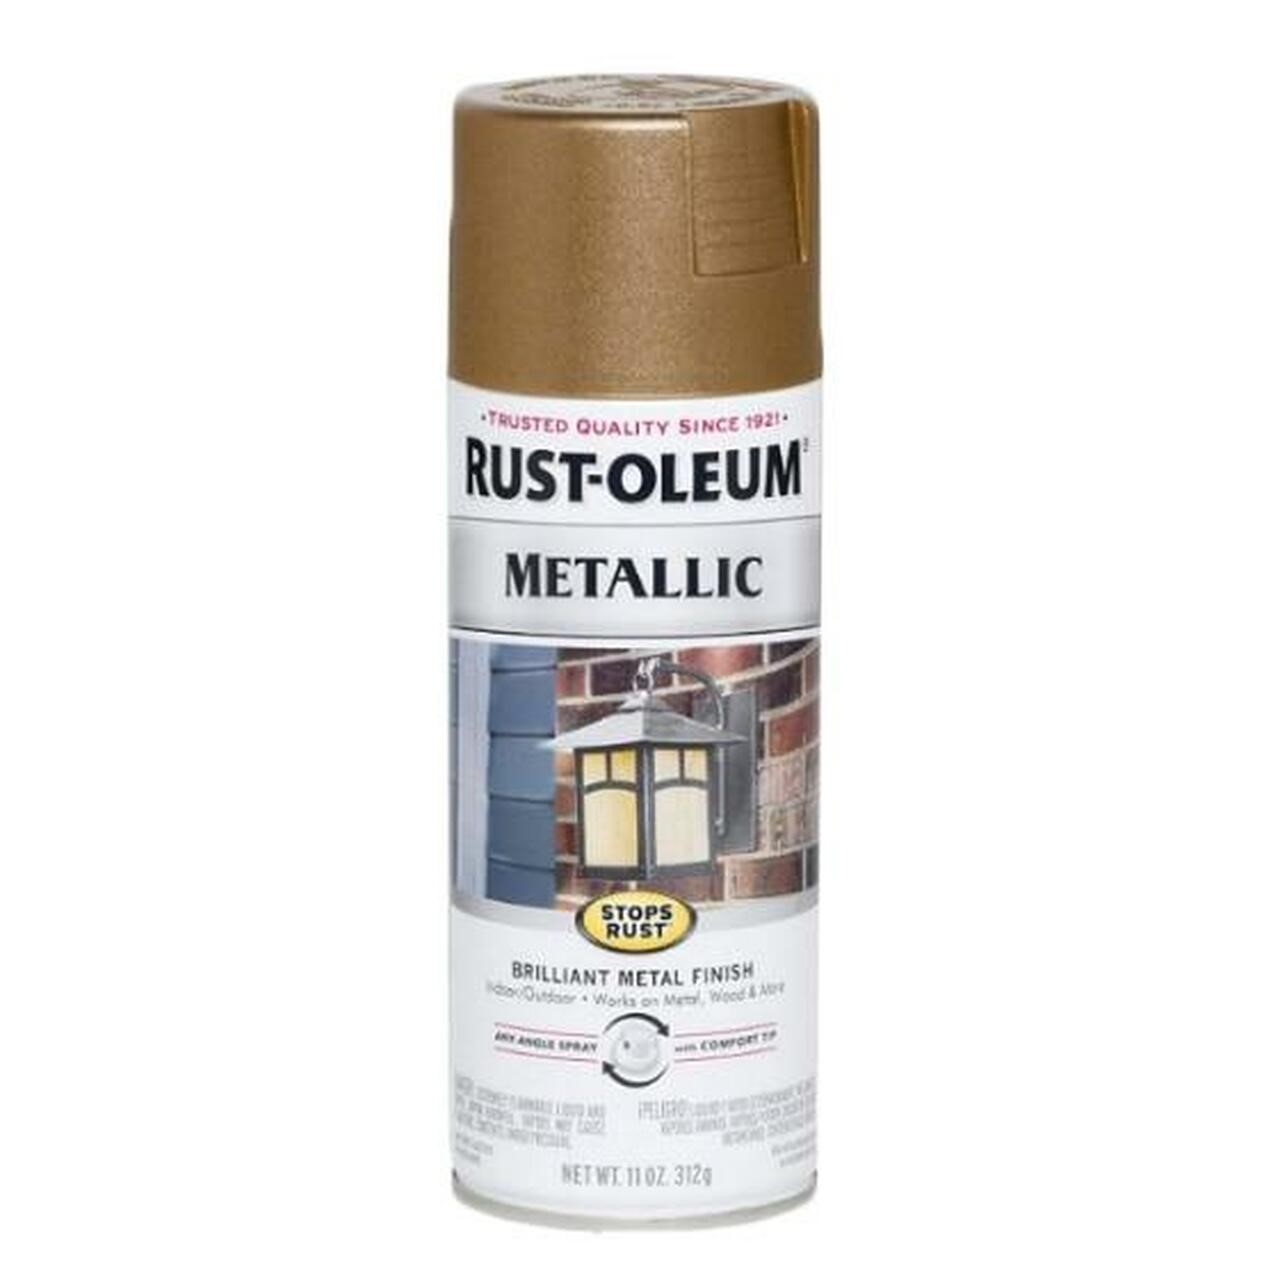
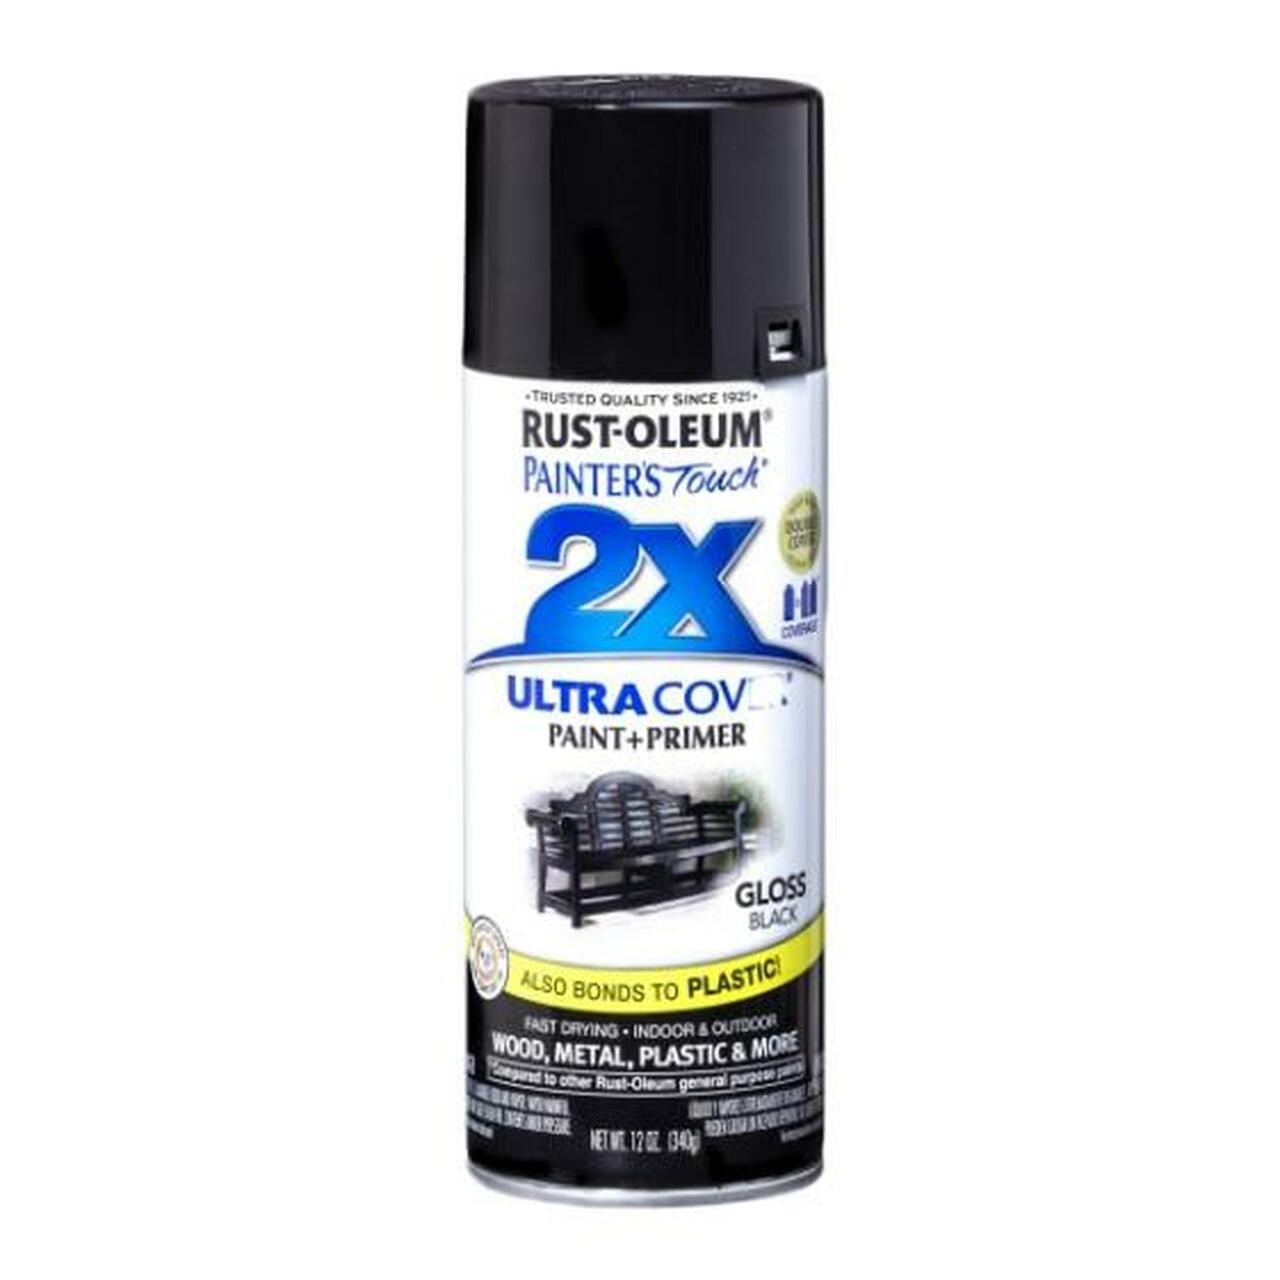
This deep silver metallic powder formula additive over a white base tinted epoxy creates a beautiful recipe. Our next color additive will be some small hints of gold metallic spray in combination with some streaks of black spray paint to see the difference and layers it creates.
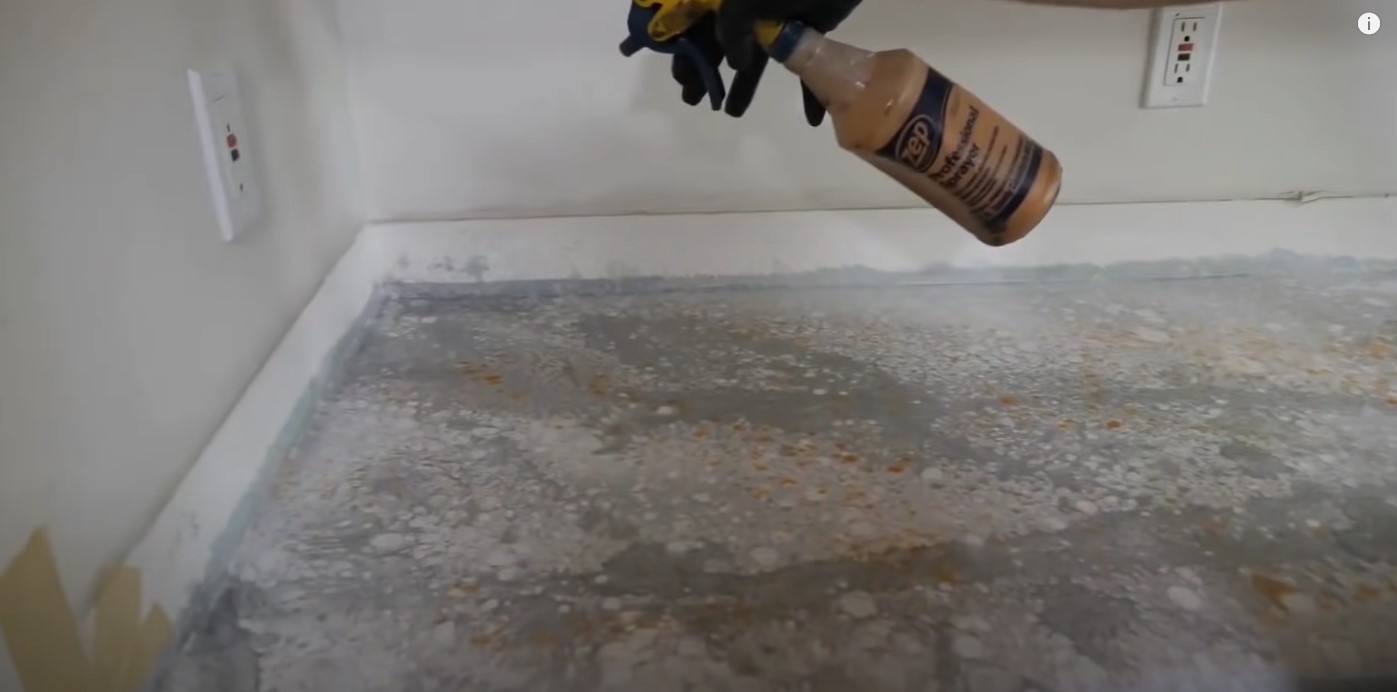
In this guide and video, we've shown you multiple ideas with only a few color recipes. You can stop anywhere in the process in any color that you'd like. Substitute colors of your own choice by mixing and matching colors. Use this guide to stir up your creativity and generate ideas for your own space.
Step 7. Apply Clear Coat Finish
In these last few steps, you’ll want to preserve your artwork masterpiece by mixing up another batch of clear epoxy resin to pour directly into your grey epoxy countertop project. This will help tie everything together and give it that realism and depth you’re searching for. For that perfect finish, we recommend applying some heat with a torch. You’ll want to keep the torch a couple of inches away from the gray epoxy countertop and heat the area in an even back and forth motion throughout the entire process.
Step 8. Enjoy Your Gray Epoxy Countertop
You now have a complete epoxy countertop gray, to learn how to create another beautiful design visit our epoxy training classes resource page for more information.
Smokey Gray Countertop Products & Tools
Epoxy Art Resin by The Gallon
|
|
| Epoxy Resin for Art |
Metallic Powders
|
|
|
|
|
| Pearl Metallic Powder | Diamond Dust Metallic Powder | Deep Silver Metallic Powder | Gold Metallic Powder |
Spray Paint
|
|
|
|
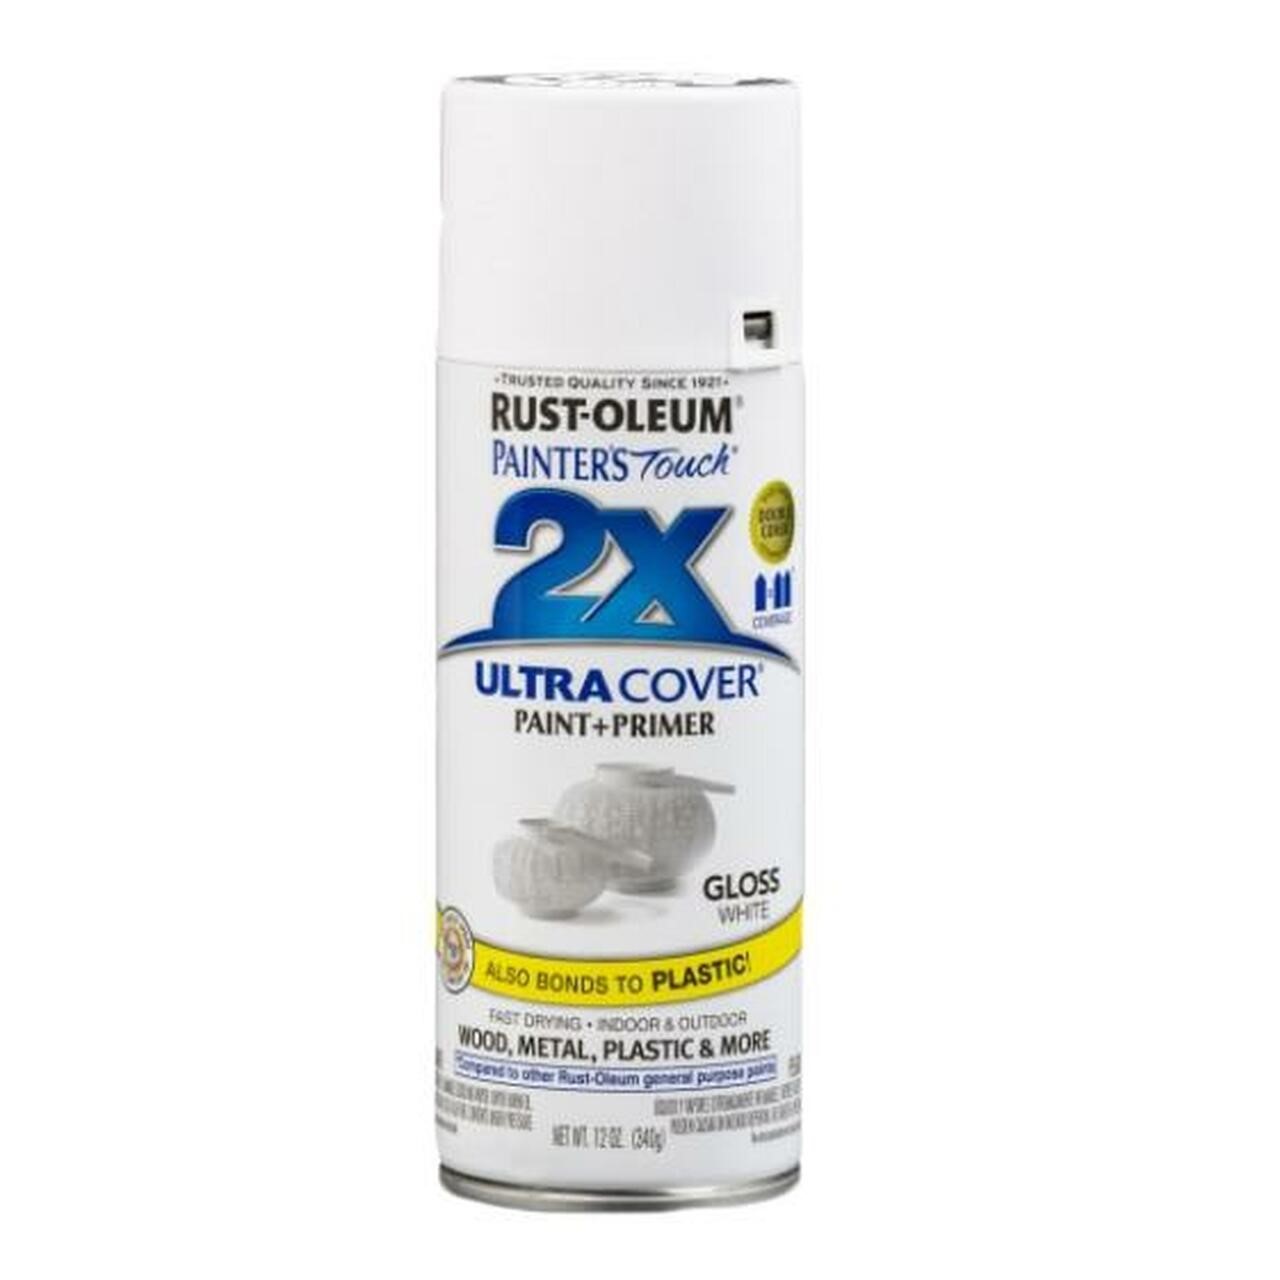
| Antique Brass Spray Paint | Black Spray Paint | White Spray Paint |
Additional Epoxy Tools & Supplies
|
|
|
| Chop Brush & Trowel | White Epoxy Undercoat |
