

Tools & Supplies

Epoxy Countertop Toolkit
Regular price
$14.83
Sale price
$14.83
Regular price

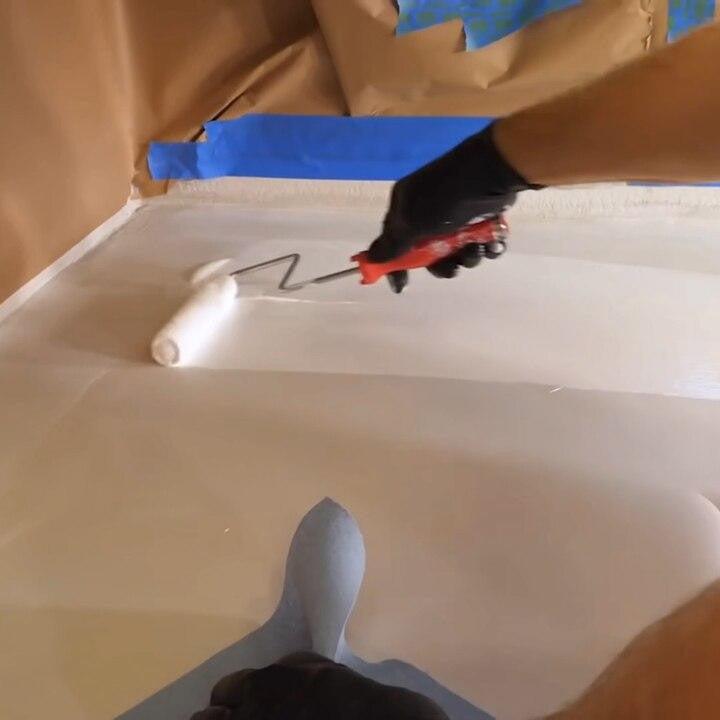
3/8 Inch Nap Microfiber Roller Kit
Regular price
$9.53
Sale price
$9.53
Regular price
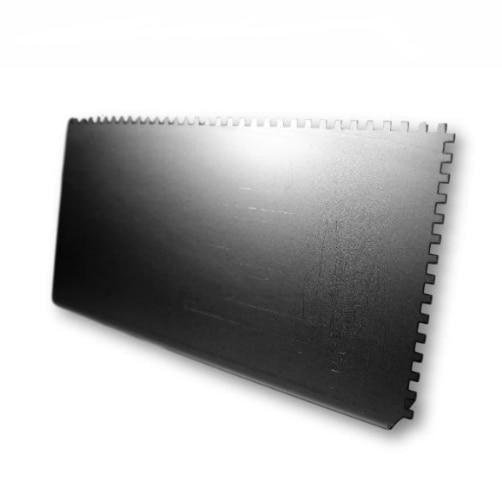
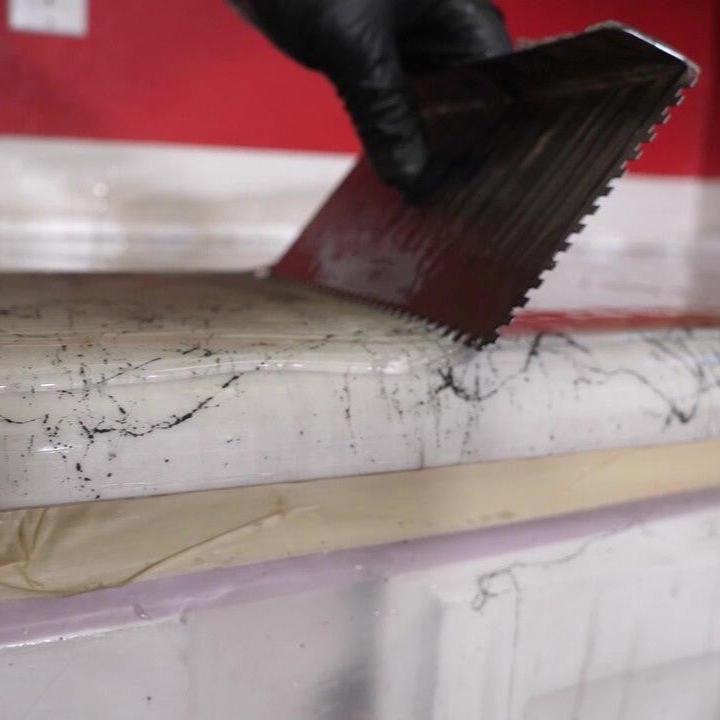
1/8 Inch Square Notch Trowel
Regular price
$6.35
Sale price
$6.35
Regular price

3/8 Inch Nap Microfiber Roller Covers
Regular price
From $6.15
Sale price
From $6.15
Regular price
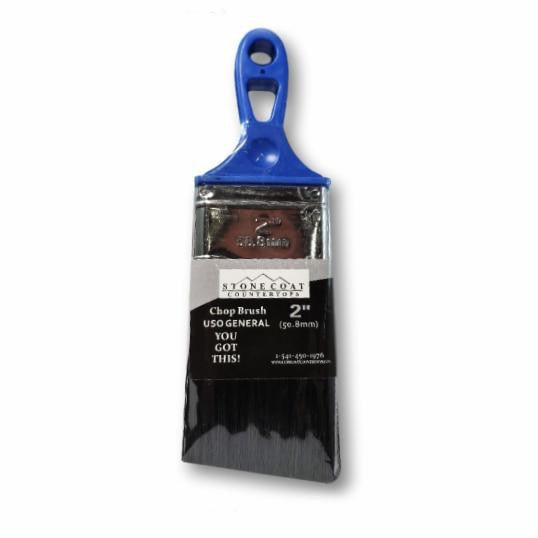
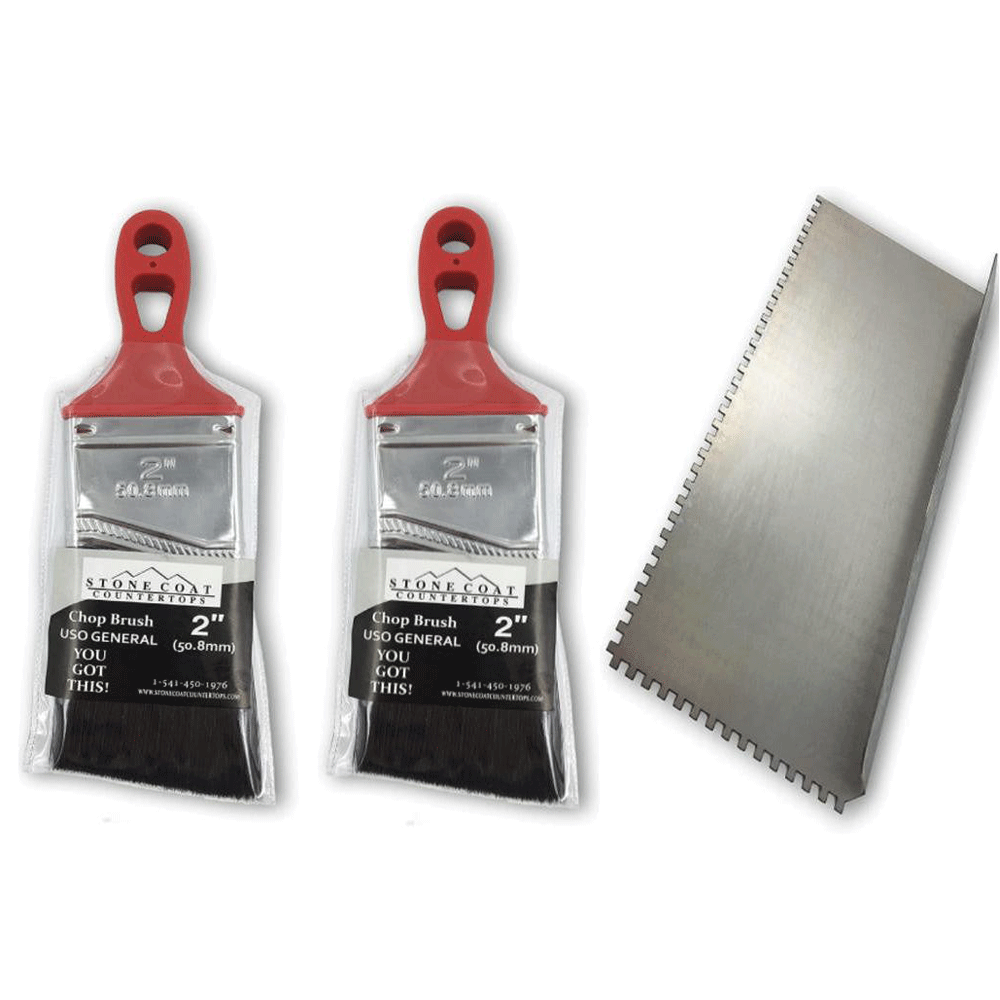
2 Inch Chop Brush
Regular price
$6.35
Sale price
$6.35
Regular price
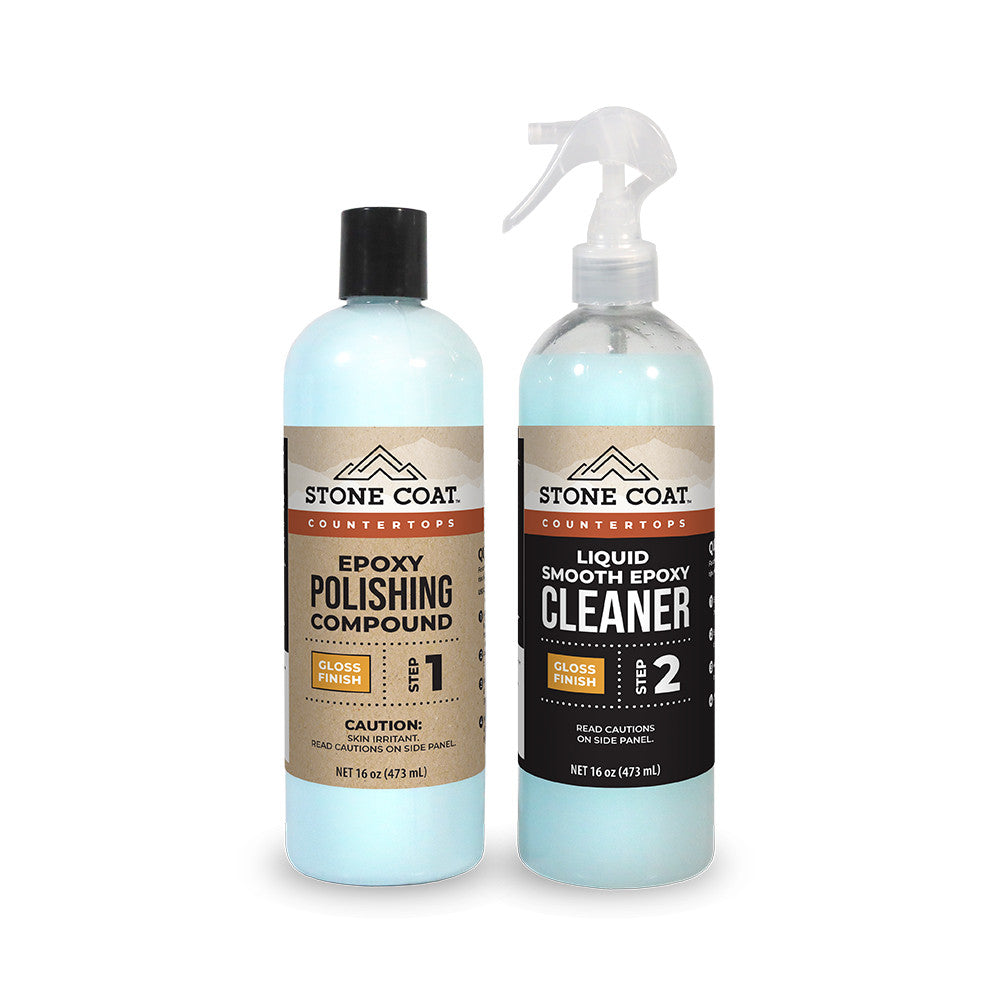
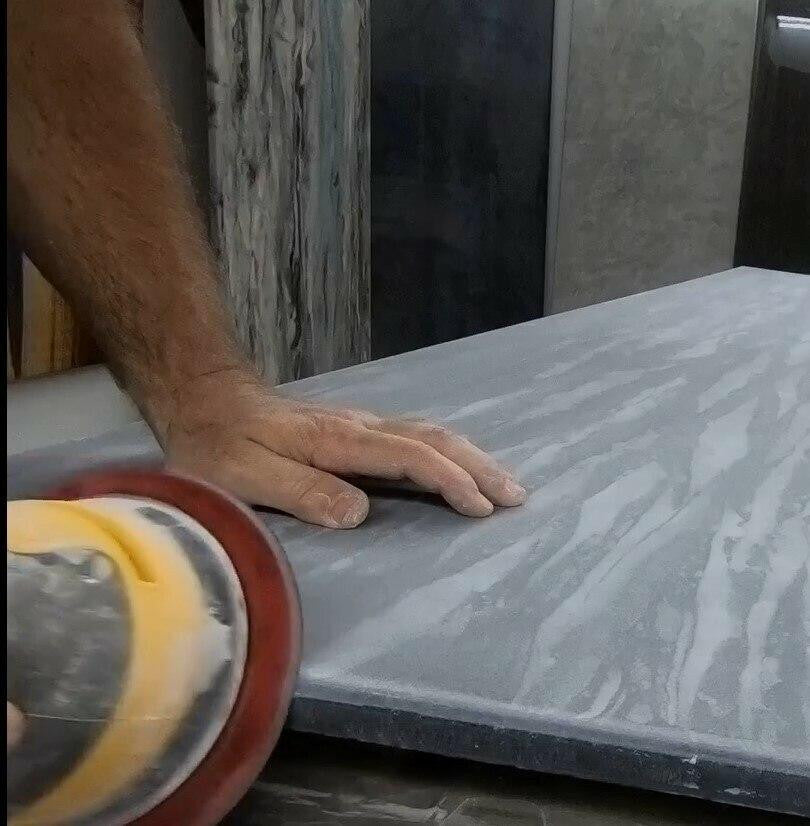
Epoxy Polishing & Cleaning Kit
Regular price
$37.09
Sale price
$37.09
Regular price
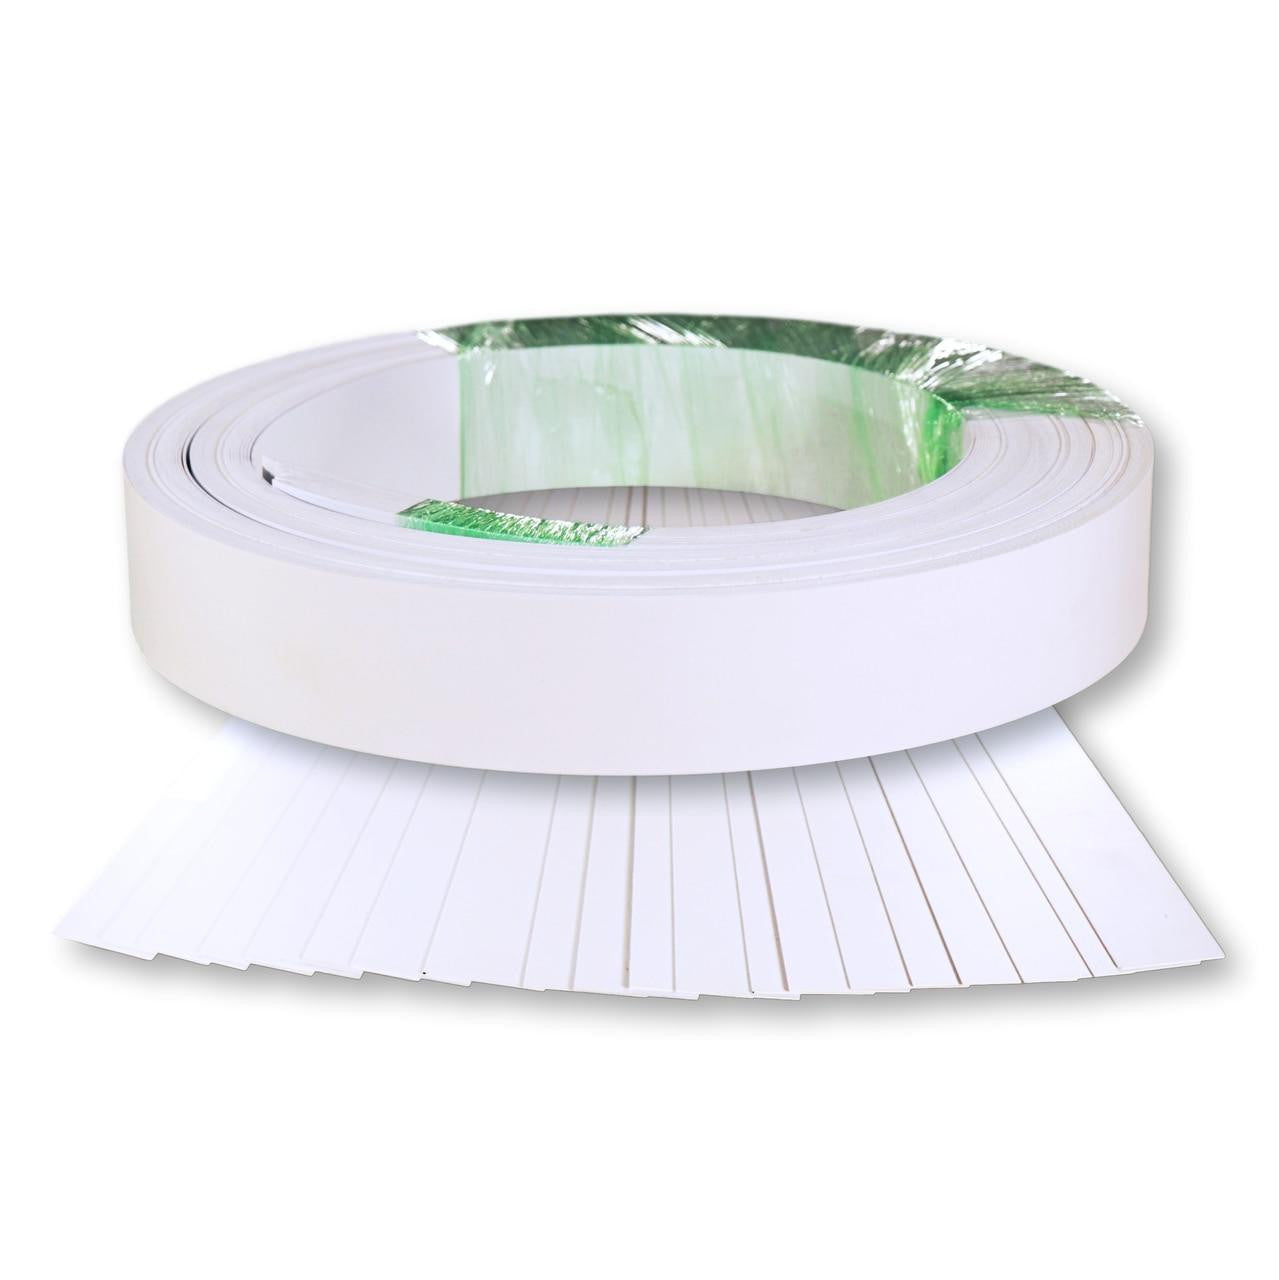
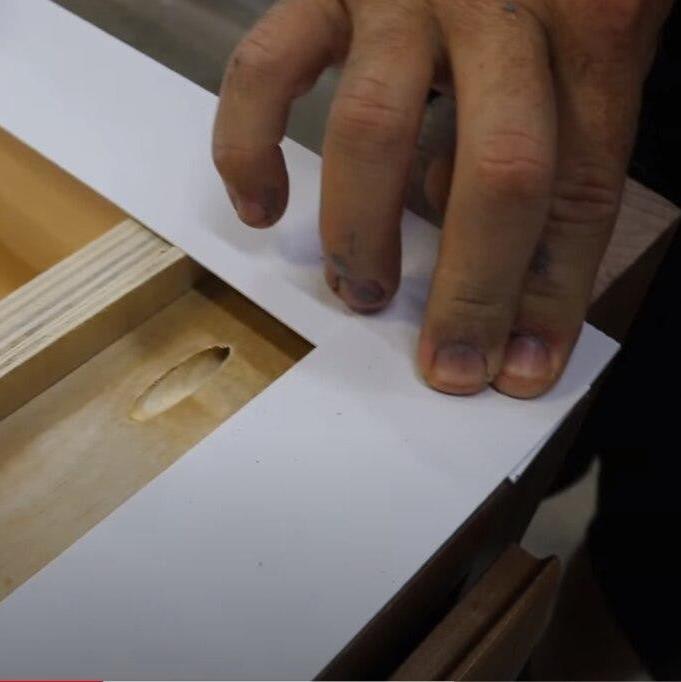
Template Material For Countertops (Roll of 20 Sheets)
Regular price
$46.63
Sale price
$46.63
Regular price
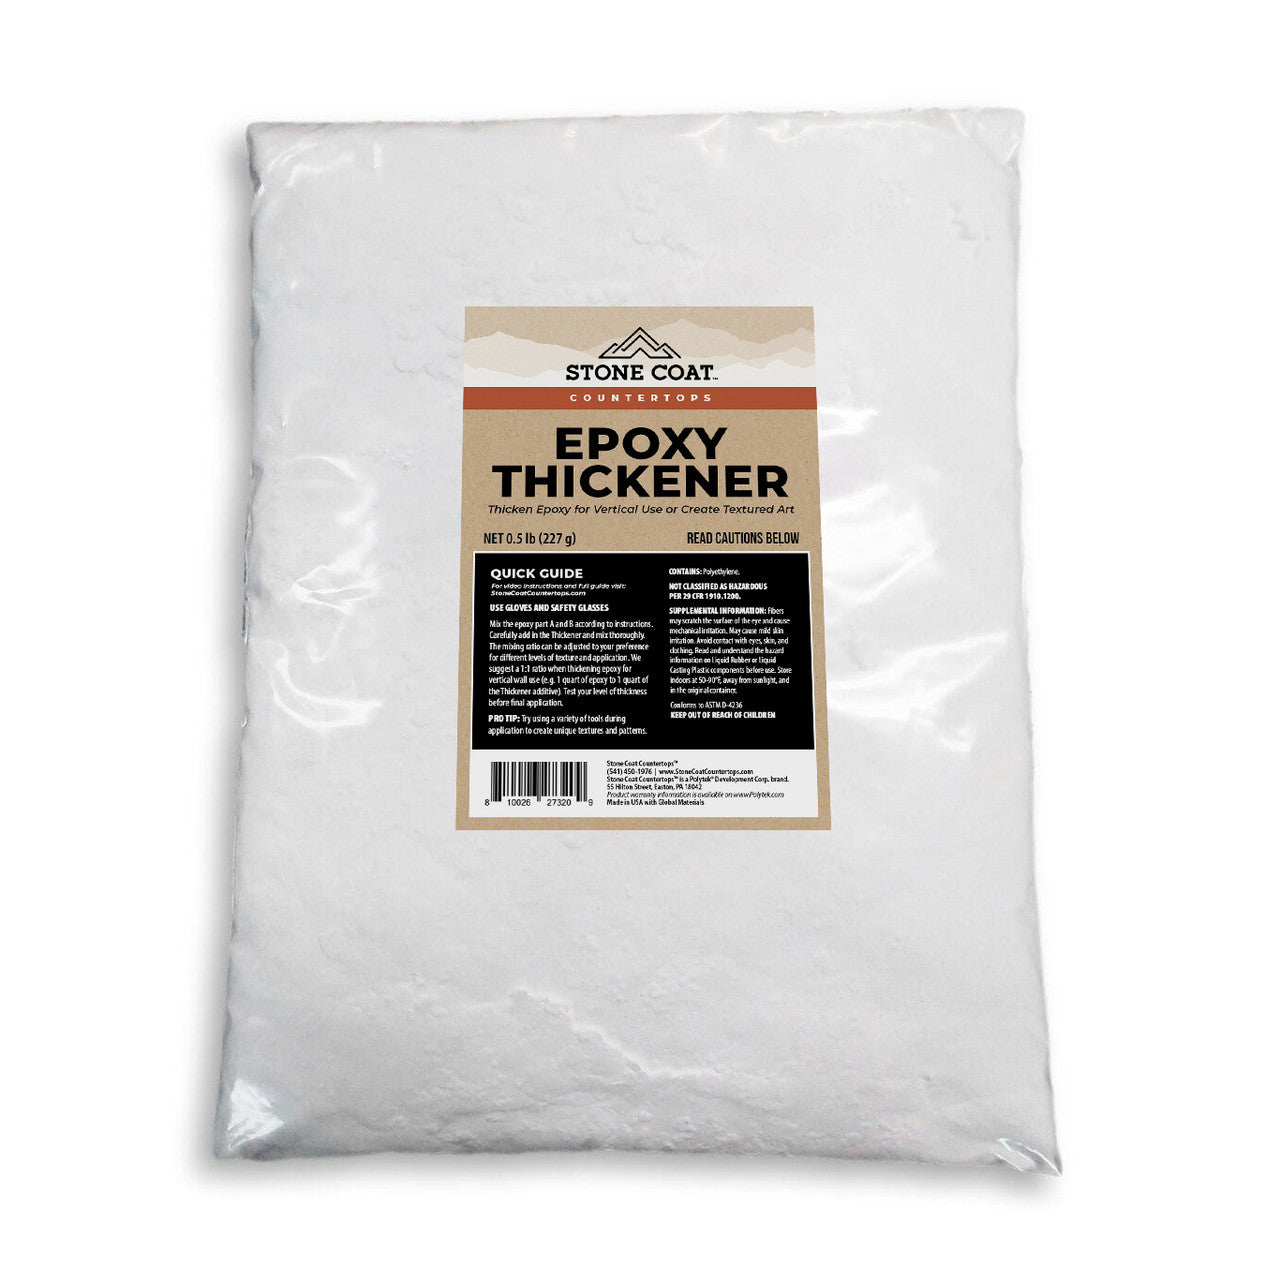
Epoxy Thickener
Regular price
$15.89
Sale price
$15.89
Regular price
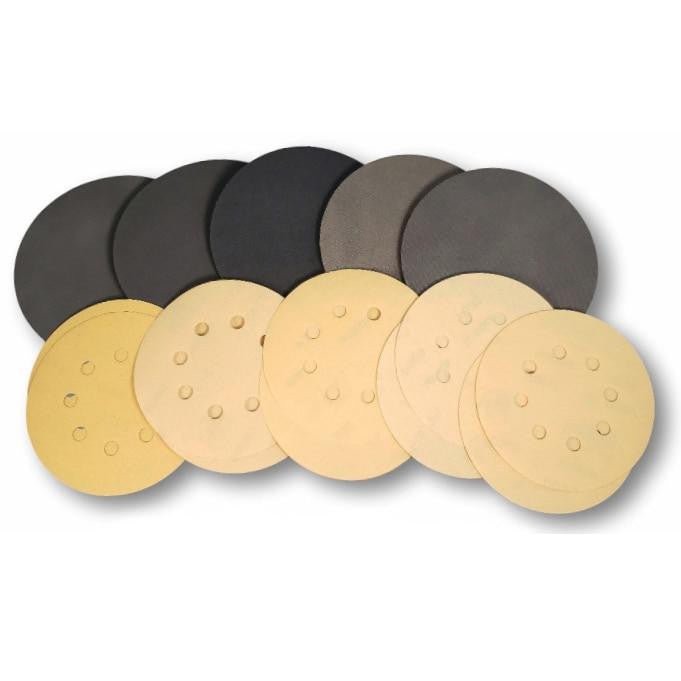
Assorted Grit 5 & 6 Inch Sanding Disc Kit
Regular price
$34.97
Sale price
$34.97
Regular price
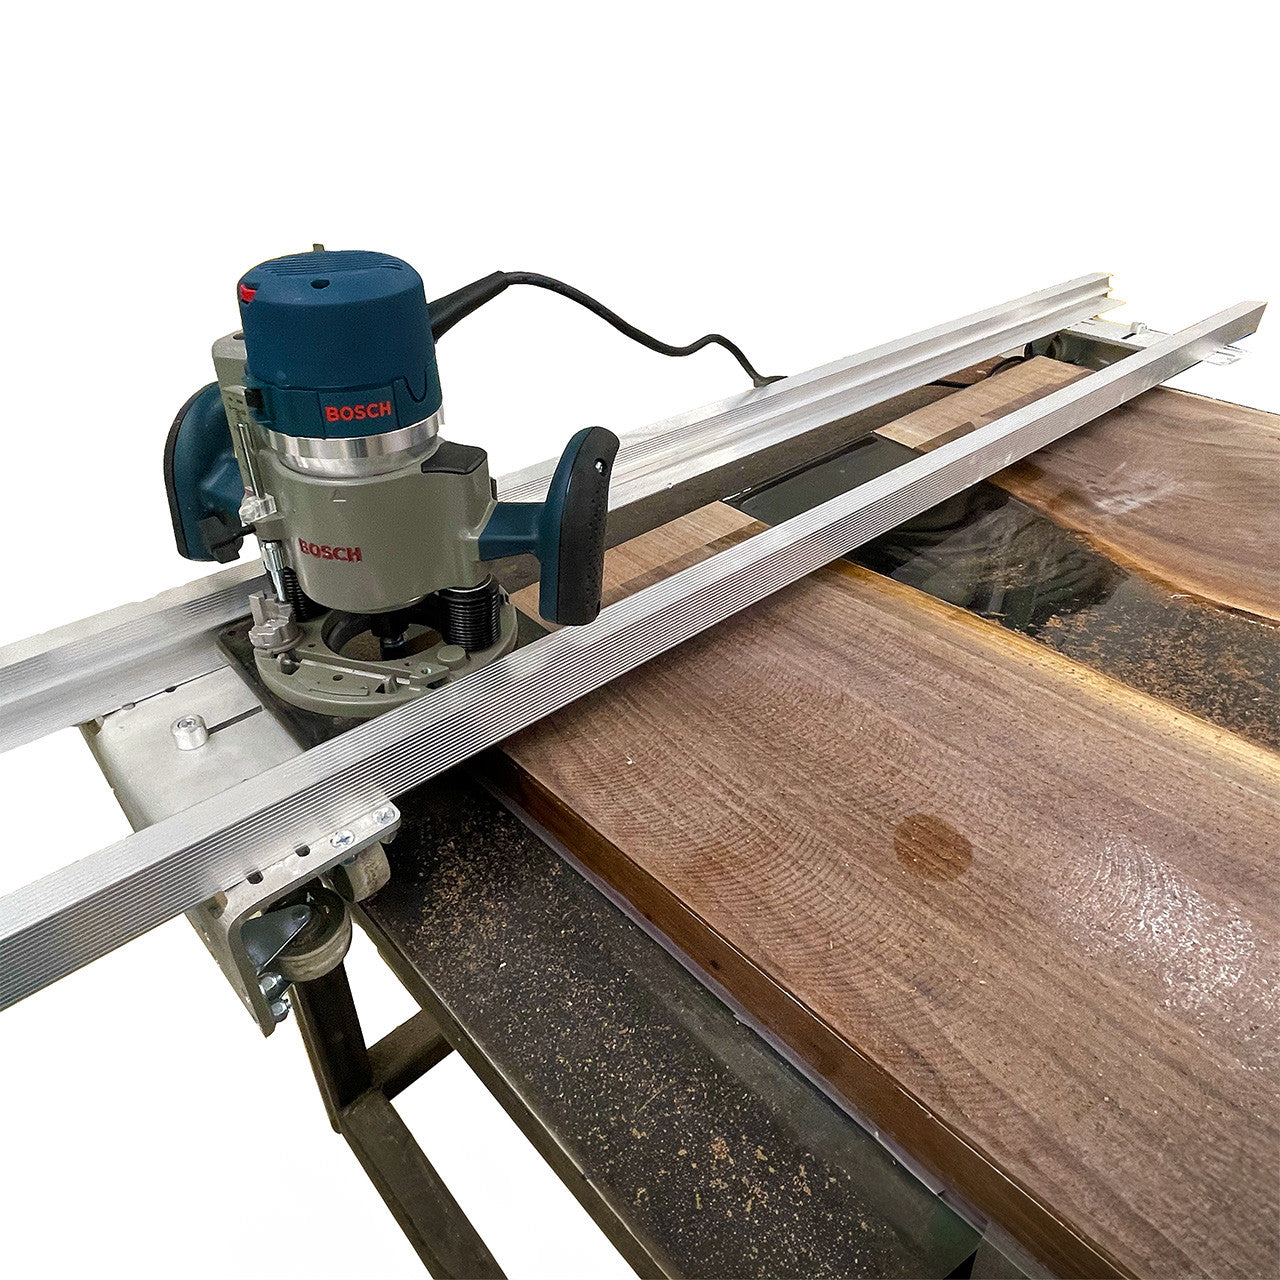
Router Slab Jig
Regular price
$466.39
Sale price
$466.39
Regular price
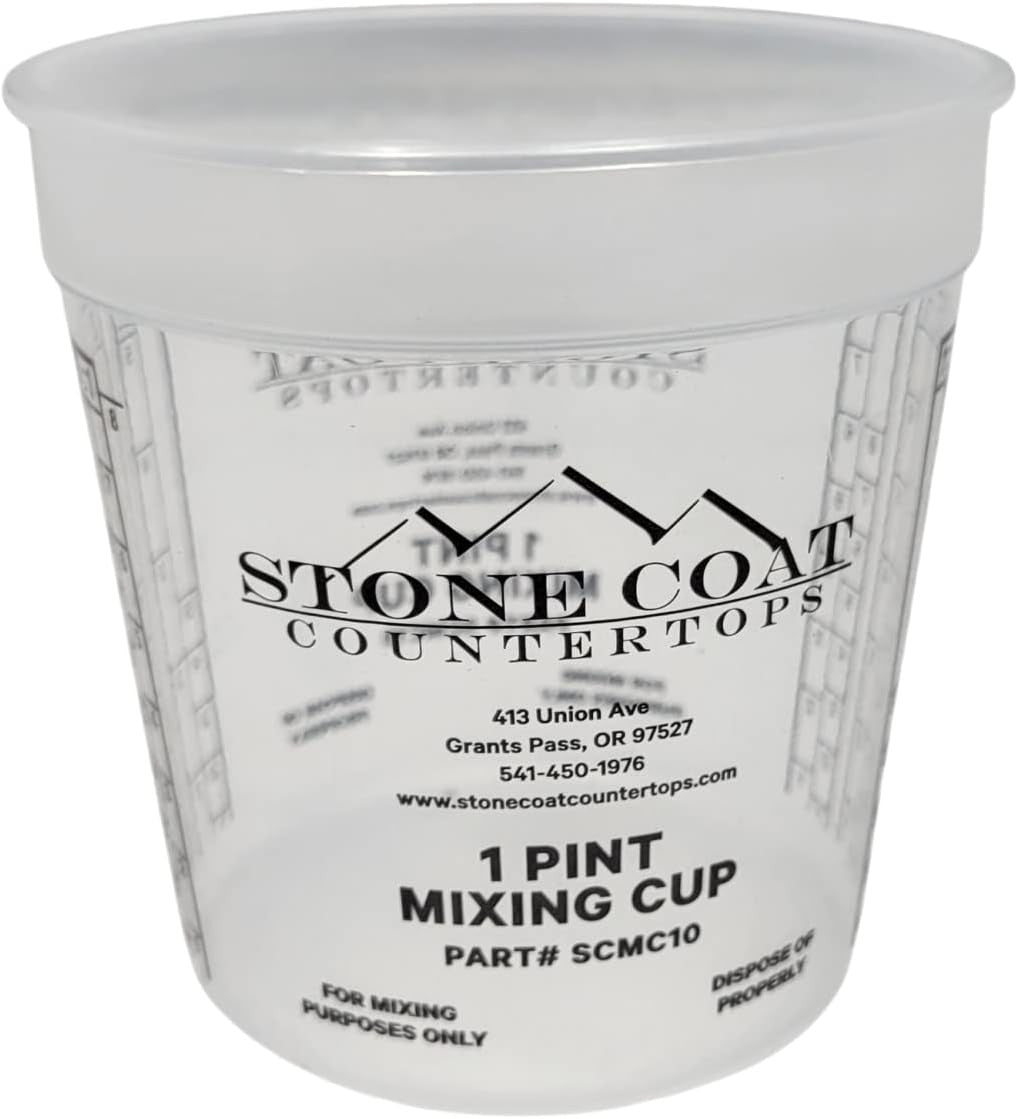

Stone Coat Countertops Measuring & Mixing Cup
Regular price
From $1.05
Sale price
From $1.05
Regular price
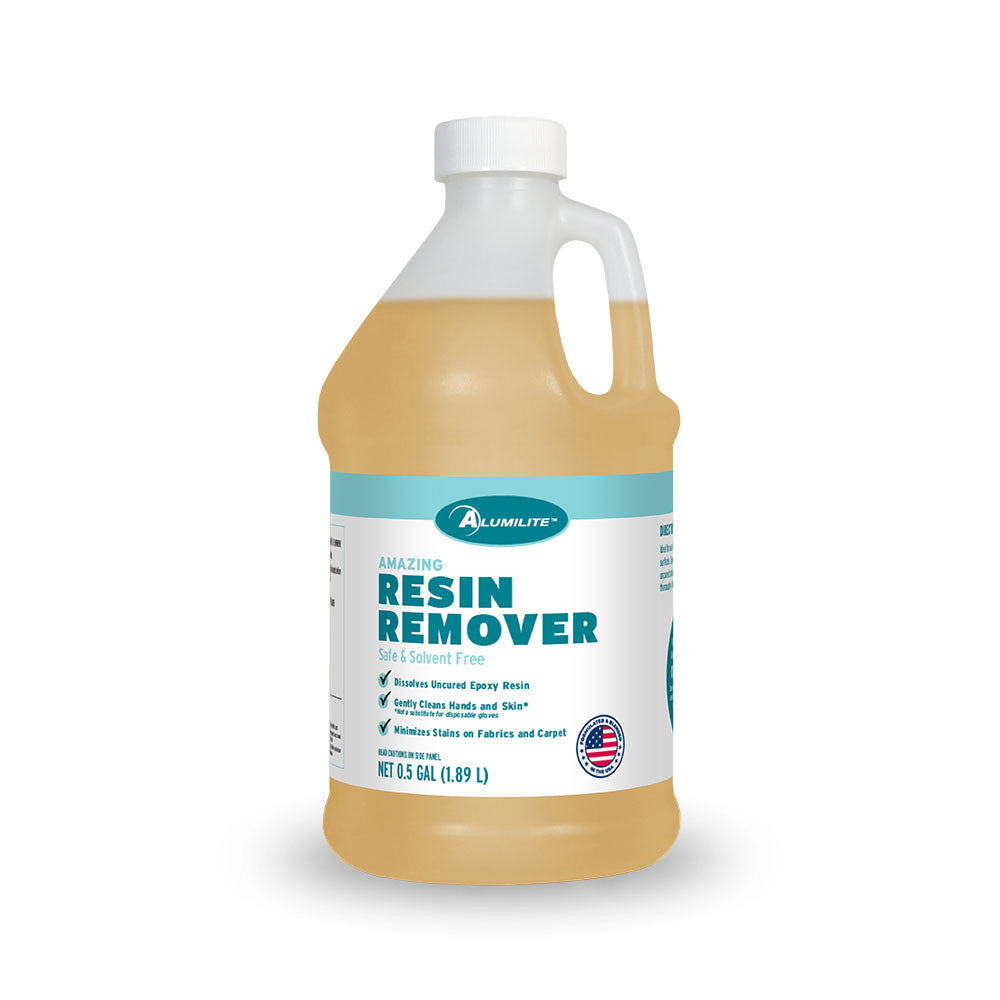
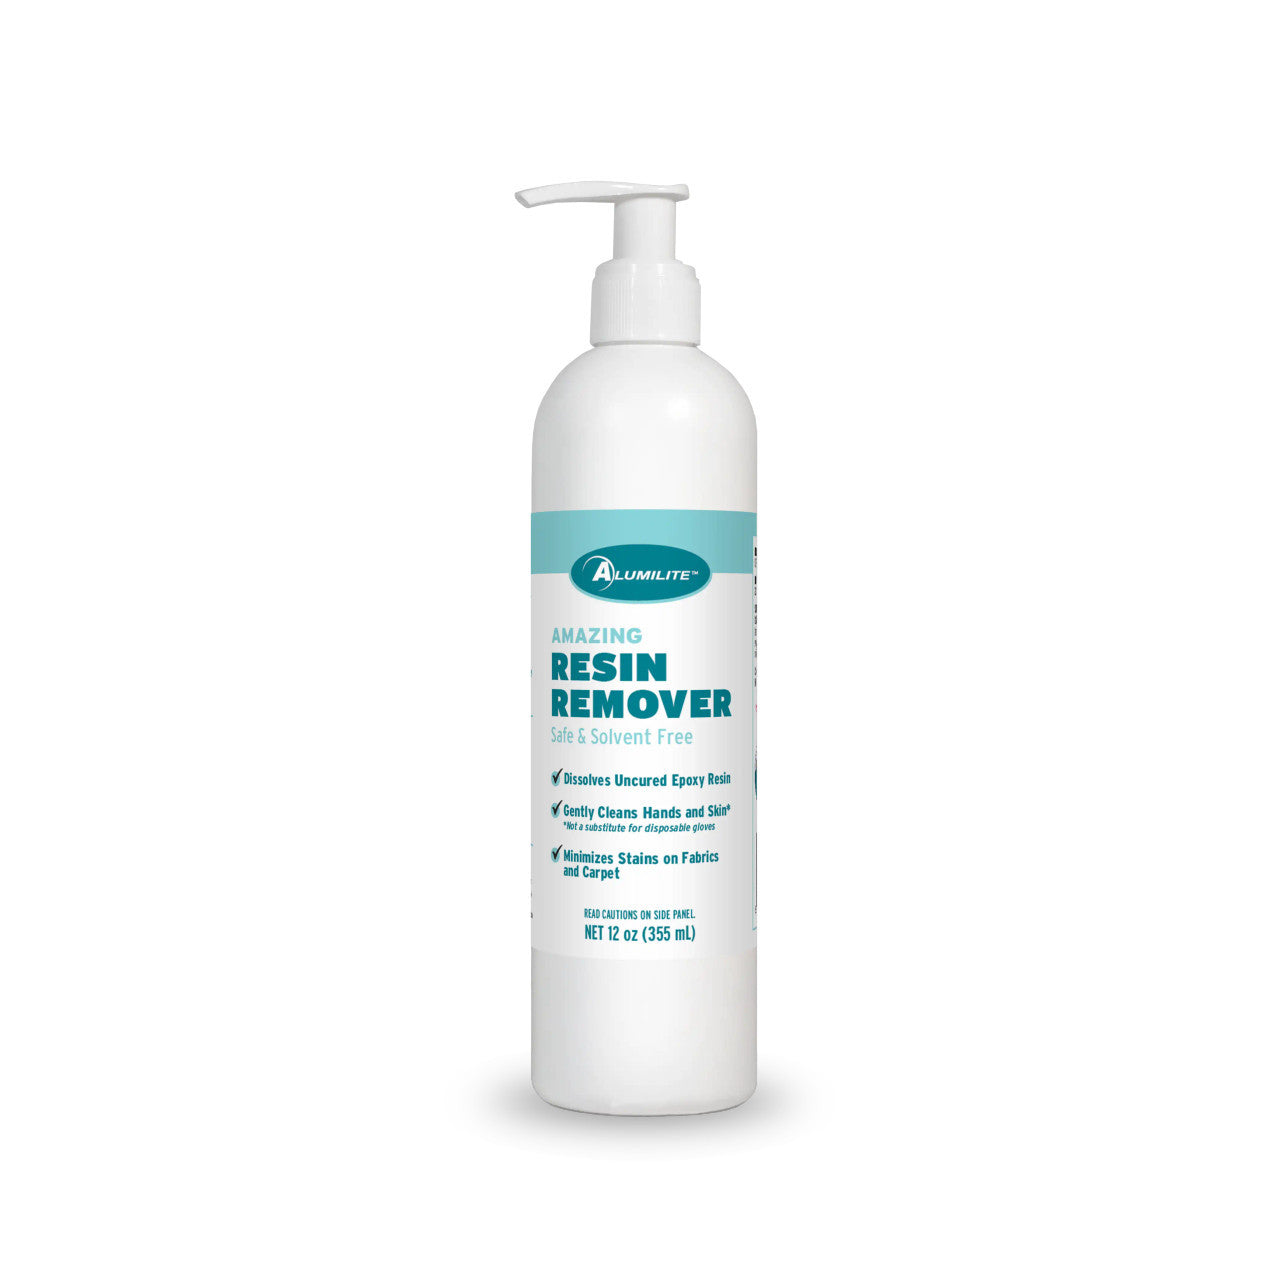
Amazing Resin Remover
Regular price
From $13.77
Sale price
From $13.77
Regular price
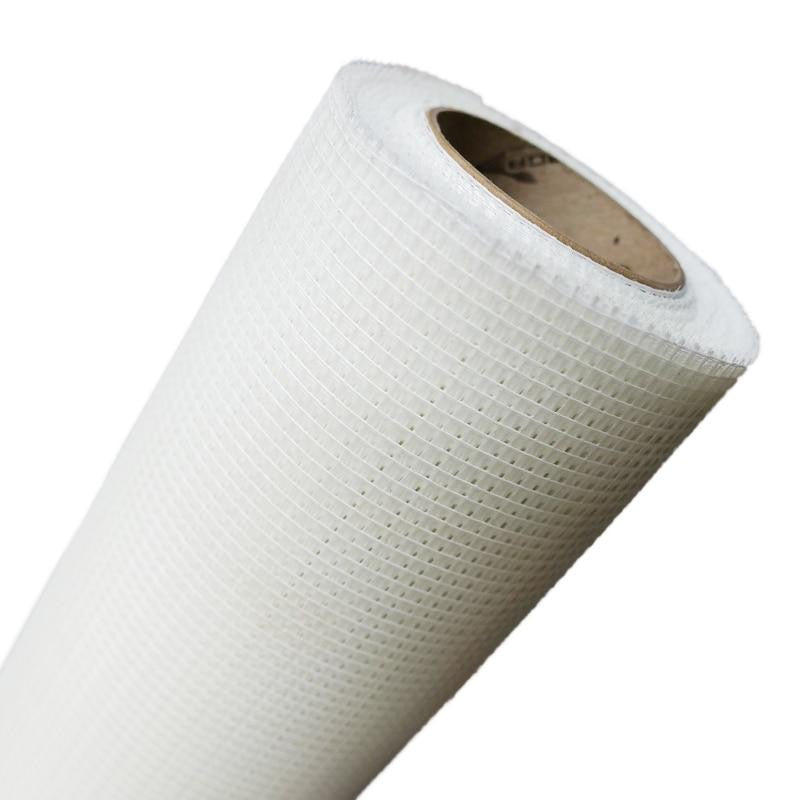
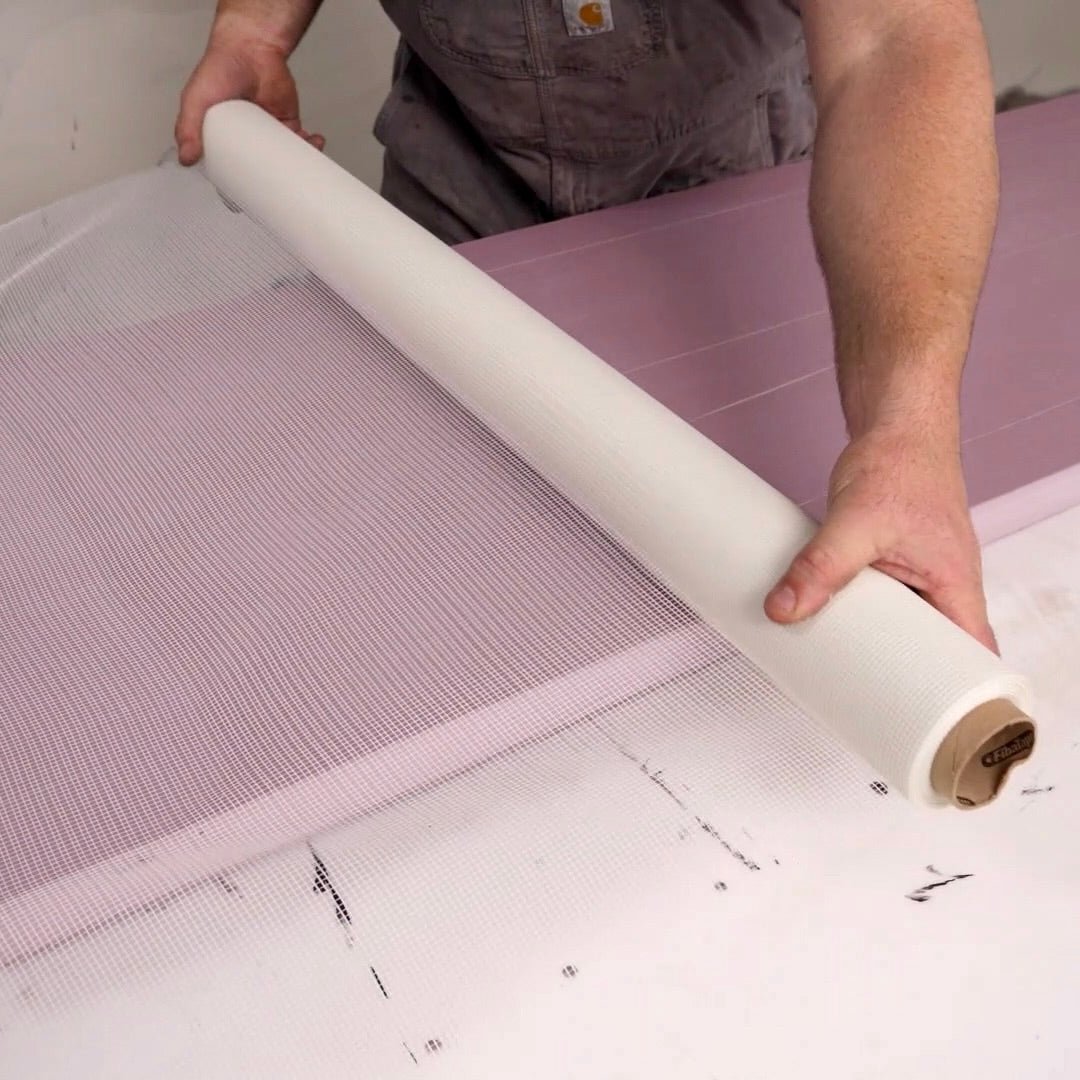
Durable Fiberglass Mesh
Regular price
$31.79
Sale price
$31.79
Regular price
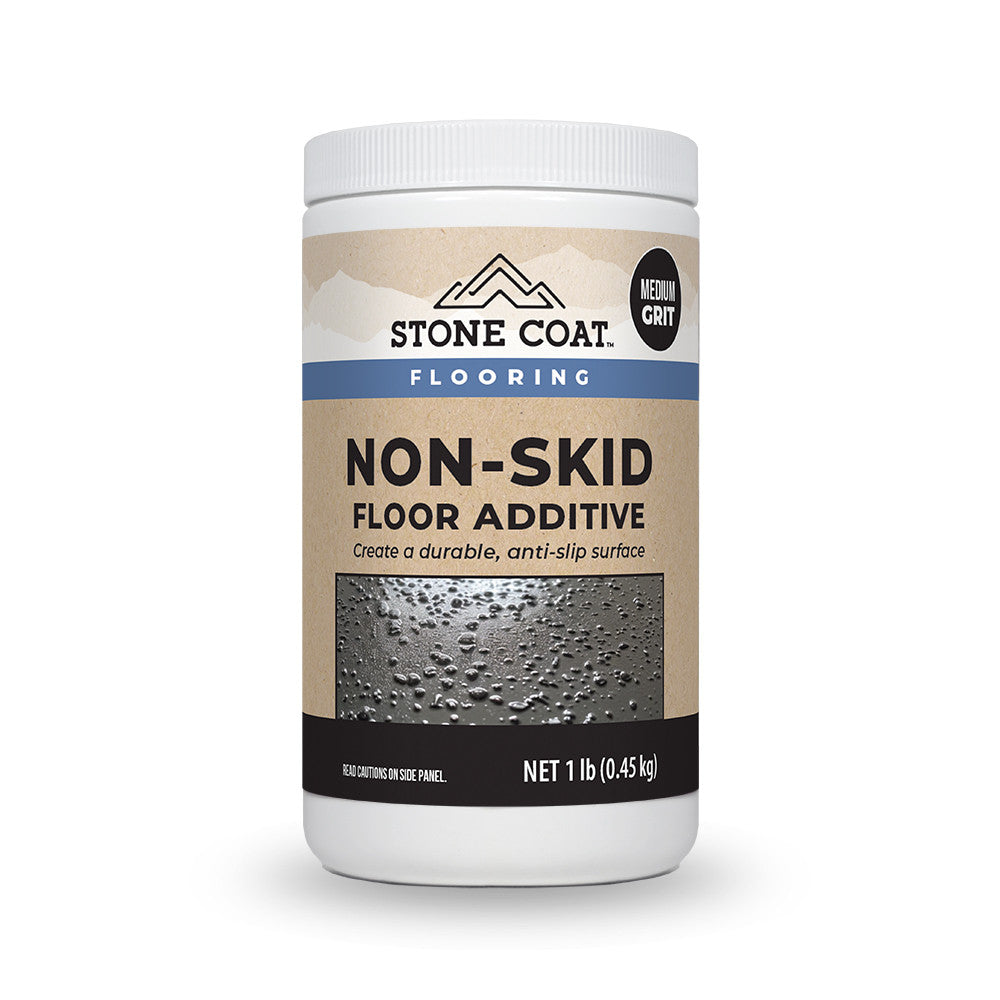

Non-Skid Floor Additive
Regular price
From $7.41
Sale price
From $7.41
Regular price
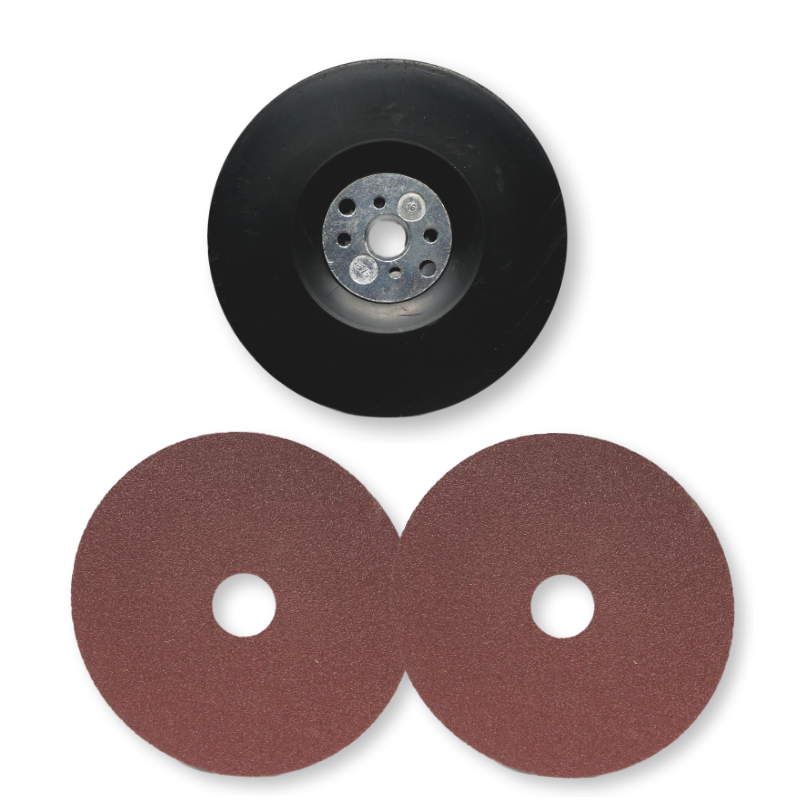
50 Grit Sanding Discs & Backer Kit
Regular price
$20.13
Sale price
$20.13
Regular price

Collection:
Tools & Supplies
Get all your epoxy resin tools, supplies, and accessories from Stone Coat Countertops—your experts in epoxy countertops, resin woodworking, and flooring. From epoxy mixers, kits, and removers to specialty application tools, our products make it easy to pour directly over your countertop, turning your DIY kitchen or bathroom project into a fun and straightforward experience. Start your project today with Stone Coat Countertops!