

How to Use Epoxy Resin for Woodworking Projects
Take your woodworking projects to the next level by incorporating epoxy resin! Learn about different types of epoxies, tips and tricks for working with them, and how Stone Coat products can help you get started with resin and wood.
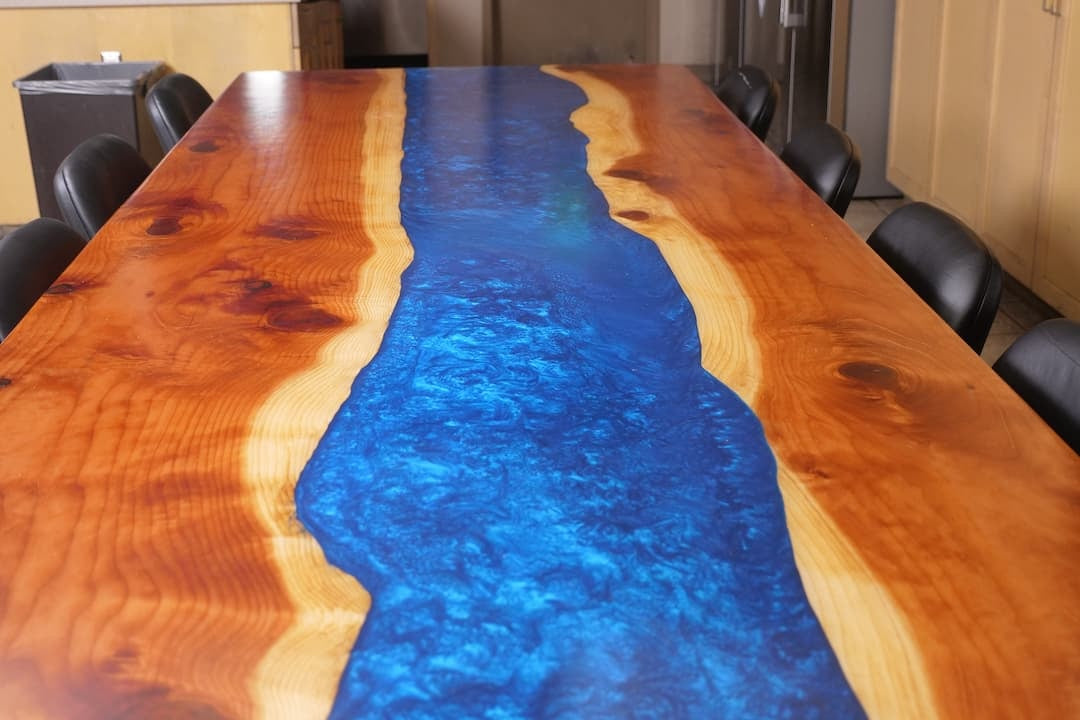
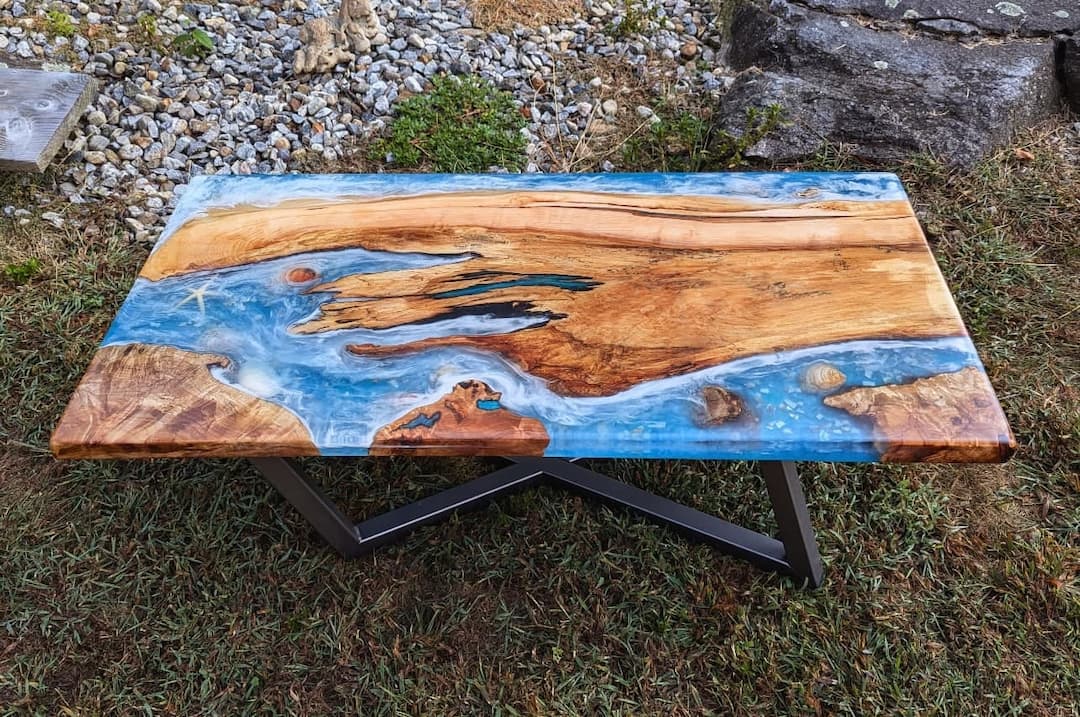
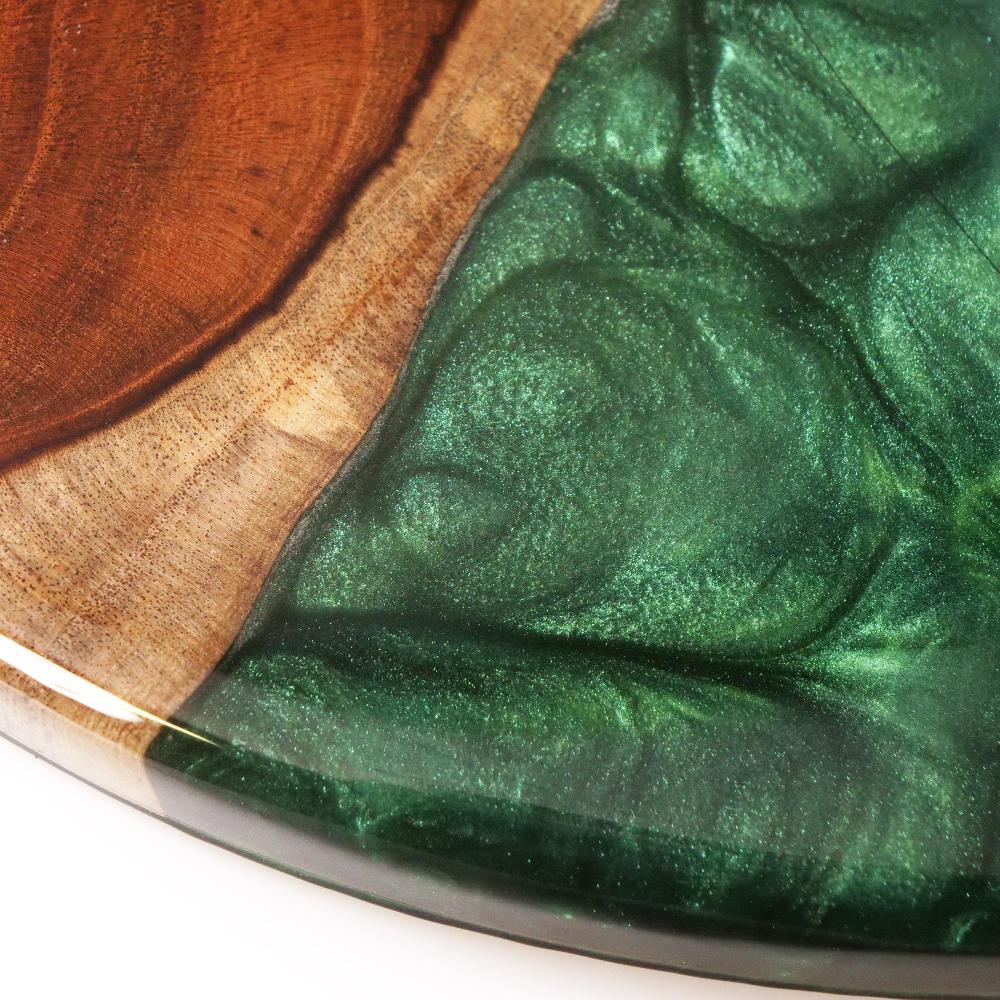
Create an Epoxy River Table
Learn how to create a show-stopping epoxy river table with step-by-step written and video tutorials by the pros at Stone Coat Countertops.
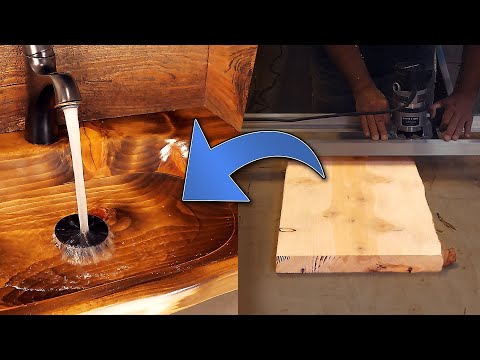
Create a Cedar Sink with scrap wood & epoxy
Transform your old scrap wood into a stunning cedar sink with our step-by-step tutorial.
Seal a Wood Surface with an Epoxy Flood Coat
Add dazzling shine to wood and other surfaces with a clear coat of epoxy.
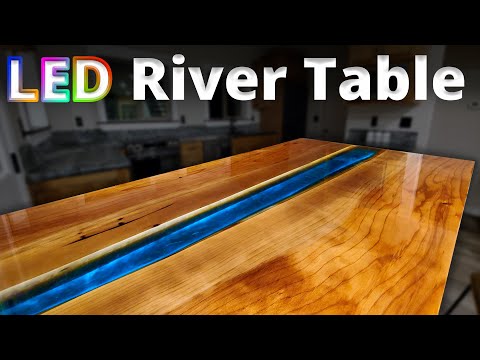
RIVER TABLE MASTER CLASS
Learn how to create a custom LED River Table. Learn all the tips and tricks to level your slab of choice, how to build your form, pour the river with casting epoxy and our metallic powders, finish with a beautiful flood coat with our Stone Coat Epoxy, and then finally how to install on site!

Build an Epoxy Hearth
Create a custom hearth hearth to perfectly correspond to your home's decor. Durable and stunning!
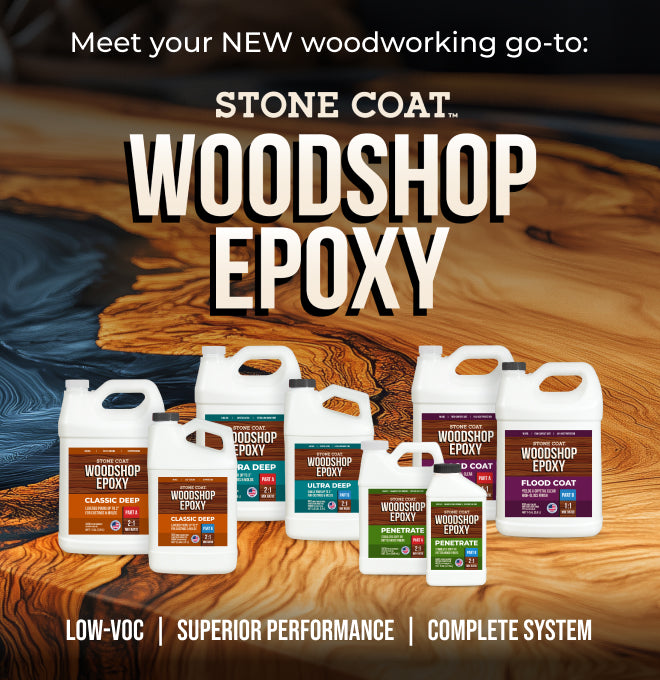
WOODWORKING EPOXY PRODUCTS
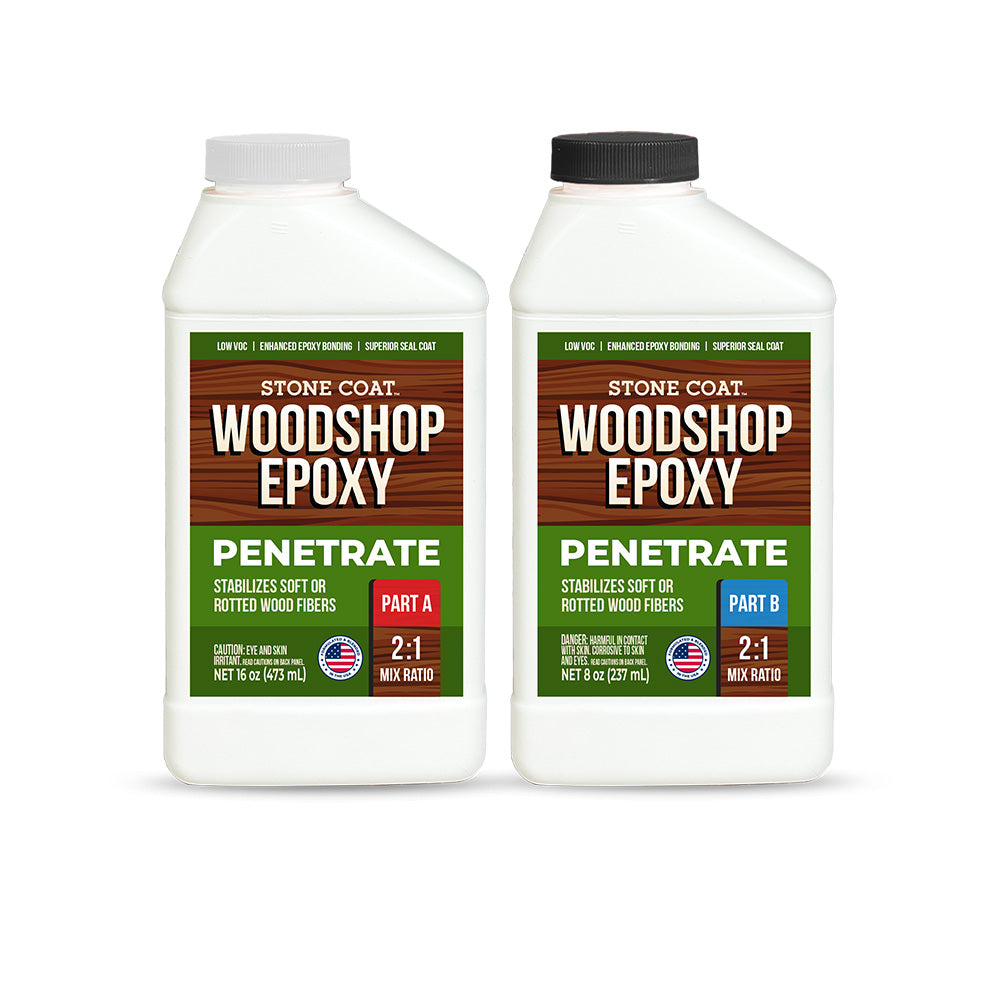
Woodshop Epoxy Penetrate
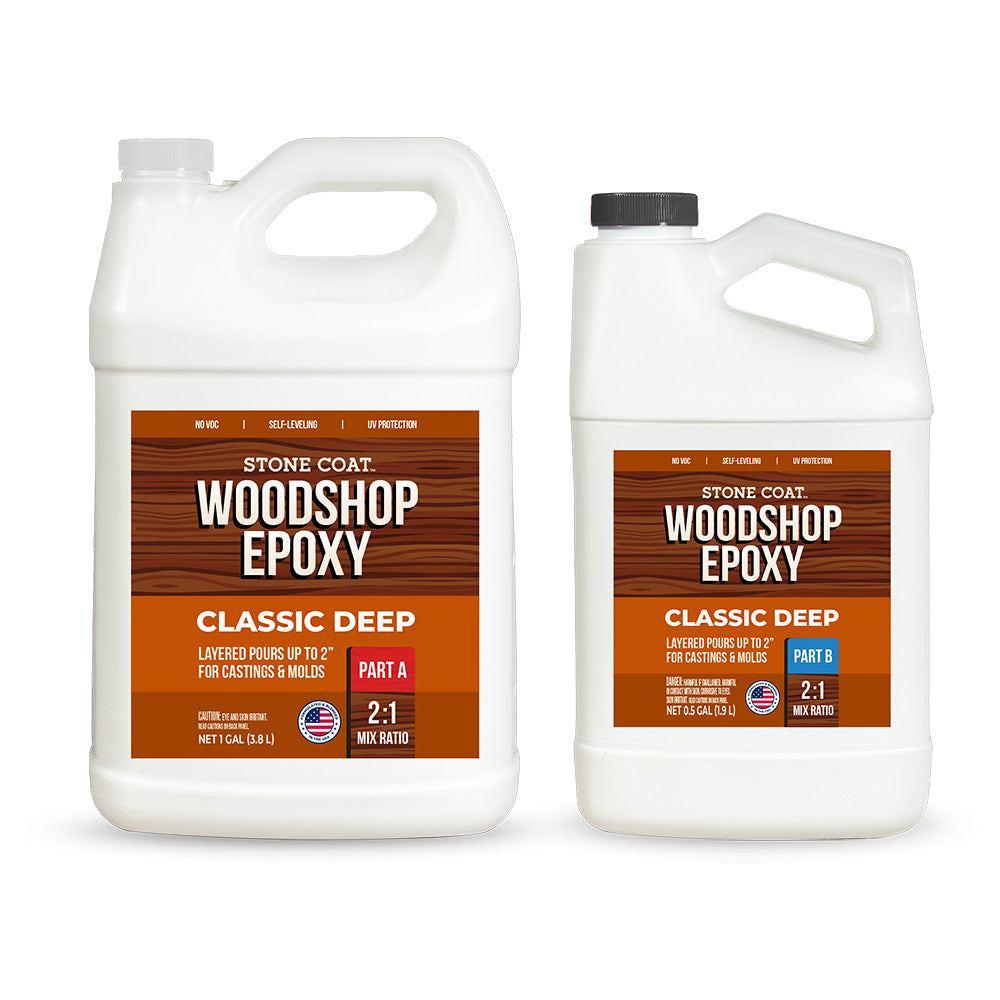
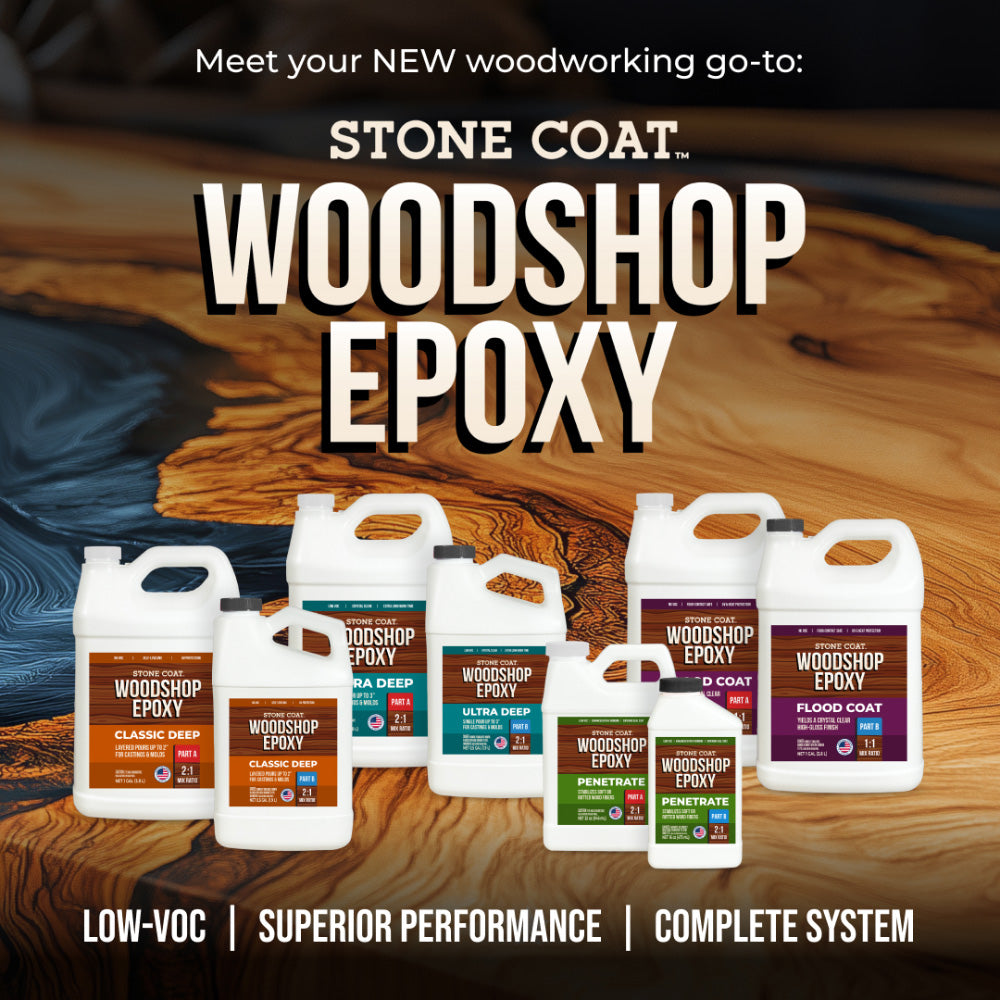
Woodshop Epoxy Classic Deep
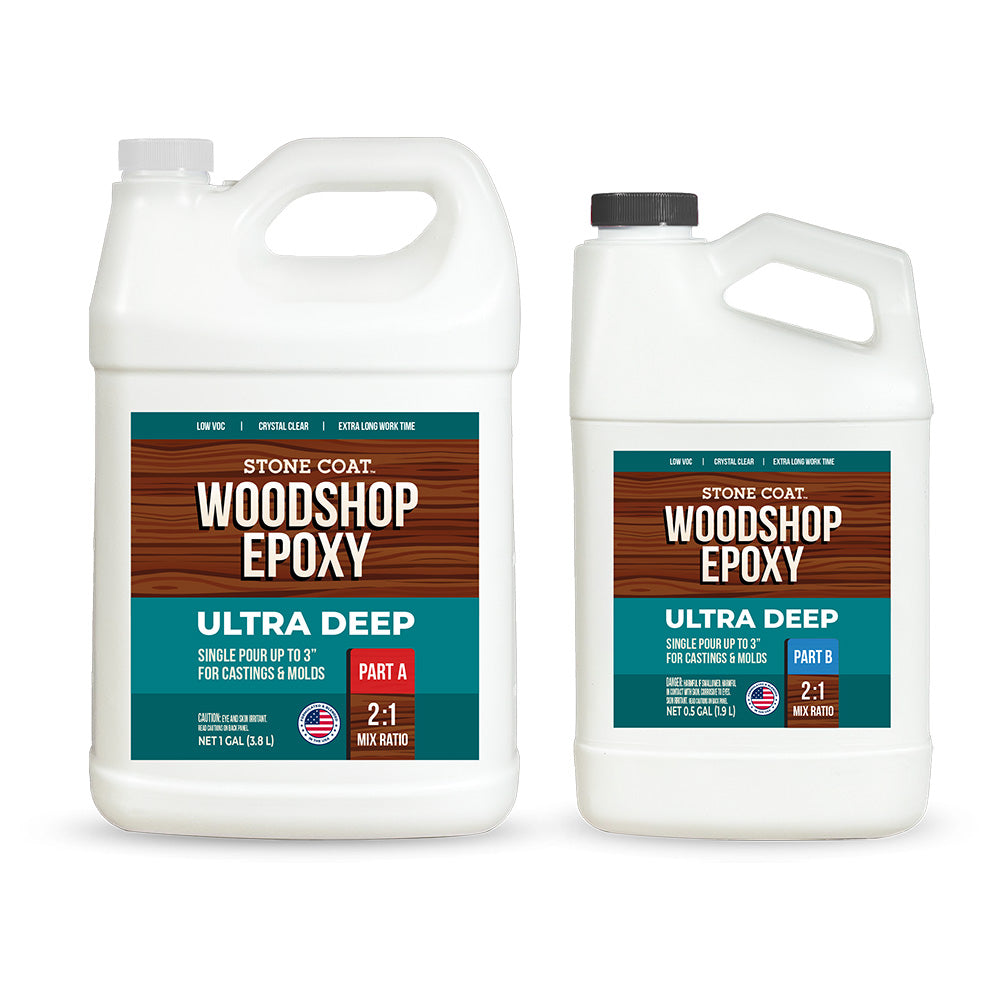
Woodshop Epoxy Ultra Deep
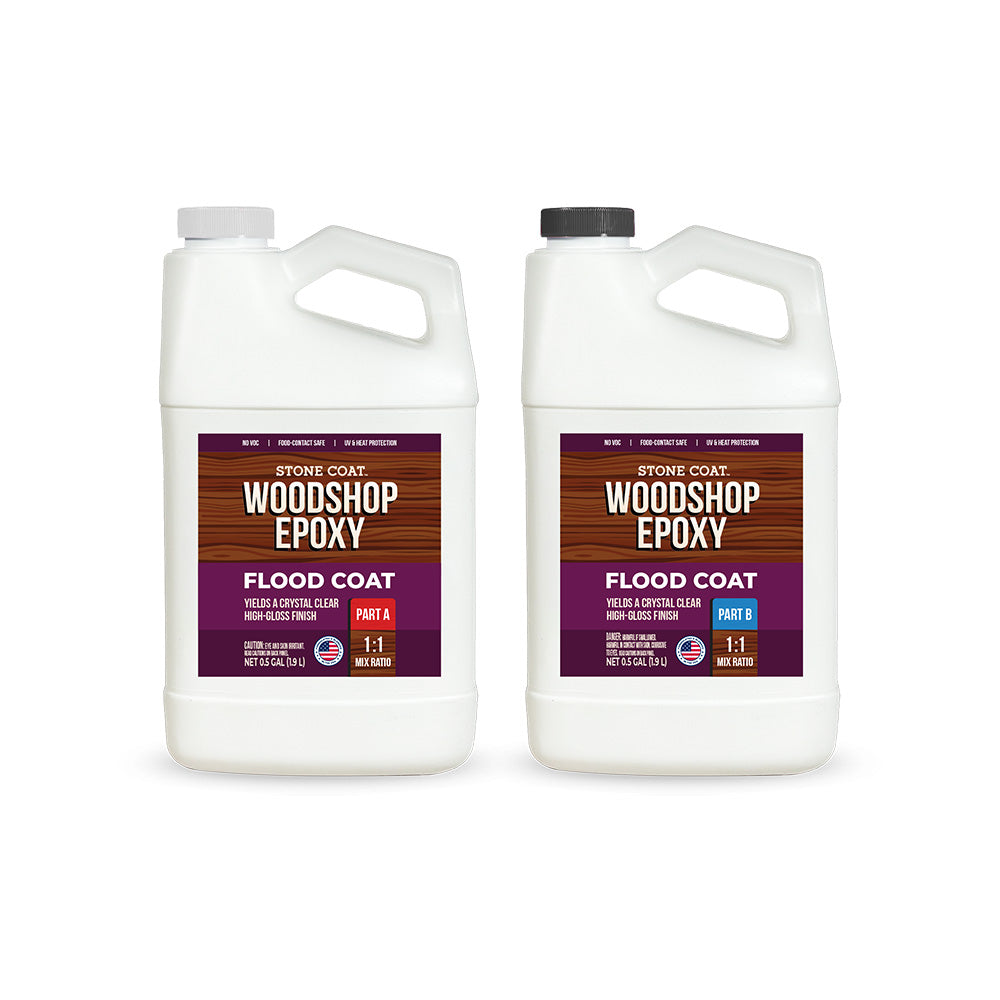
Woodshop Epoxy Flood Coat
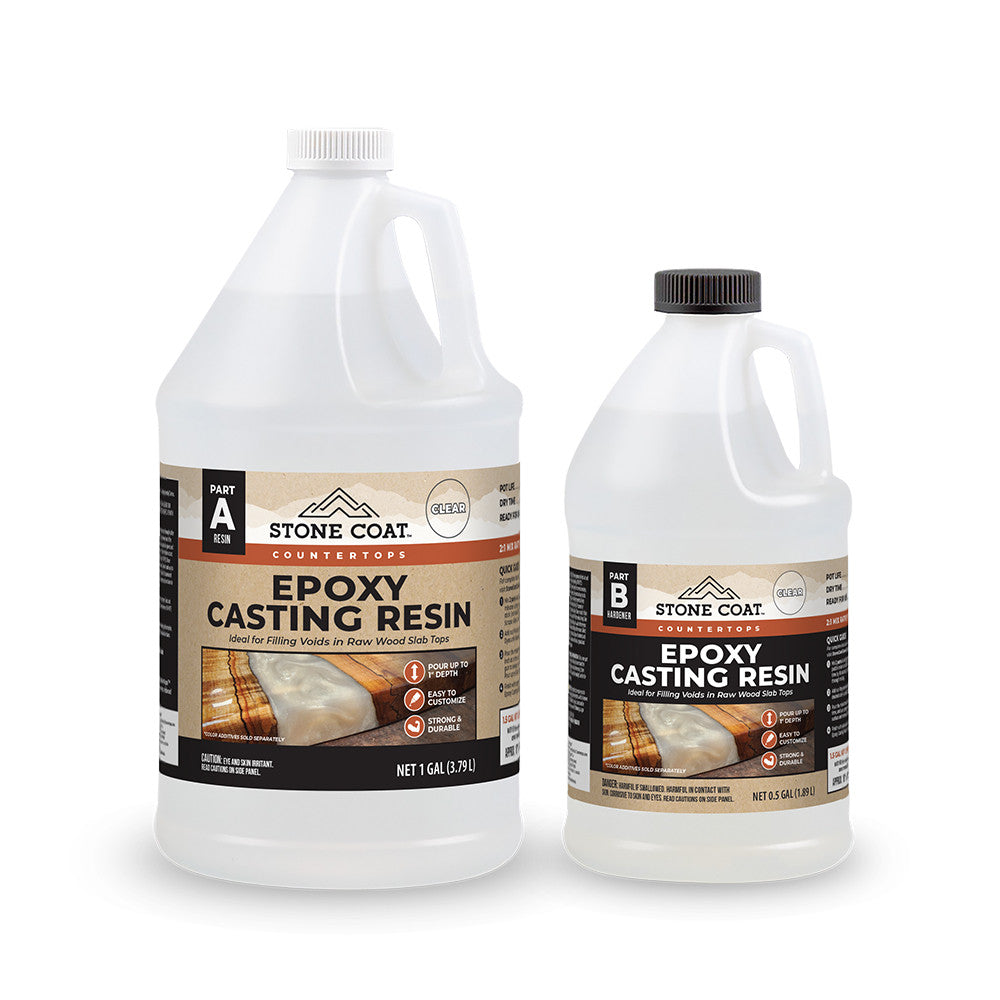
Epoxy Casting Resin
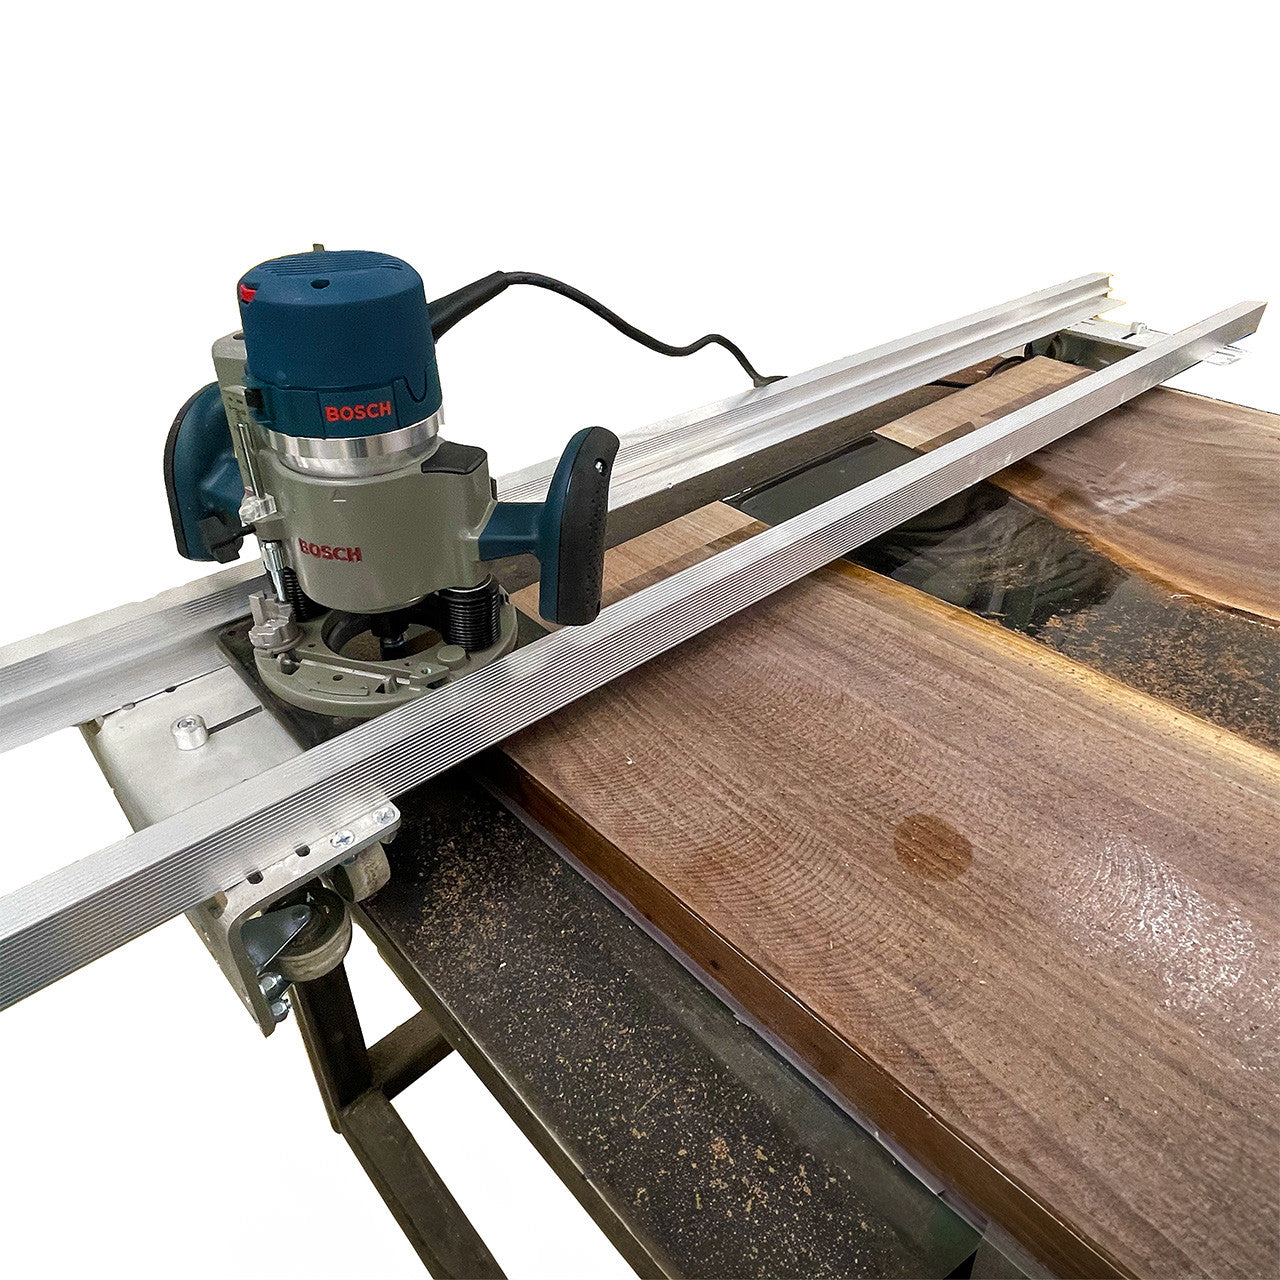
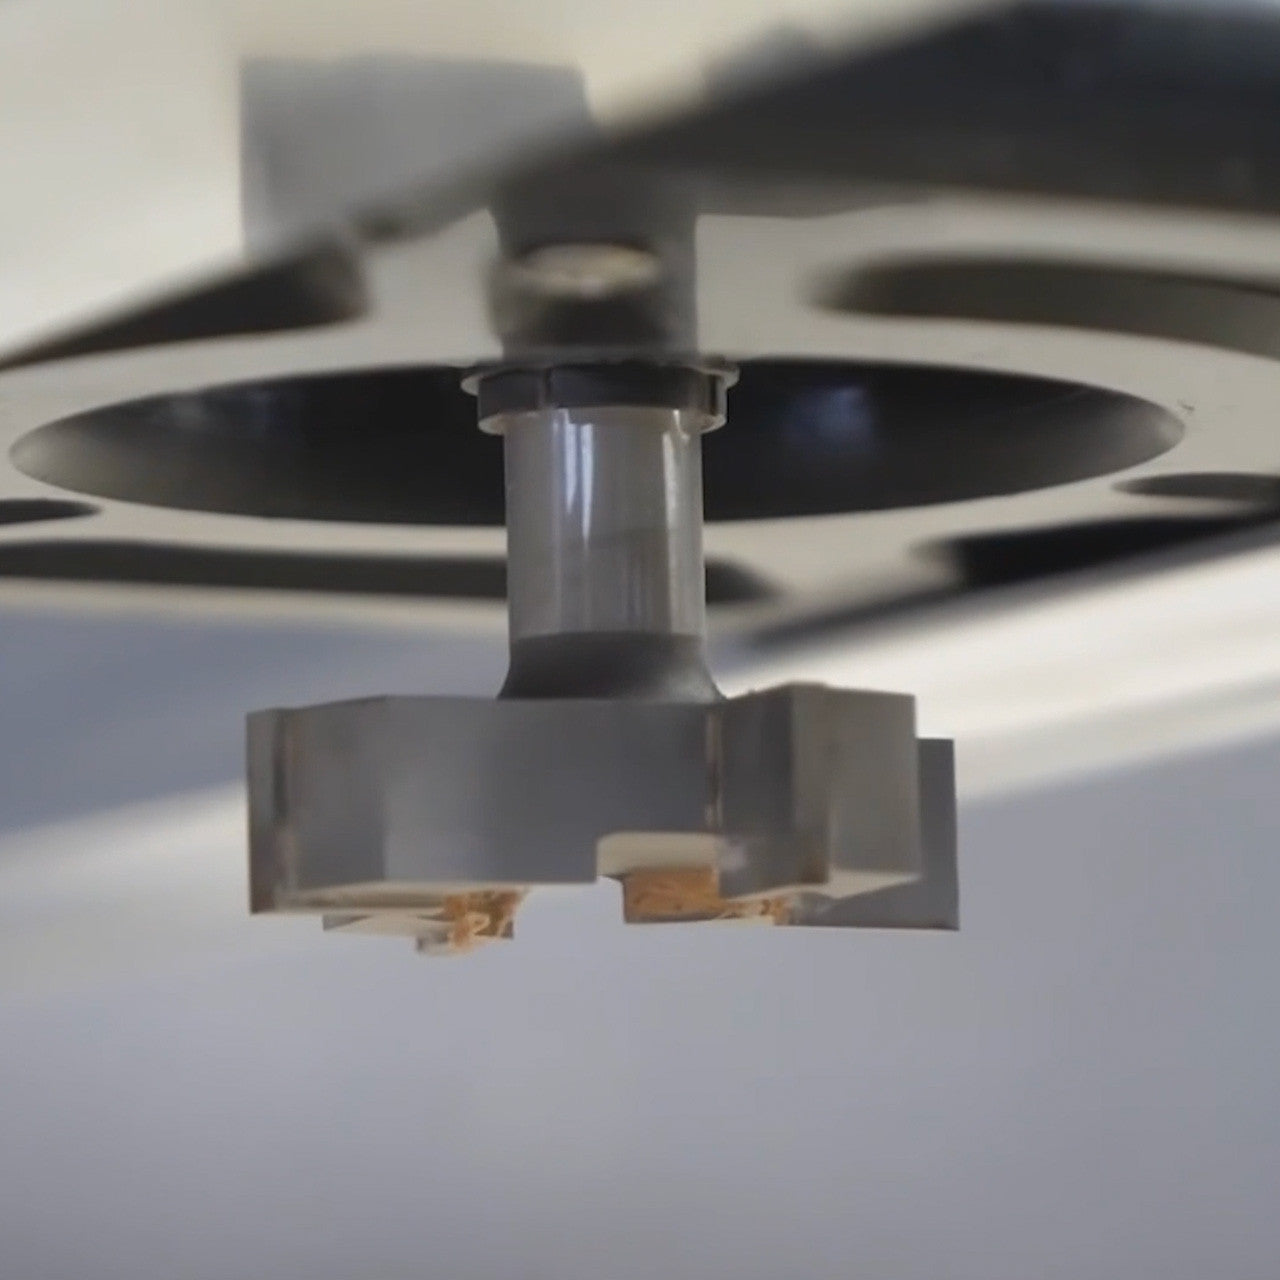
Router Slab Jig
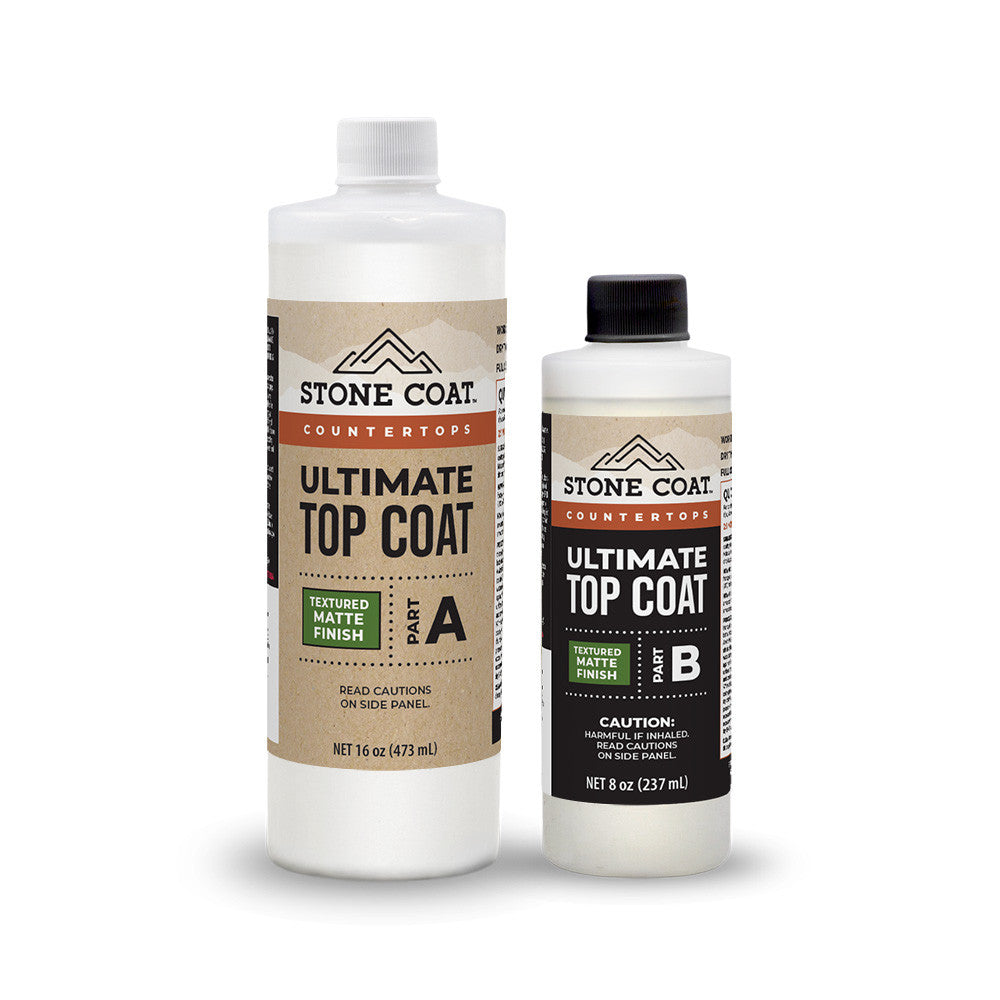

Ultimate Top Coat
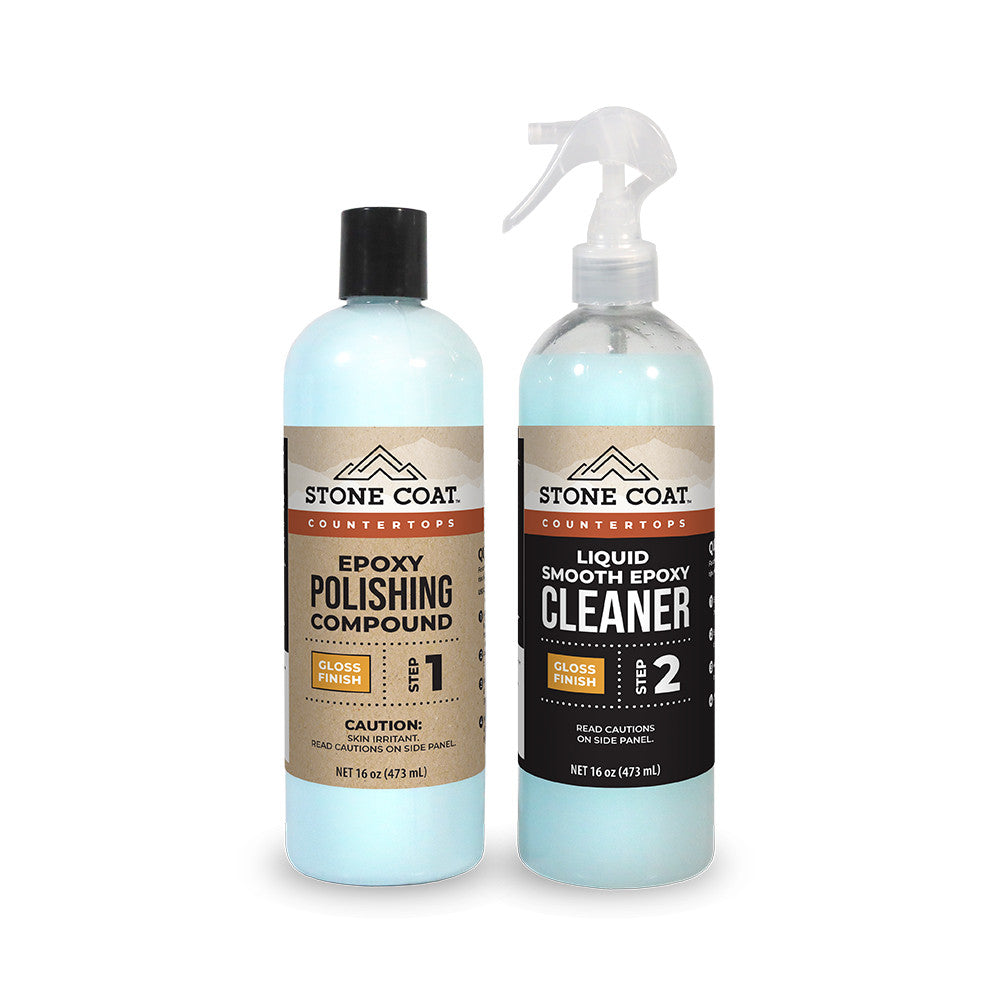
Epoxy Polishing & Cleaning Kit
Are you eager for more woodworking tutorials? Check out our Woodworking with Epoxy playlist on YouTube!