null
phone: +15414501976

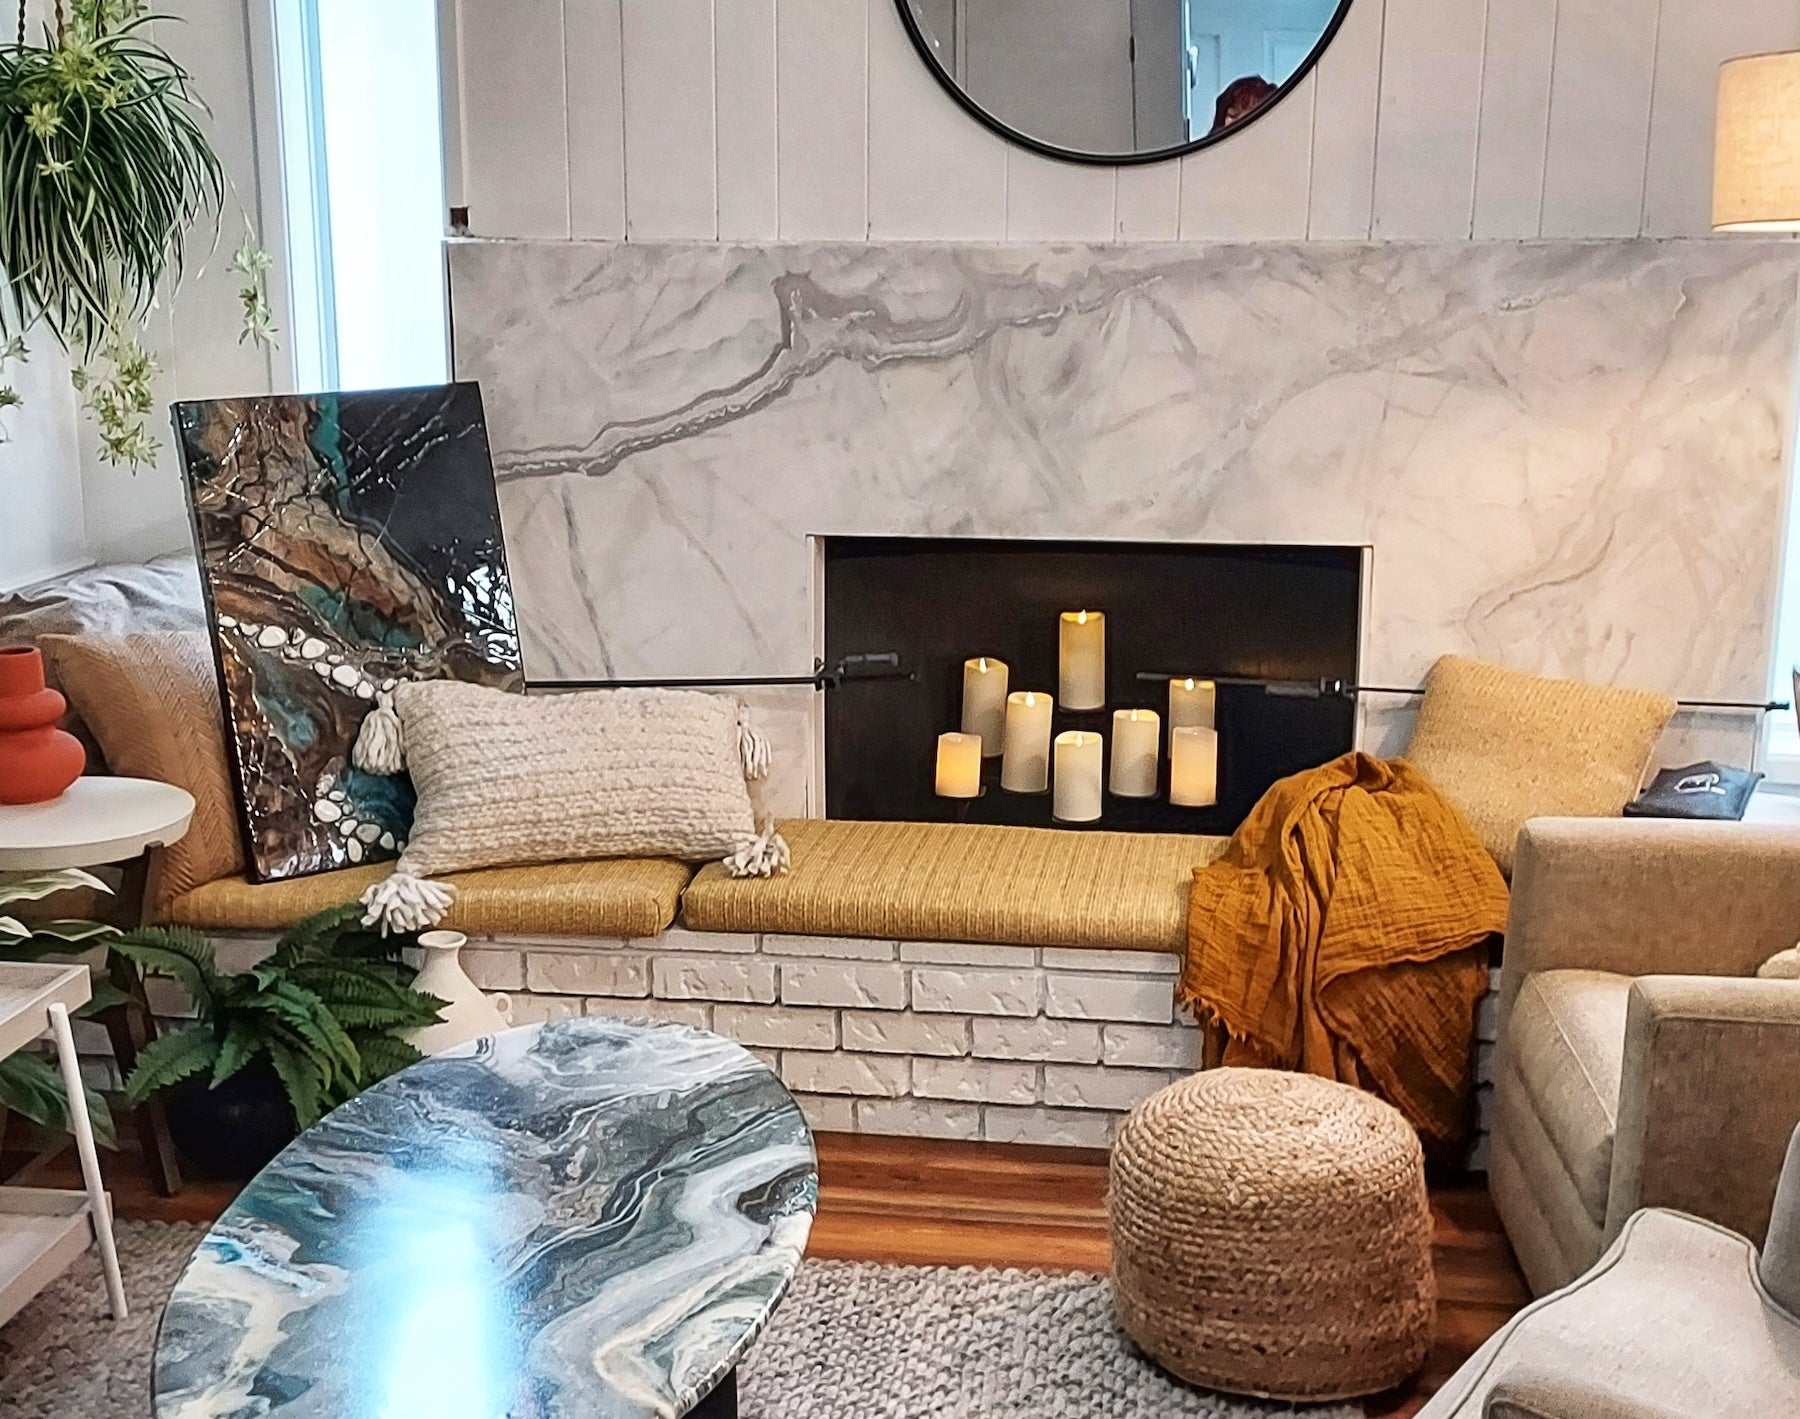
How To Build An Epoxy Hearth

👈


Here's our color recipe in the video:

  • Metallic Powders
    • White
    • Diamond Dust
    • Silver
  • Spray Paints
    • White
    • Black
    • Antique Brass
  • Dyes
    • Black
    • White

STEP #1: DOUBLE UP YOUR SUBSTRATE

If you're building your own substrate, cut that substrate into two rectangles of equal size. We like to use MDF (medium density fiberboard) because it's smooth and solid all the way through. I get it in 3/4" thick sheets. Next, glue the two cut rectangles on top of each other using your favorite wood glue (here we're using Titebond II Premium Wood Glue). After the MDF sheets are glued and roughly aligned, drive some pin nails through the two sheets for extra strength. Since we're going through two stacked sheets of 3/4" MDF, we're gonna use 11/4", 23-gauge micro pins in our pin gun. Pin a perimeter about an inch away from the edges and then distribute some pins inside that perimeter for good measure. These MDF sheets will be bonded together at maximum strength once the glue sets.

Step #1: Double up MDF substrate for strength. Glue two rectangles, pin nail for extra stability. MDF provides a smooth, solid base.

Step #2: Create your slate rockface edge

Once your substrate is doubled up and pinned together, prop up the substrate so that its edges are away from any surface (paint cans work fine) and mix up a batch of Bondo. Follow the instructions for proper mixing and be cautious about mixing too much at a time. You can always mix another batch, but Bondo sets up fast, depending on how much hardener is used. Once your Bondo batch is mixed thoroughly, use a gloved hand to spread a layer of Bondo on the outside edge of your substrate. Once the outside edge is fully covered and the Bondo has just started to set up, come back with a gloved hand and lightly rub the layer of Bondo in a horizontal direction. This will create that slate-like horizontal texture which imitates natural sedimentary stone.

Step #2: Create slate rockface edge. Mix Bondo, apply to edge. Rub horizontally for sedimentary stone texture before it sets.

Step #3: Apply Undercoat

Once the Bondo on the edge has set up completely, sand any excess Bondo off of the top and bottom of the substrate. Carefully sand the new rockface edge until it has no sharp points. Next we're going to roll two coats of our Epoxy Undercoat over the surface and edges of the substrate. Be sure to thoroughly coat any low points in the rockface edge. As an optional step, once the Undercoat is dry, you can lightly fog a subtle pattern of spray paint for extra interest in your Undercoat.

Step #3: Apply two coats of Epoxy Undercoat, ensuring thorough coverage, and optionally add a subtle spray paint pattern for interest.

Step #4: Prep your exotic pour

Carefully apply at least two layers of tape around the edge of your new hearth, creating a "tape dam" so that epoxy won't flow over the edges of the project. Measure out your color additives of choice, each inside their own plastic cup, and set aside. Mix at least 3 ounces per square foot of either our Stone Coat Countertop Epoxy or, for greater UV resistance, our Art Coat. We're going to mix the epoxy for at least two minutes using a drill, making sure to mix the epoxy on the bottom and sides of the mixing bucket. Once the epoxy is thoroughly mixed, distribute it into each of the additive cups and individually mix those additives with the epoxy.

Step #4: Measure out color additives, mix 3 oz/sq ft of epoxy, and combine with additives.

Step #5: Apply wash coat

Tint enough epoxy to thinly apply a wash coat--in your choice of color--to the project. Pour the tinted epoxy on the center of your project and use a mixing stick or paint stick to spread. You may also use gloves hands. The main purpose of the wash coat is to provide a slick surface for the exotic pour to move and meld on. You can even drizzle a different color pattern in the wash coat (optional).

Step #5: Tint epoxy for a thin wash coat in your chosen color. Spread evenly for a slick surface to facilitate the exotic pour.

Step #6: Time for the exotic pour!

Combine (without manually mixing) most all of the colored epoxy cups--one by one--back into the mixing bucket in a random order. You can also add a short spray of spray paint between colors for more exotic melding, if spray paint is in your recipe. It is a good practice to leave a portion in a few epoxy cups to be used for colored veins later. Remember, do not manually mix the exotic pour while it's in the bucket. Let the colors mix and move on their own. Next we're going to pour out the combined colors onto the project. You can do this in whatever manner suits your project best. A few exotic pour techniques are: pouring gentle circles across the surface, making quick zigzags or even a slow pour in a line for a honey-like drizzle pattern. The most important part is to get creative, loosen up, try new techniques and have fun! This is Stone Coat Epoxy in action!

Step #6: Exotic pour time! Pour onto the project using various creative techniques for a unique pattern.

Step #7: Enhancing the exotic pour

Step back and examine your exotic pour to look for any details that stand out or don't look right. You can move the epoxy around with a gloved hand or use a propane torch, heat gun--or even a hair dryer--to fix these problem areas. Please be aware of whether the epoxy is heated before touching, even while wearing gloves. Safety first. At this point you can even add more exotic pours or drizzle veins with leftover epoxy or--if possible--tilt the entire project to get your exotic pour flowing around. You can create at your leisure with our long open-working time.

Step #7: Adjust details, move epoxy with gloves, heat gun, or hair dryer. Add more pours or drizzle veins. Be safe and creative.

Step #8: Coating the edges

It's time to remove that "tape dam" we made earlier. Carefully make a tear and begin peeling the tape, pulling it gently away from the edge. The goal with this is to almost pull the epoxy over the edge using the tape. The epoxy will begin to drip over the edges. Use a gloved hand to rub these drips into the rockface edge and fill all of those low points with a layer of epoxy. If more epoxy is needed on the edges then you can even scoop up some of the puddles forming under the project and use that. Take some time to look over your project one last time and make adjustments. Torch the entire surface using a propane torch to pop any bubbles and help the flow of the epoxy before leaving it to dry.

Step #8: Remove tape dam and pull epoxy over the edge. Rub drips into the rockface edge to fill low points. Torch to remove bubbles and aid flow.

Step #9: Sand and apply Ultimate Top Coat

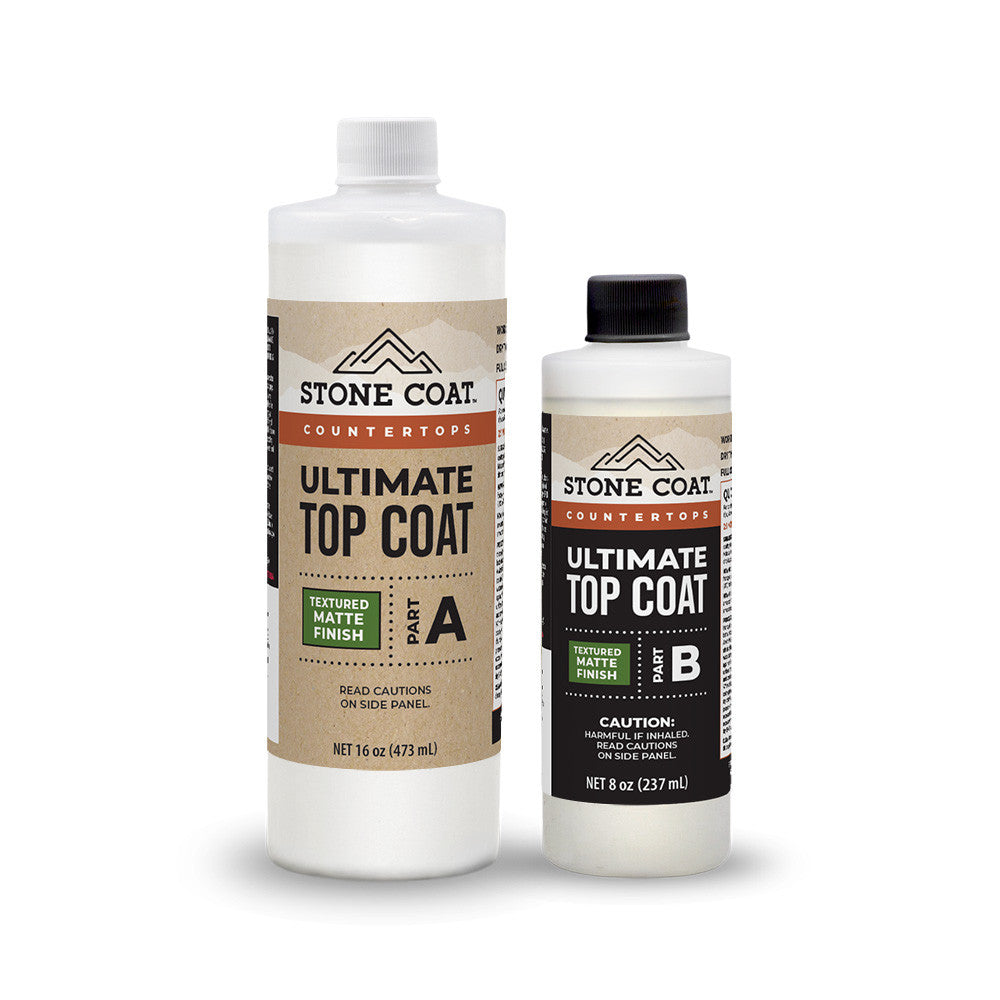
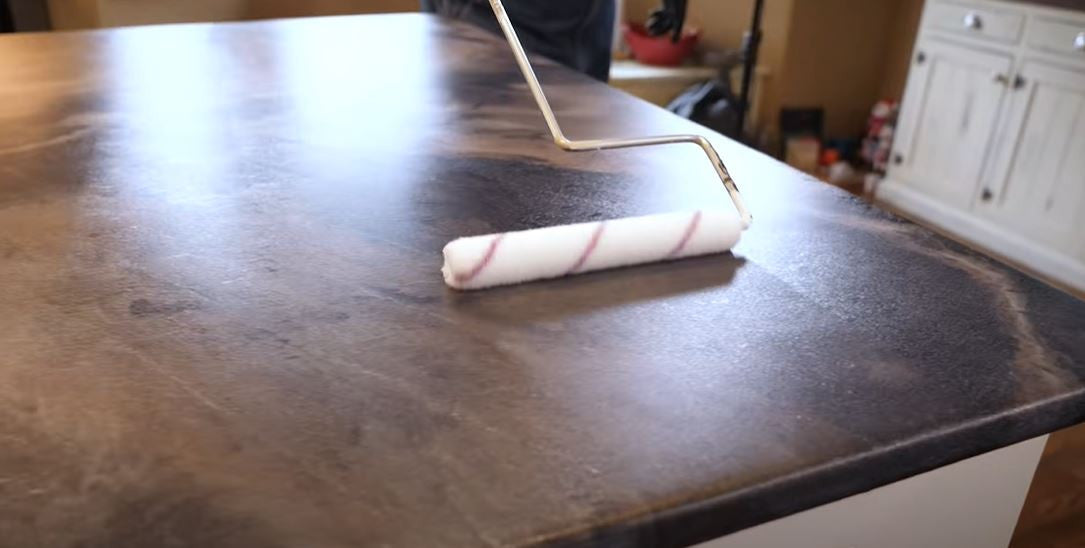
Once the epoxy is dry, it's time to apply the Ultimate Top Coat. Remove any drips on the bottom of the project (a grinder with a 50 grit sanding disk works quickest). Lightly sand the surface and edges with 220 grit sandpaper, and get your rollers, some water, tape and a paint tray ready. Our Ultimate Top Coat is mixed at a 2:1 ratio by volume for 2-3 minutes using a mixing stick, adding water to thin the mixture as desired. Do not exceed 1/2 ounce of water per kit. Only mix enough top coat that can be applied in 15 minutes. De-lint your epoxy rollers using tape, and then use one "wet" roller to apply a thin layer of the Ultimate Top Coat on the surface and edges. Next, use the second "dry" roller to even out any lap lines made by the wet roller. Don't forget your edges. The Ultimate Top Coat will be dry to the touch in 8 hours and ready for use in 24 hours. It's your ticket to Ultimate durability and scratch resistance.

Step #9: Sand, apply Ultimate Top Coat. Remove drips, lightly sand, mix Ultimate Top Coat, apply with wet roller, even out with dry roller.

Step #10: Install and enjoy

Once the top coat is all dry, your new epoxy hearth is ready to install! You got this!

Step #10: Install and enjoy your newly crafted epoxy hearth. Well done!