


In stock
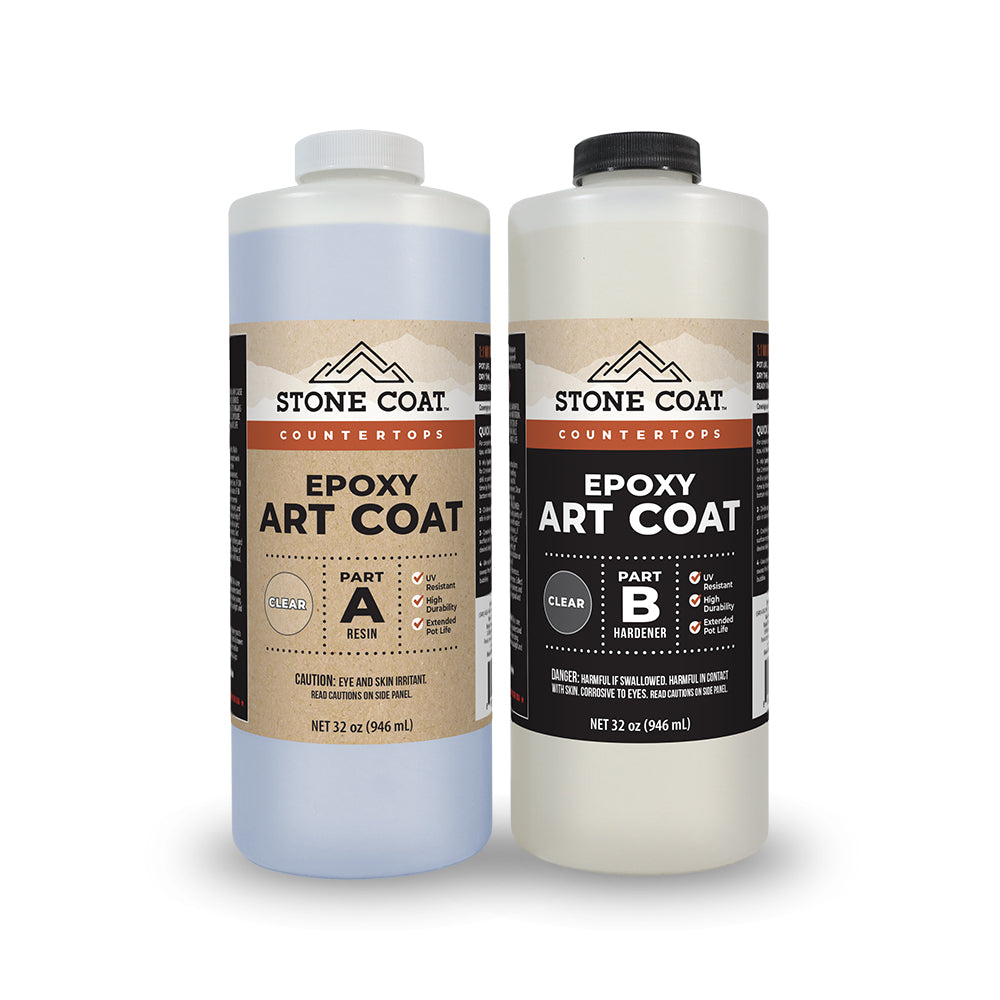
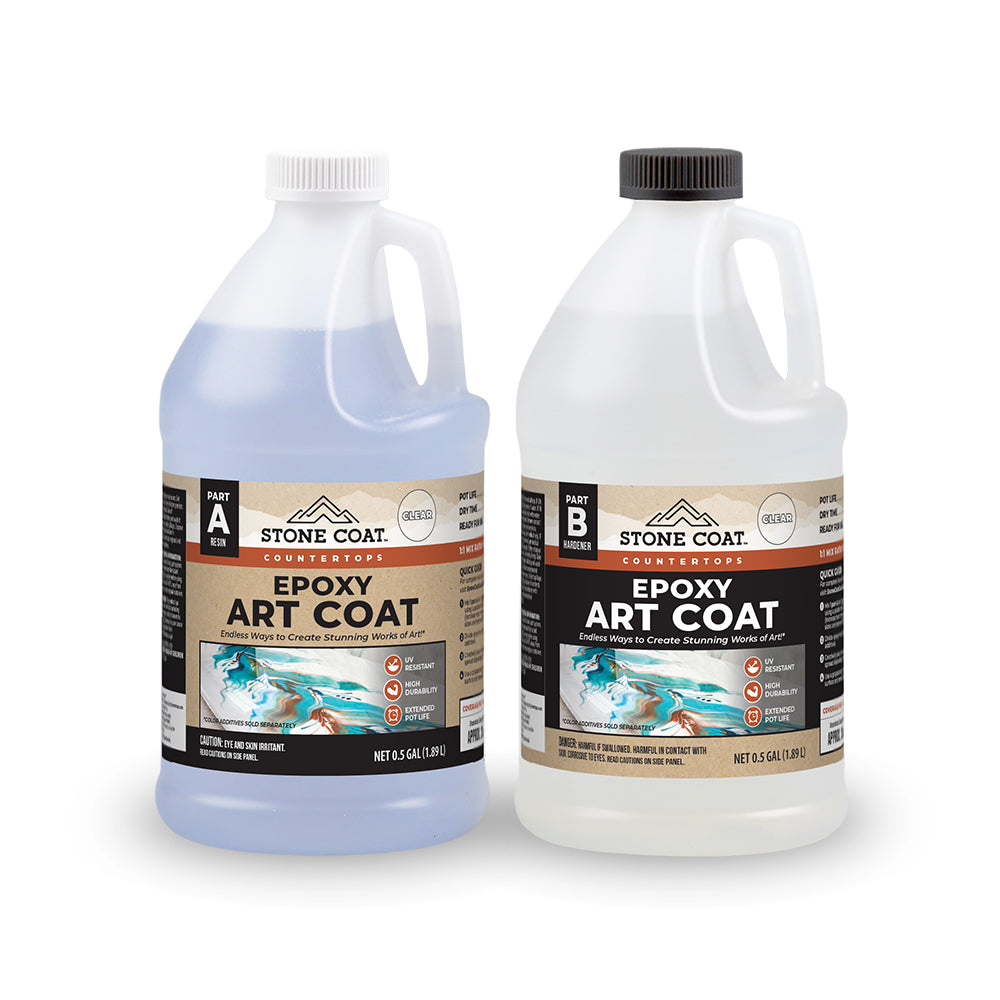
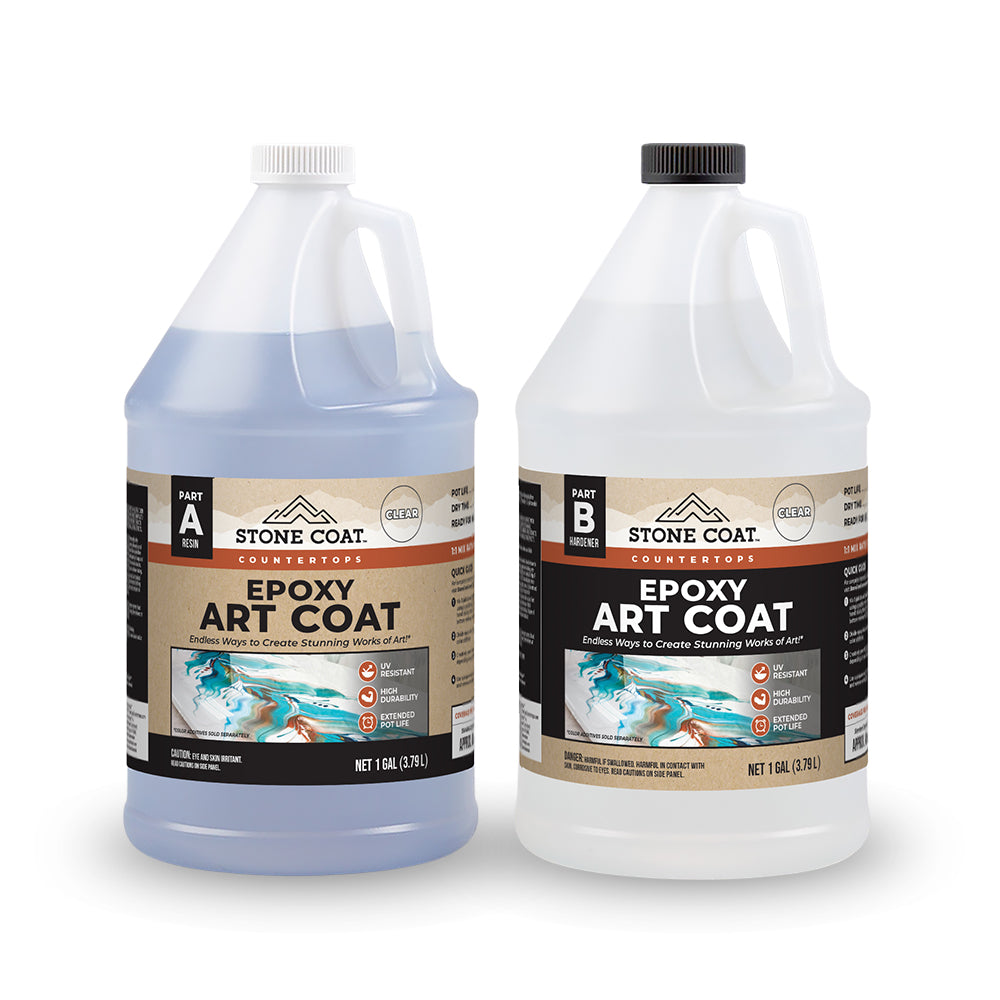
Art Coat Epoxy
Art Coat Epoxy
Ideal for light-colored countertops, art, and crafts
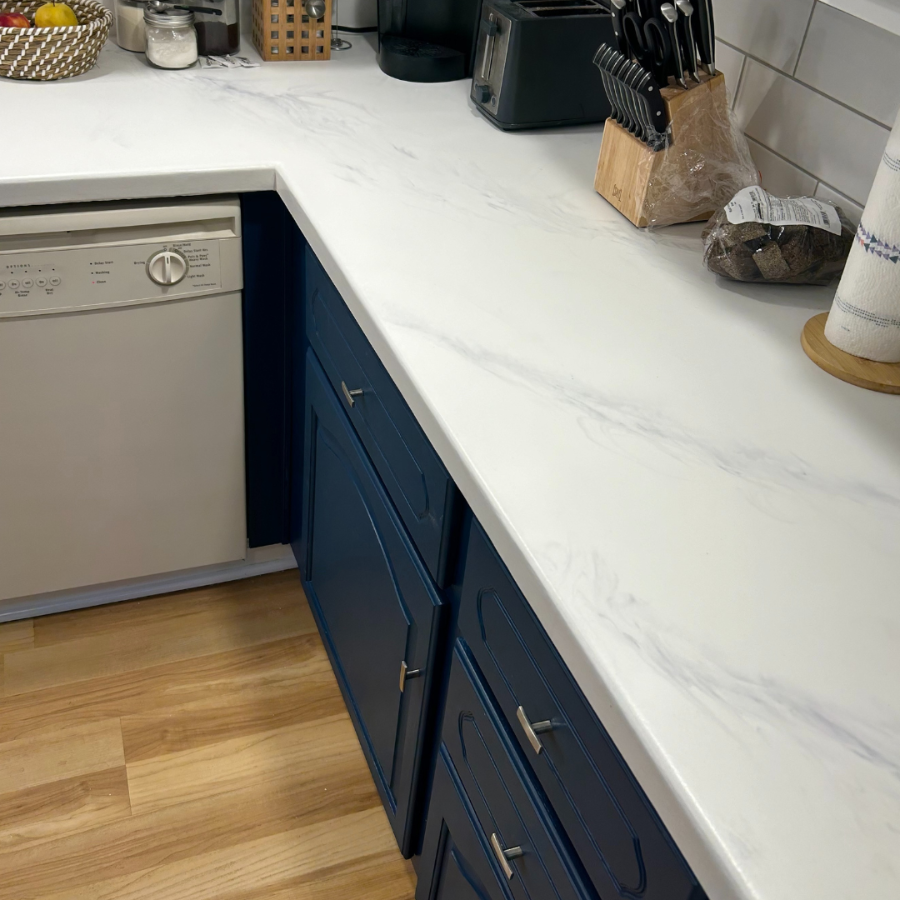
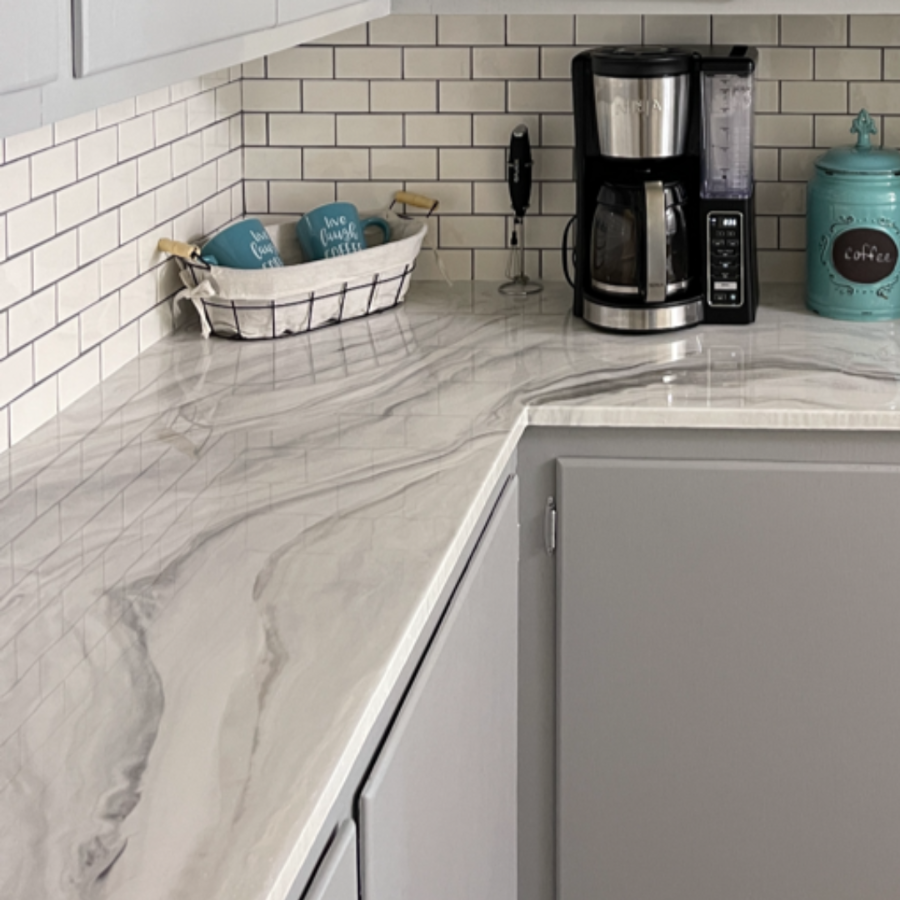
Choose the superior quality of Stone Coat Art Coat Epoxy—the industry's most UV-resistant epoxy coating. Specifically formulated for DIY homeowners, artisans, and crafters, this premium epoxy empowers you to create beautifully light-toned marble, granite, and quartz finishes on countertops, as well as colorful art and craft projects. With an extended working time, you have ample opportunity to perfect your work and achieve vibrant, impressive results. Plus, its low-odor, zero VOC formula makes for a pleasant indoor application experience, suitable for both beginners and seasoned professionals alike.
Designed to endure the challenges of high-traffic kitchen and bathroom surfaces, as well as functional art pieces like tumblers and coasters, Art Coat offers exceptional heat and scratch resistance, and its unparalleled UV protection ensures your countertop creations and artistic projects maintain their beauty over time. Compatible with a wide range of colorants—including metallic pigment powders, glitter additives, and liquid dyes—this epoxy opens up endless creative possibilities. Experience the crystal-clear finish of Stone Coat Art Coat Epoxy, ensuring your vibrant projects stay fresh for years to come.
Key Features
Key Features
- Provides extreme resistance against UV degradation and discoloration
- Revitalizes Porcelain and Ceramic Tile, Laminate (Formica), Cultured Marble, Granite, Quartz, Marble, Solid Surface (Corian)
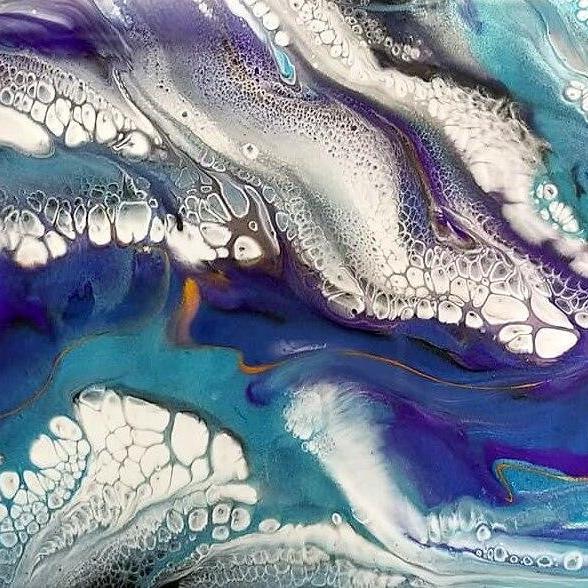
- Varnishes artwork, creates geodes, ocean pours, coasters, and coats tumblers with dazzling results
- Easy 1:1 mix ratio by volume
- 45-55 minutes of work time
- Cures in 7 days
- Low-odor for indoor use
- Resists heat damage and scratches
- FDA approved for food contact
Preparation
Preparation
Existing Countertops:
- Cover: Protect your floors with Ram board and your cabinets with 3 mil plastic and painter's tape.
- Sand: Abrade the countertop with 60 grit sandpaper.
- Clean: Wipe away dust and clean the sanded surface with TSP (trisodium phosphate) to remove any dirt and grease.
- Prime: Roll on two coats of our Bonding Primer & Sealer for a strong bond on existing surfaces like laminate, granite, quartz, Solid Surface, and marble. Then, apply two coats of our Stone Coat Epoxy Undercoat, sanding lightly between each coat with 220 grit sandpaper.
- Wait: Make sure the undercoat is completely dry before pouring your color coat of epoxy!
Application
Application
Technique Requirements:
- Hand Melded Marble= 2-3 oz per sq ft
- Dirty Pour= 4-6 oz per sq ft
- Clear Flood Coat= 2-3 oz per sq ft
Existing Countertops & Art Pieces:
- Mix: Start by mixing our Art Coat Epoxy at a 1:1 ratio for 2 minutes.
- Tint: Separate the blended epoxy into smaller containers and tint with your favorite, metallic pigment powders, glitters, or liquid epoxy dyes.
- Pour: Dispense and spread the color epoxy evenly across your prepared surface with gloved hands or a trowel. Pop any air bubbles with a propane torch.
- Flood Coat: Mix a batch of clear Art Coat Epoxy at a 1:1 ratio. Pour and spread evenly. Pop any air bubbles with a propane torch.
- Finish: For ultra scratch resistance with a natural textured sheen, apply our Ultimate Top Coat instead of, or in addition to, a clear flood coat of Art Coat Epoxy. Just mix with water, roll onto your epoxy surface, and enjoy long-lasting, durable countertops and art pieces for years to come.
Share this product
WHY CHOOSE STONE COAT ART COAT EPOXY?
THE ANSWER IS CRYSTAL CLEAR.
Luxury for less
We understand that life's essentials come first, but that doesn’t mean you have to sacrifice luxury. With Art Coat Epoxy, you can create professional-quality countertop finishes and art pieces, all while staying within your budget.
Professional Results
Imagine creating glass-like finishes that rival professional work, in your own home. Our epoxy empowers both DIYers and artisans to effortlessly achieve vibrant, durable results that look expertly crafted—no matter your skill level.
DURABLE UV PROTECTION
Art Coat isn't just for countertops—it's a game-changer for artists and crafters too. Its superior UV resistance keeps creations vibrant, while the heat and scratch resistance make it perfect for functional art to stand up to daily use.
Unmatched Versatility
Whether recreating a light-toned stone-look countertop or applying a crystal clear flood coat, Art Coat Epoxy allows you to elevate your surfaces with a variety of color choices and self-levels for a flawlessly smooth finish.
What Folks like you are saying...

Erika T.
I have used at least a dozen resins...this is the best in terms of viscosity, durability, UV resistance, chemical resistance, glass finish and INSANE WORKING TIME!!! This stuff is the BOMB! Their resin is the best on the market.

Jamchicks Redesigned
Super interesting doing these coasters...such a surprise when you unmold them! Trying all different techniques to see which ones I like best.

Janelle
I love Stone Coat epoxy, which I use on my hand painted drink coasters to seal them and make them heat and UV resistant so they can be used for hot drinks as well as cold. I think they look awesome! With Stone Coat on the top and cork on the bottom, they are quite resilient to drops and regular use. I love it!
MAKE IT WHITE OR BRIGHT
Stone Coat Art Coat Epoxy gives you the highest level of UV resistance in the industry, so you can enjoy peace-of-mind knowing your light or white countertops will stay fresh and vibrant over time. And, its self-leveling properties make it easy to achieve smooth, glass-like finishes, that you can add metallic pigment powders, glitters, or liquid dyes to bring your most colorful and creative visions to life.
If you’re working on an ocean pour, coasters, tumblers, or varnishing your artwork, this epoxy is perfect for artists and crafters who demand long-lasting, colorfast results. Whether you're a homeowner considering taking on a DIY countertop pour or an artisan looking for a superior resin product, Art Coat Epoxy will empower you to craft custom projects that last.
Frequently asked questions
Can I use Stone Coat Art Coat Epoxy on my newly fabricated countertops?
Can I use Stone Coat Art Coat Epoxy on my newly fabricated countertops?
Yes! You can use our Art Coat Epoxy on newly fabricated countertops, including MDF and other substrates like concrete, wood, and butcher block. Just keep in mind that there's no need to apply Bonding Primer & Sealer when coating new MDF countertops, and that you'll only need to apply seal coats of Art Coat Epoxy prior to pouring a clear flood coat on raw wood surfaces.
WILL MY WHITE COUNTERTOP TURN YELLOW OVER TIME?
WILL MY WHITE COUNTERTOP TURN YELLOW OVER TIME?
All countertop epoxy products, regardless of the manufacturer, can gradually amber or discolor over time. White or lighter epoxy applications exposed to direct sunlight are particularly susceptible to this change. At Stone Coat, our countertop epoxies feature the highest level of UV resistance in the industry, thanks to the inclusion of UV-resistant additives and Hindered Amine Light Stabilizers (HALS). By following our best practices and applying Epoxy Undercoat and our Ultimate Top Coat, you can ensure your countertops maintain their color fastness for an extended period.
What should I use to prep and clean for my project?
What should I use to prep and clean for my project?
For best results, DO NOT use acetone to clean or prep your surface.
We recommend using 91% isopropyl alcohol for:
- Surface preparation before pouring
- Cleaning between poured layers
- Creating cell textures and effects
Using acetone may interfere with adhesion and final finish quality. Stick with 91% isopropyl alcohol for a clean, professional result.
HOW HEAT RESISTANT IS STONE COAT ART COAT EPOXY?
HOW HEAT RESISTANT IS STONE COAT ART COAT EPOXY?
You can place hot items directly on your epoxy countertop, but we recommend playing it safe! Stone Coat Art Coat Epoxy is designed to temporarily handle temperatures up to 450°F without permanent damage, but to keep your countertops in top shape, it’s best to use a hot pad or trivet for hot pans, pots, or cookie sheets. For longer cooking sessions with a crock pot, using a wood or plastic cutting board with feet adds an extra layer of protection. It’s a simple way to make sure your countertops stay beautiful for years to come!
HOW DO I CLEAN AND MAINTAIN MY EPOXY COUNTERTOPS?
HOW DO I CLEAN AND MAINTAIN MY EPOXY COUNTERTOPS?
Maintaining your epoxy countertops is quick and easy! For everyday cleaning, simply wipe your countertop with a damp cloth and dry it with a clean towel. For tougher stains, use a microfiber rag or a blue Scotch-Brite sponge, and choose a gentle dish soap or an all-purpose cleaner designed for laminate surfaces, diluted with water.
To keep your finish shining bright, try our Epoxy Polishing & Cleaning Kit for a delightful scent and a smooth feel. For long-term care of heavy-use surfaces, abrade your current countertop and apply another layer of Art Coat Epoxy every 6-8 years. Always use trivets or cutting boards to protect your countertop from hot objects.
Watch out for stubborn stains from wine, mustard, turmeric, and powdered drink mixes—clean them up promptly! For tough messes, saturate the area with 91% isopropyl alcohol and gently wipe with a microfiber towel. With a little care, your surfaces will stay beautiful and last for years!
Does my stone coat art coat epoxy have a shelf life?
Does my stone coat art coat epoxy have a shelf life?
Yes, our Art Coat Epoxy has a shelf life of one year when unopened. Once opened, exposure to oxygen begins to degrade the epoxy. To maximize shelf life, tightly reseal your bottles between uses, and if possible, purge oxygen with inert gas before storage. For the best results, store your epoxy in a cool, dark place. After opening, it should last about six months when stored properly.
