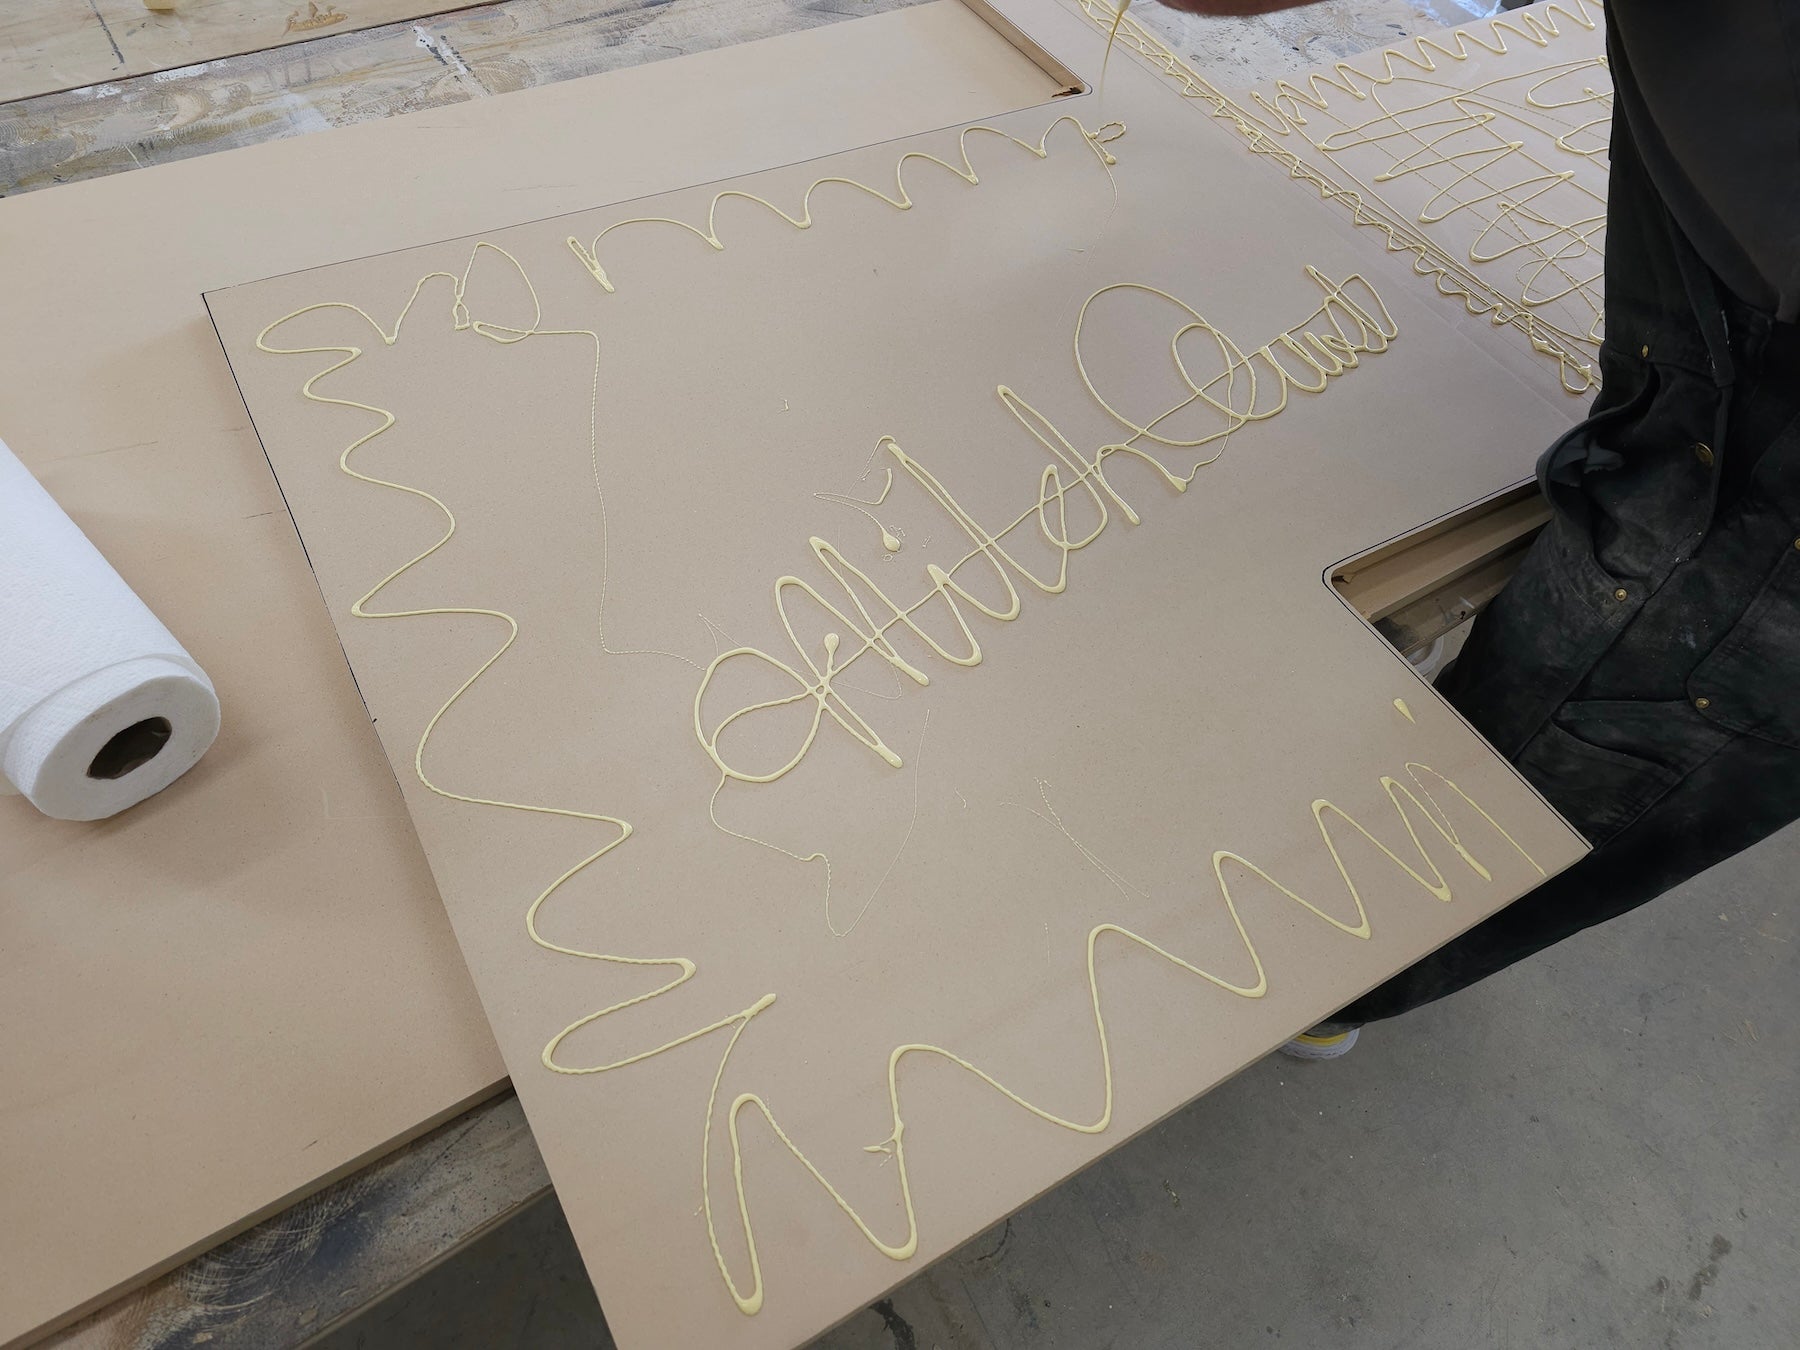
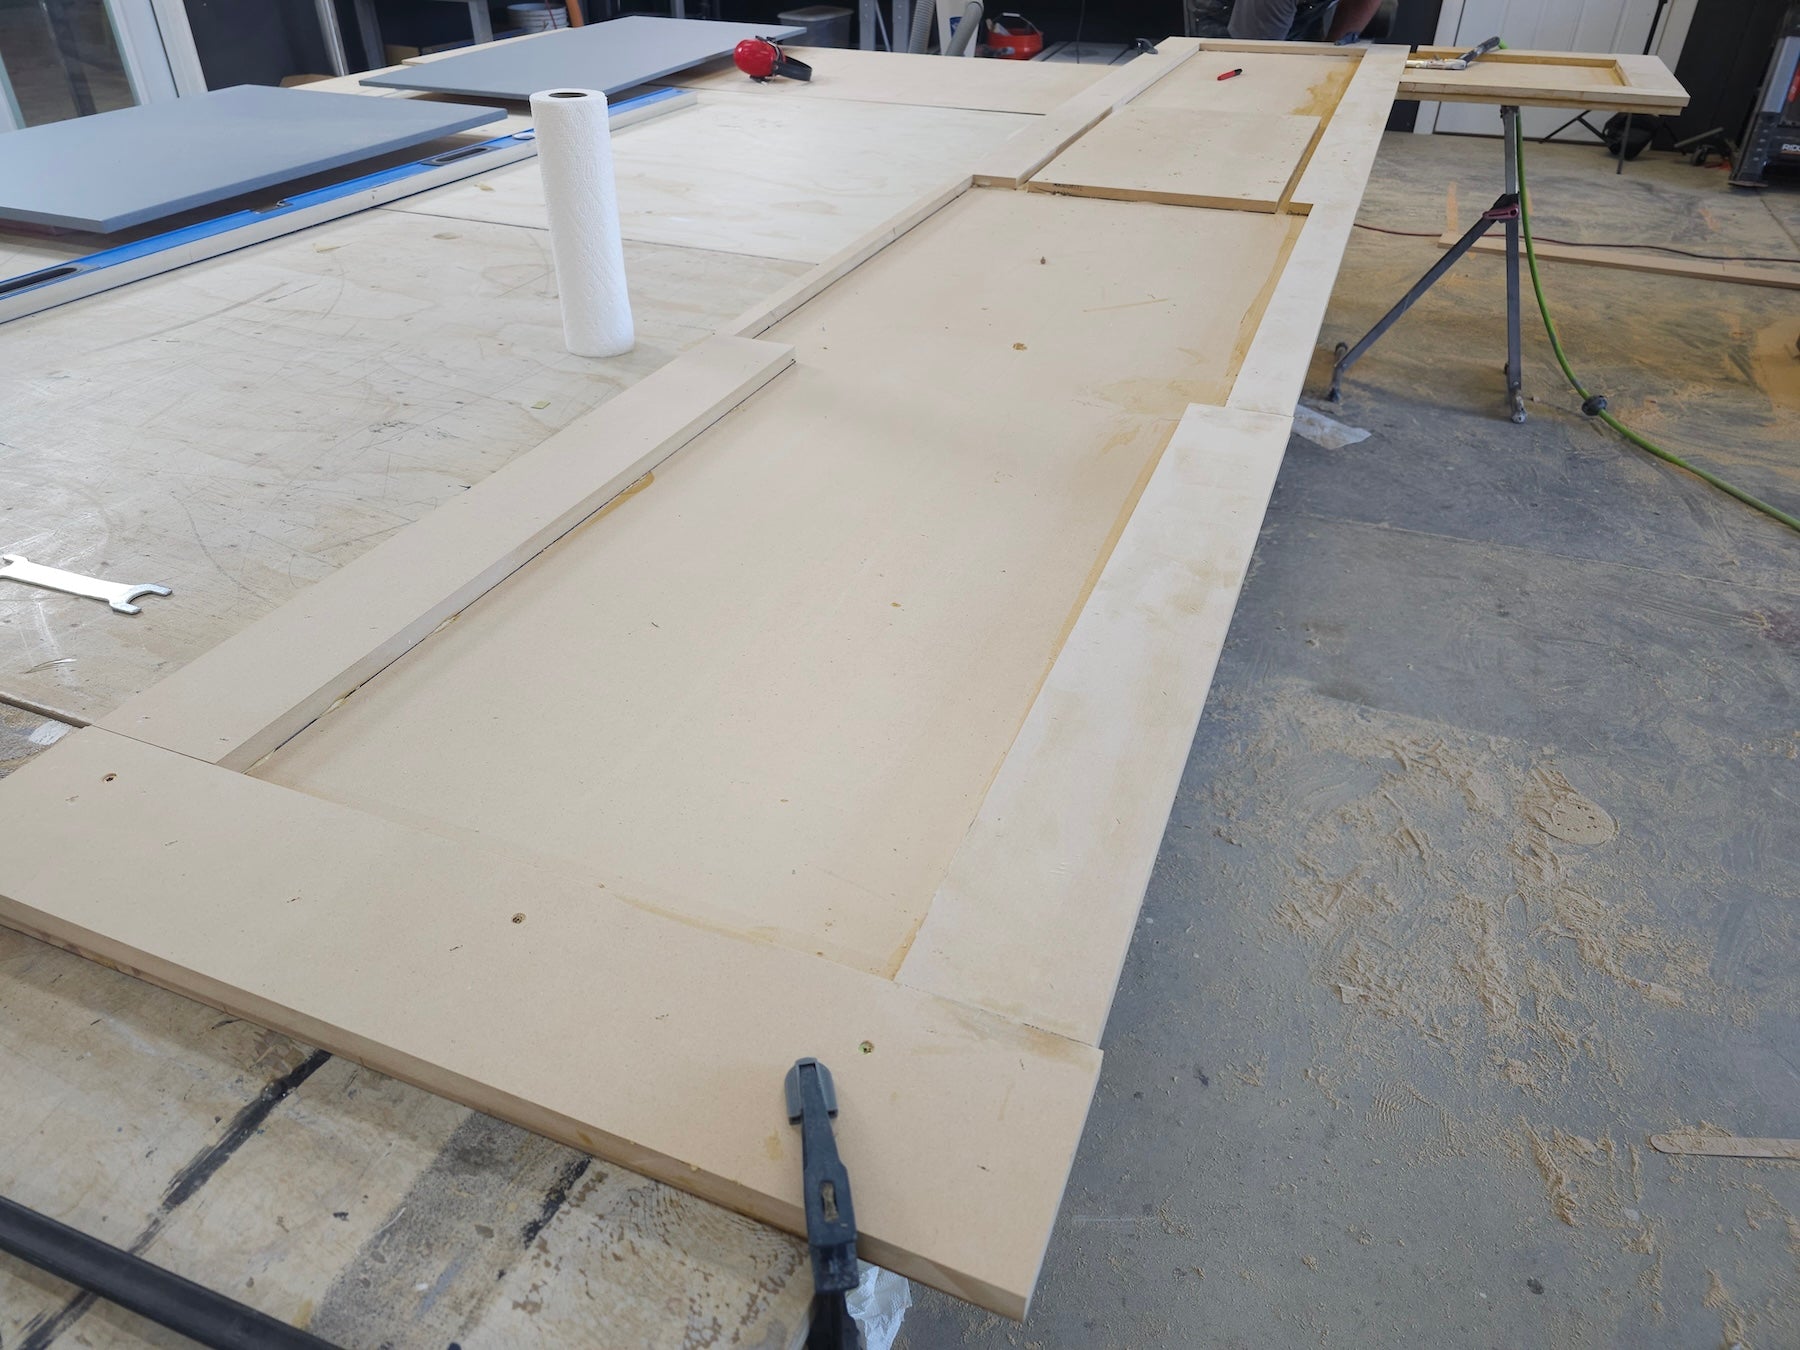
Fabricating your own countertop base material is one of the fastest and easiest ways to get your new Stone Coat Epoxy Countertops poured and installed. We recommend using MDF (Medium Density Fiberboard) over plywood as it’s more stable and more affordable. Wood products contain moisture, which can affect your epoxy pours. However, MDF is prone to absorb moisture which is why we have a few prep steps. MDF is easy to find at any major home improvement store in various sizes. If you’re looking for an alternative to MDF you can also use insulation foam board.
Once you’ve measured the size and shape of your countertops, cut your sheets of MDF to size using a table saw or circular saw with a straight edge or guide. You’ll need to add a drop edge for all exposed edges (remember to account for your overhang), so use your MDF drops for 1.5” strips to attach along the underside. You can glue these strips in place with wood glue and clamps or speed the process along by using wood glue and a pin nailer. Make sure your drop edges are as flush as possible with the sheet of MDF.
If the countertops are going to be anywhere with an opportunity for moisture to be in the air, like a humid bathroom or have splashes like around a sink, we recommend applying Red-Guard waterproofing membrane or a similar product to the bottom of the MDF panel.
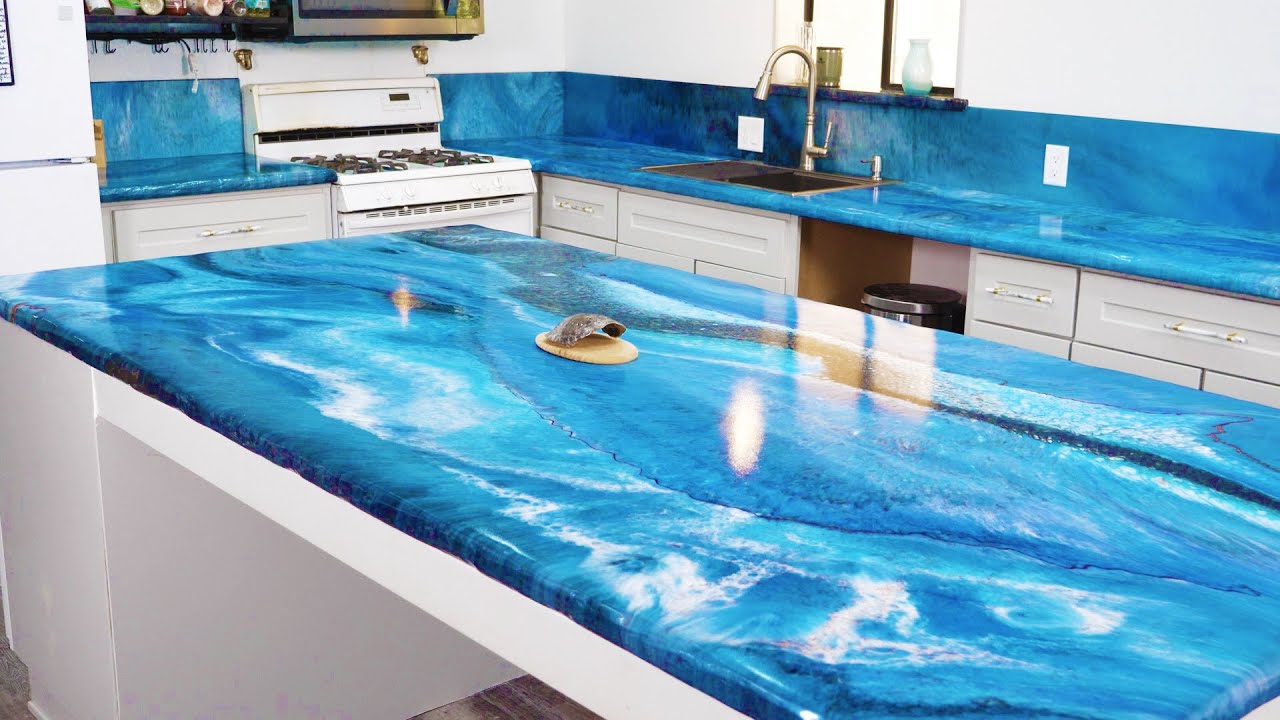
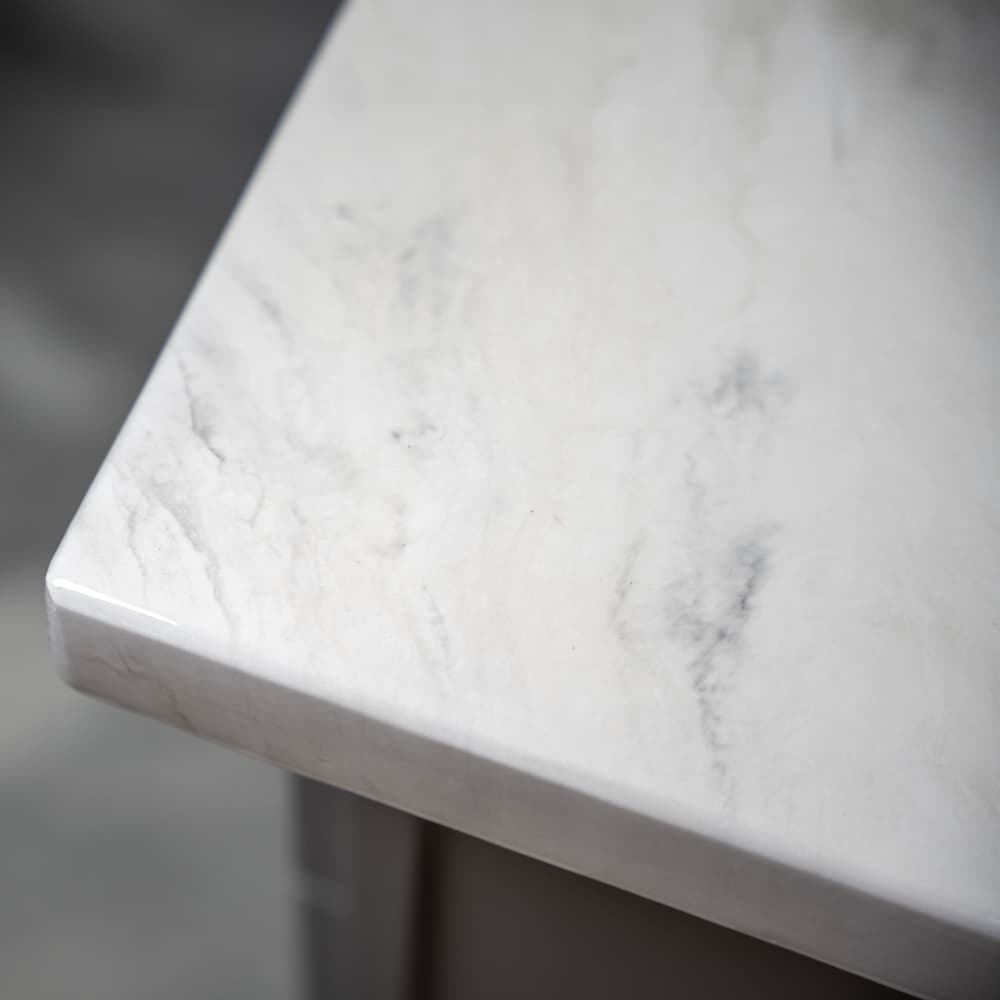
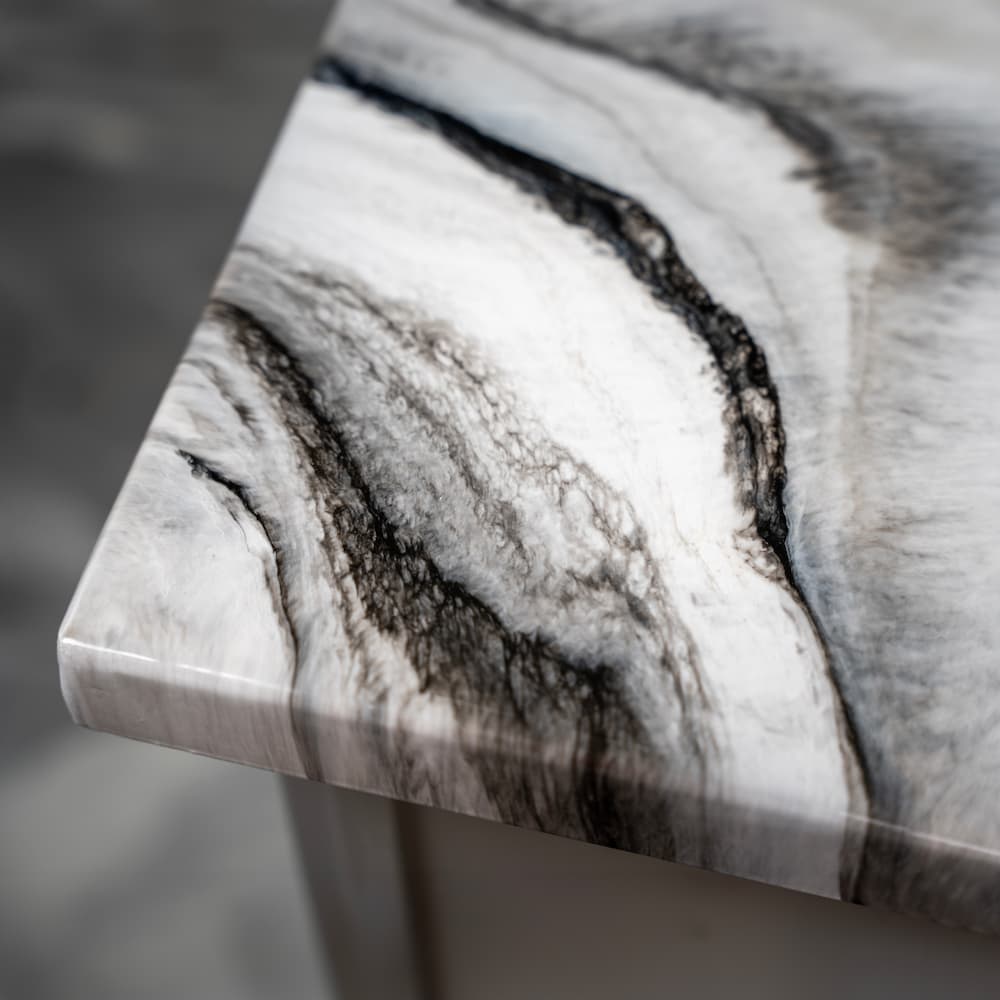
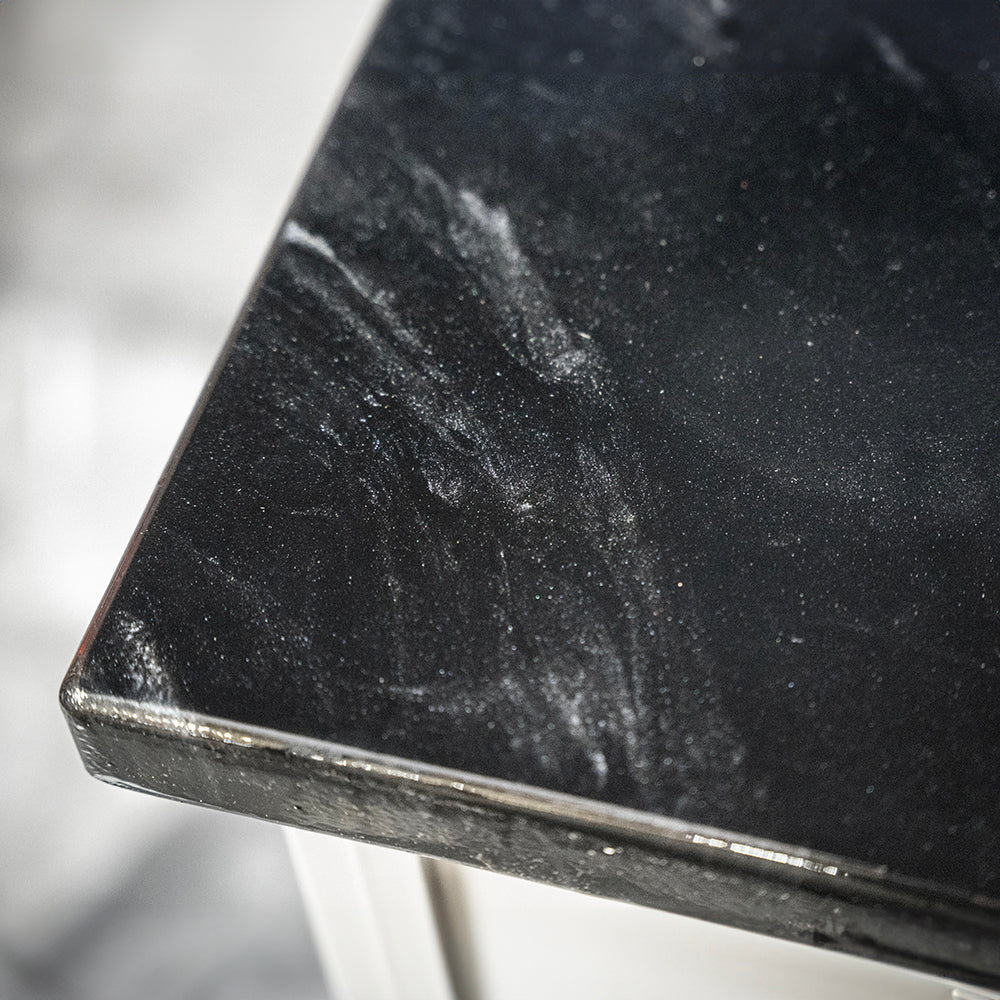
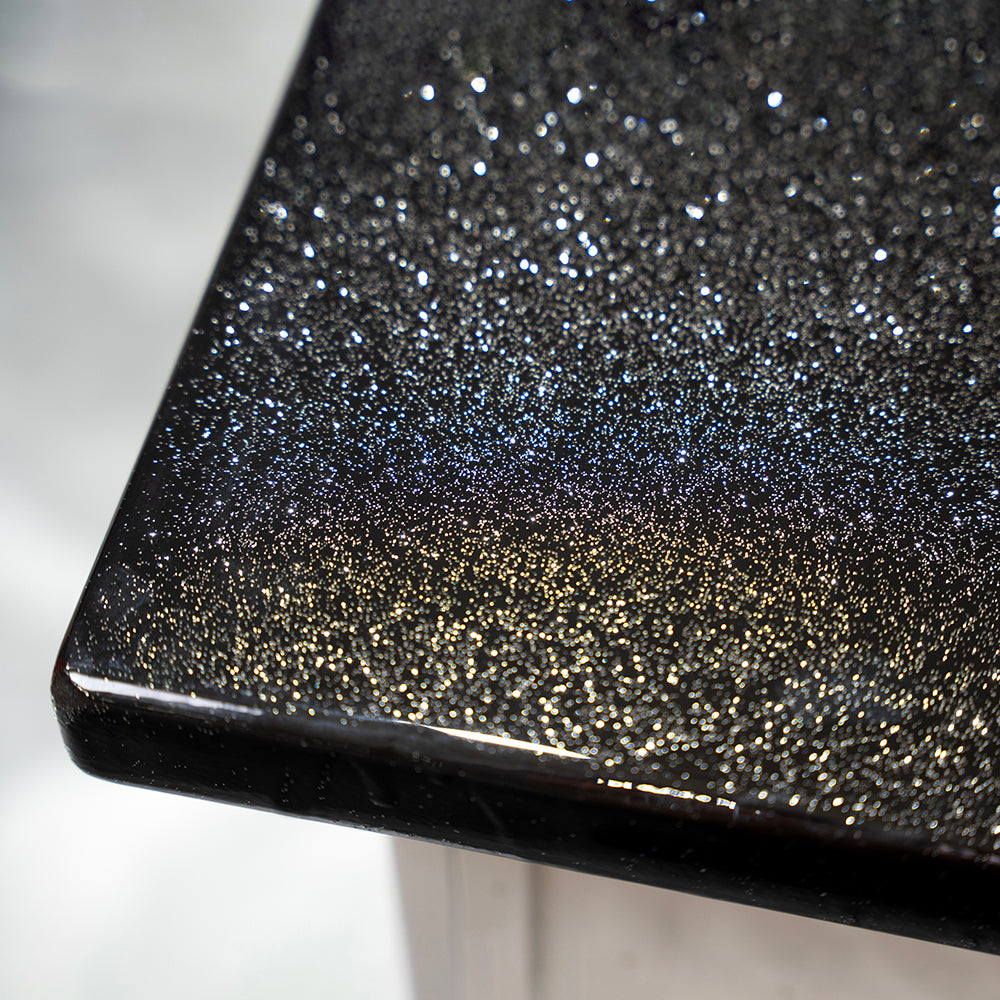
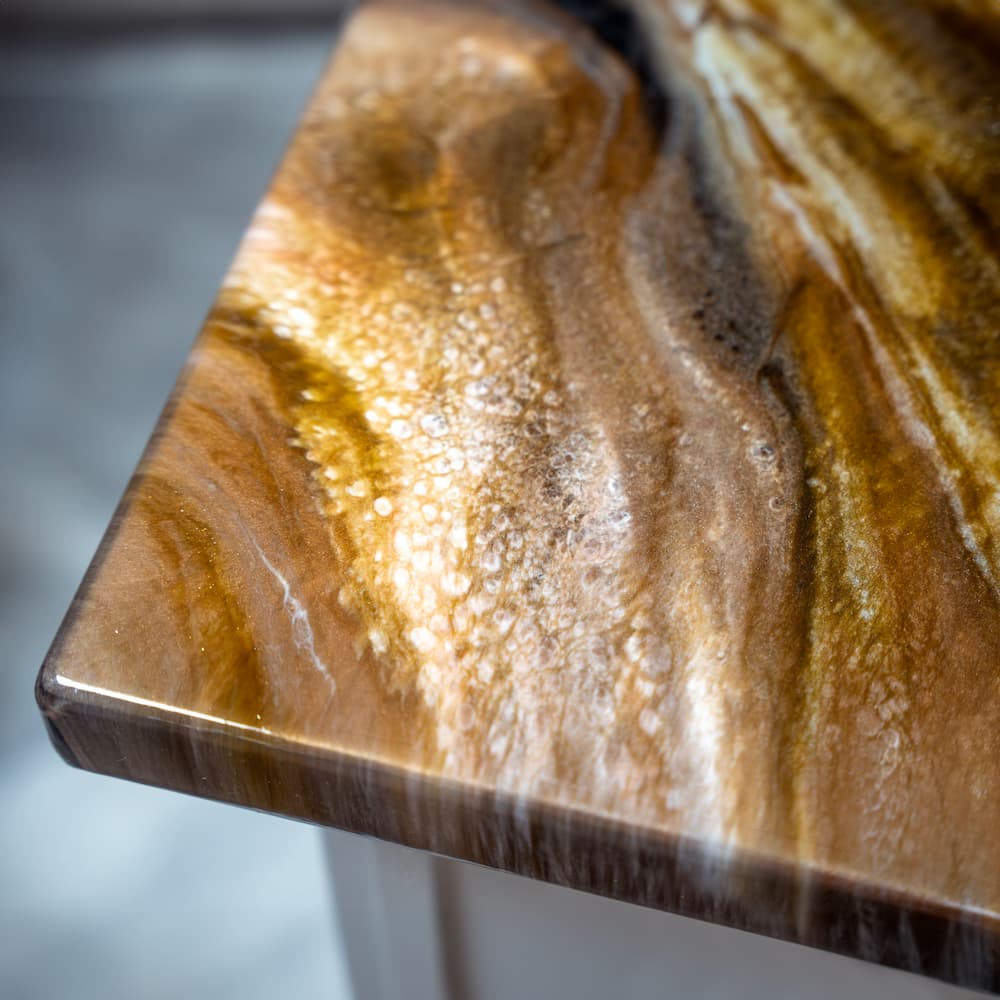
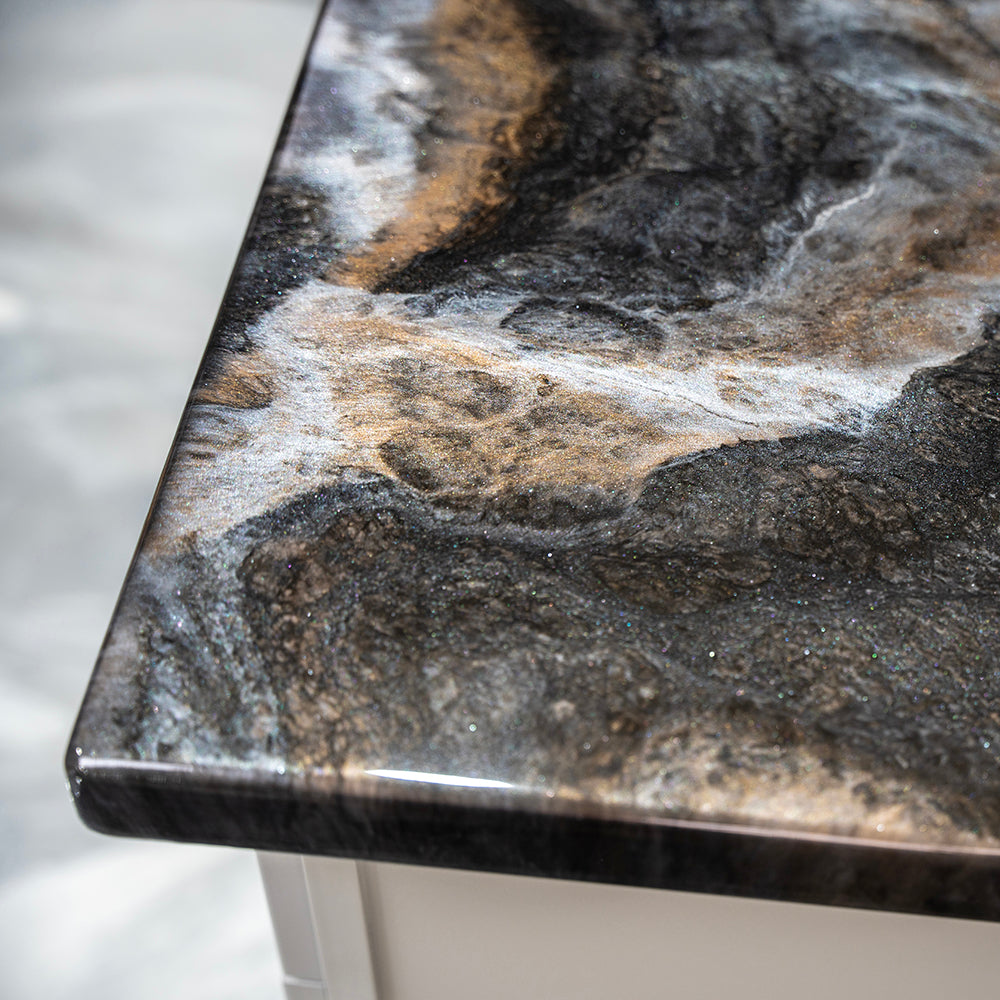
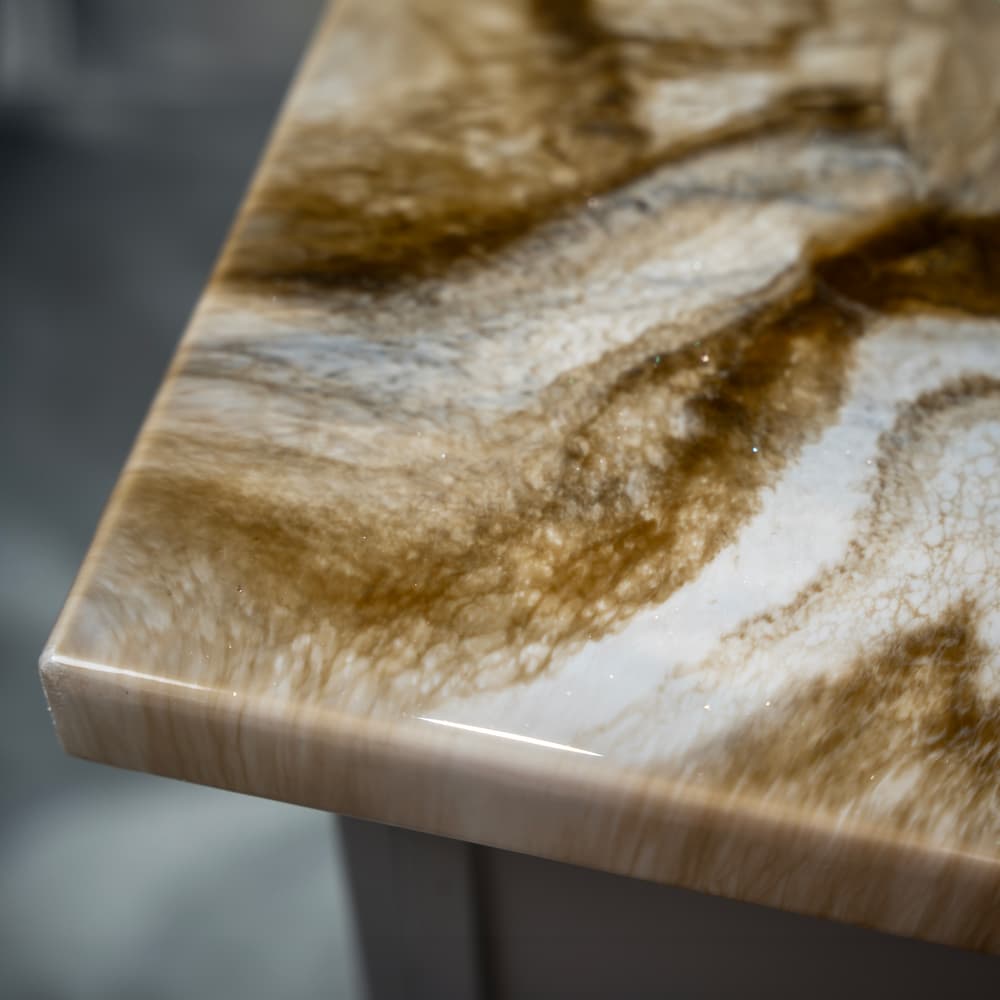
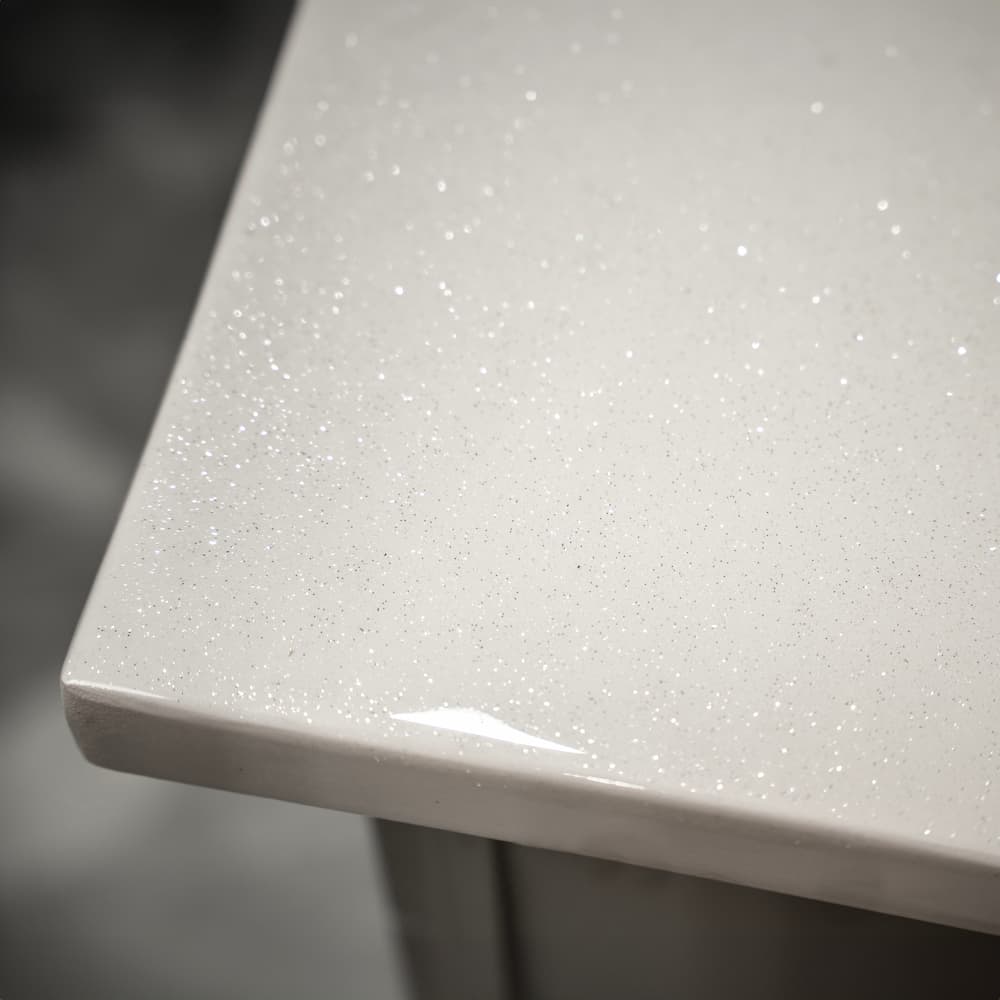
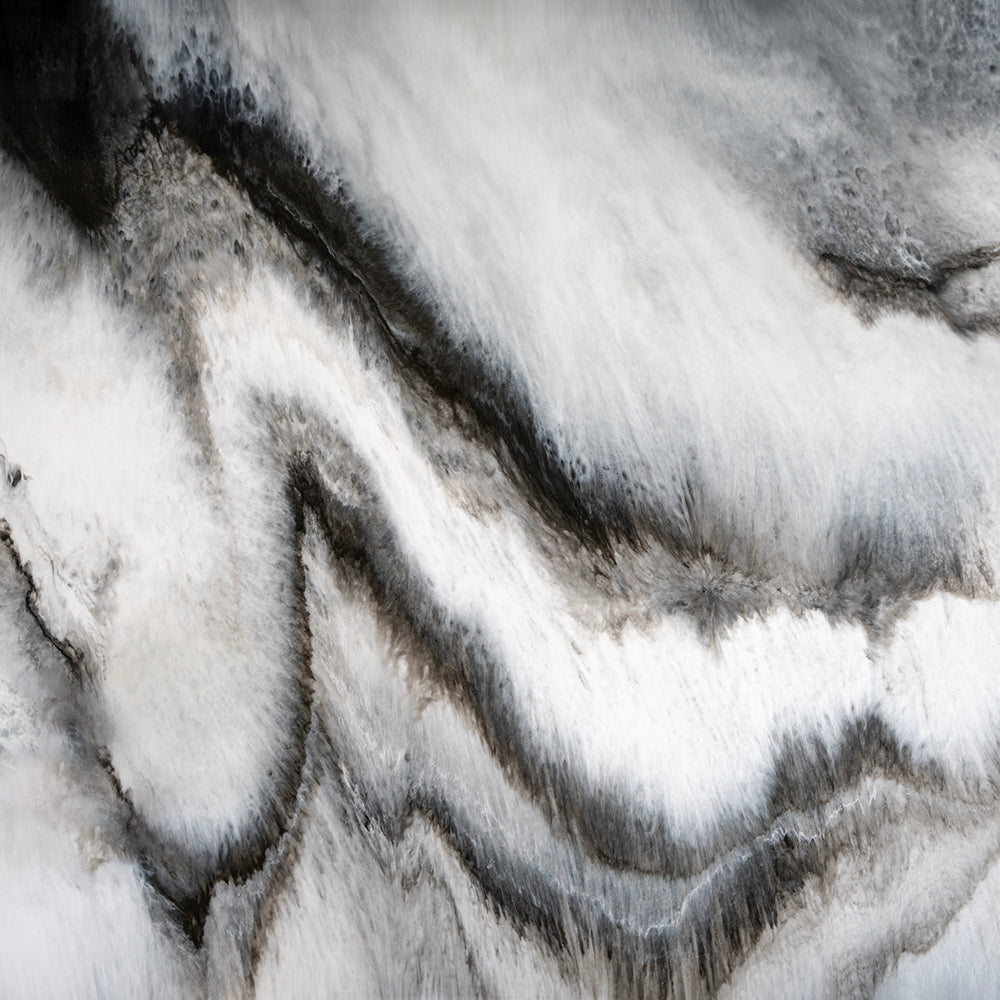
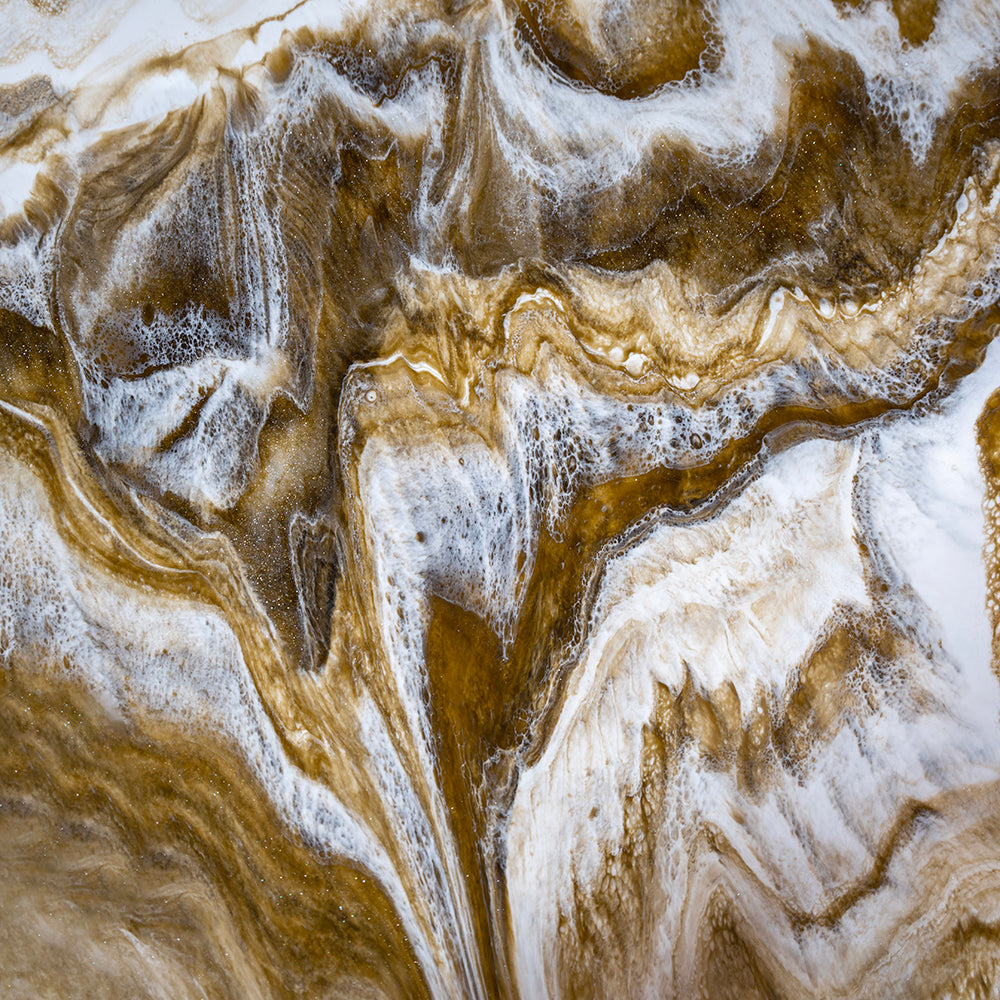
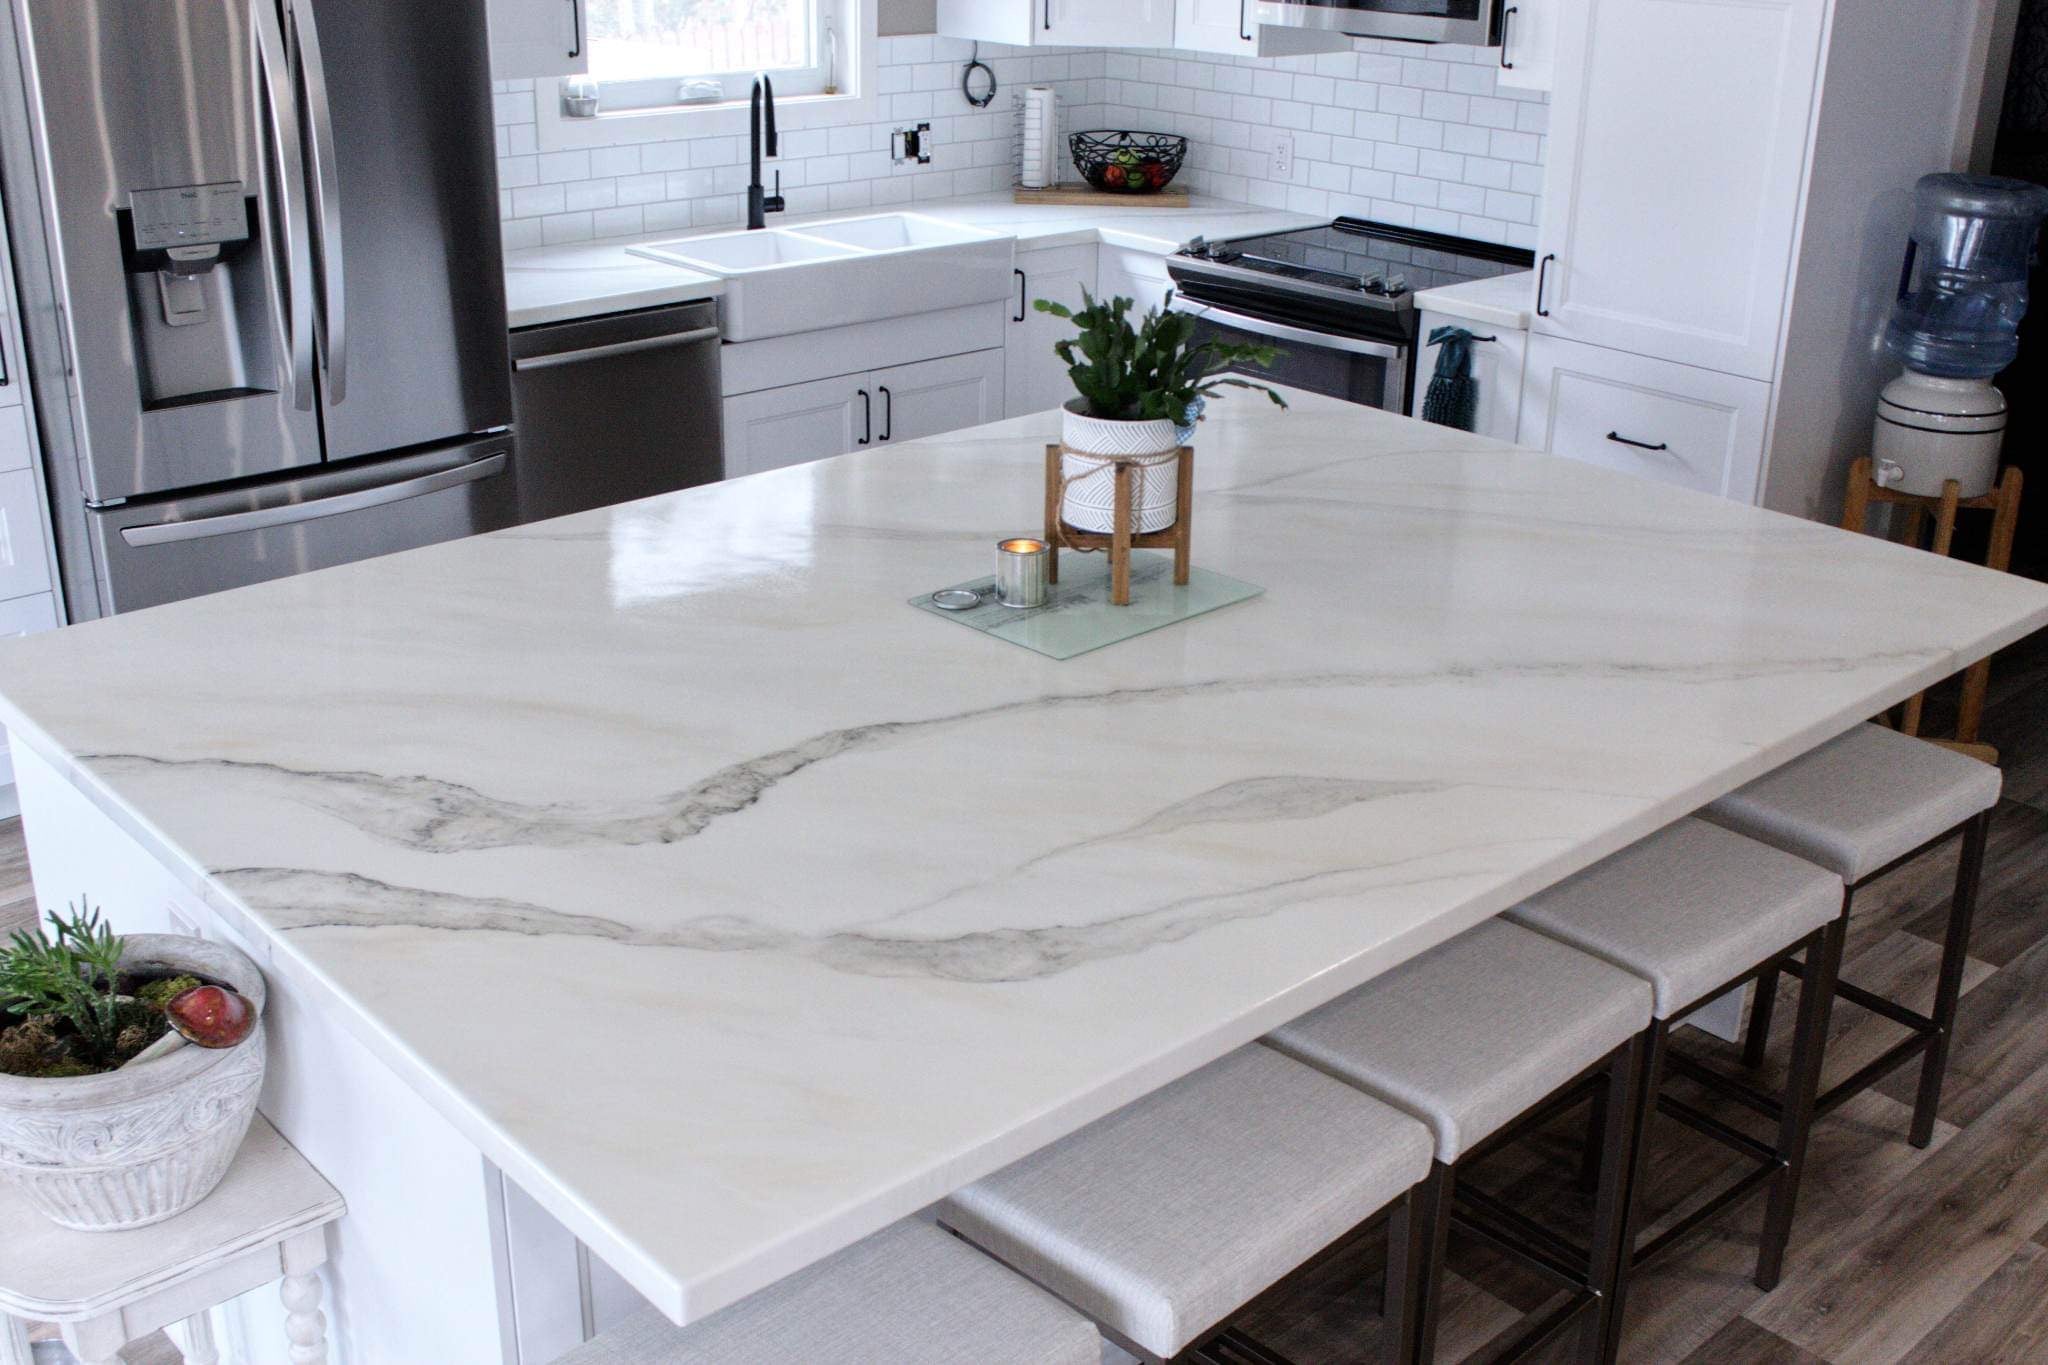
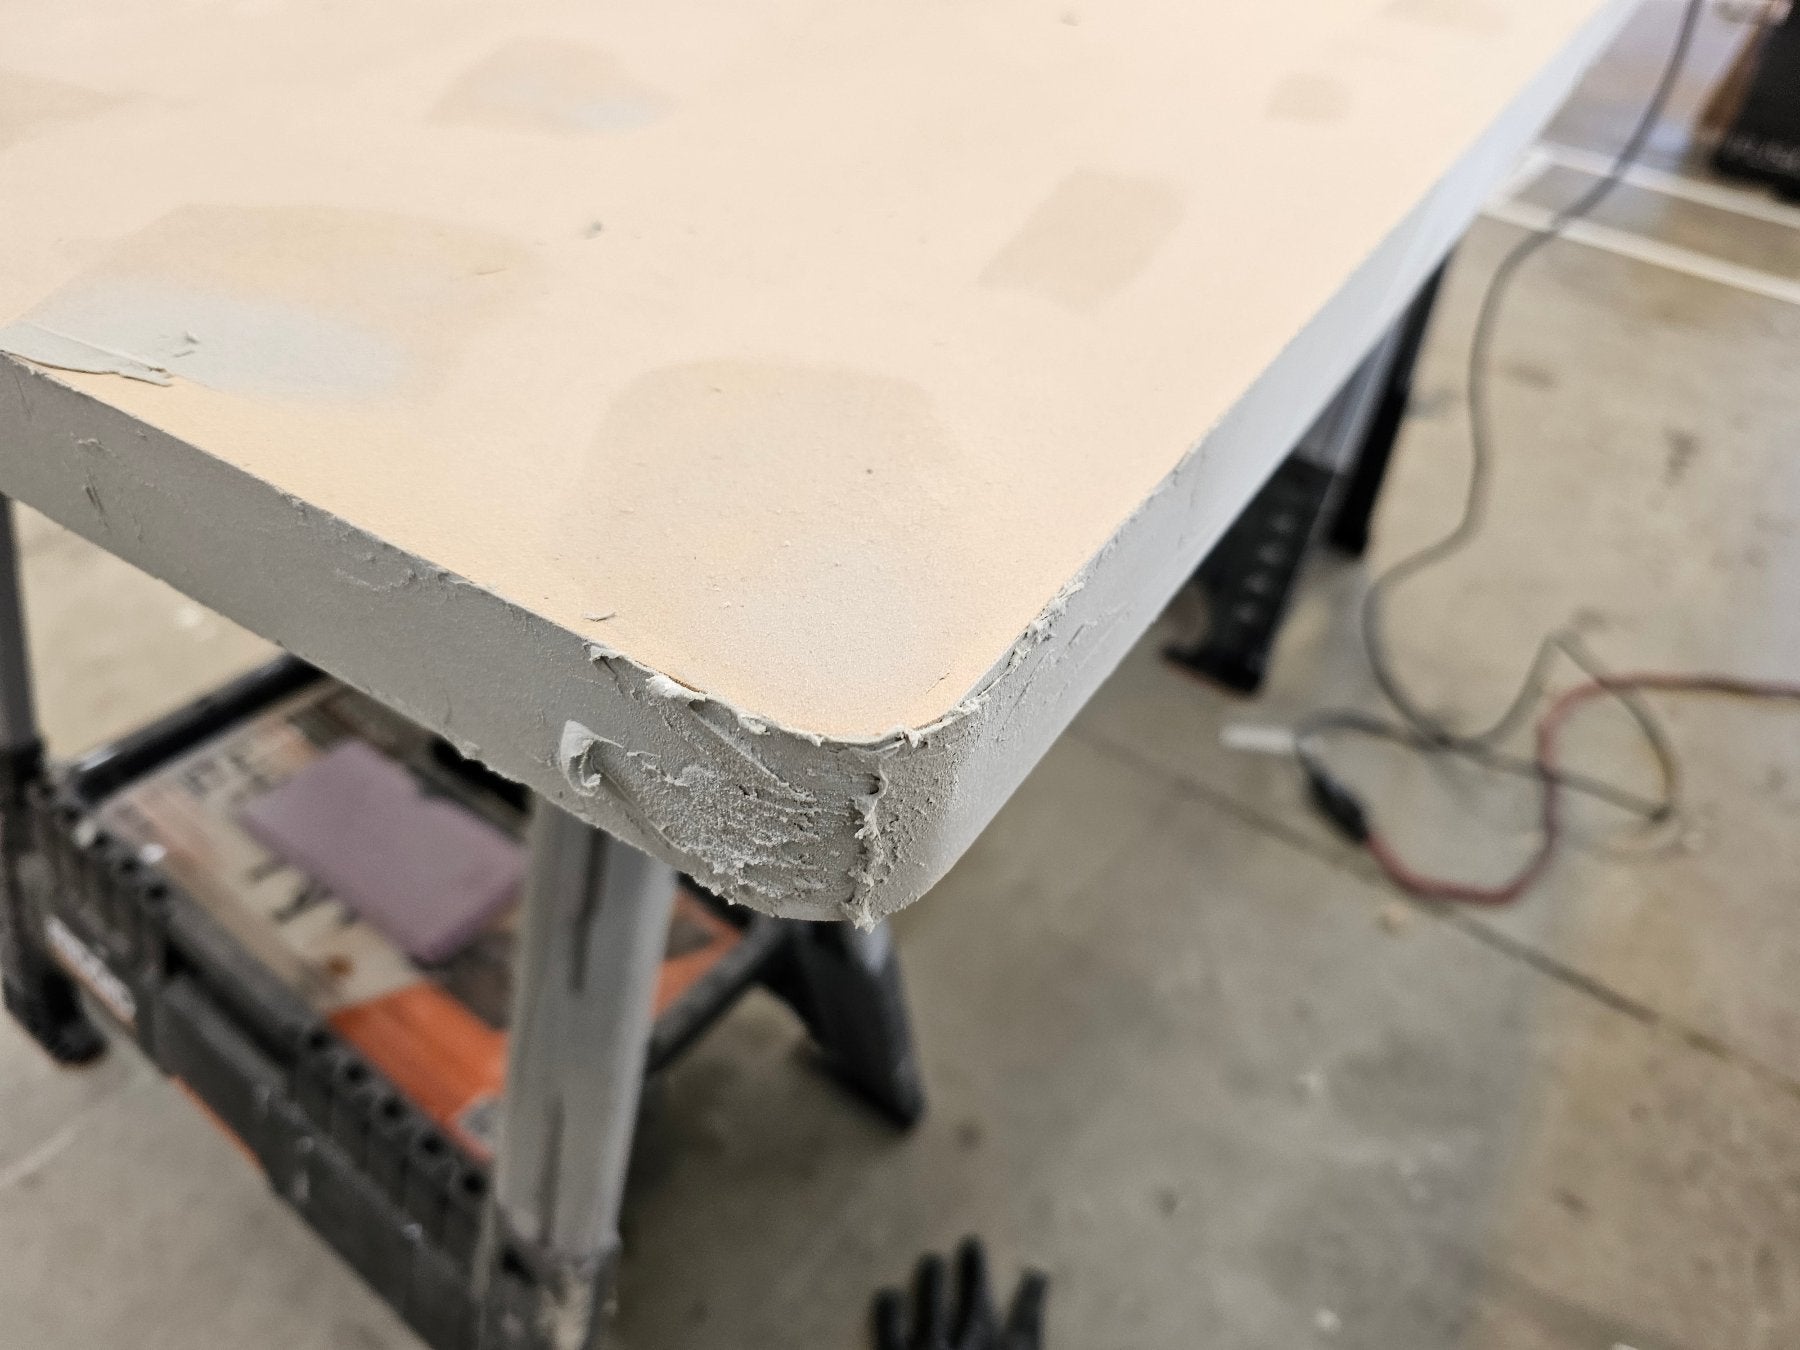
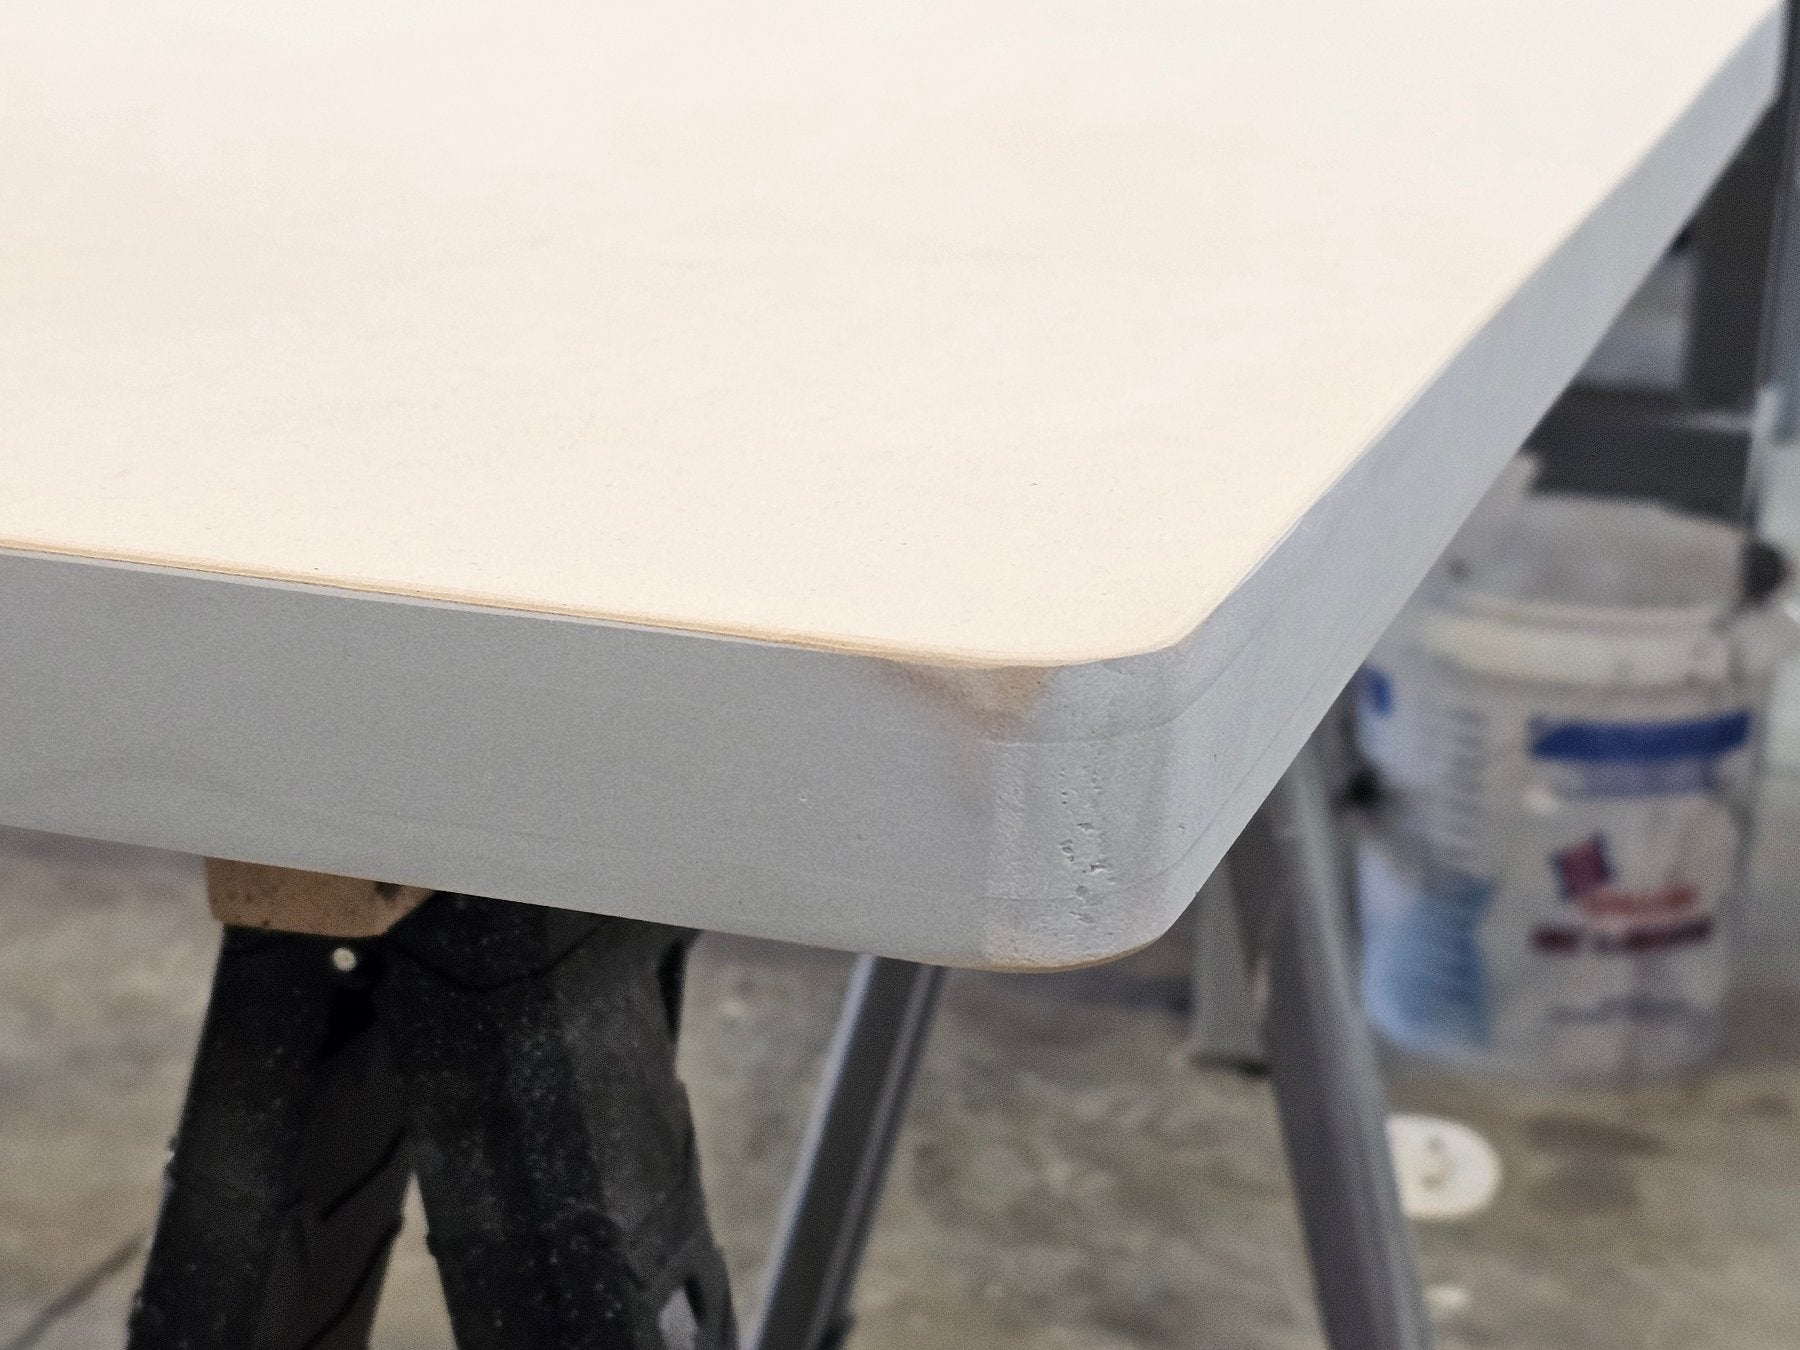
Countertop edge style comes down to personal preference. Decide if you want natural stone edges, a chamfer, bullnose edges, or a round-over. We recommend using Bondo to coat the edges first to hide any seams or, in the case of making a natural stone edge, a surface to shape to your preference. Once you apply the Bondo, allow it to dry, sand the edges smooth with 220-grit sandpaper, and shape with a router or sander according to preference.
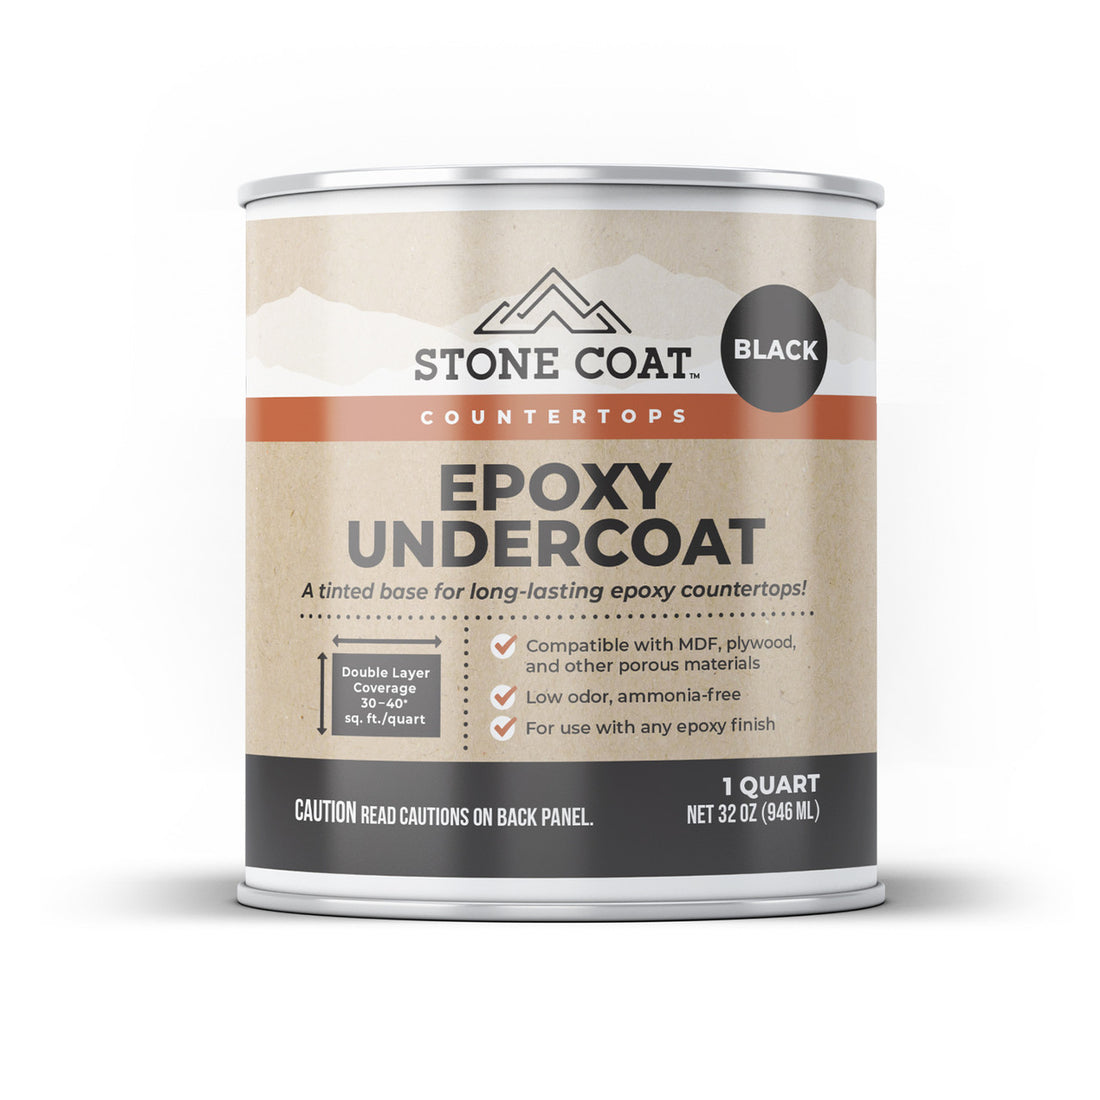
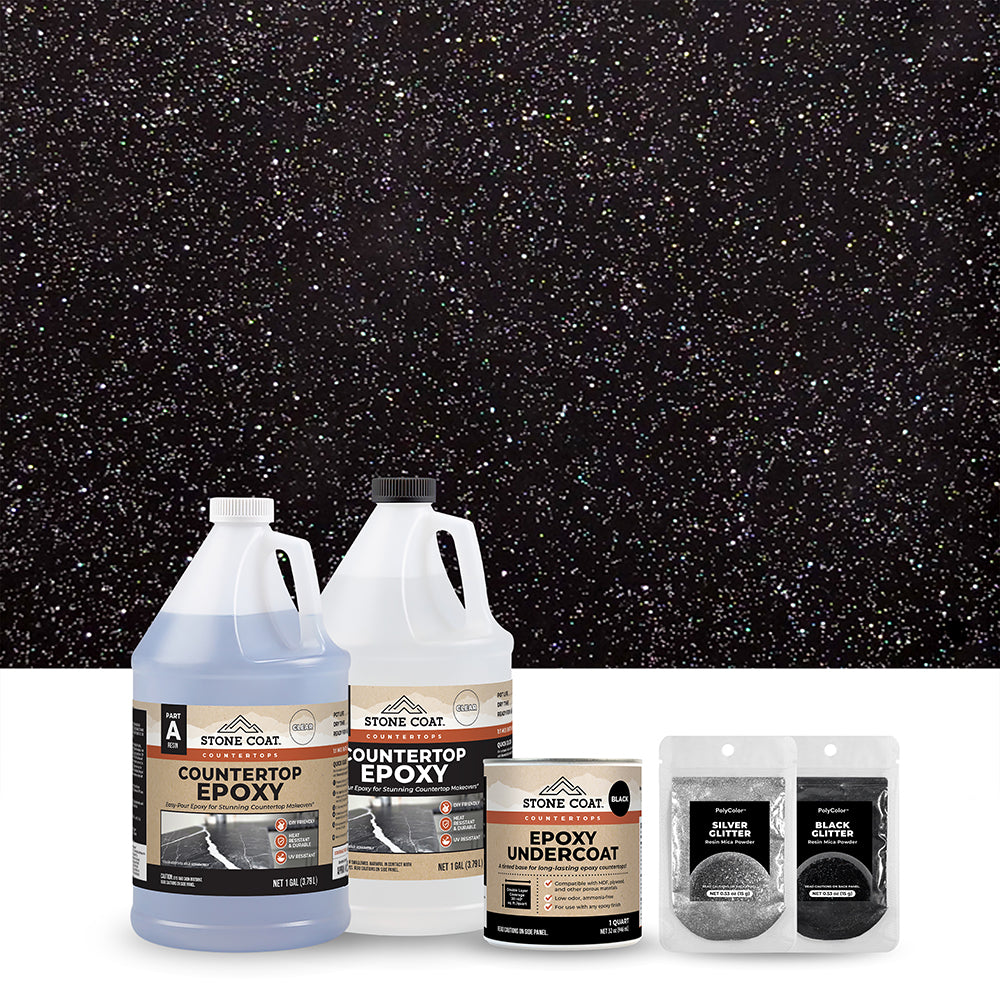
Clean the surface and make sure it’s dry. Apply two coats of Stone Coat Countertops Undercoat Epoxy directly to the MDF surface and edges. If you’re making a dark or colorful countertop, use Black Undercoat. If you’re making a white or light countertop, use White Undercoat. If you’re in between, you can always mix black and white Undercoat to make a grey base.
Once the first coat is dry, apply a second coat and allow to dry.

You Got This!