

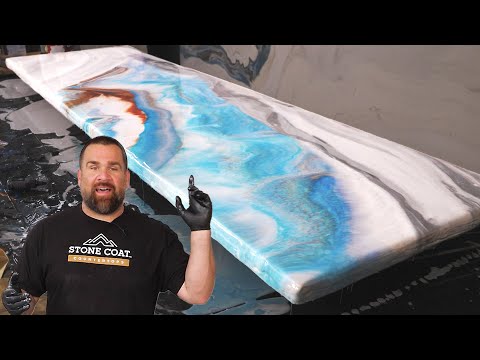
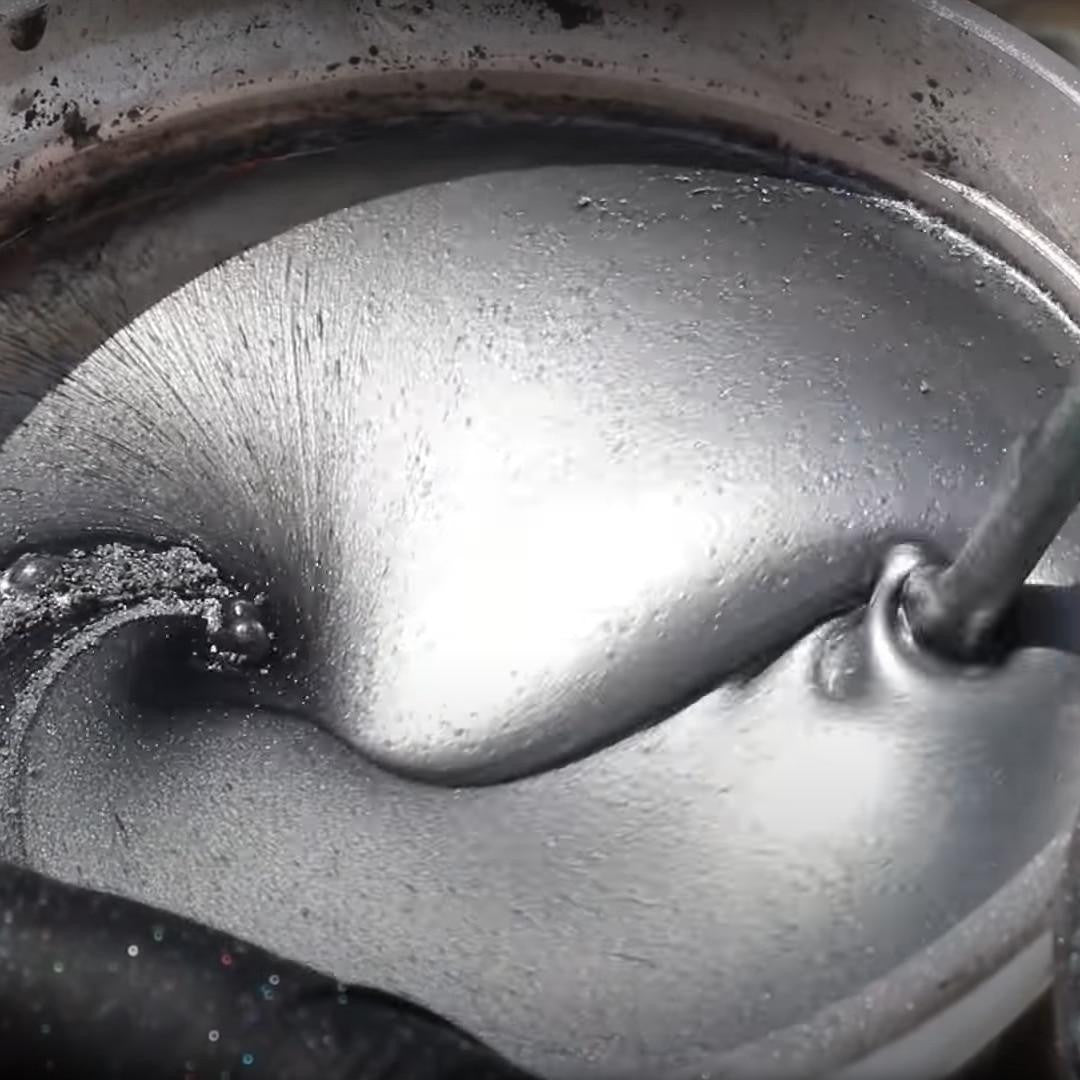
How to Use EPOXY & COLORANTS TO MIMIC GRANITE, MARBLE, QUARTZ & OTHER FINE STONES
Explore the variety of styles and color recipes you can use to create your own DIY epoxy countertops, showers, flooring, art, and more. Follow along with one of our most popular color recipe tutorials below, and find even more inspiration on our Epoxy Color Technique Training playlist on YouTube.


more trending color techniques
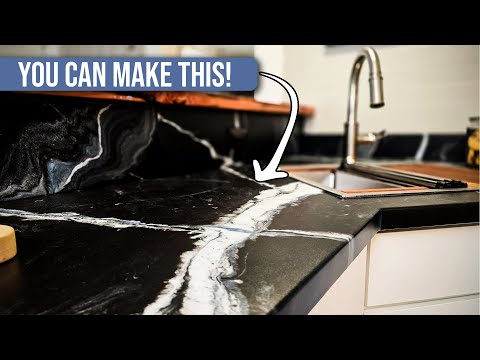
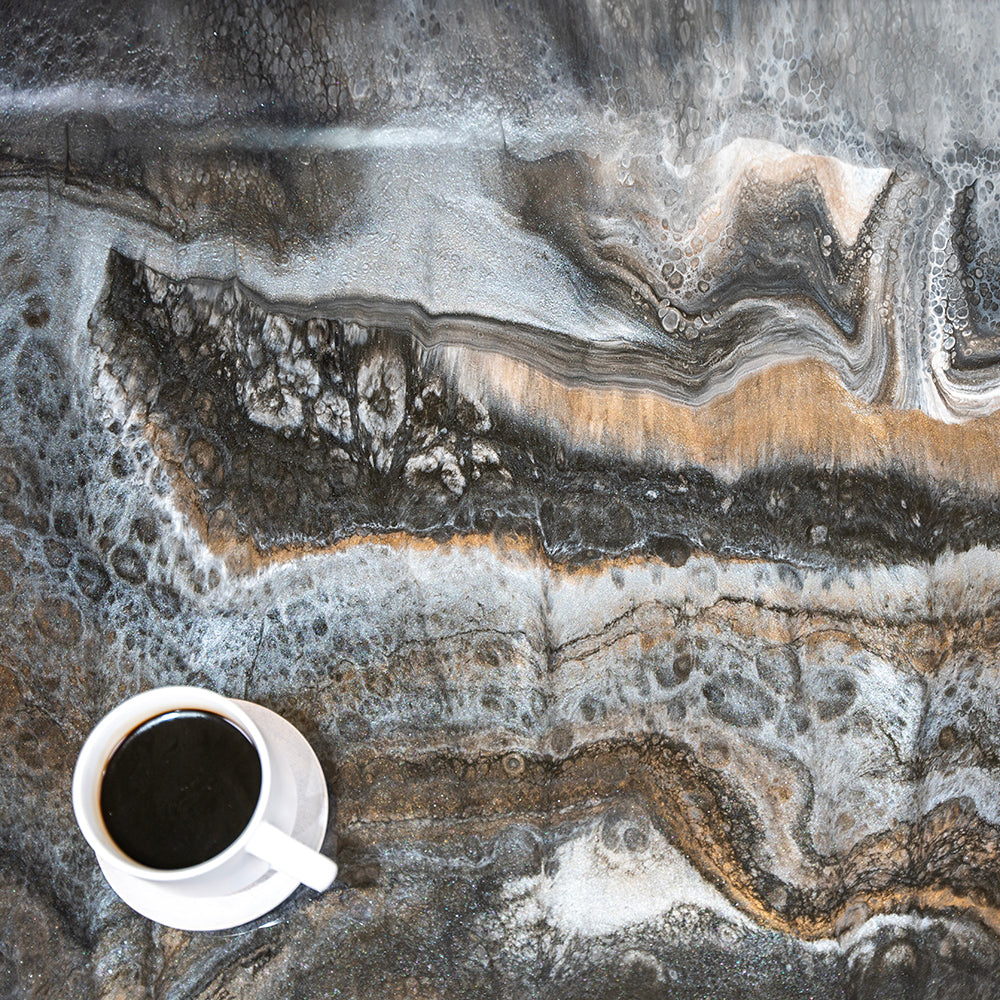
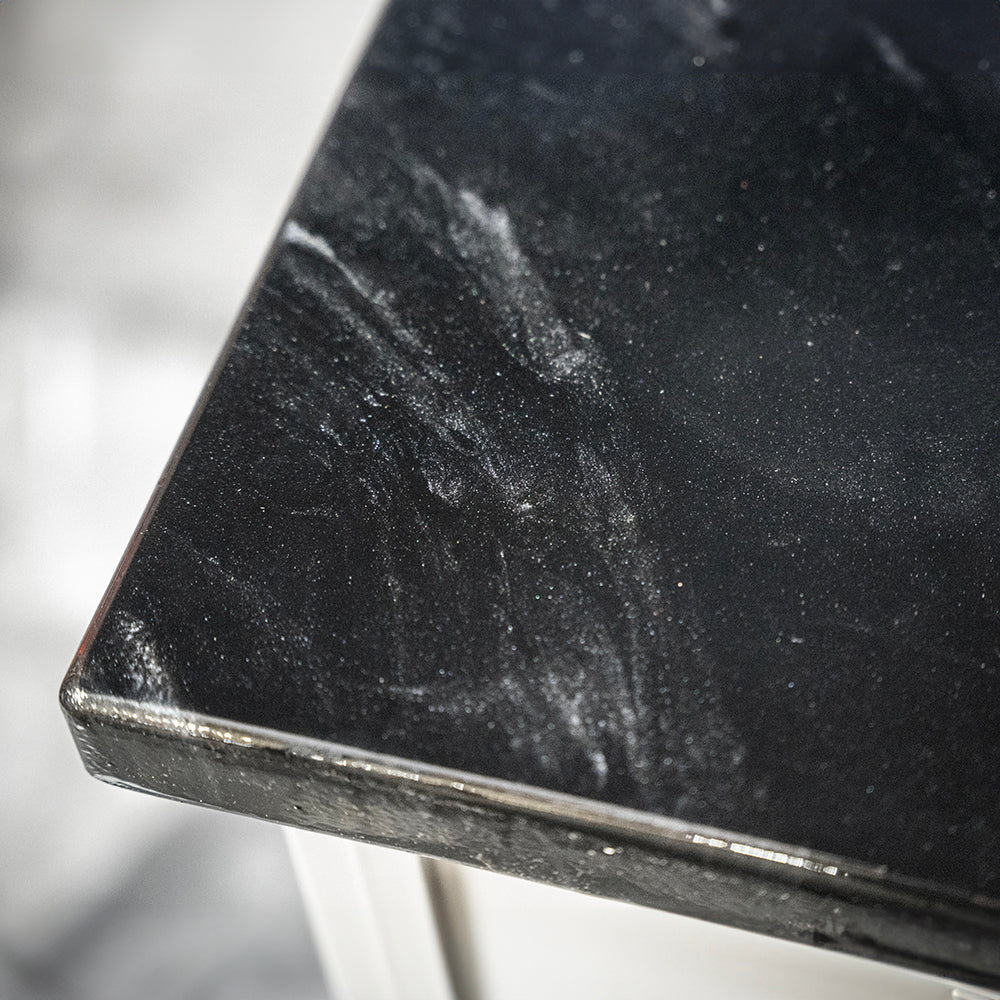
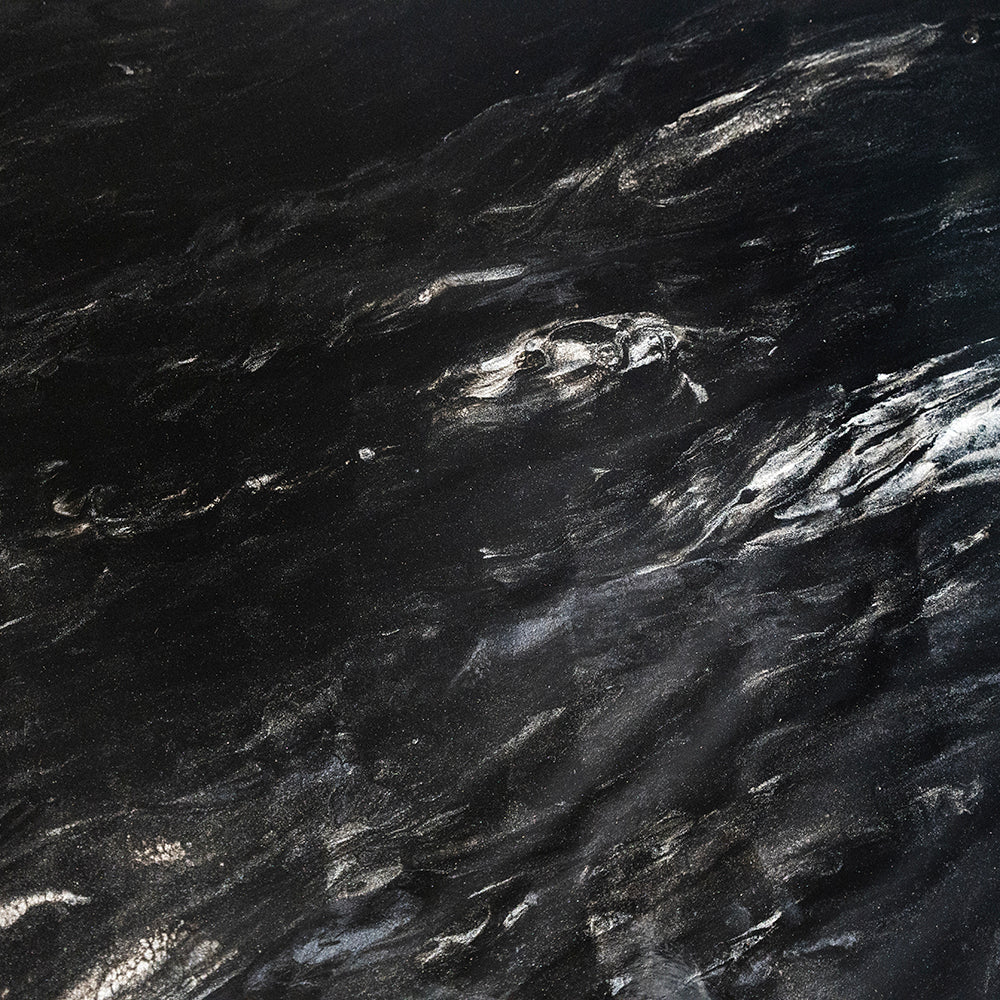
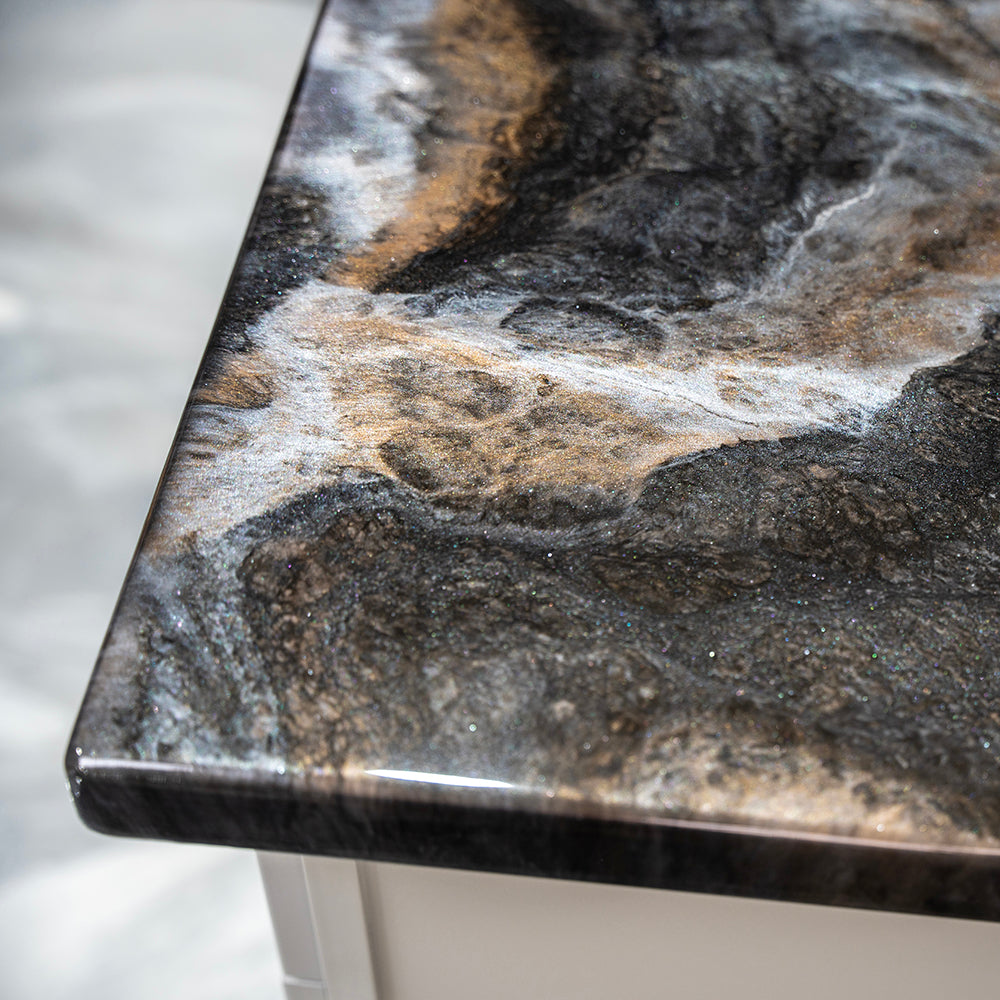
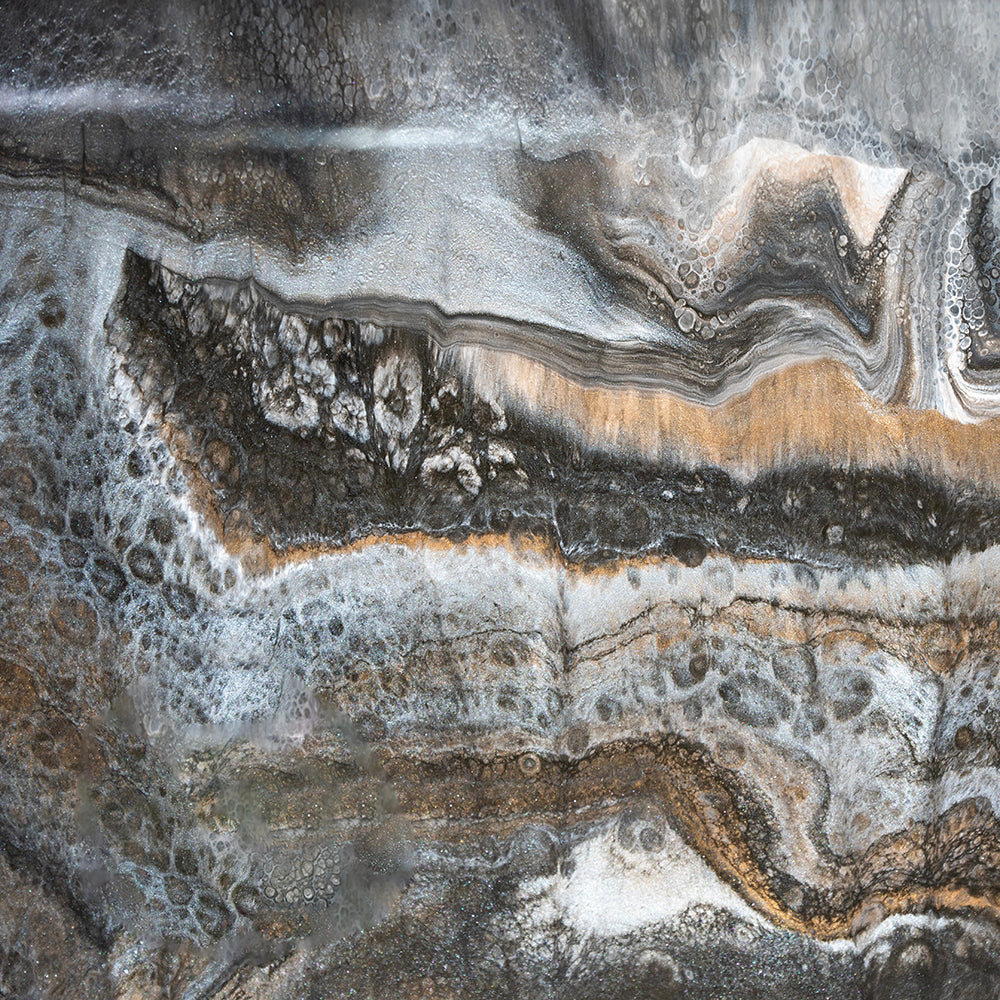
mimic the look of black river soapstone
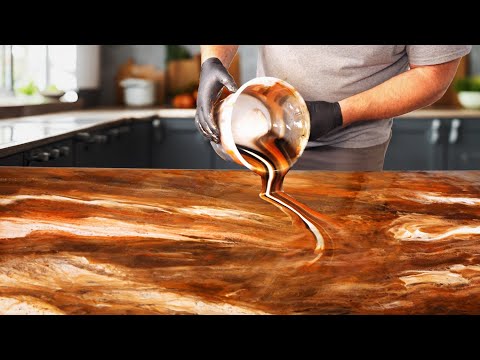
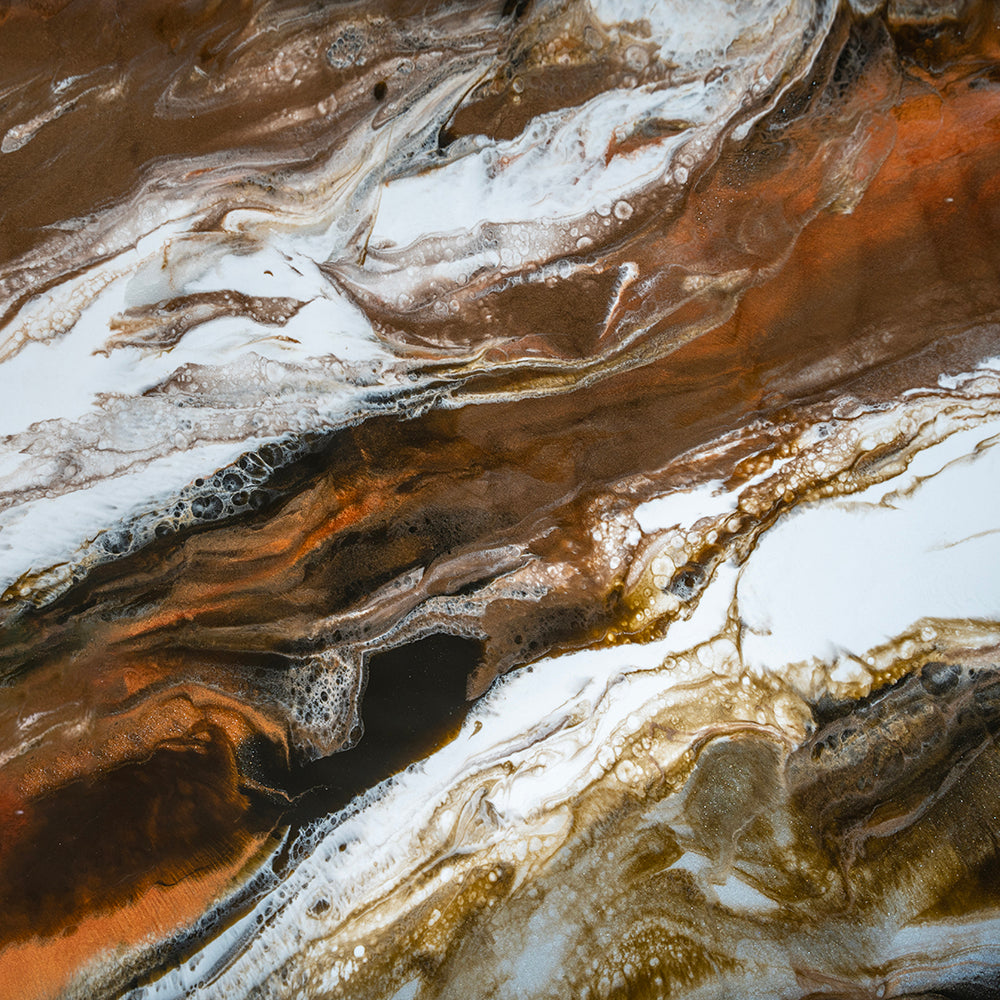
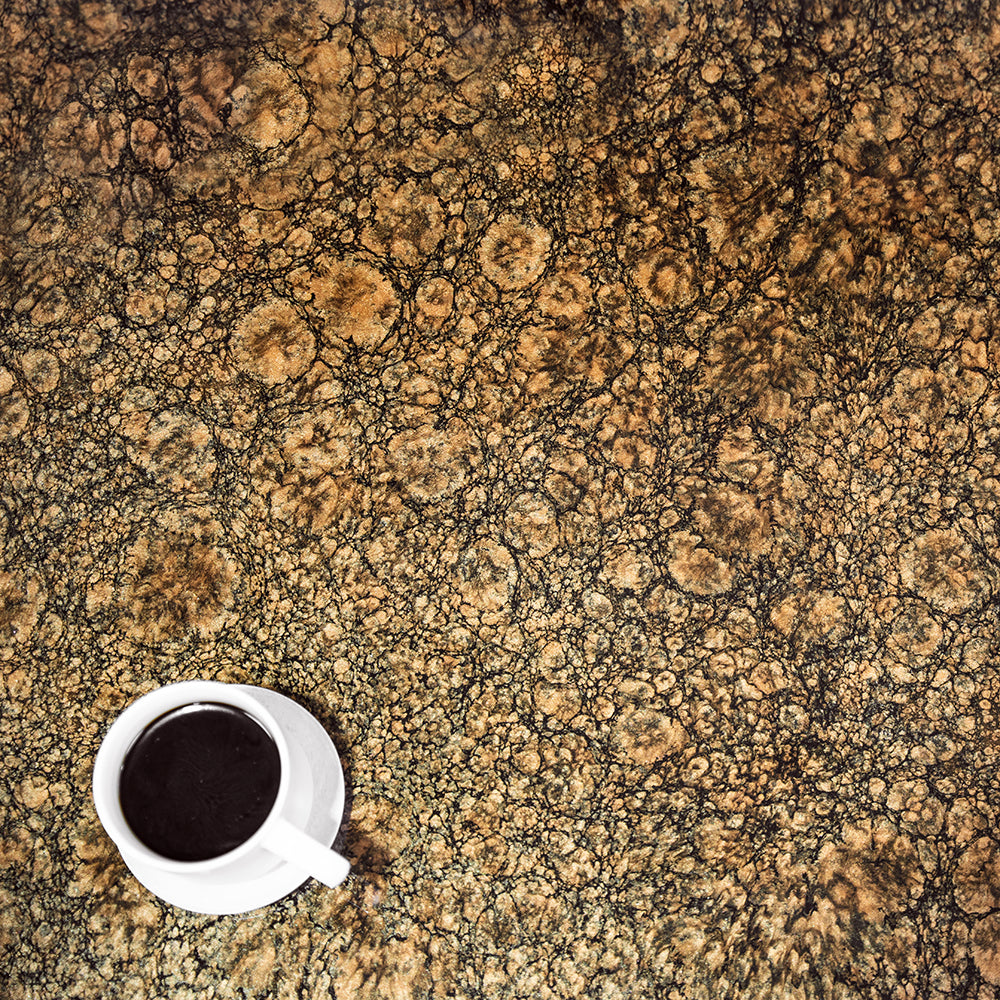
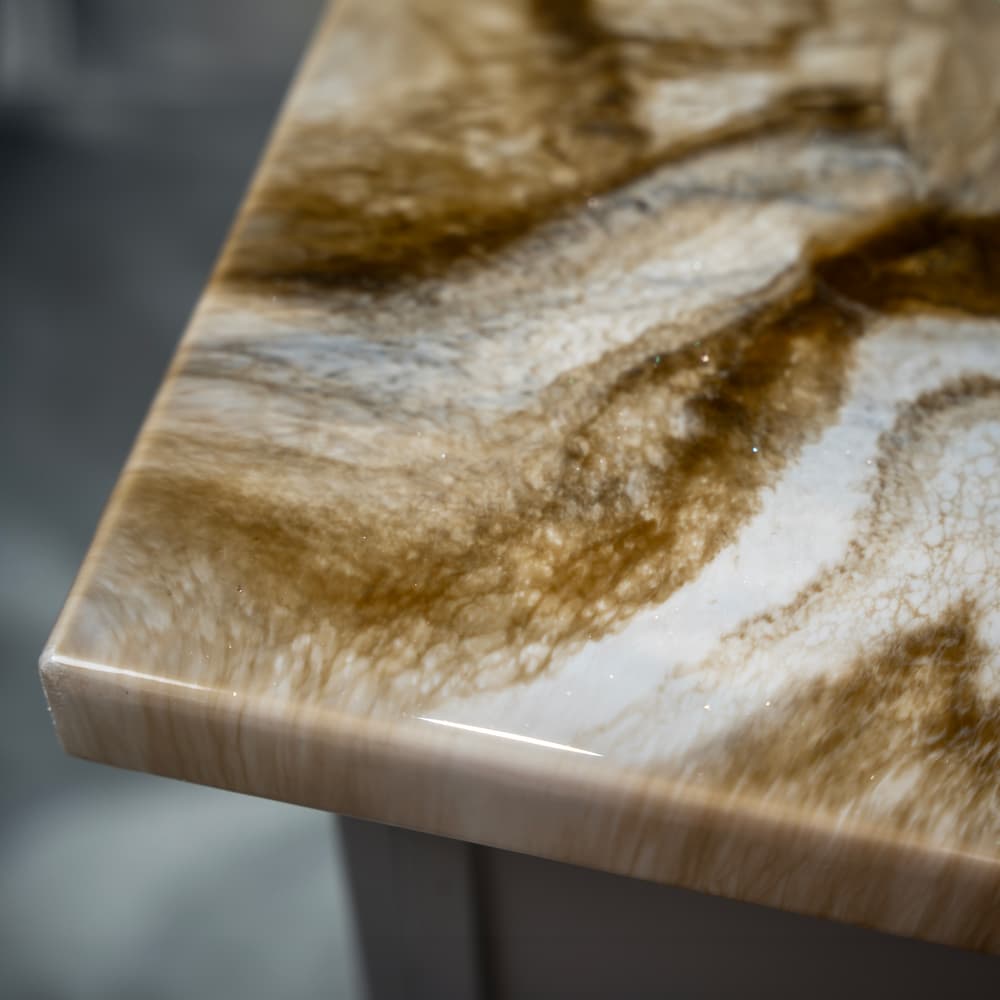
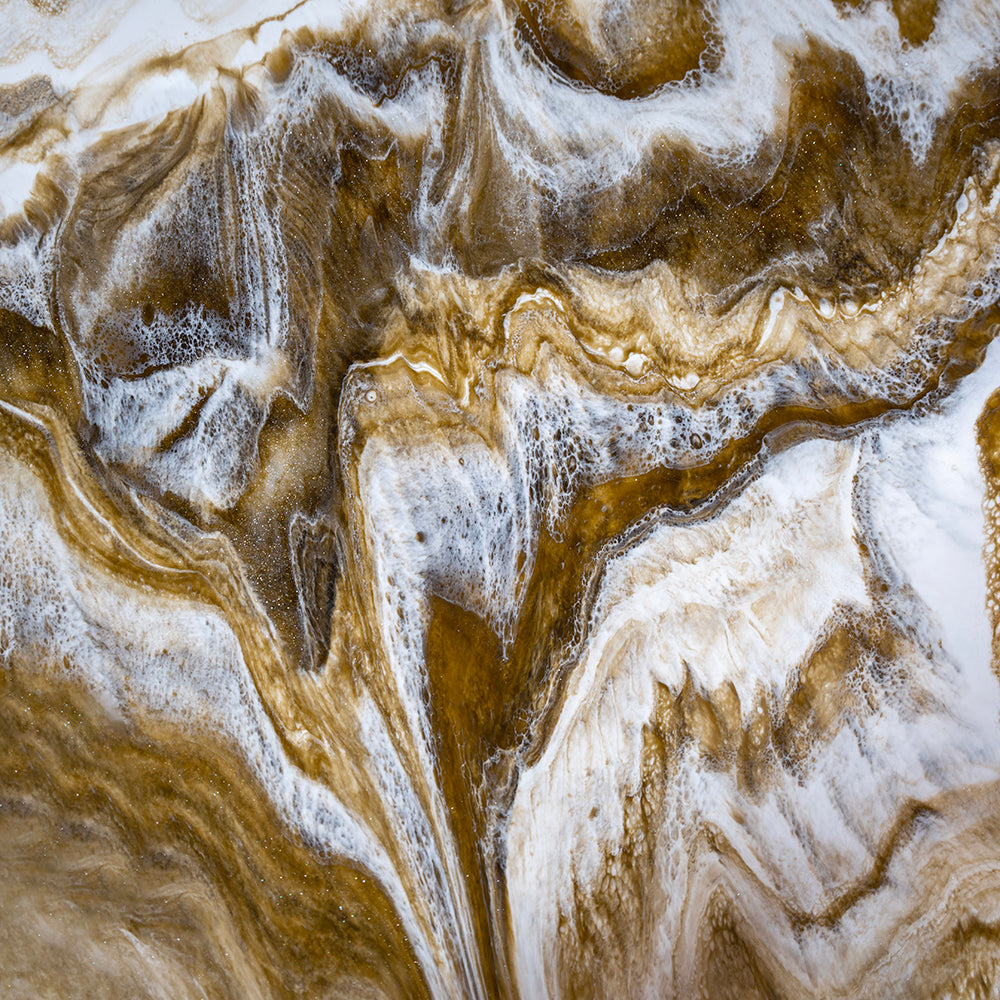
Mimic the look of natural earth tone granite
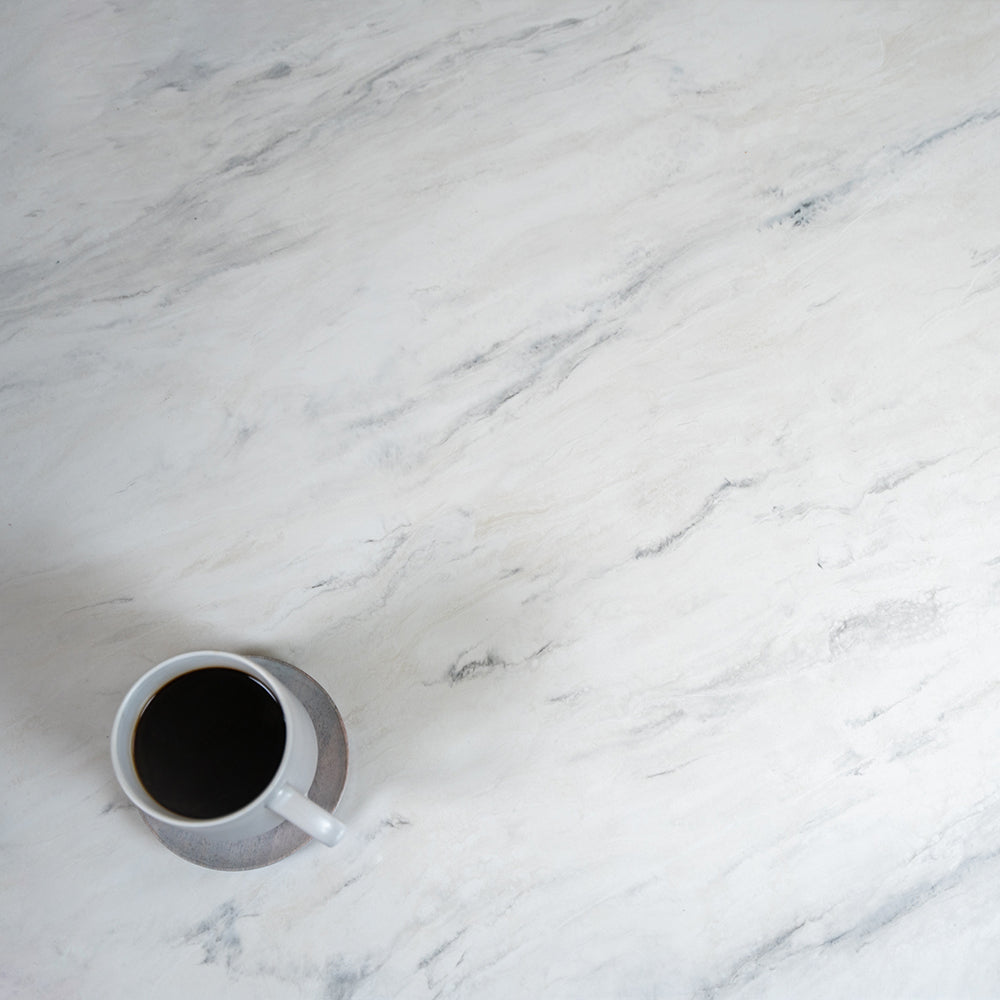
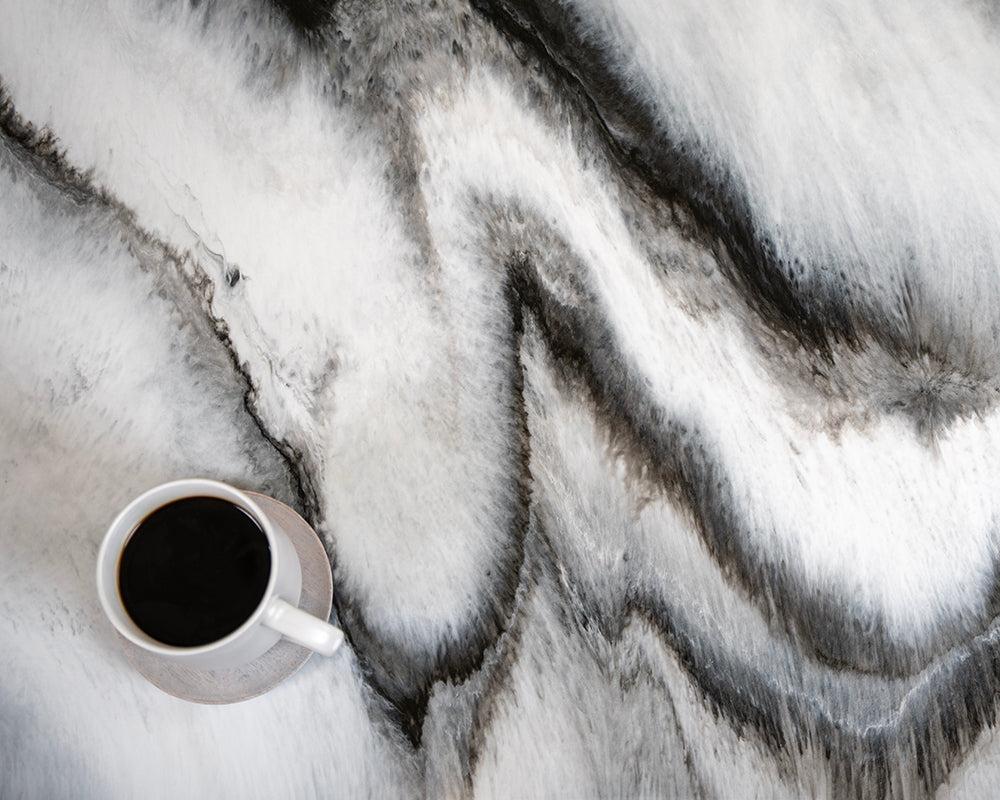
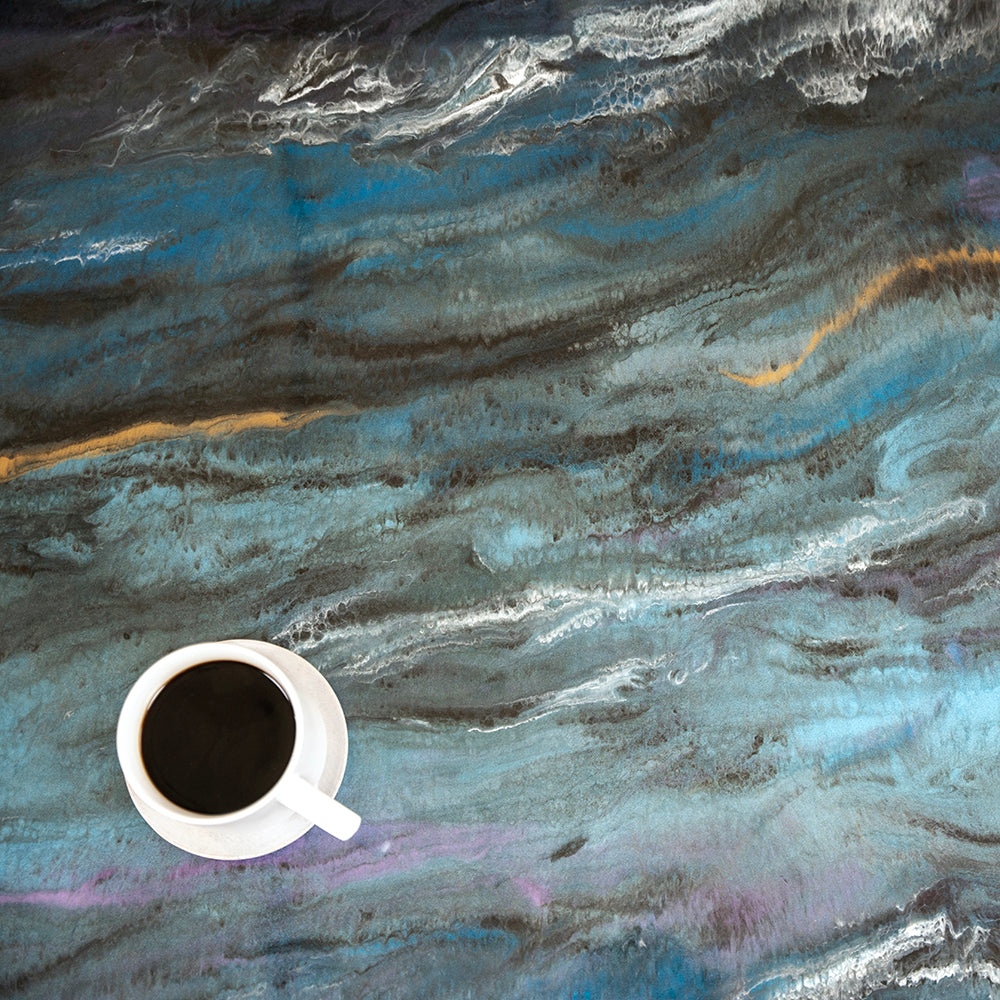
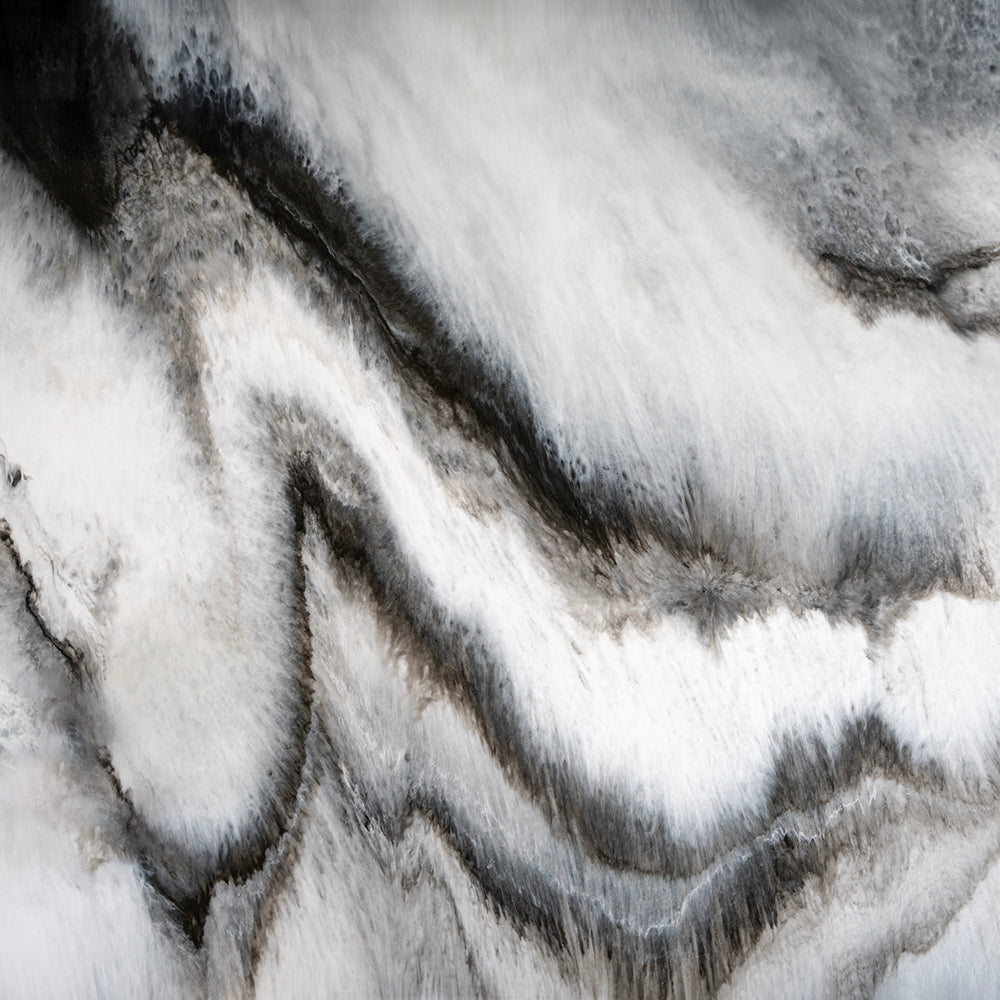
Mimic the look of severed marble
Looking for an all-in-one kit?
We have ready-to-pour countertop kits that mimic the most coveted natural stones. They're not just for countertops! Use one of our convenient kits to create beautiful epoxy shower walls, epoxy floors, table tops, and more.
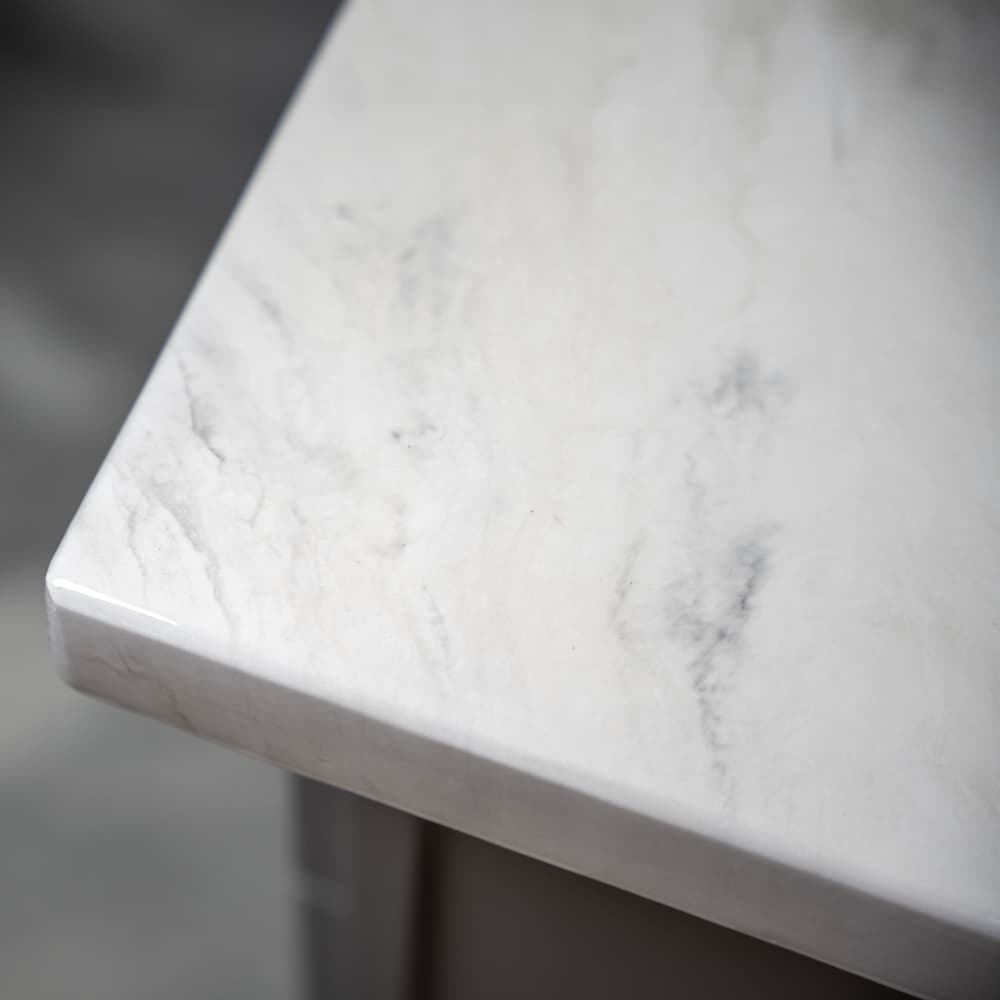
Carrara Marble Epoxy Countertop Kit
Regular price
From $115.86
Sale price
From $115.86
Regular price
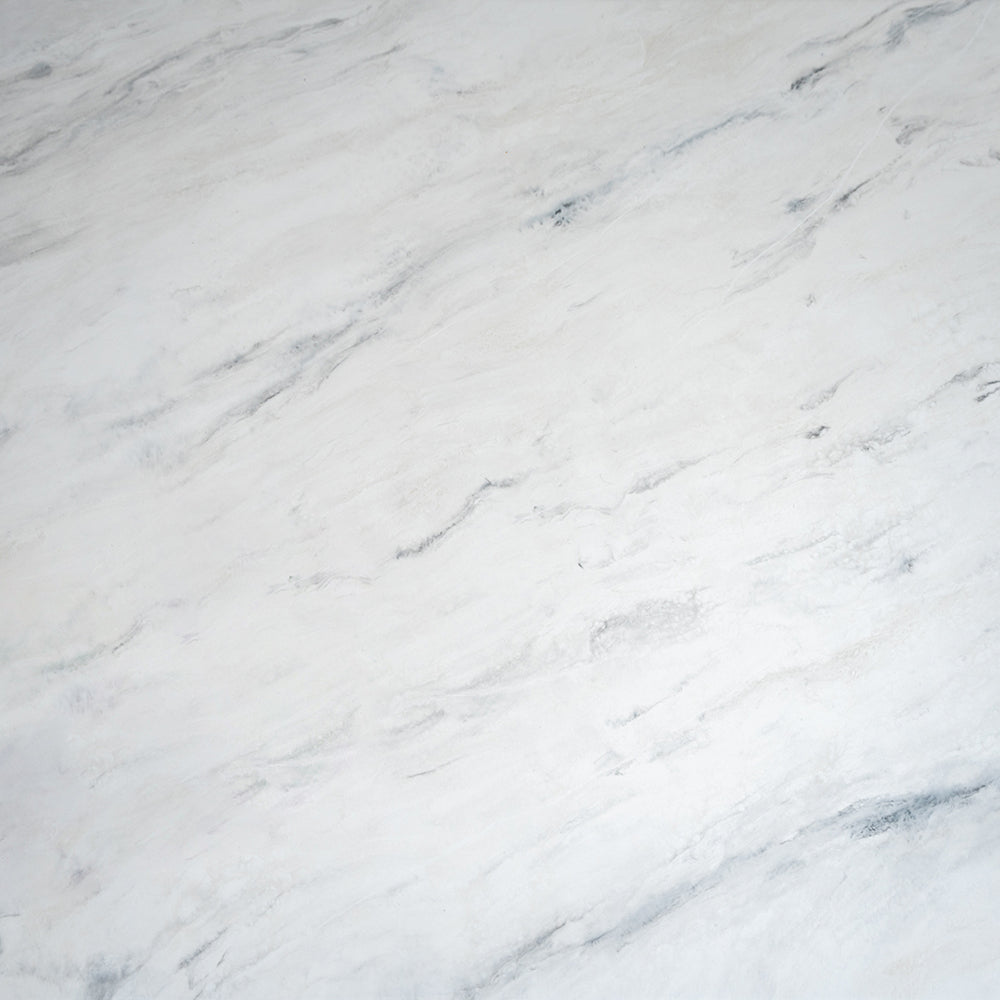
White Exotic Marble Epoxy Countertop Kit
Regular price
From $132.94
Sale price
From $132.94
Regular price
Black Marble Epoxy Countertop Kit
Regular price
From $110.16
Sale price
From $110.16
Regular price
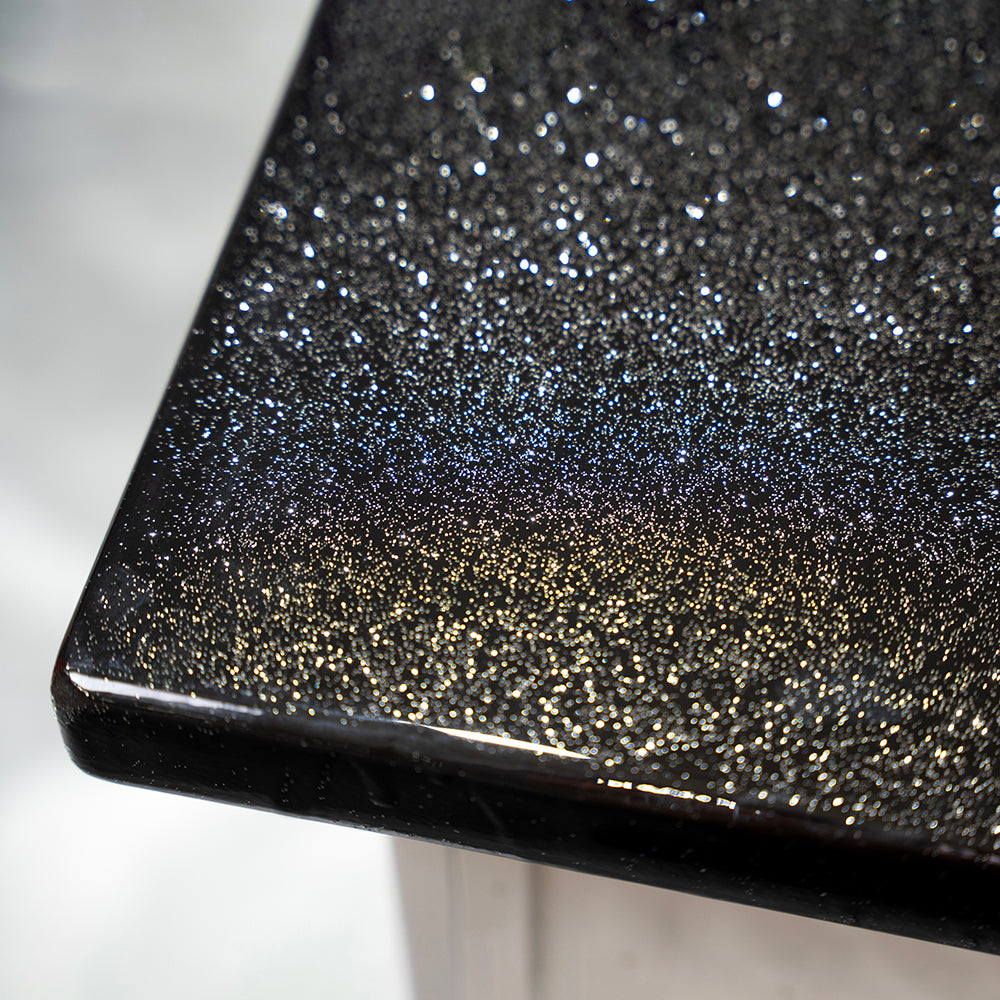
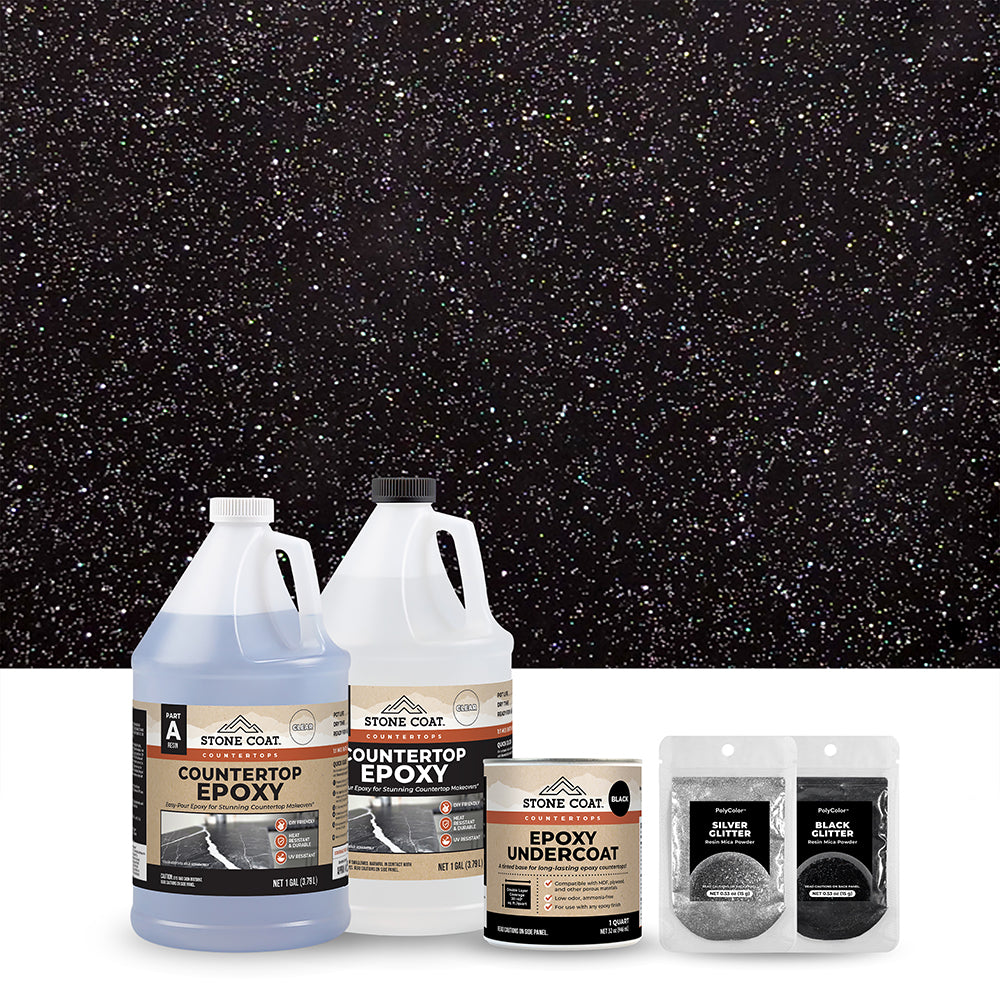
Black Galaxy Glitter Epoxy Countertop Kit
Regular price
From $103.52
Sale price
From $103.52
Regular price
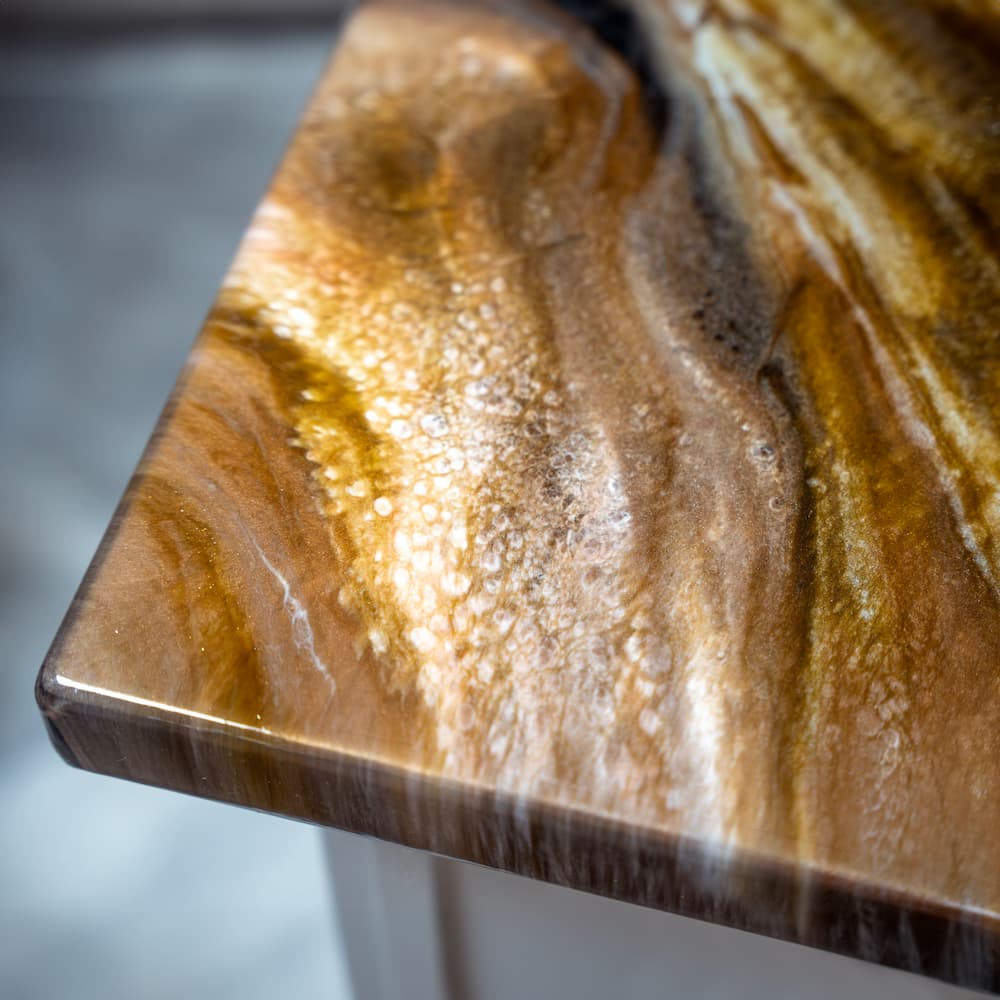
Natural Earth Tones Epoxy Countertop Kit
Regular price
From $138.18
Sale price
From $138.18
Regular price
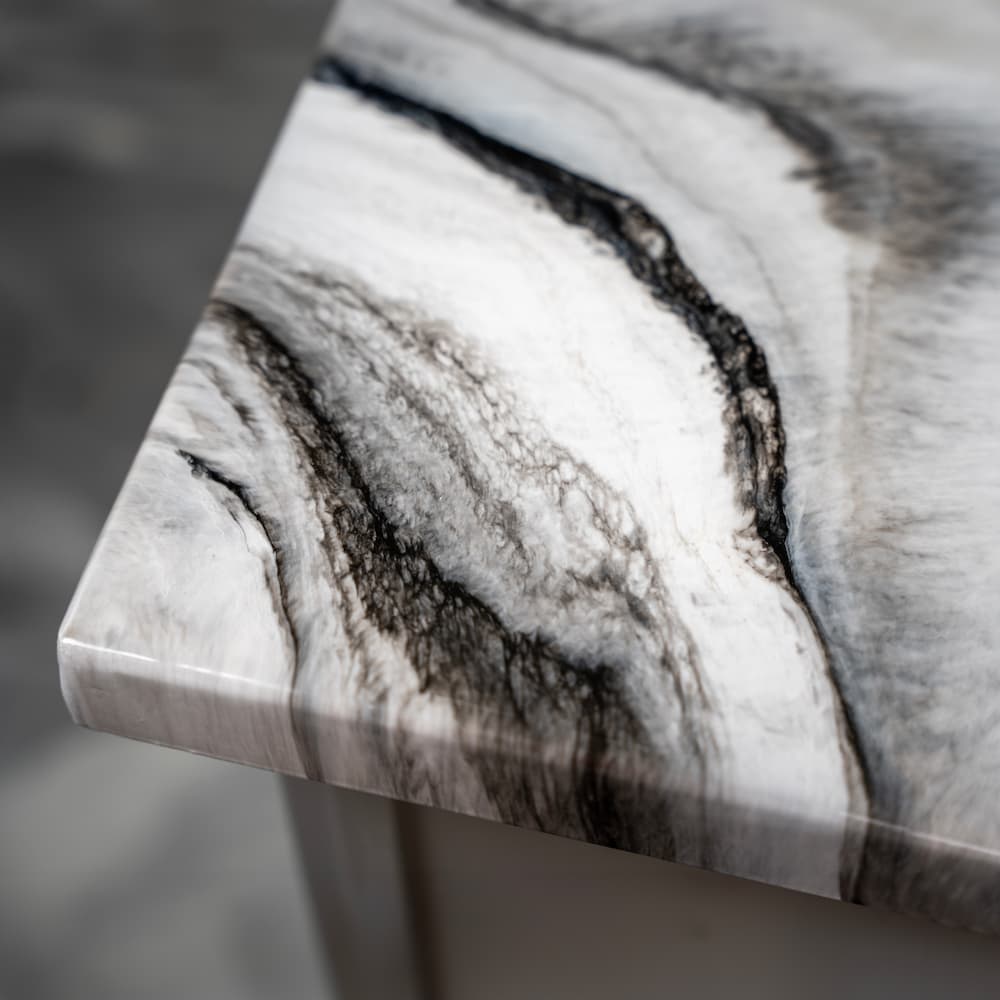
Black Exotic Marble Epoxy Countertop Kit
Regular price
From $137.68
Sale price
From $137.68
Regular price
Caramel Marble Epoxy Countertop Kit
Regular price
From $106.36
Sale price
From $106.36
Regular price
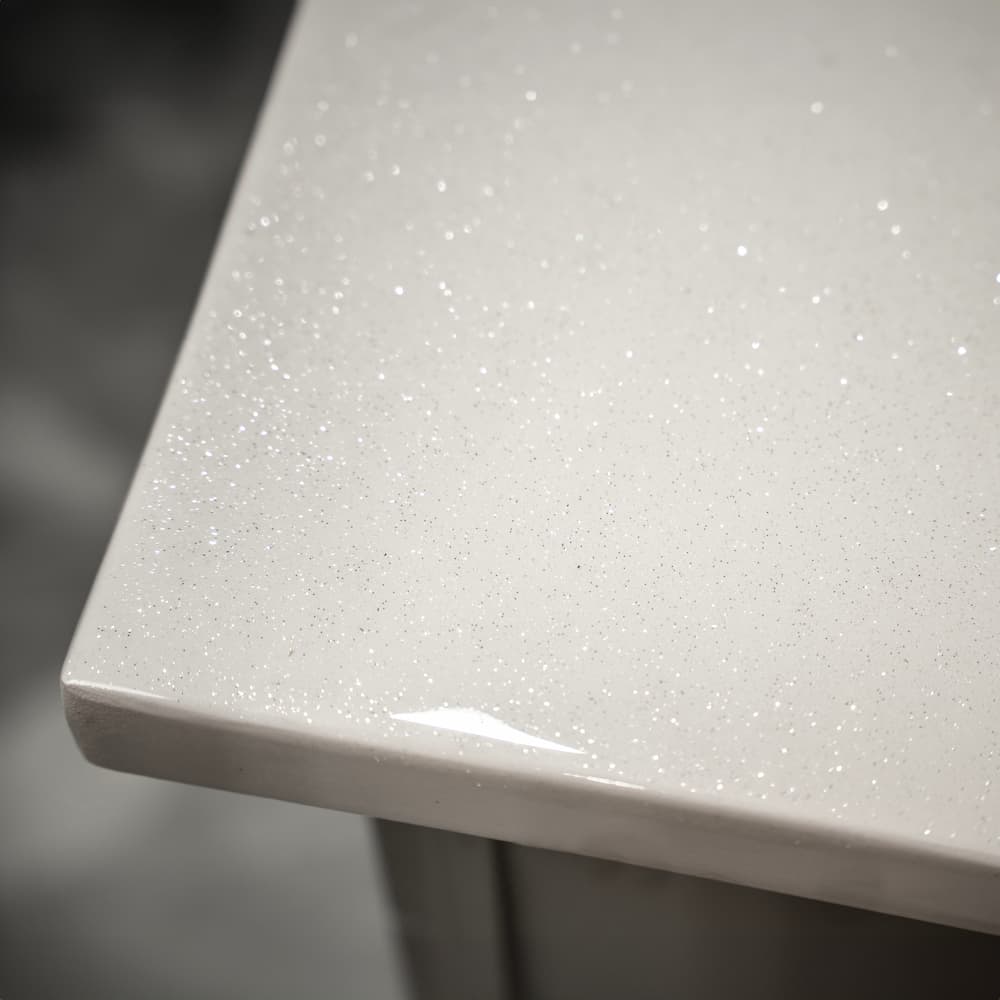
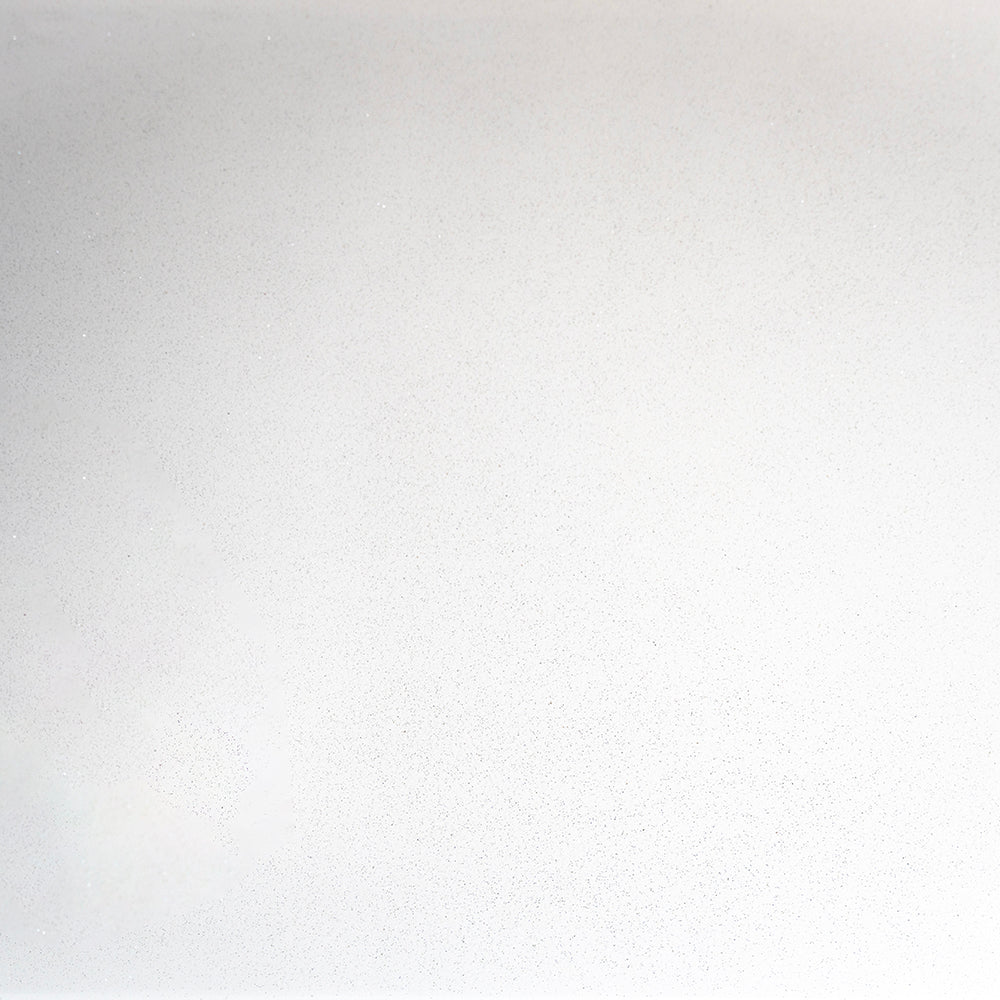
White Quartz Epoxy Countertop Kit
Regular price
From $119.66
Sale price
From $119.66
Regular price
WANT TO MAKE YOUR OWN UNIQUE COLOR RECIPE?
Browse through our wide variety of colorants for endless customization possibilities.
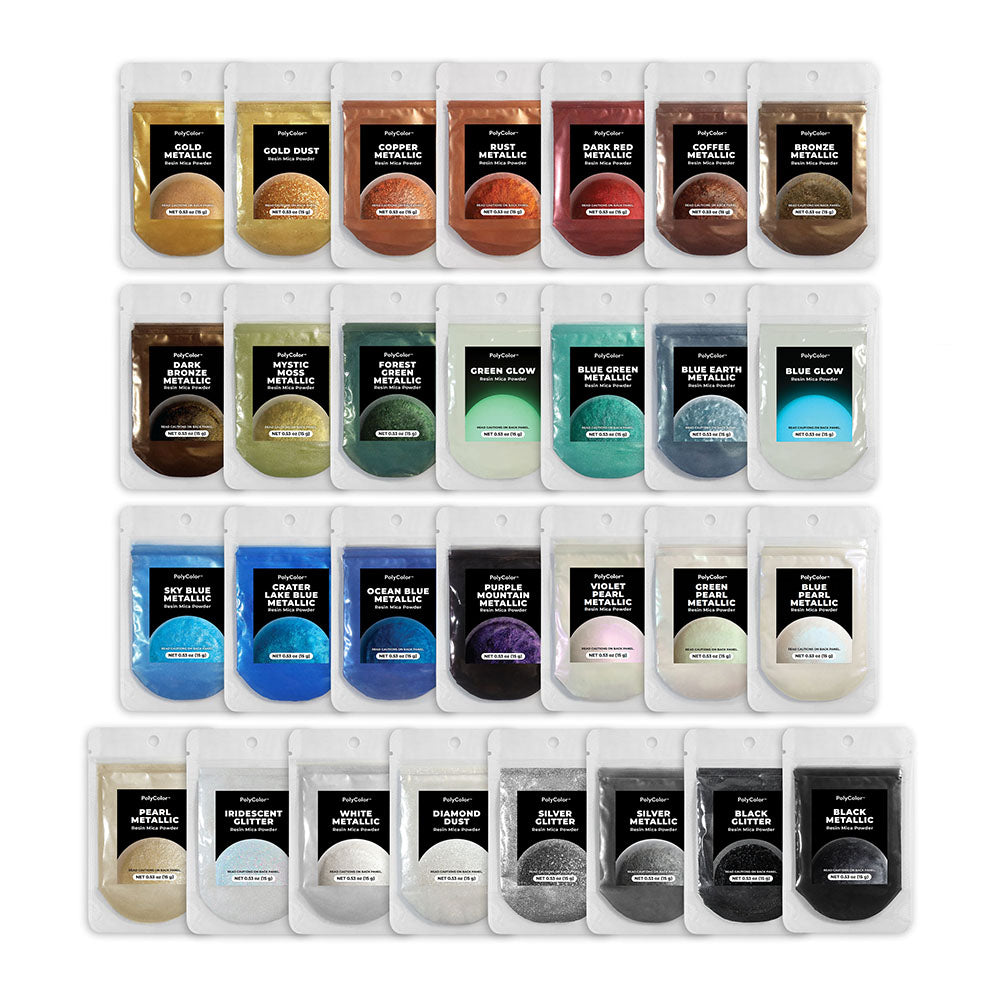
PolyColor Metallic Pigment Powder
Regular price
From $10.99
Sale price
From $10.99
Regular price

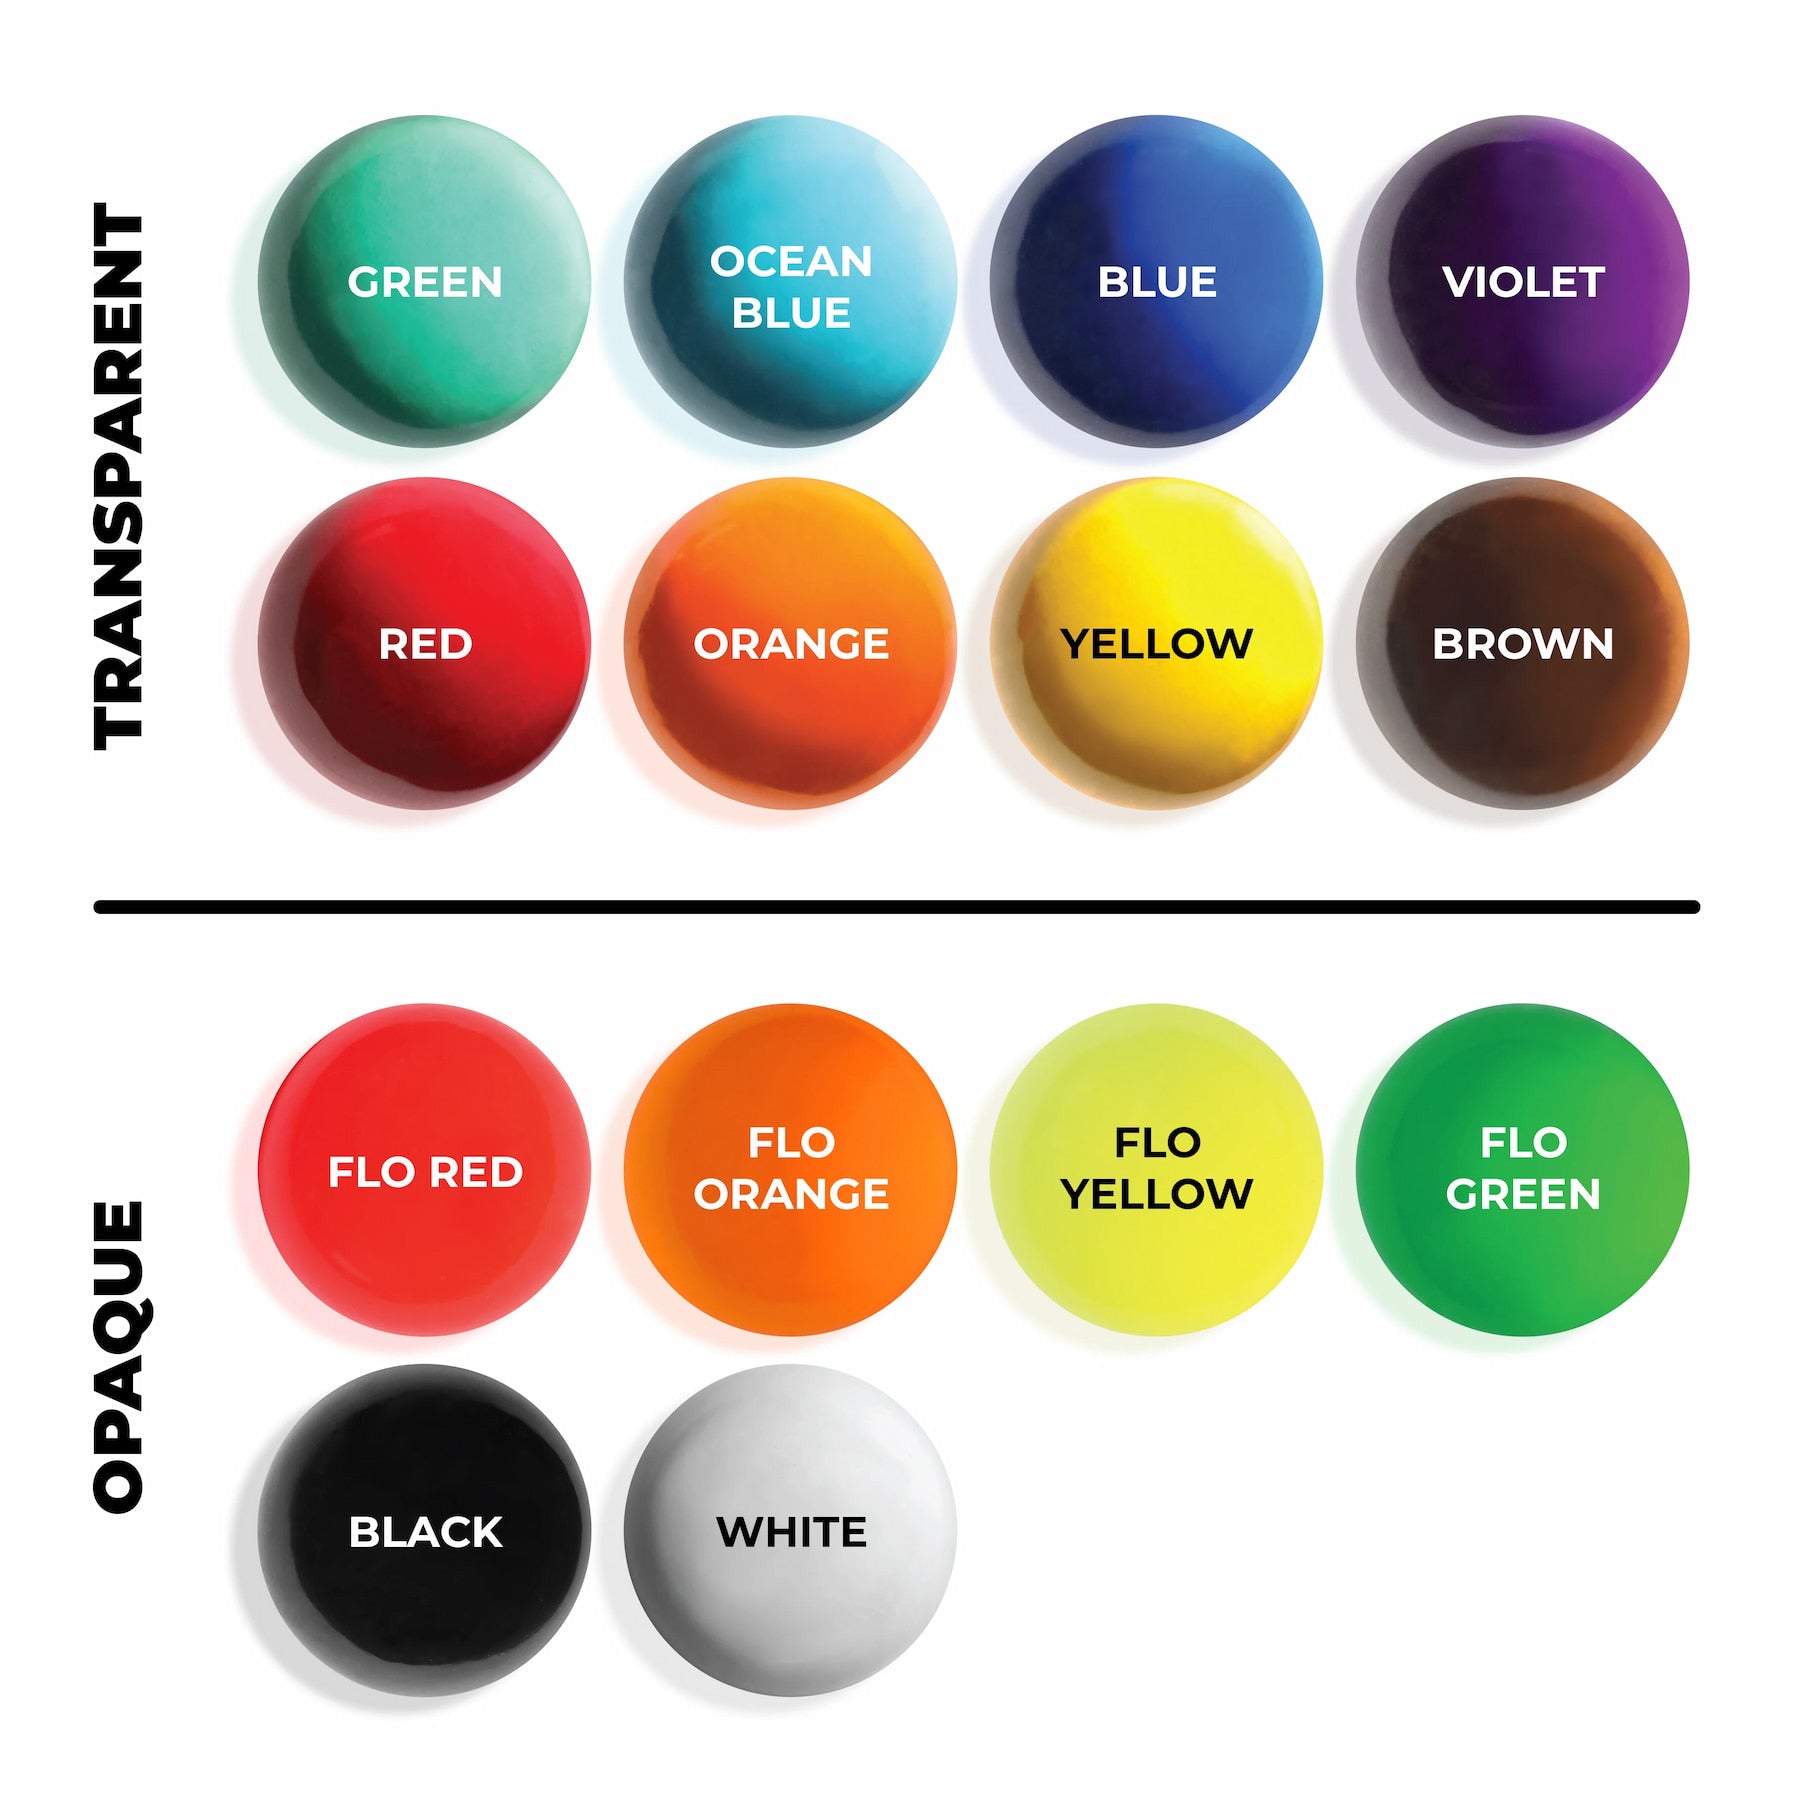
Liquid Epoxy Dye
Regular price
From $9.99
Sale price
From $9.99
Regular price

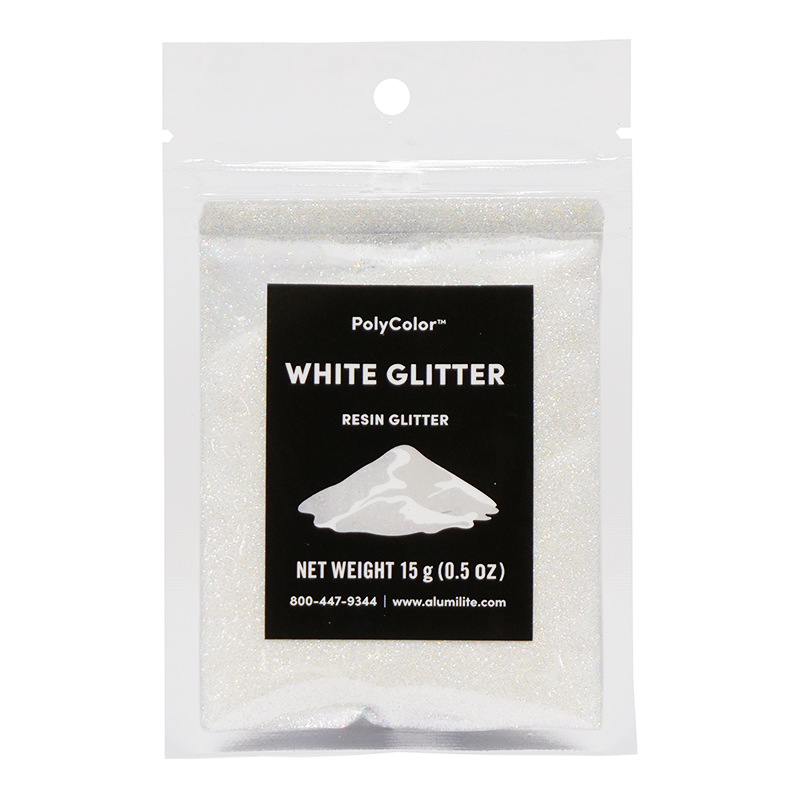
PolyColor Epoxy Glitter Additives
Regular price
From $10.99
Sale price
From $10.99
Regular price
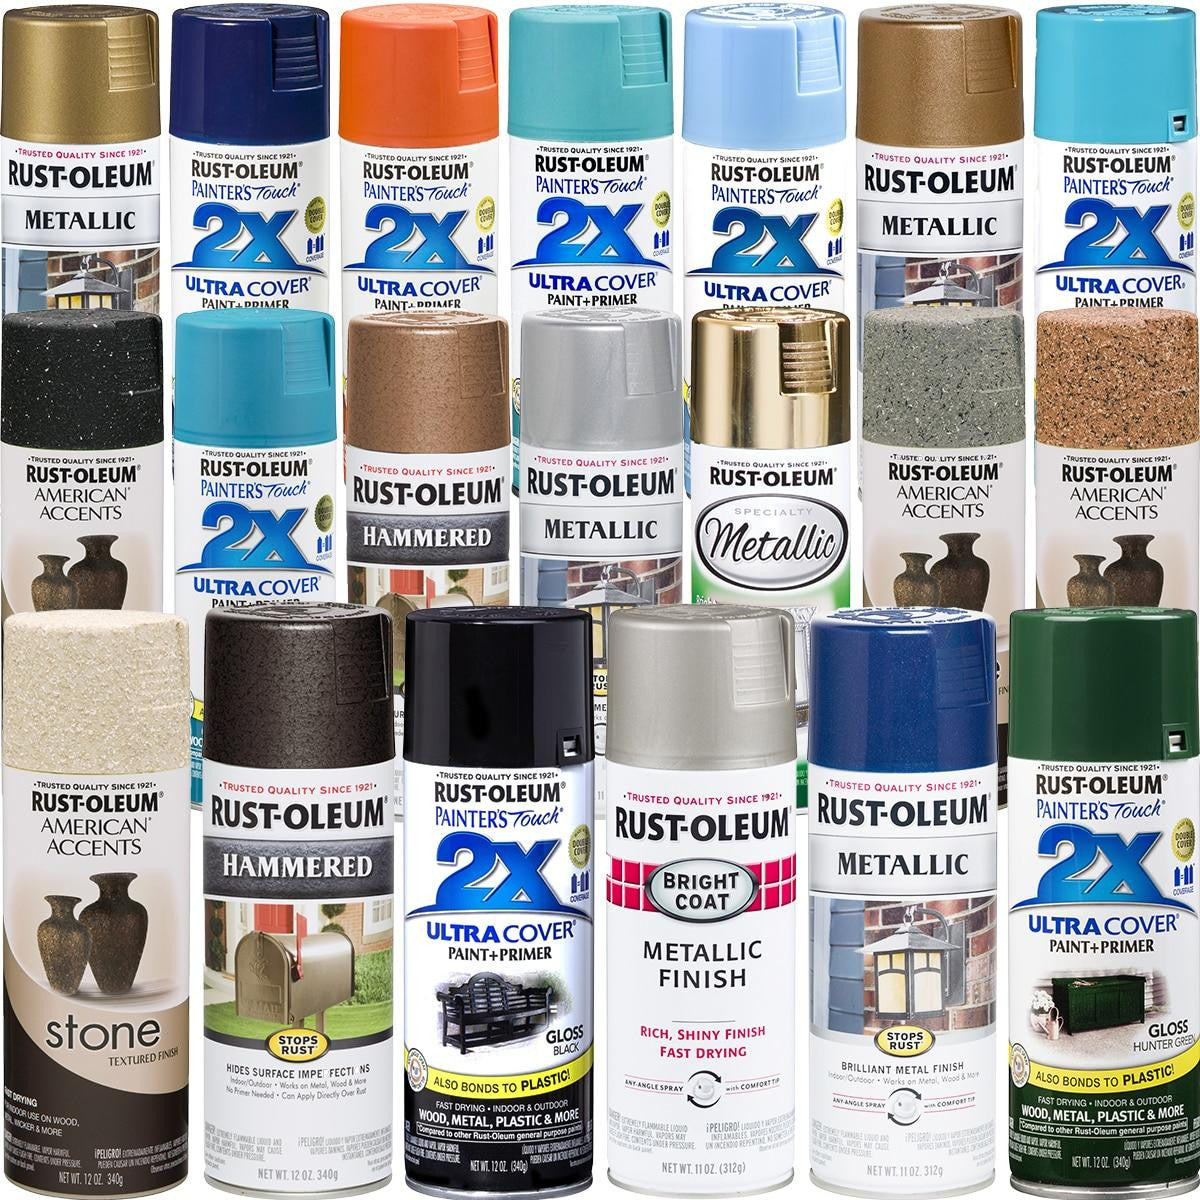
Rust-Oleum Spray Paint
Regular price
$5.10
Sale price
$5.10
Regular price
$6.00
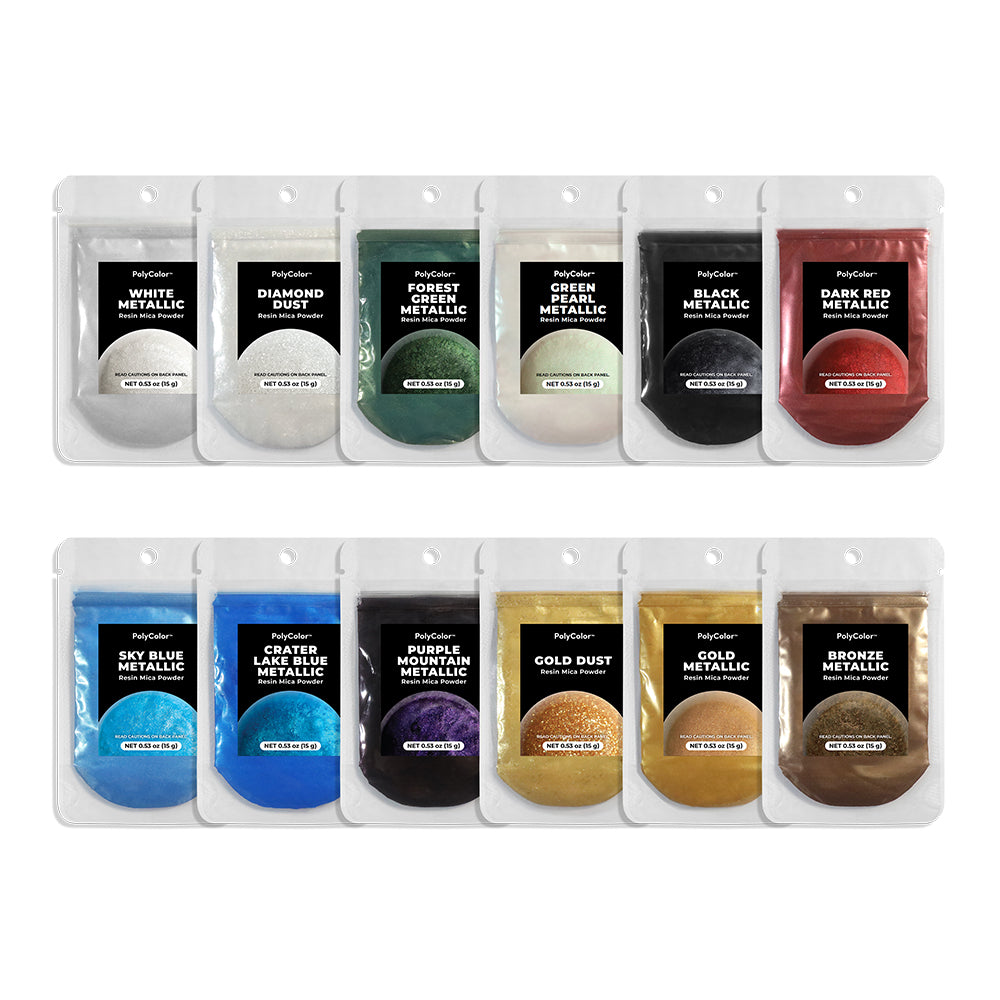
12 Pc. Vivid Art PolyColor Metallic Pigment Powder Collection
Regular price
$104.99
Sale price
$104.99
Regular price
NEW
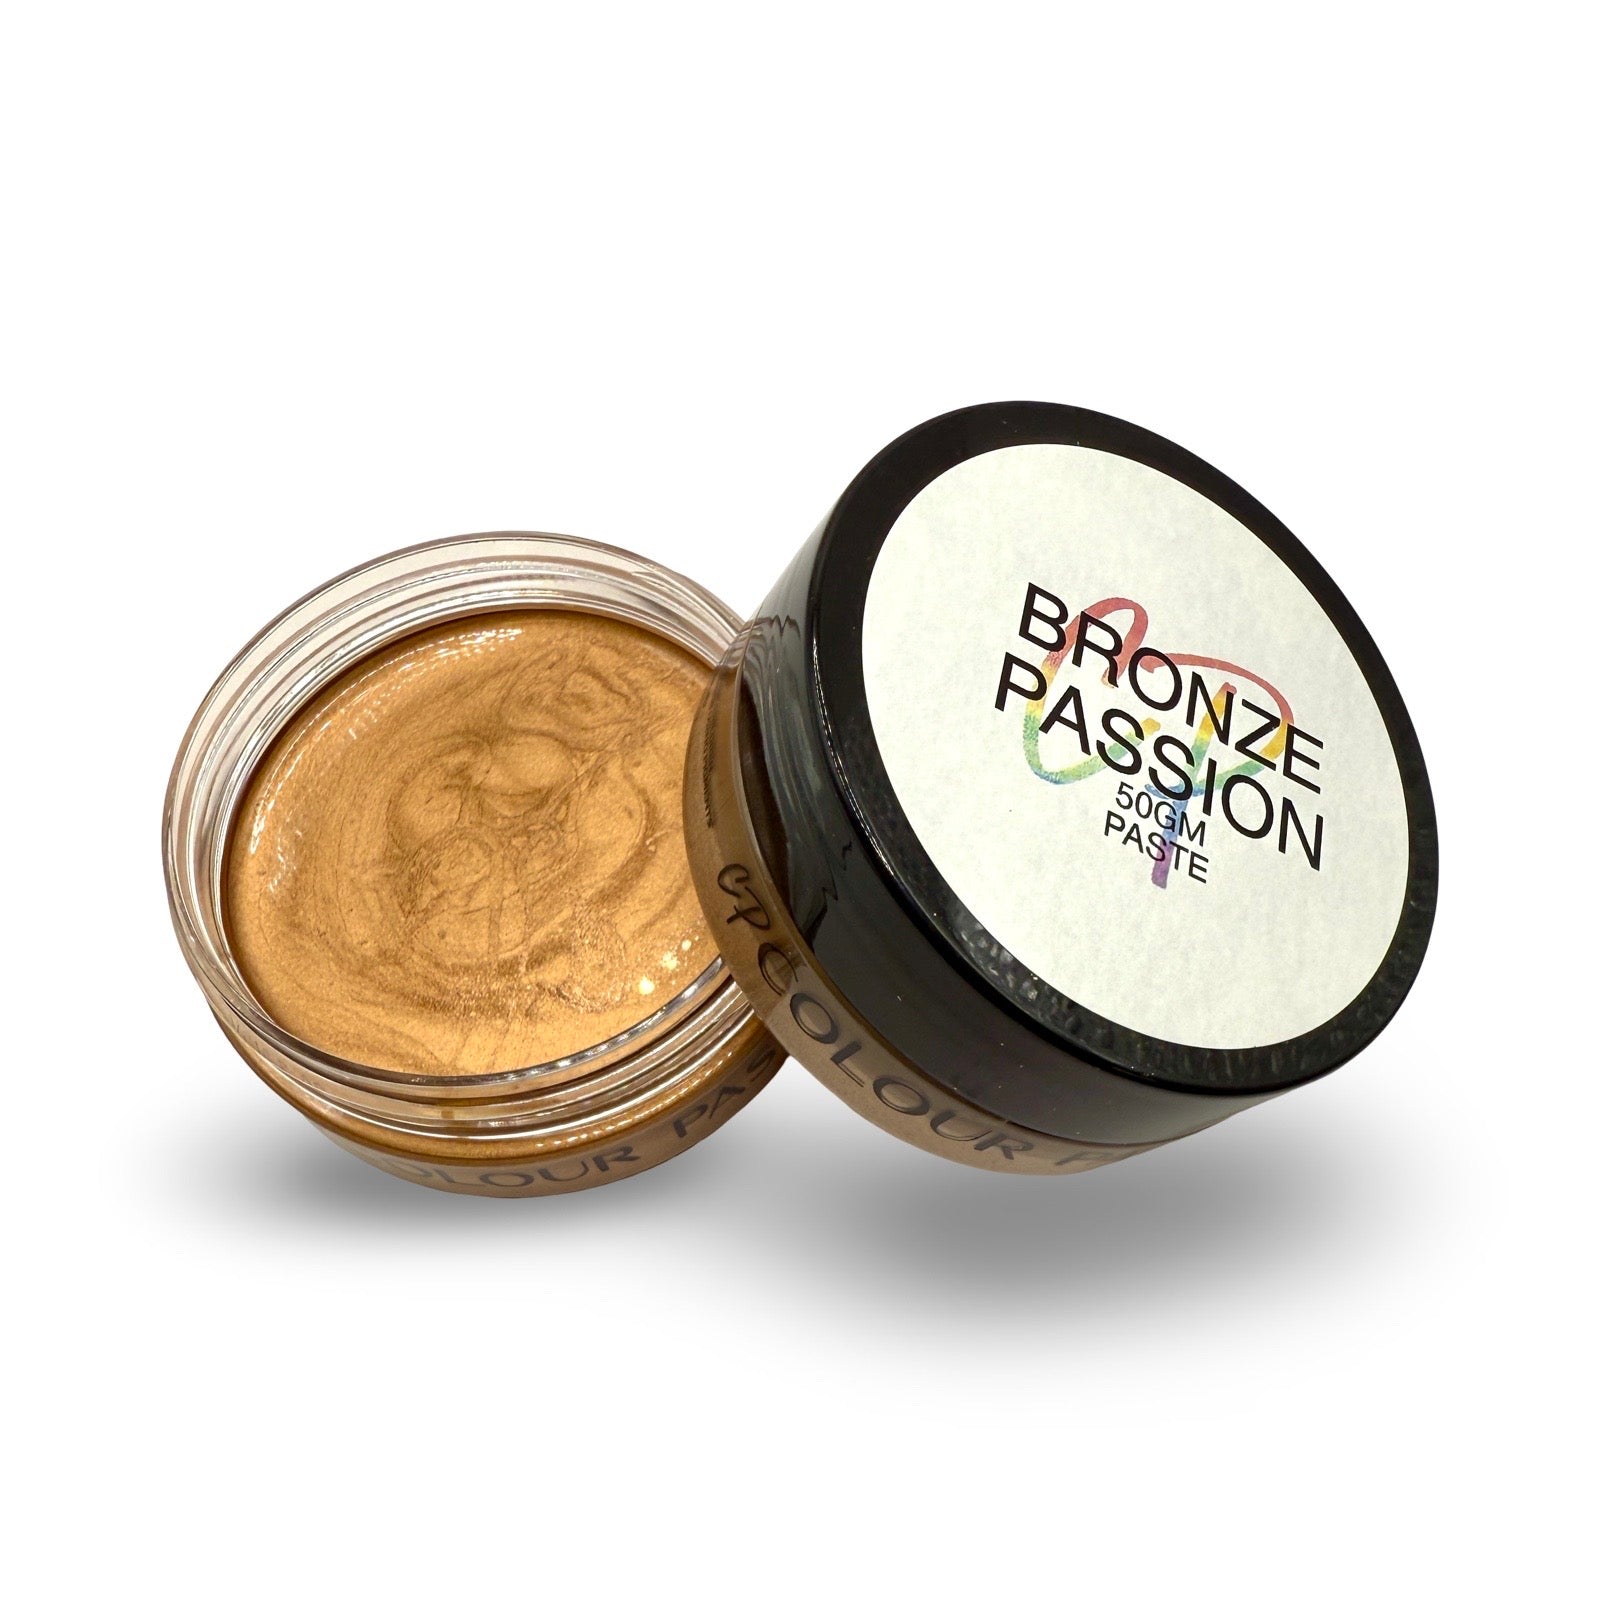
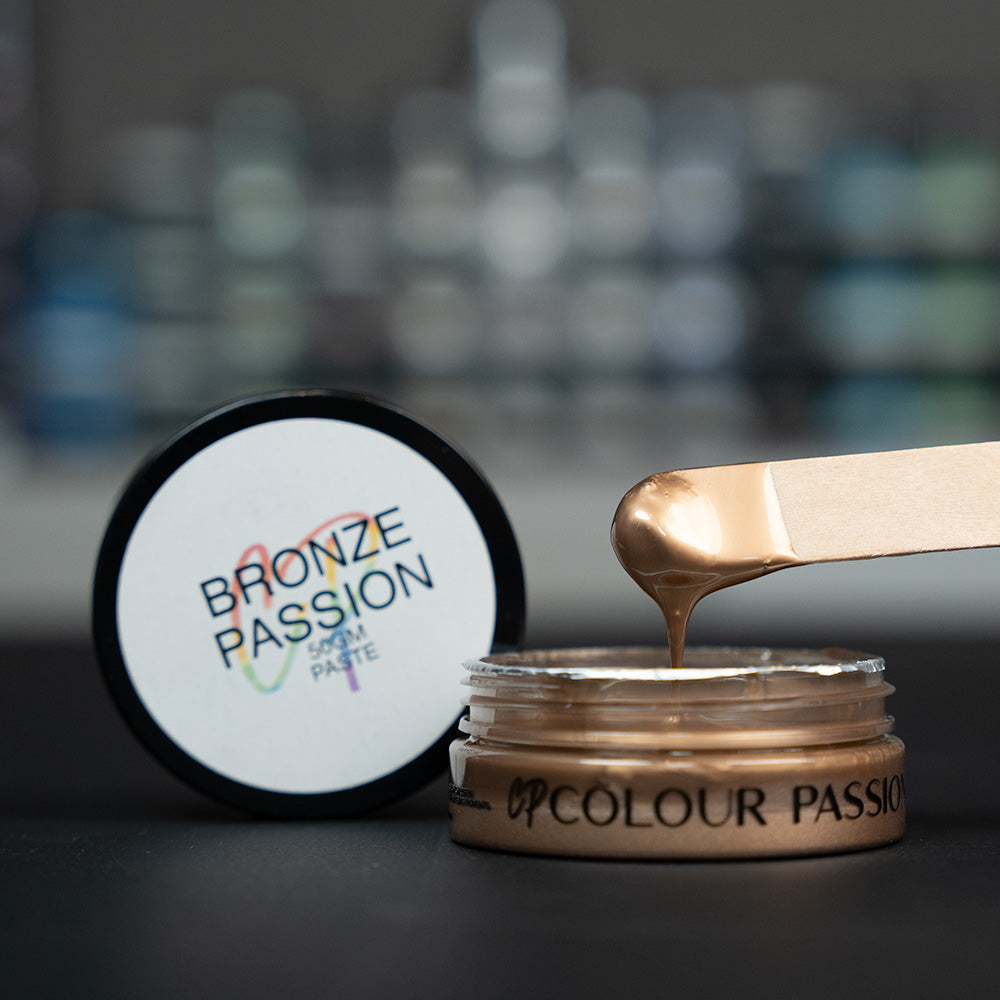
Colour Passion Pigment Paste
Regular price
$16.50
Sale price
$16.50
Regular price
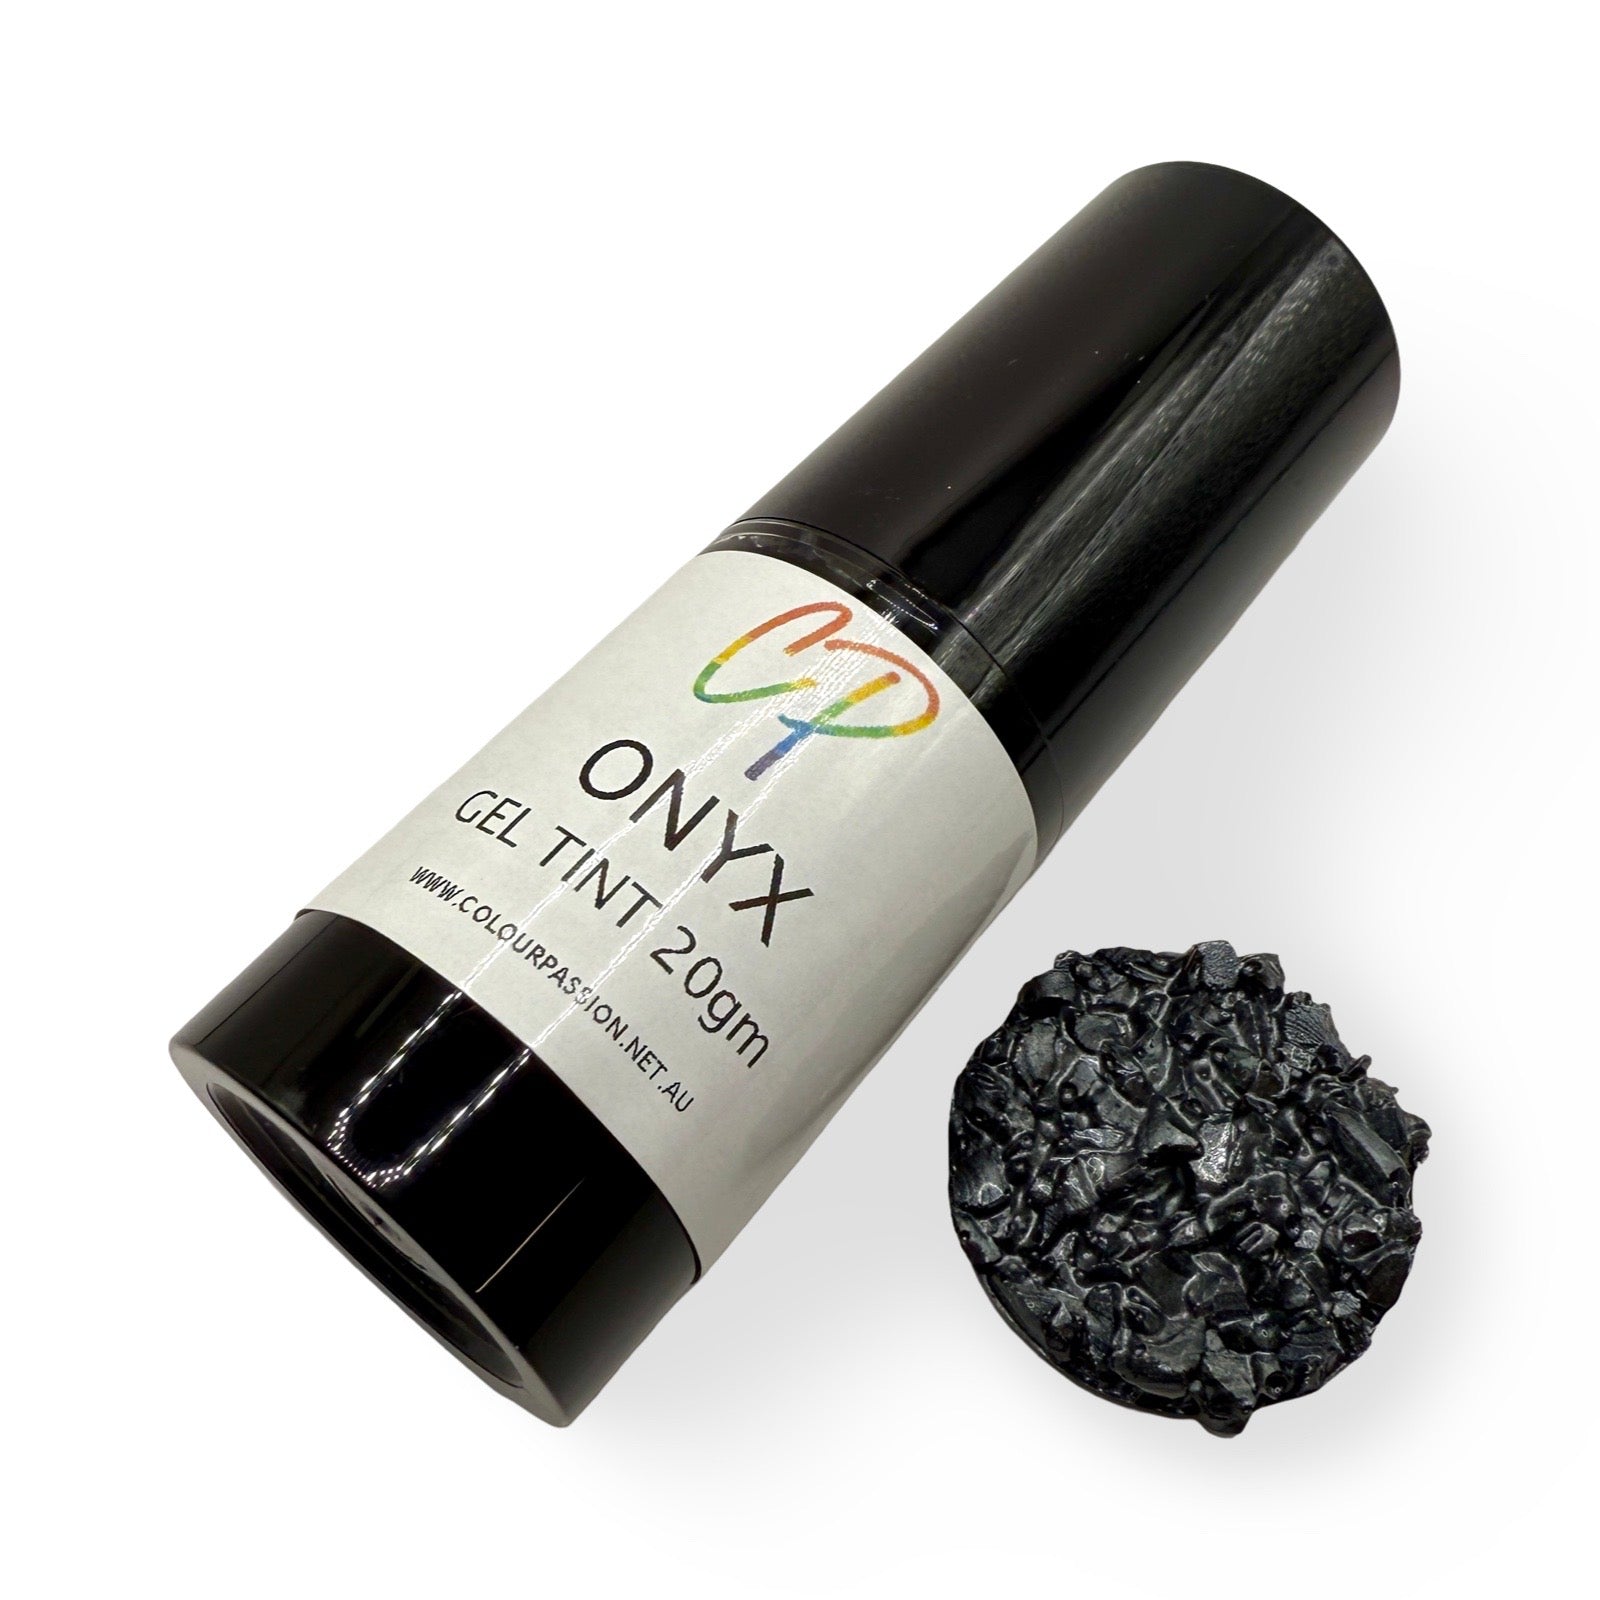
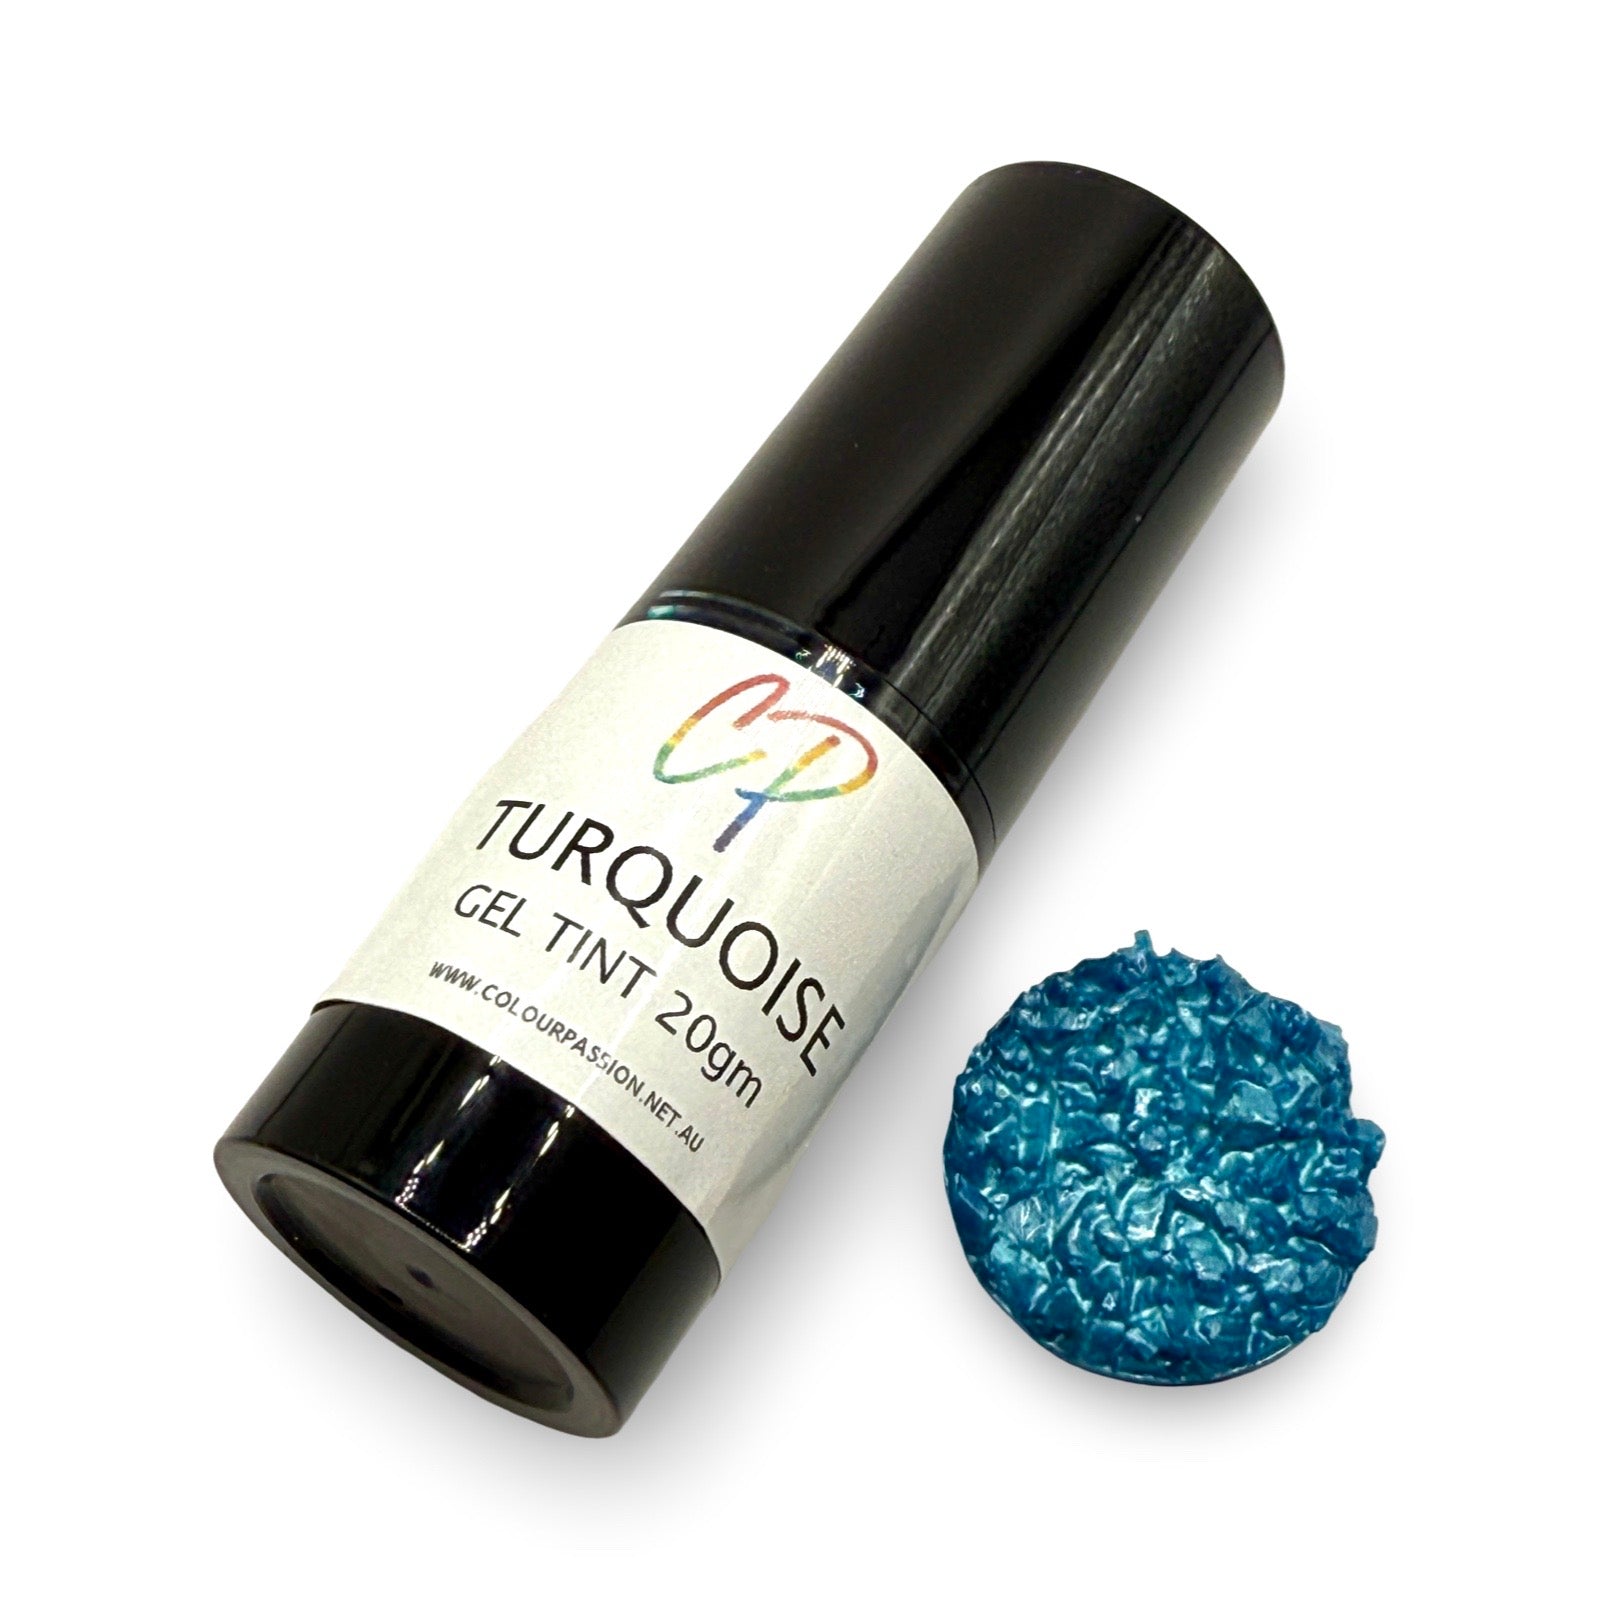
NEW
Colour Passion Resin Gel Tint
Regular price
$14.50
Sale price
$14.50
Regular price

PolyColor Thin Epoxy Dispersion Fluid - 8 oz
Regular price
$21.00
Sale price
$21.00
Regular price