Copper Patina Epoxy Tutorial | Learn DIY Techniques for Copper Countertops from Stone Coat Countertops
Apr 5th 2020
DIY Copper Patina Epoxy Countertop Guide
You can apply copper patina epoxy to your countertops by following our simple DIY step-by-step guide. DIY copper countertops are a great project to bring value to your home while remaining on budget. They are durable, resistant to moisture, and have a reasonable tolerance to heat. The settled copper epoxy resin will create a visually unique touch to your home.
Shop All Our Countertop Epoxy Kits
1. If you’re starting from scratch you can purchase a 3-inch medium density fiberboard (MDF board) as your countertop. You’ll need paint and primer in one so we recommend picking up a can of Ethiopia from Behr.
2. Sand the edges and the countertop smoothly. Apply two coats of paint & primer in one. Let the countertop and edges fully dry before continuing. Then sand the edges and top with 220 grit.
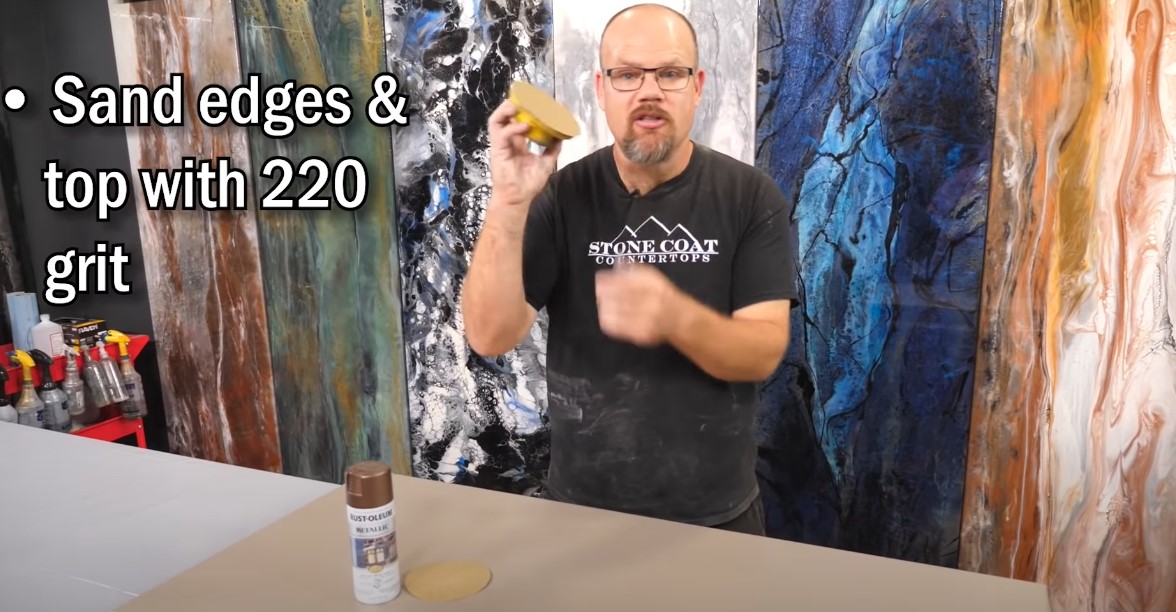
3. It’s
now time to make sure you have everything you’ll need for your copper
patina epoxy. You don’t want to have to run out for any
last-minute items.
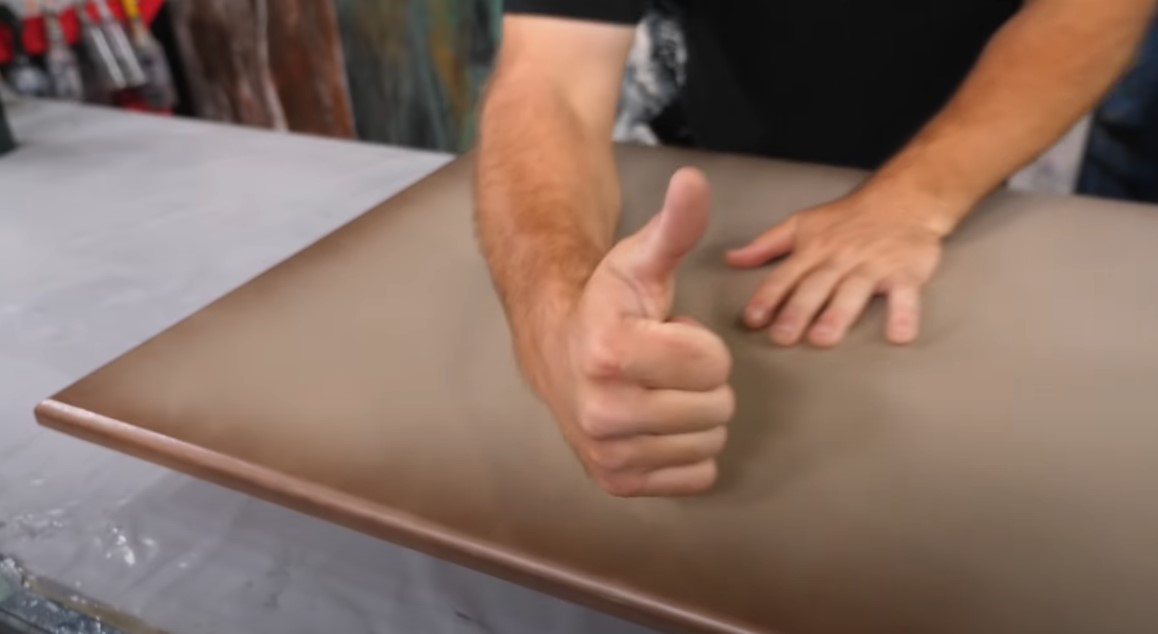
4. Spray the MDF edges with copper spray paint. Don’t overdo it because then it takes longer to dry. Sand the surface to remove nibs and nubs, this also ensures a mechanical bond between the counter and spray paint.
● Stone Coat Countertop Epoxy Kits
● Chop Brush
● Mixing Buckets
● Paper Towels (not cheap ones, you’ll find out below)
● Gloves
● Painting Dust Mask
● Drill & Mixing Paddle
● Hunter Green Gloss Spray Paint
Shop All Our Countertop Epoxy Kits
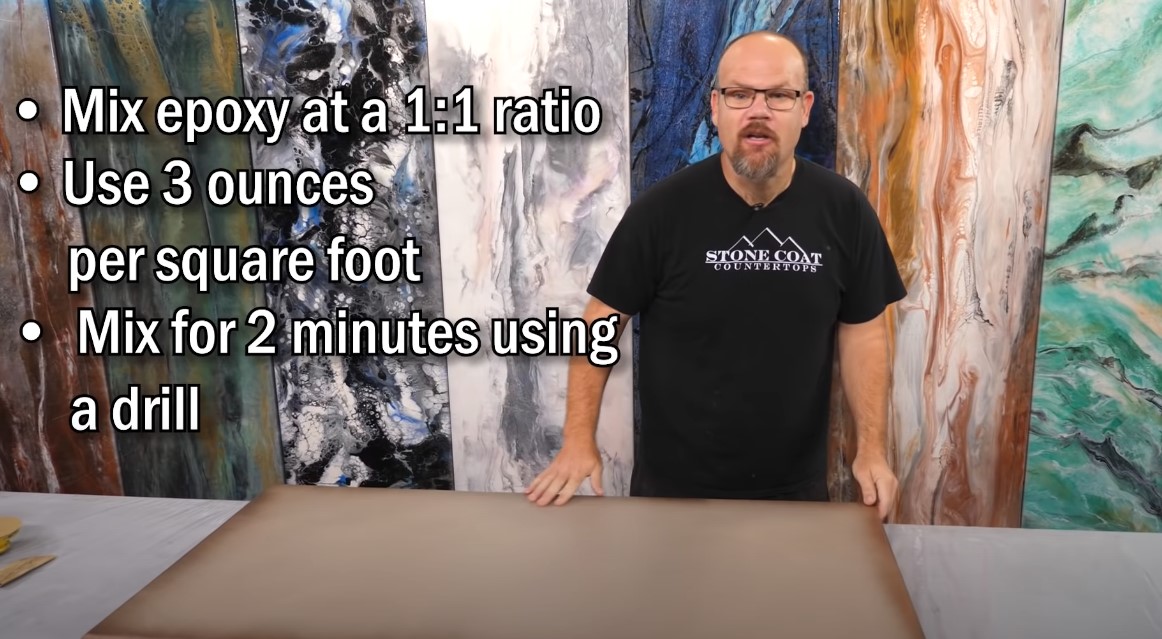
5. Mix up the Stone Coat Countertop Epoxy using the following mixture:
1:1 ratio by volume.
Mix up 3 oz. per sqft. (1.5 oz. of A & 1.5 oz. of B)
Mix for 2 minutes with a drill or paddle mixer.
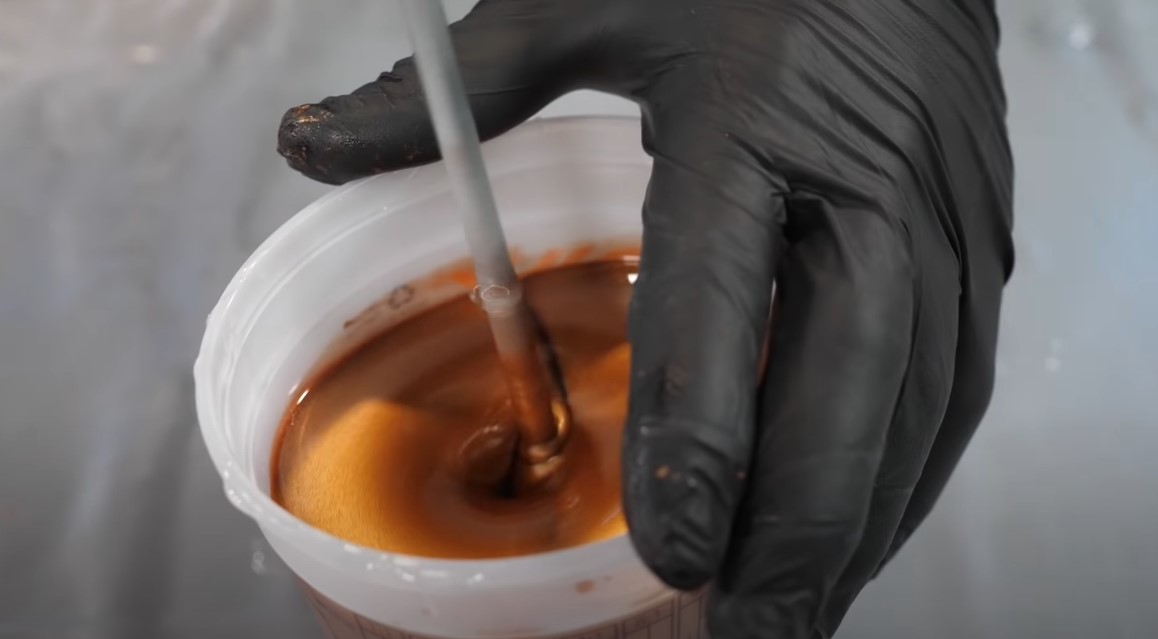
 6. Add in
copper
metallic powder and mix it vigorously with a
drill. Make sure the color is distributed evenly throughout the epoxy.
7. Pour out the copper-tinted epoxy into the center of your countertop. Evenly spread the epoxy using an ⅛” x ⅛” square notch trowel.
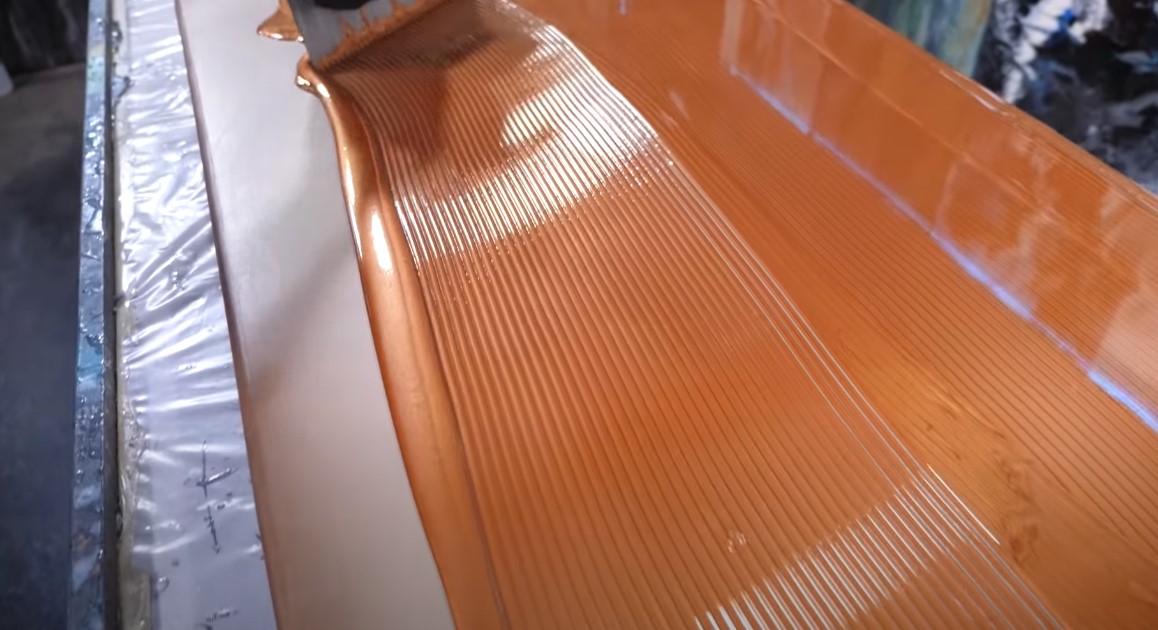
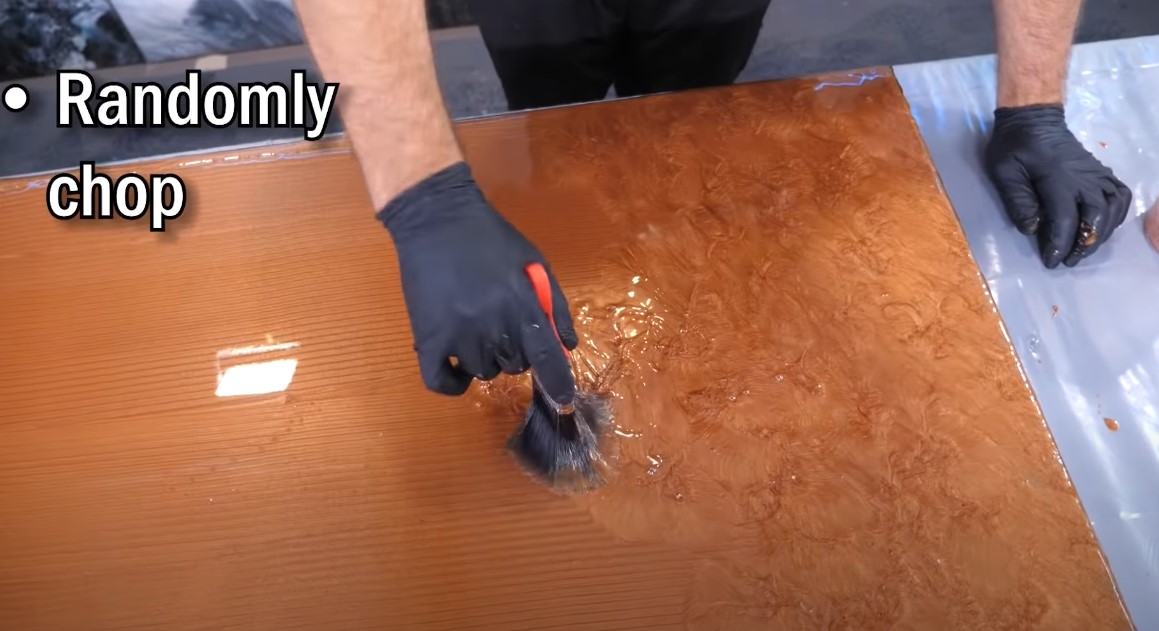
8. Randomly chop the top to remove trowel lines & to mix one final time. Remember to leave some of the epoxy unchopped, this gives it a three-dimensional natural look.
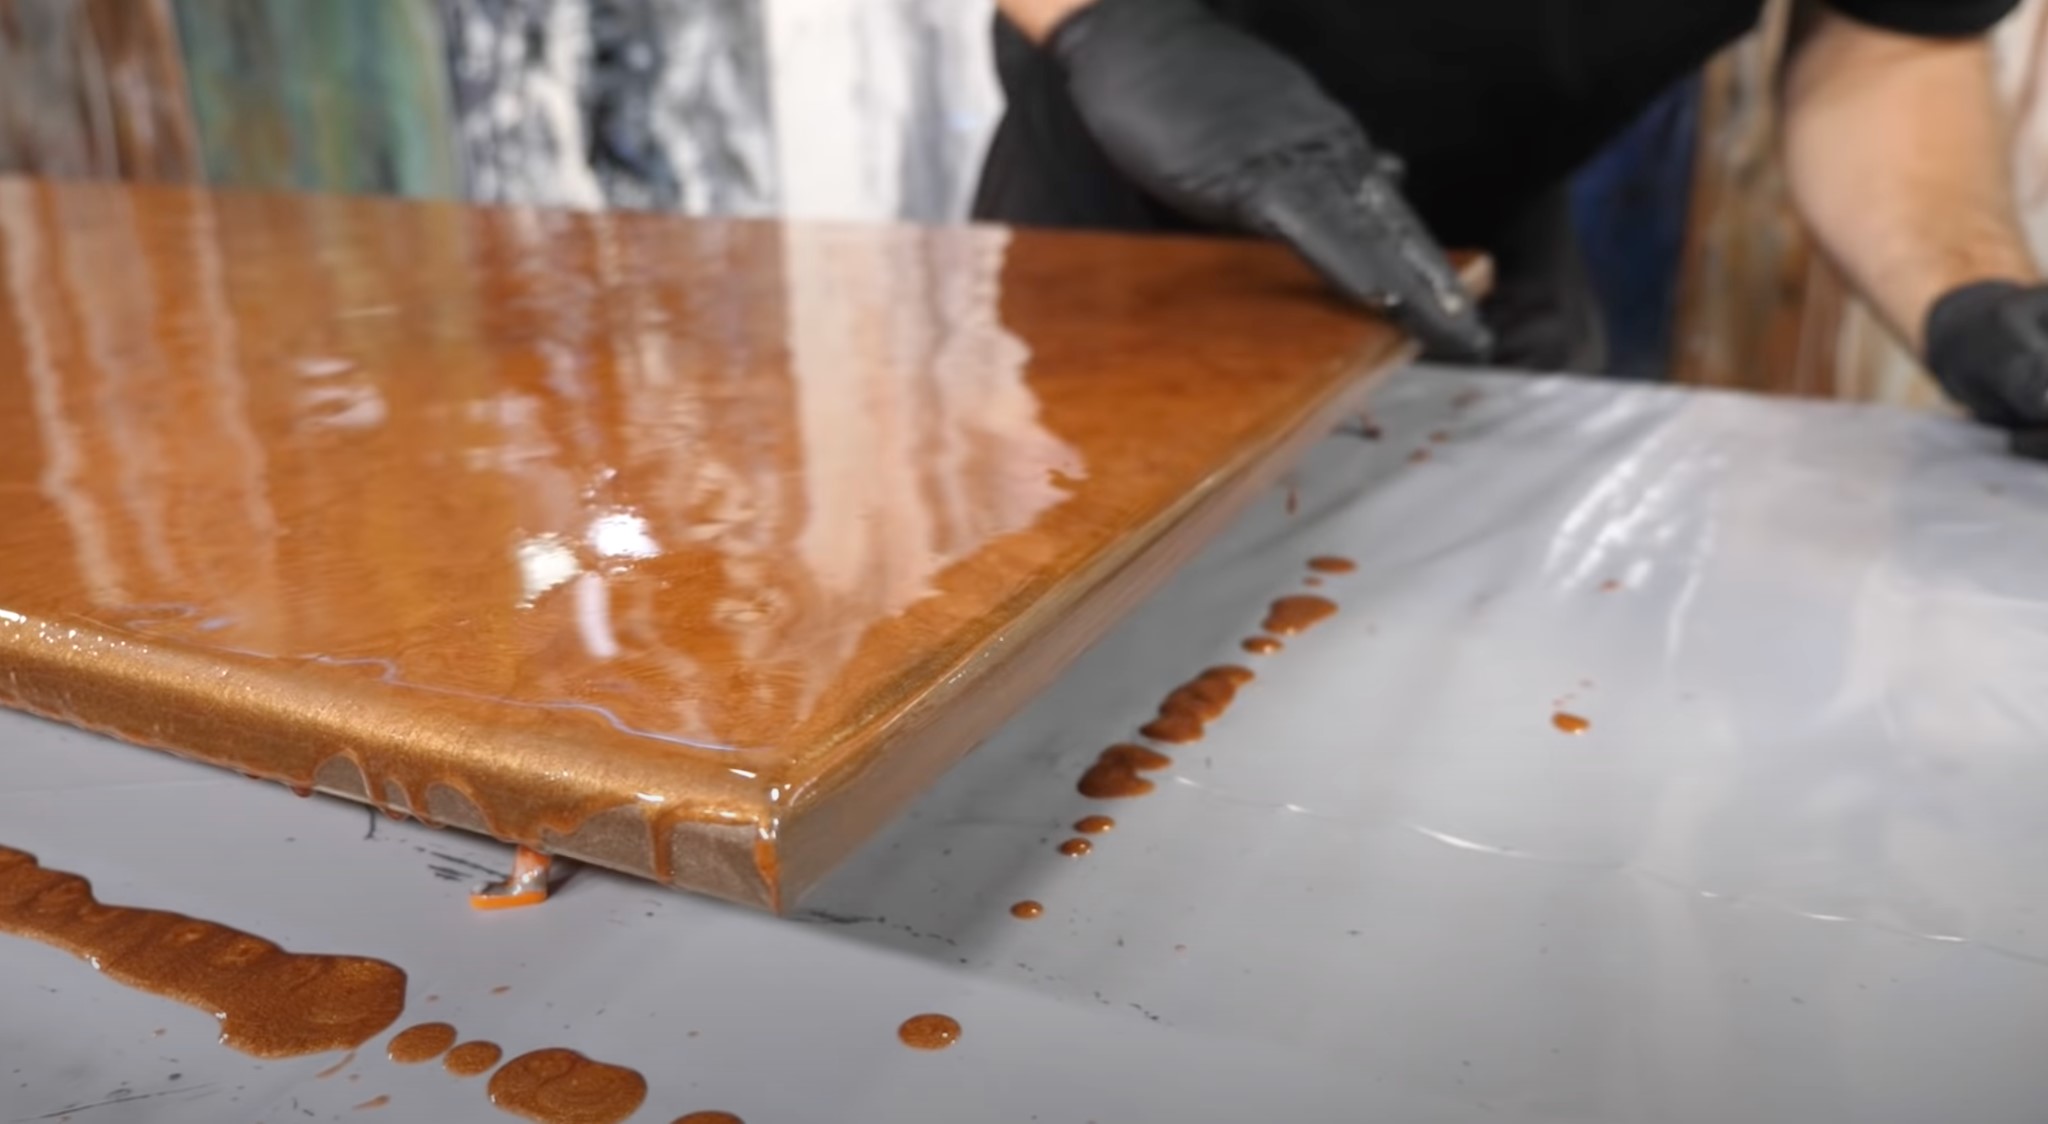
9. Use your gloved hand to apply epoxy to the edges in long horizontal strokes and break up any surface tension. Use extra epoxy that dripped off the edges to fill in any holes or spaces. The epoxy will thin out on the edges but the copper spray paint will help the edges keep their color.
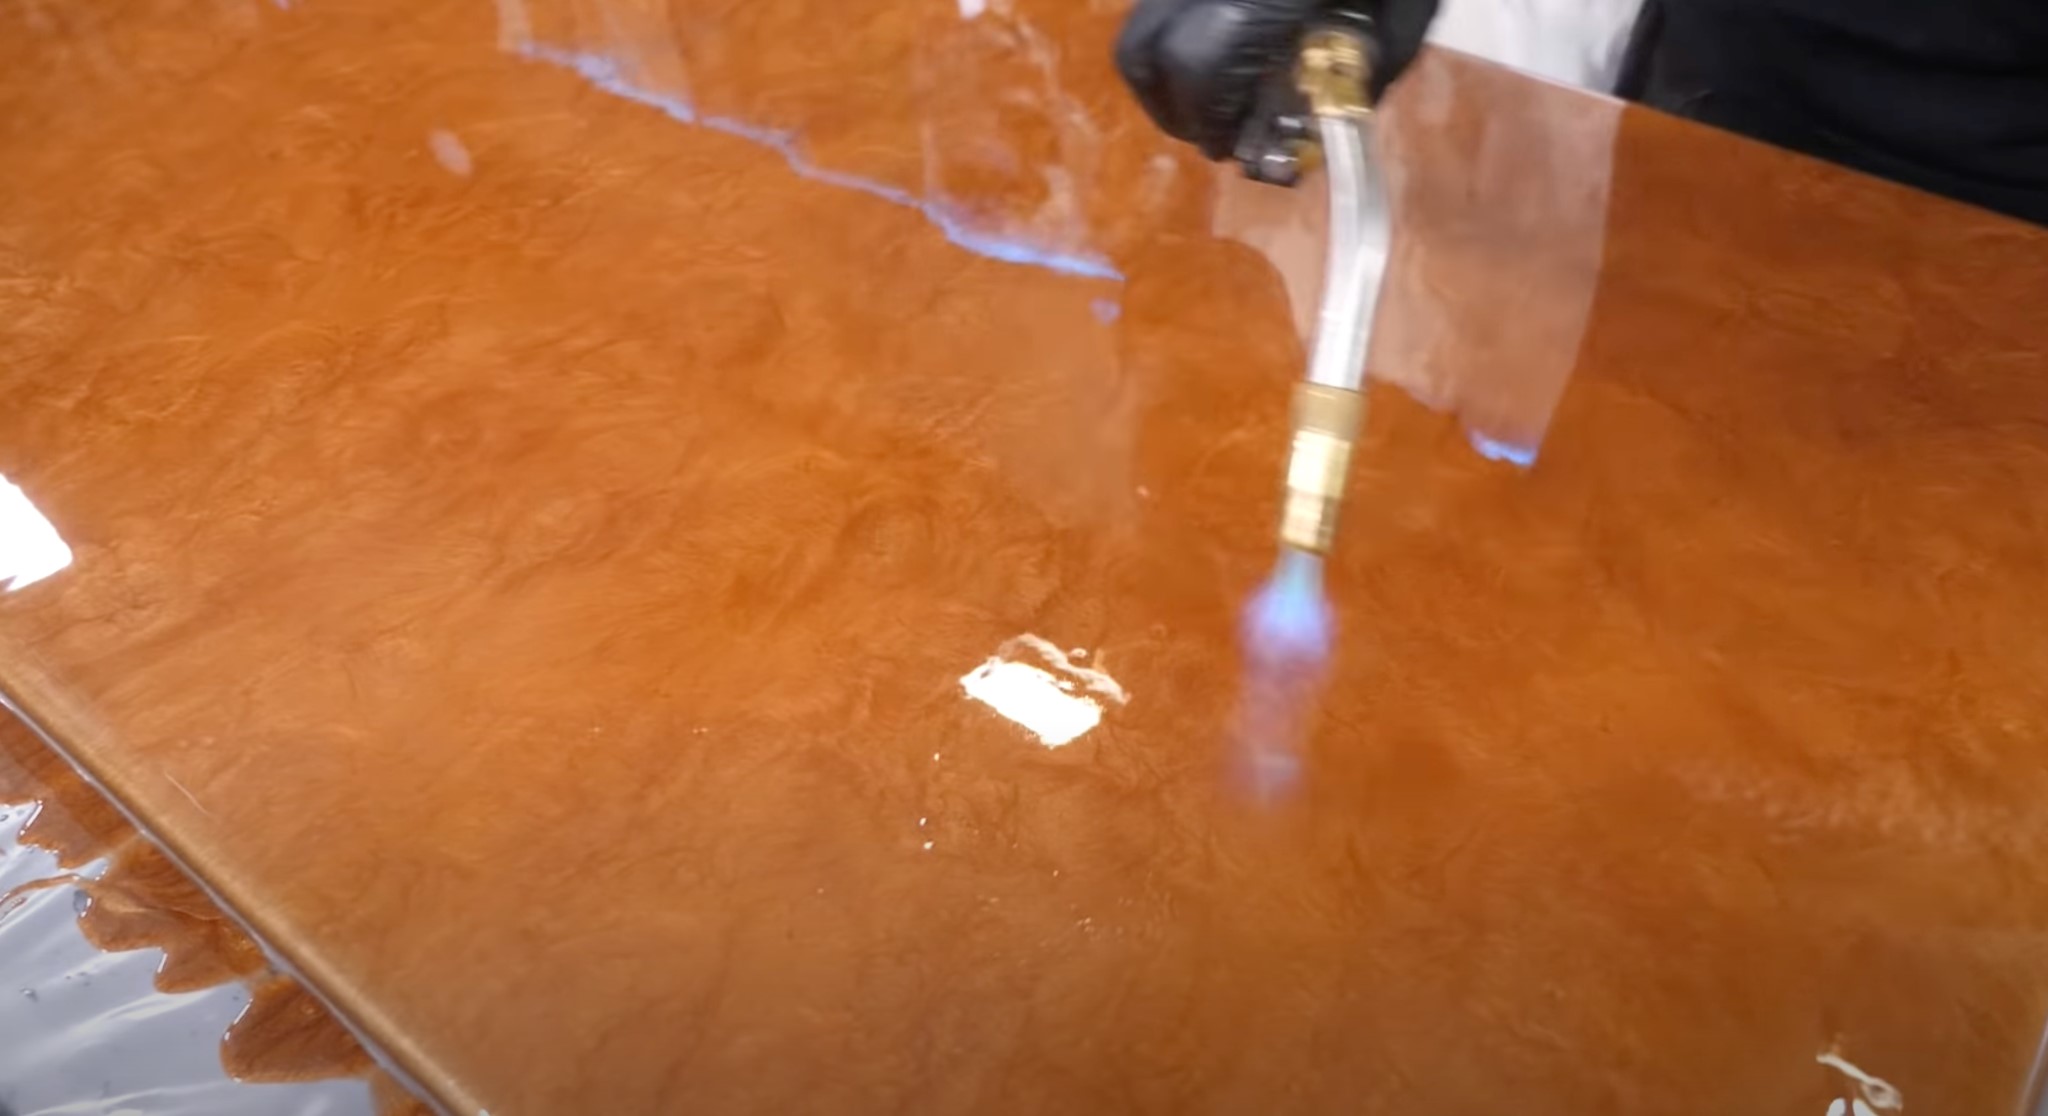
10. Use a torch or heat gun to remove air from the epoxy. Torching the epoxy levels it out creating a glass-like appearance, If you love this look then you could stop here. Remember, you have plenty of time to get the air bubbles out. Don’t be in a rush, smile, and have fun!
11. It’s now time to gather your Hunter Green Spray Paint, painting mask & chop brush. Fog areas on your project with Hunter Green. Start low until you achieve your desired patina look. Avoid uniformity to mimic nature.
12. Meld the copper and hunter green spray paint together using your chop brush. Rub edges in between chopping. It will help even the epoxy and give a smooth overall finish. Use the torch/heat gun to eliminate air bubbles. You could use the torch less for a more dynamic, rocky look.
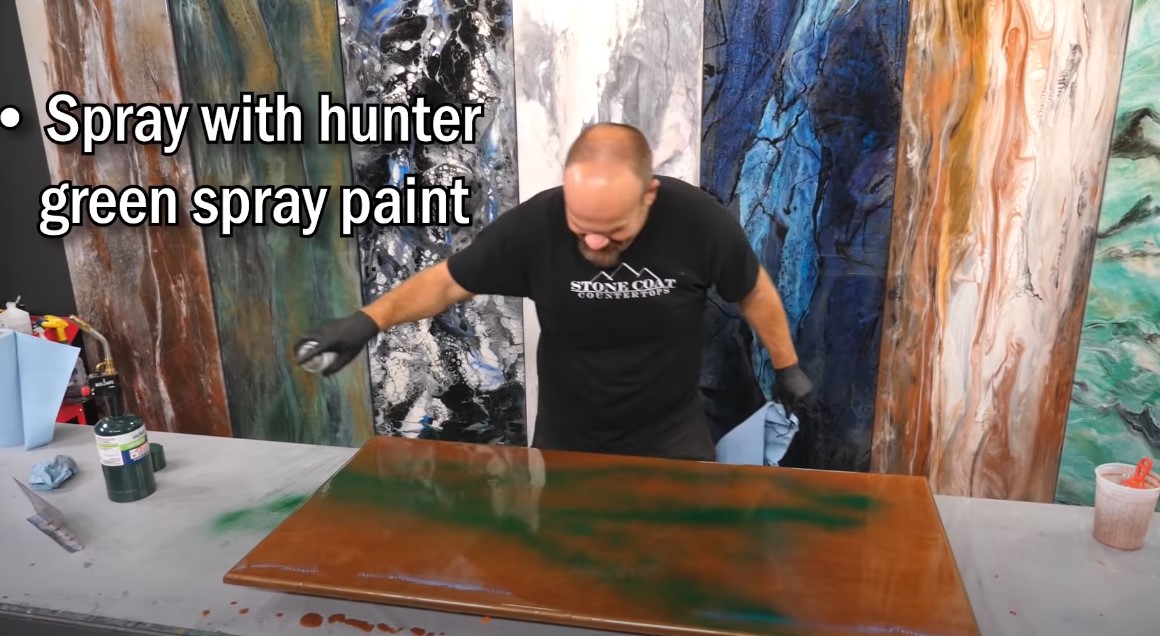
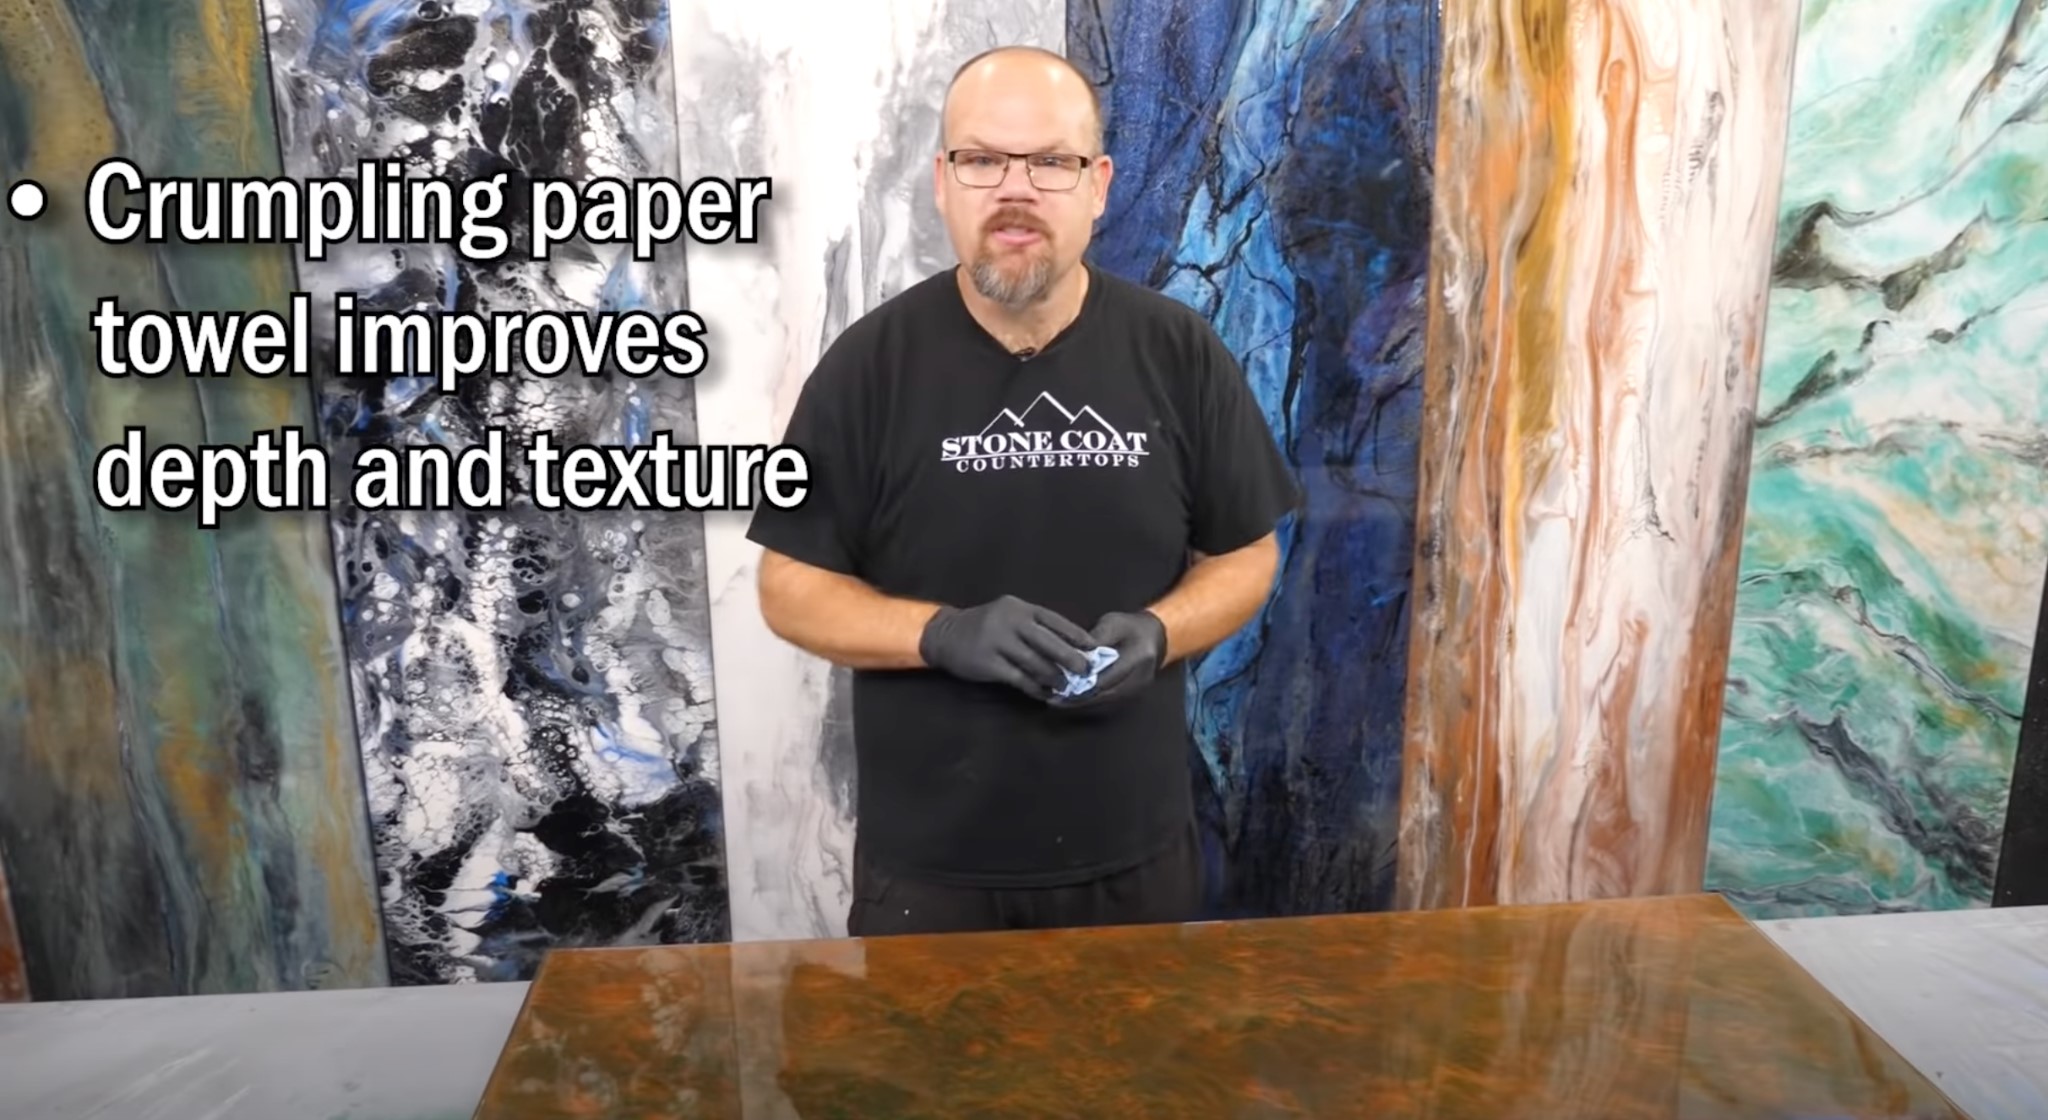
13. You can also use a crumpled paper towel to create amazing reflective depth. Use paper towels for any last-minute chopping. Don’t use cheap paper towels! You don’t want paper fibers left on the surface. Crumple the paper towel to improve depth and texture.
14. Torch your countertop one final time to remove any air incorporated into the epoxy while working on your project. Then let the countertop dry completely overnight and maybe into the afternoon.
Drying depends on the temperature and humidity of your room. The epoxy will begin to become tacky before hardening. Let the clear coat completely dry before use.
You can clean the countertops with cleaners safe for laminate or solid surface countertops. You can also order our polishing and cleaning epoxy kit through our site.
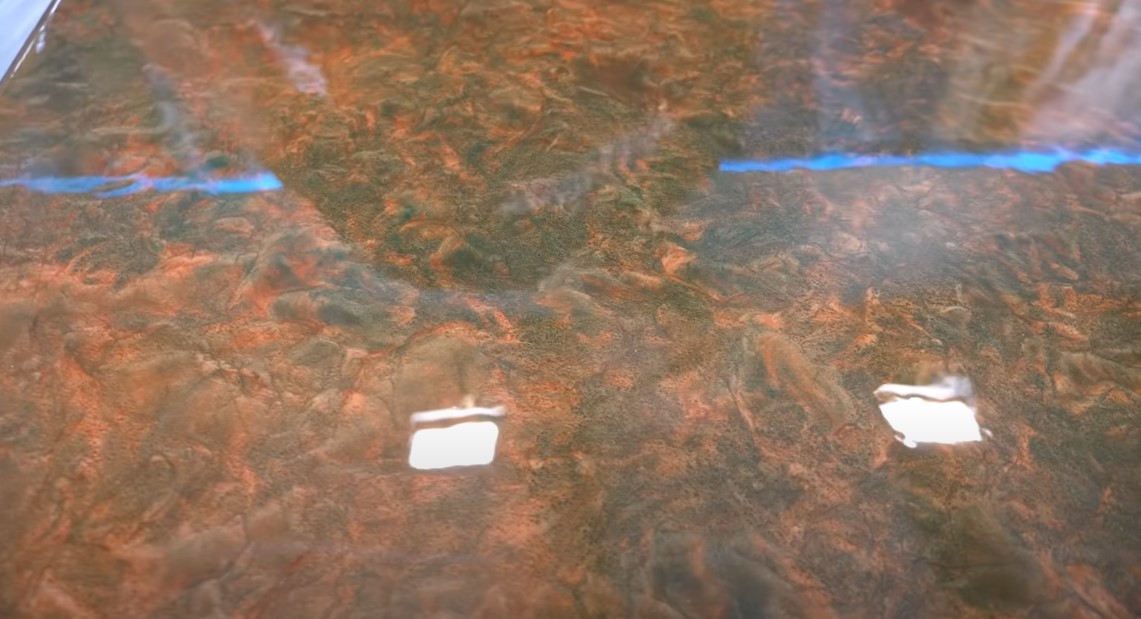
15. Enjoy your new DIY copper epoxy countertops with that brilliant patina finish! If you wish to view this DIY tutorial in a video then head over to our YouTube. Remember, you can easily shop our website if you need our gallon epoxy countertop kits or metallic powder.
