Epoxy Table Top DIY | Learn How to Create a DIY Epoxy Table Top for an Old Wood Desk from Stone Coat Countertops
Apr 6th 2020
Epoxy Table Top DIY for Old Wood Desk
Today we will show you how to take your old wooden desktop and turn it into an epoxy table top DIY masterpiece! In this step-by-step guide, we will show you everything you need for a great DIY epoxy table top.
Step 1: Prepping Your Epoxy Table Top DIY Surface
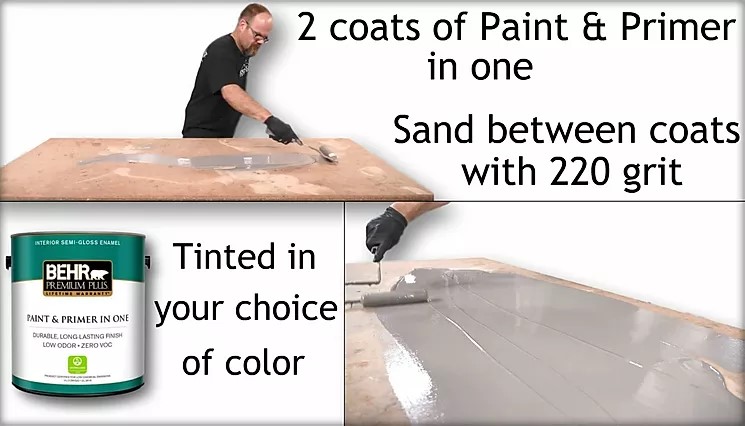
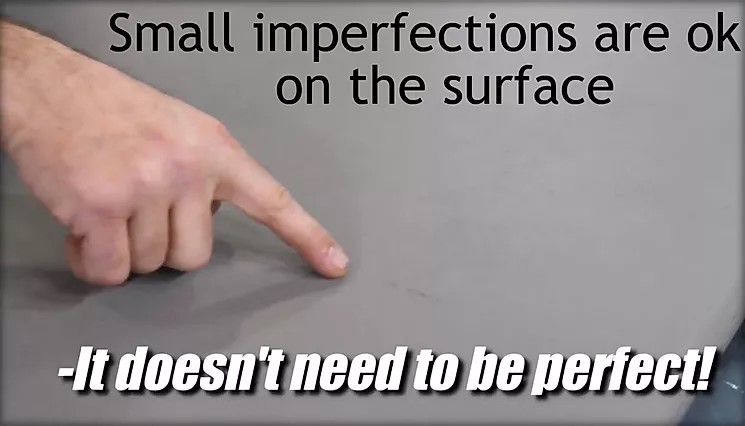
You’ll start your epoxy table top DIY project by applying two coats of Paint & Primer In One and allow it to dry. Then, you will use 220 grit sandpaper to sand the surface until smooth.
Step 2: Mixing Resin for DIY Epoxy Table Top
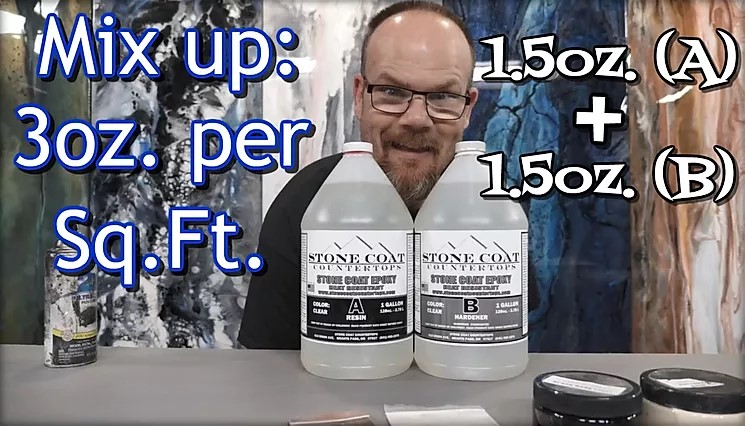
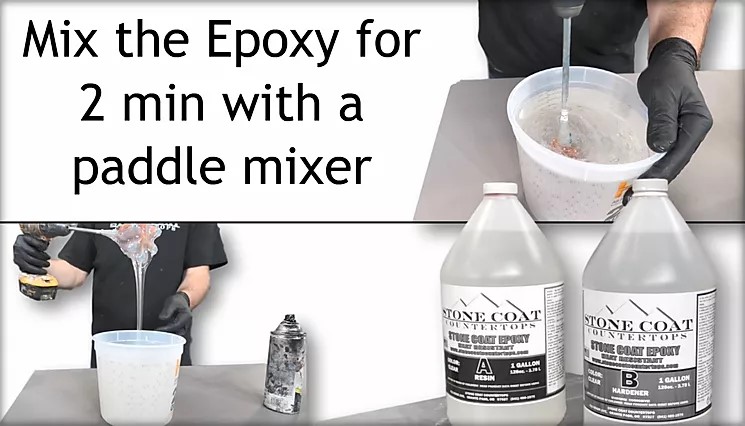
For this step, you will be mixing resin and hardener with a 1:1 ratio. For this epoxy table top DIY project, you will need 3oz per square foot. Mix the combination for 2 minutes with a paddle mixer.
Step 3: Fog the Edges of Epoxy Resin Desktop
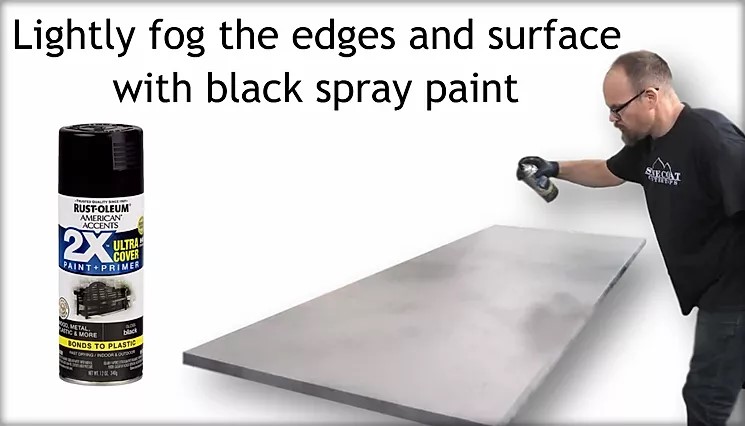
With a can of black spray paint, lightly fog the edges and surface of your DIY epoxy table top.
Step 4: Select 4 Color Additives for Your Epoxy Resin Desktop
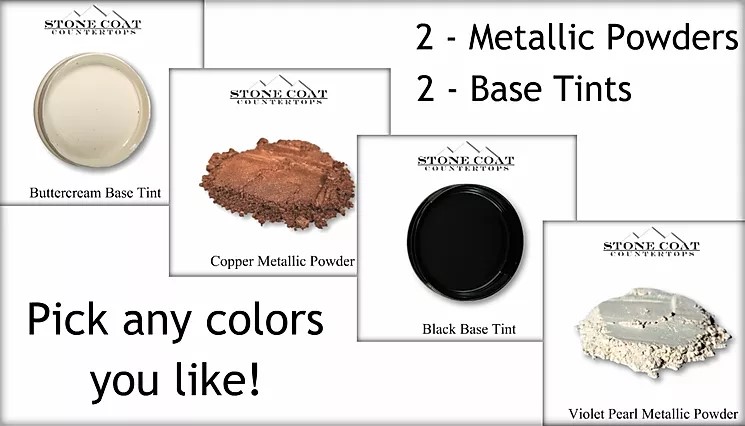
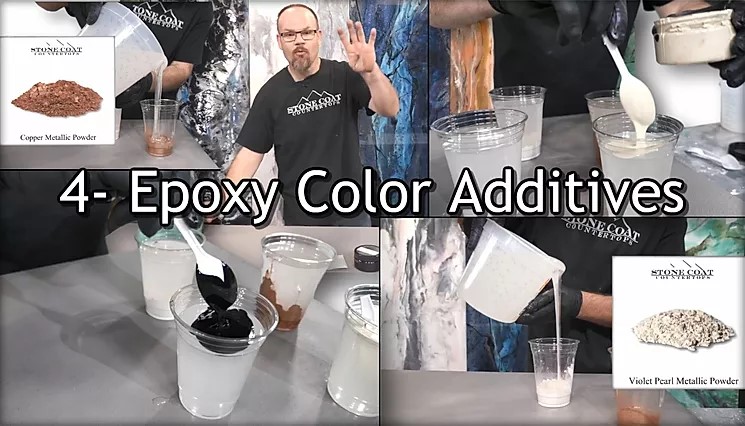
Select any four color additives to personalize your DIY epoxy table top to your liking. For our example, we used 2 metallic powders and 2 base tints.
Step 5: Pour Thin Layer Of Clear Epoxy Coating for Desk
Pour just enough clear epoxy on your DIY epoxy table top for a thin layer across the surface. Use a squeegee or a gloved hand to apply and spread the epoxy.
Step 6: Pour Colored Epoxy Coating for Desk
Next, you will take each of your four colors of epoxy resin and pour them in lines across the surface of your epoxy table top DIY surface. For the best look, pour out the epoxy in striated lines.
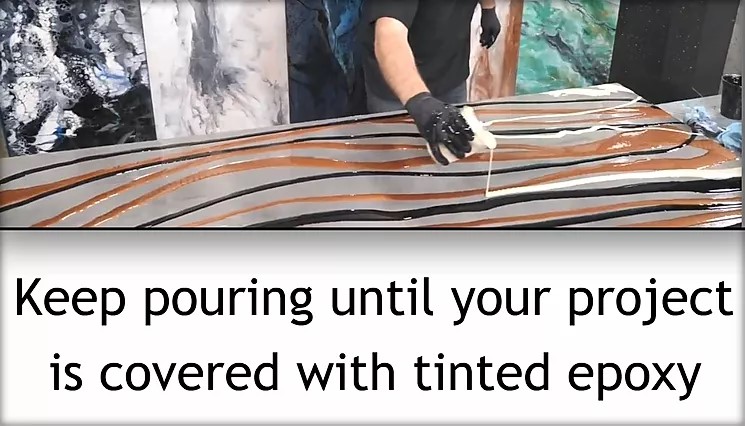
Step 7: Meld the Epoxy for your DIY Epoxy Table Top
Lightly glide a squeegee across the surface of your DIY epoxy table top. Continue to blend and meld the surface of your table until you’ve covered the entire surface.
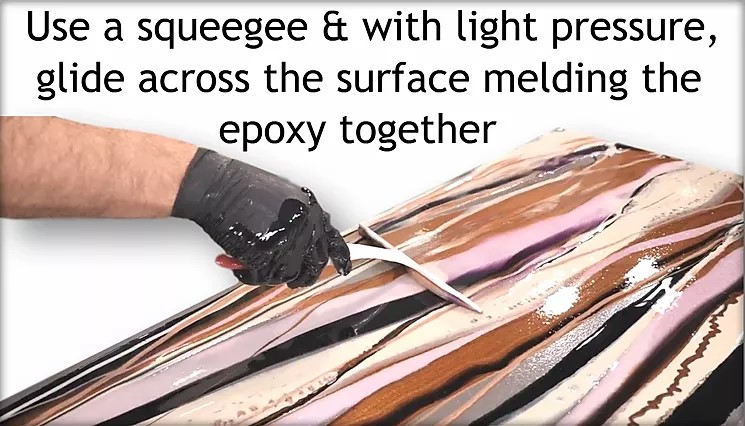
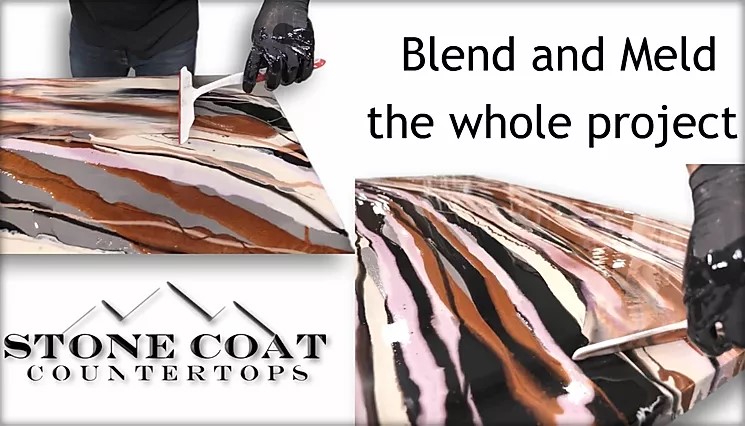
Step 8: Apply Epoxy to Edges of DIY Epoxy Table Top
With a gloved hand, apply epoxy to all the edges of your epoxy table top DIY project. Take this time to fill any voids in the epoxy finish for wood desk top.
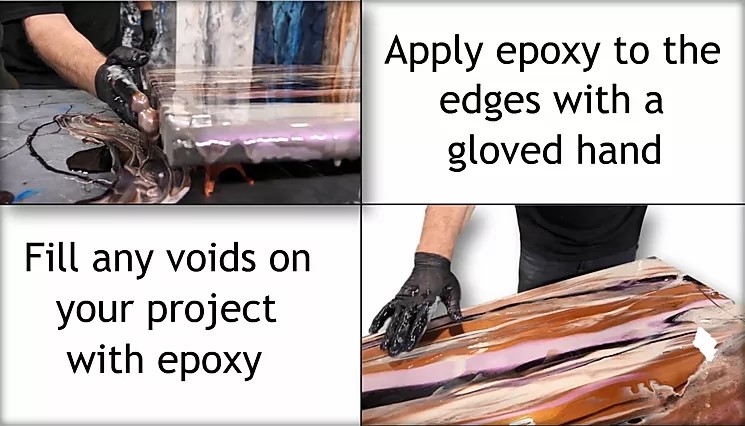
Step 9: Use Heat Gun on Your DIY Epoxy Table Top
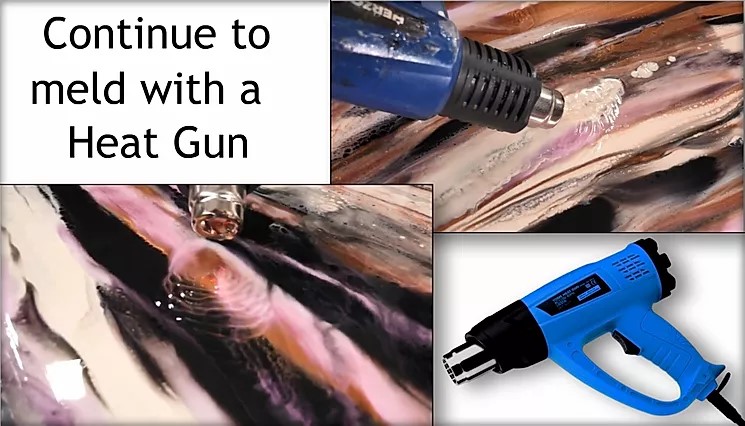
Next, use a heat gun to meld and blend the surface to remove any air bubbles and achieve your desired look for your epoxy table top DIY project. Allow to dry for 24 hours.
Step 10: Finishing Touches for Your DIY Epoxy Table Top
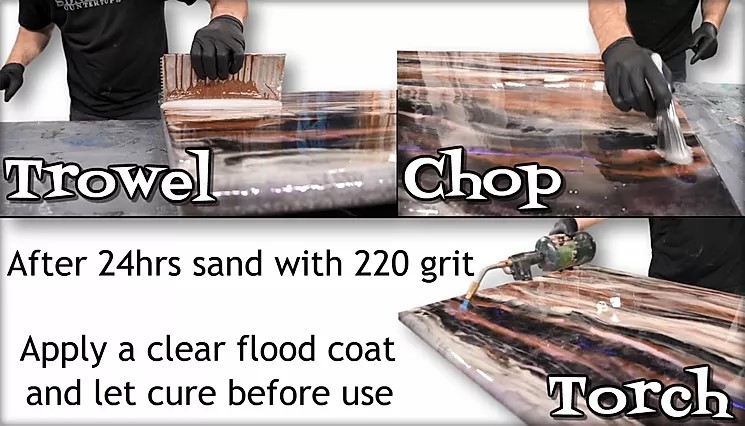
After letting the surface dry, sand your DIY epoxy table top with 220 grit sandpaper. Apply a final flood coat of epoxy. Then use a trowel and chop brush for a smooth finish. Torch your table top one last time and let it cure.
Step 11:Remove Drips from DIY Epoxy Table Top
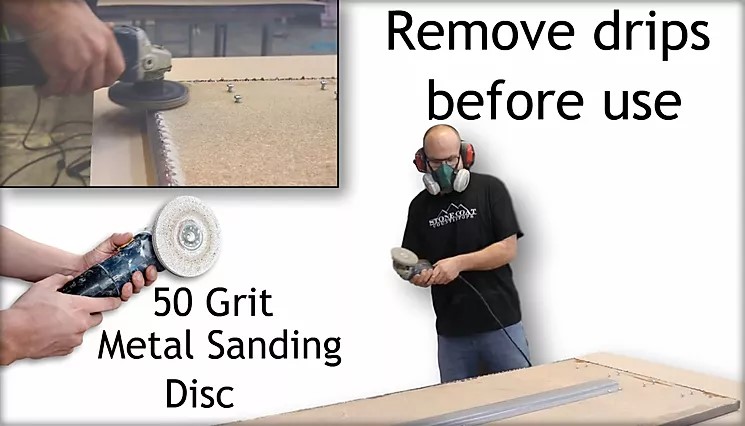
With a metal sanding disk, remove any drips on the underside of the desktop. After you’ve removed these dripping, your DIY epoxy table top is ready to be used!
